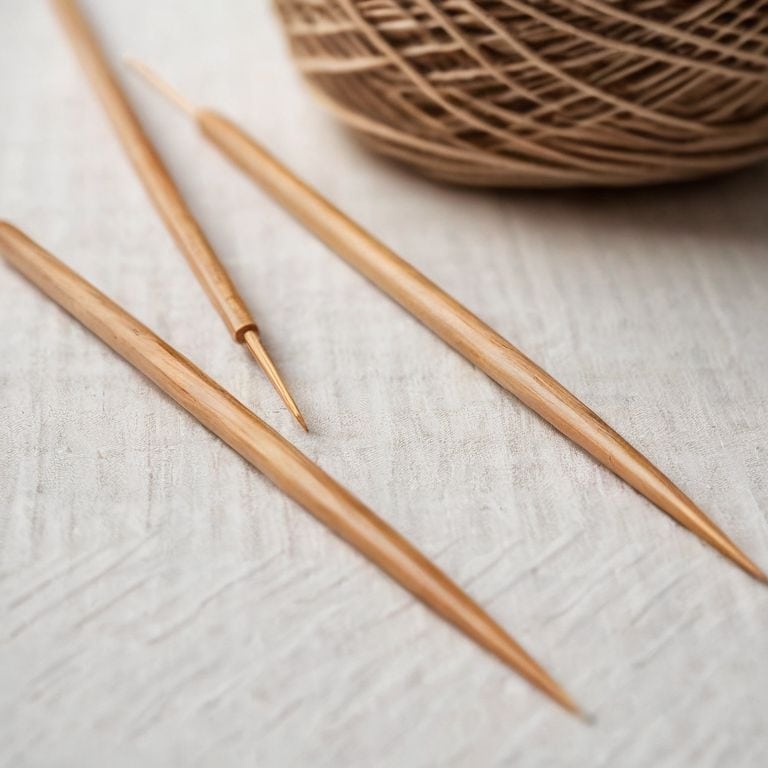
I still remember the day my wife, an avid knitter, came to me frustrated with her wooden knitting needles. She had been told that to keep them in good condition, she needed to apply a special oil every day, but I knew that was just a myth. The truth is, learning how to care for wooden knitting needles is much simpler than that. With a few basic tips and tricks, you can keep your needles in great shape and ensure they continue to glide smoothly through your yarn. I’ve spent years perfecting the art of crafting and caring for wooden tools, and I’m excited to share my knowledge with you.
In this article, I’ll walk you through the practical steps to care for your wooden knitting needles, from cleaning and conditioning to storing and maintaining them. You’ll learn how to identify the type of wood your needles are made of and how to use that information to inform your care routine. I’ll also share some of my favorite tips for keeping your needles looking their best, including how to remove stubborn stains and scratches. By the end of this guide, you’ll be equipped with the knowledge and confidence to keep your wooden knitting needles in top condition, and you’ll be able to focus on what really matters – creating beautiful, handmade garments with love and care.
Table of Contents
Guide Overview: What You'll Need
Total Time: 30 minutes to 1 hour
Estimated Cost: $5 – $15
Difficulty Level: Easy
Tools Required
- Soft cloth (microfiber or cotton)
- Wood oil or wax (specifically designed for wood care)
- Rubber needle case (optional for storage)
Supplies & Materials
- Mild wood soap (for occasional deep cleaning)
- Wood conditioner (to maintain wood health)
- Dry cloth for polishing (6 inches by 6 inches square)
Step-by-Step Instructions
- 1. First, let’s start with inspecting our wooden knitting needles for any signs of wear or damage. Take a close look at the tips, the shaft, and the joins to make sure everything is in good condition. I like to do this over a soft cloth or a paper towel to catch any debris that might fall off.
- 2. Next, we need to clean our needles to remove any dirt, oil, or residue that might have accumulated from use. I use a soft-bristled brush to gently sweep away any loose debris, and then I dampen a cloth with warm water and carefully wipe down each needle. Be sure to dry them thoroughly with a clean towel to prevent any water spots.
- 3. Now it’s time to condition our wooden knitting needles to keep the wood healthy and protected. I use a small amount of beeswax or wood conditioner, applying it to a soft cloth and then rubbing it into the wood. This helps to moisturize the wood and prevent it from drying out or cracking.
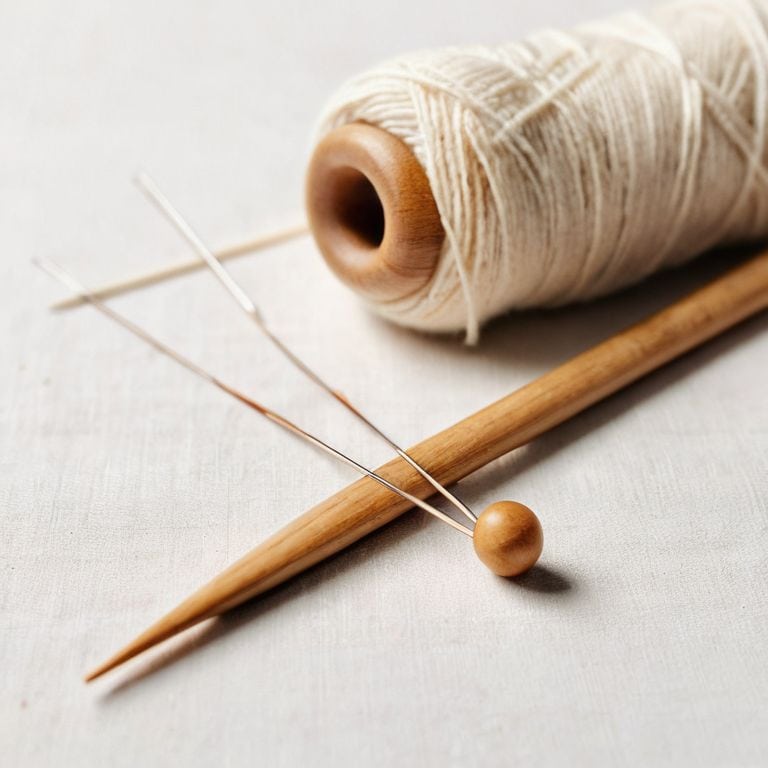
- 4. To prevent our wooden knitting needles from becoming damaged or worn, it’s a good idea to store them properly. I like to keep mine in a protective case or bag, away from direct sunlight and moisture. You can also store them in a dry, cool place, such as a closet or drawer, to keep them safe.
- 5. Every now and then, it’s a good idea to check the joins on our wooden knitting needles to make sure they’re secure. If the joins are loose, you can use a small amount of wood glue to tighten them up. Just be careful not to over-tighten, as this can damage the wood.
- 6. To keep our wooden knitting needles looking their best, we can use a small amount of wood oil to enhance the grain and protect the wood. I like to use a high-quality wood oil, applying it to a soft cloth and then rubbing it into the wood. This helps to bring out the natural beauty of the wood and keep it looking healthy.
- 7. Finally, let’s talk about maintenance. To keep our wooden knitting needles in good condition, it’s a good idea to regularly inspect and clean them. I like to set aside a few minutes each week to go over my needles, checking for any signs of wear or damage, and making any necessary repairs. By following these steps, you can keep your wooden knitting needles looking and performing their best.
Sawdust and Stitches

As I work in my workshop, surrounded by the smell of freshly cut wood, I often think about the importance of wooden needle maintenance tips. It’s not just about cleaning and polishing, but also about storing them properly to prevent damage. I’ve seen many beautiful wooden knitting needles ruined by improper storage, so I always recommend using a sturdy container or bag to keep them safe. My wife, an avid knitter, swears by her handmade leather project bag, which I crafted for her using traditional leatherworking techniques.
When it comes to choosing the best wood for knitting needles, I’m often asked about the differences between various types of wood. Some woods, like birch or beech, are more prone to warping than others, which can affect the overall performance of the needle. To prevent this, I recommend using a wood conditioner or finish that helps to stabilize the wood and prevent warping. It’s also important to consider the weight and feel of the wood, as some knitters prefer a lighter or heavier needle.
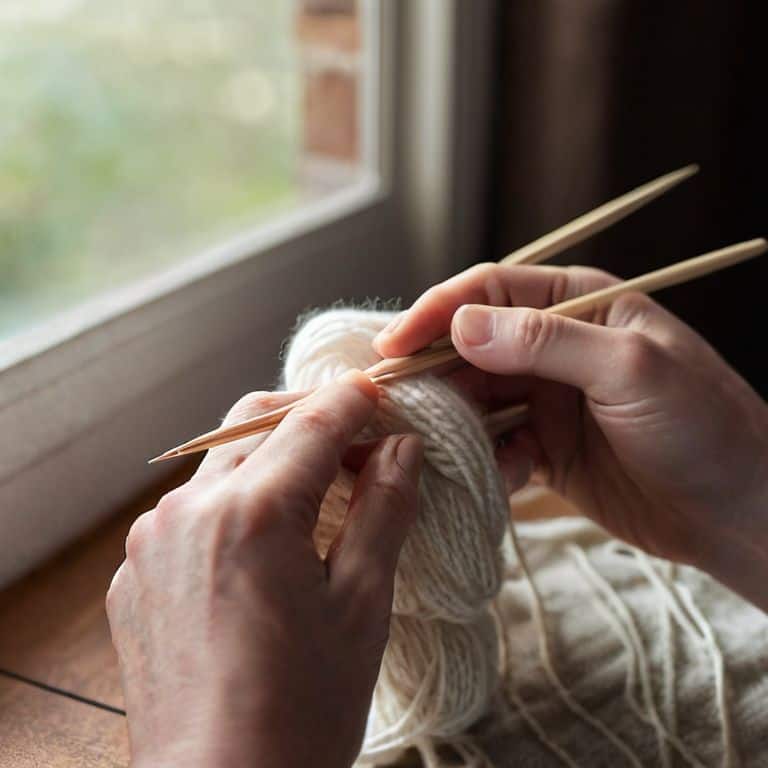
In my experience, wooden knitting needles offer a unique advantage over metal ones: they’re often warmer to the touch and easier on the hands. However, they do require more maintenance to keep them in good condition. By following a few simple tips, like regularly cleaning and conditioning the wood, you can keep your wooden knitting needles in great shape and enjoy the benefits of knitting with a beautiful, handmade tool. I’ve even restored old wooden knitting needles to their former glory, and it’s amazing to see how a little TLC can bring new life to a well-loved tool.
Preventing Wooden Needle Warping
To prevent warping, I always tell my customers to keep their wooden needles away from direct sunlight and extreme temperatures. This is especially important for needles made from woods like walnut or cherry, which can be prone to warping if not properly cared for. A simple solution is to store them in a protective case or bag when not in use. I like to use the leather project bags I make in my spare time – they’re perfect for keeping my wife’s favorite needles safe and sound. By taking these simple precautions, you can ensure your wooden needles remain straight and true, and continue to serve you well for years to come.
Wooden Needle Maintenance Tips
To keep your wooden knitting needles in top condition, I recommend a gentle touch. Avoid exposing them to extreme temperatures or moisture, as this can cause the wood to warp or crack. A soft cloth and a bit of wood oil can work wonders in maintaining the finish and preventing dryness. I like to use a beeswax-based polish on my wife’s favorite needles – it gives them a lovely sheen and protects the wood from splintering.
Regularly inspecting your needles for signs of wear is also crucial. Check for tiny cracks or splinters, and sand them down gently if needed. A well-maintained wooden needle is not only a joy to use, but it will also last for years to come, becoming a trusted companion in your knitting journey.
5 Tips to Keep Your Wooden Knitting Needles in Top Shape
- Regularly oil your wooden knitting needles with a natural oil like beeswax or coconut oil to keep the wood moisturized and protected
- Store your wooden knitting needles in a dry, cool place away from direct sunlight to prevent warping or cracking
- Avoid exposing your wooden knitting needles to extreme temperatures, such as leaving them in a hot car or near a fireplace
- Handle your wooden knitting needles with care, avoiding drops or impacts that could cause damage or splintering
- Periodically inspect your wooden knitting needles for signs of wear or damage, and consider refinishing or repairing them if necessary to extend their lifespan
Key Takeaways for Happy Knitting
Always store your wooden knitting needles in a dry, cool place to prevent warping and damage, just like I do with my wife’s favorite set
Regularly apply a small amount of wood oil or wax to keep your needles conditioned and protected from the elements, it’s a trick I learned from my woodworking days
By following these simple care steps and being mindful of your needles’ condition, you can enjoy years of happy knitting with your beautifully crafted wooden tools, and that’s what it’s all about for me – creating something that brings joy to the maker and the user
Conclusion: Keeping Your Wooden Knitting Needles in Top Condition
As we’ve explored in this guide, taking care of your wooden knitting needles is all about attention to detail and a bit of regular maintenance. From the initial steps of cleaning and oiling to preventing warping and maintaining the wood’s natural beauty, every step counts in ensuring your needles remain a joy to use. By following these simple yet effective tips, you’ll not only prolong the life of your needles but also enhance your overall knitting experience. Whether you’re a seasoned knitter or just starting out, investing time in the care of your tools is an investment in the quality of your craft.
As you put these tips into practice, remember that the true beauty of knitting lies not just in the finished product, but in the journey itself. The feel of the wood in your hands, the soft clickety-clack of the needles, and the satisfaction of creating something with your own hands – these are the things that make knitting such a rewarding hobby. So, go ahead, get your hands dirty, and embrace the process. With a little love and care, your wooden knitting needles will become trusted companions on your creative path, and the stitches they help you create will be all the more precious for it.
Frequently Asked Questions
What are the best oils to use for conditioning wooden knitting needles?
For conditioning my wife’s favorite wooden knitting needles, I swear by natural oils like beeswax, coconut oil, or linseed oil. A light coat every few months keeps the wood moisturized and protected. I also like to add a few drops of cedarwood essential oil for its pleasant scent and insect-repelling properties.
Can I use a dishwasher or washing machine to clean my wooden knitting needles?
Absolutely not, my friend. Dishwashers and washing machines are far too harsh for wooden knitting needles. The high heat and intense water pressure can cause warping, cracking, or even splintering. Instead, gently wipe them down with a soft cloth and mild soap, and let them air dry. Trust me, your needles will thank you.
How often should I inspect my wooden knitting needles for signs of wear or damage?
I inspect my wife’s wooden needles every few projects, but I recommend checking yours after every 10-15 hours of use. Look for tiny cracks, splinters, or discoloration – if you spot any, it’s time to give them some TLC or consider replacing them to avoid any knitting mishaps.