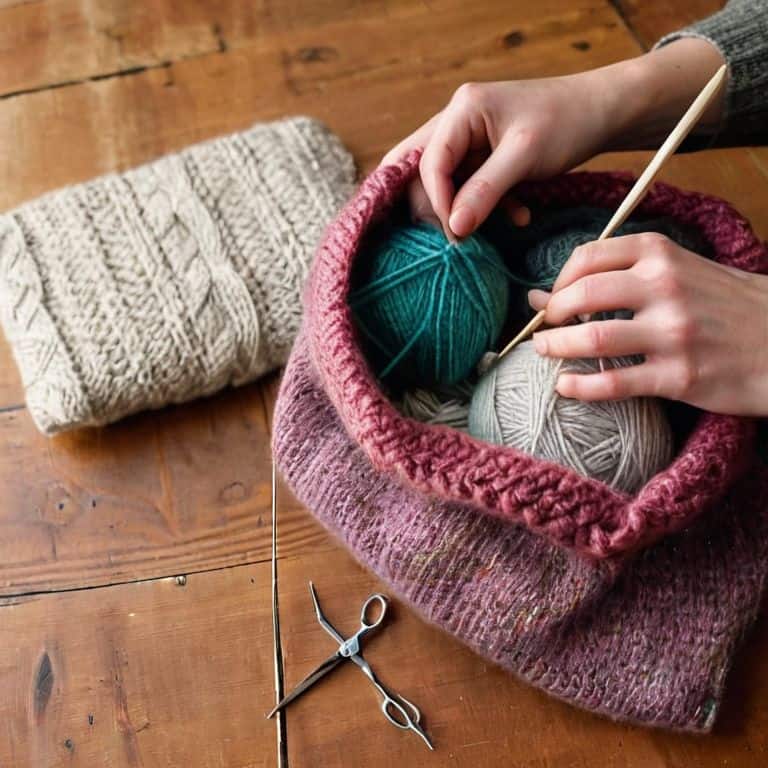
I still remember the day my wife, an avid weaver, complained about her project bag being a mess. She had yarns tangled everywhere, and it was a nightmare to find the right color or thread. That’s when I decided to take matters into my own hands and learn how to make a project bag that would make her life easier. I’ve always believed that the right tool can make all the difference, and a well-crafted project bag is no exception. As a carpenter turned custom woodworker, I’ve had my fair share of experience with creating functional and beautiful pieces, and I was excited to apply my skills to this new challenge.
In this article, I’ll share my personal approach to crafting the perfect project bag from scratch, with a focus on durability and practicality. You’ll learn how to choose the right materials, design a functional layout, and bring your project bag to life with simple, step-by-step instructions. My goal is to empower you with the skills and confidence to create your own custom project bag, one that reflects your personality and meets your specific needs. By the end of this guide, you’ll be equipped with the knowledge to create a project bag that’s not only functional but also beautifully crafted, making your weaving or knitting experiences even more enjoyable.
Table of Contents
Guide Overview: What You'll Need
Total Time: 1 hour 15 minutes
Estimated Cost: $10 – $20
Difficulty Level: Easy
Tools Required
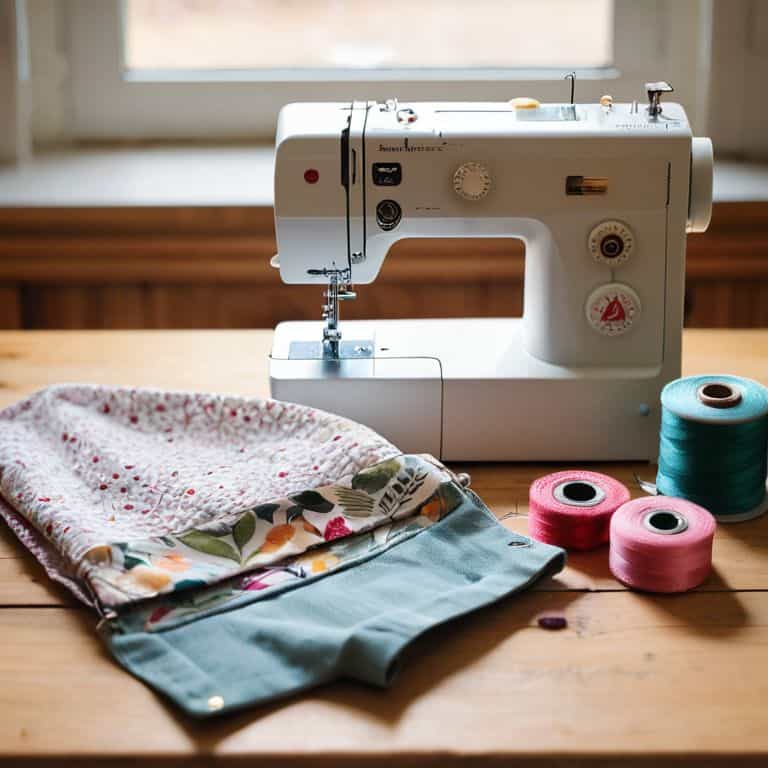
- Sewing Machine (with basic stitch settings)
- Measuring Tape
- Scissors (sharp and dedicated to cutting fabric)
- Sewing Needles (for hand-stitching optional details)
- Ruler (for cutting straight edges)
Supplies & Materials
- Cotton Fabric (1/2 yard for the bag’s outer layer)
- Lining Fabric (1/2 yard for the bag’s inner layer)
- Thread (to match the bag’s outer fabric)
- Interfacing or Stabilizer (optional, for added structure)
- Ribbons or Straps (for the bag’s handles, about 20 inches long)
Step-by-Step Instructions
- 1. To start, gather all the necessary materials for your project bag, including a piece of sturdy leather, some strong thread, a sewing needle, and a pair of scissors. I like to use high-quality leather that will withstand the test of time and frequent use. Make sure you have a clear workspace, like my own workshop, where you can lay out all your tools and materials without any clutter or distractions.
- 2. Next, measure and cut out the leather pieces according to your desired project bag design. I find it helpful to create a template first, which allows me to get the dimensions just right. You’ll need a main body piece, a bottom piece, and two side pieces. Use a ruler or a measuring tape to ensure accuracy, and cut carefully with your scissors or a leather cutter.
- 3. Now, it’s time to prepare the leather for sewing. This involves punching holes along the edges of each piece, where you’ll be stitching them together. I use a leather punch tool for this, which makes the process much easier and more precise. Make sure the holes are evenly spaced and not too close to the edge, to prevent the leather from tearing.
- 4. With your leather pieces prepared, you can start sewing them together. Begin with the sides, attaching them to the main body of the bag. Use a simple running stitch, which is strong and easy to do. Make sure to keep your stitches even and consistent, as this will affect the overall appearance of your project bag.
- 5. Once the sides are attached, you can add the bottom piece. This will give your project bag its shape and provide a sturdy base. Use the same simple running stitch as before, and make sure to sew all the way around the edge of the bottom piece to secure it firmly in place.
- 6. Now that your project bag is starting to take shape, you can add any additional features you like. This might include a closure system, such as a zipper or a magnetic snap, or some decorative stitching to give your bag some personality. I like to keep things simple, but it’s up to you to decide how fancy you want your project bag to be.
- 7. Finally, add some finishing touches to your project bag. This might include trimming the edges to remove any excess leather, or applying a leather conditioner to protect the material and give it a nice sheen. Once you’re happy with how your project bag looks, you can start using it to store your yarn, needles, and other crafting supplies.
How to Make a Project Bag
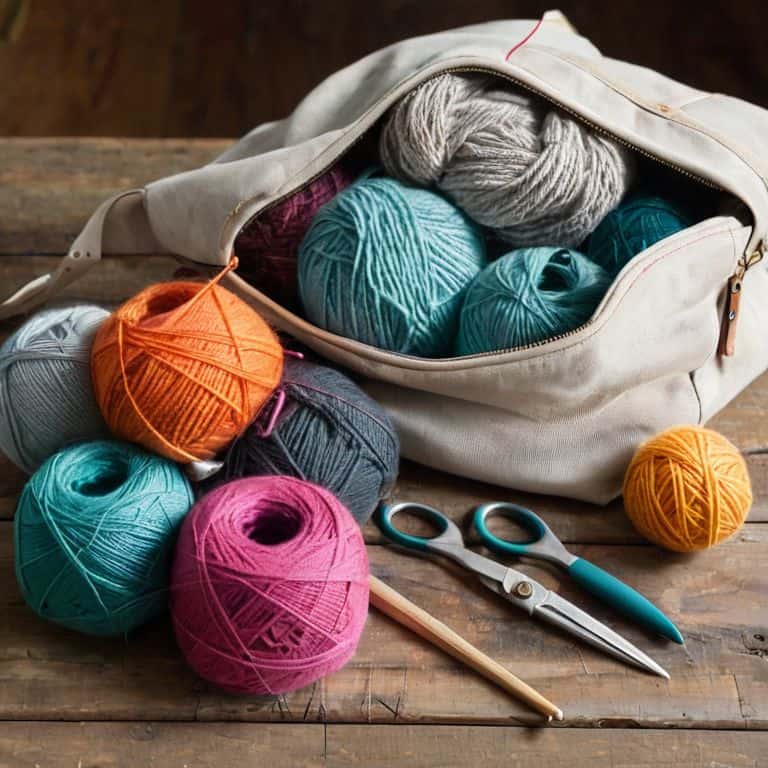
As we dive into the world of DIY sewing projects for knitters, it’s essential to consider the durability of our project bags. We want our bags to withstand the test of time and frequent use, after all. When choosing fabrics, look for durable fabric choices that can handle the weight of your yarn and knitting accessories. I personally prefer canvas or denim for their strength and versatility.
When it comes to adding pockets and compartments, pocket design for knitting accessories is crucial. You’ll want to create a layout that keeps your needles, scissors, and other tools organized and within reach. Consider adding a small pouch for your stitch markers or a long, thin pocket for your knitting needles. This will help you stay focused on your project and avoid wasting time searching for misplaced items.
To give your project bag some extra stability, don’t forget to add interfacing for bag stability. This will help maintain the bag’s shape and prevent it from collapsing under the weight of your yarn. You can choose from a variety of interfacing materials, such as fleece or foam, depending on the level of support you need. With these tips in mind, you’ll be well on your way to creating a functional and beautiful project bag that meets your unique needs.
Durable Fabrics for a Perfect Project Bag
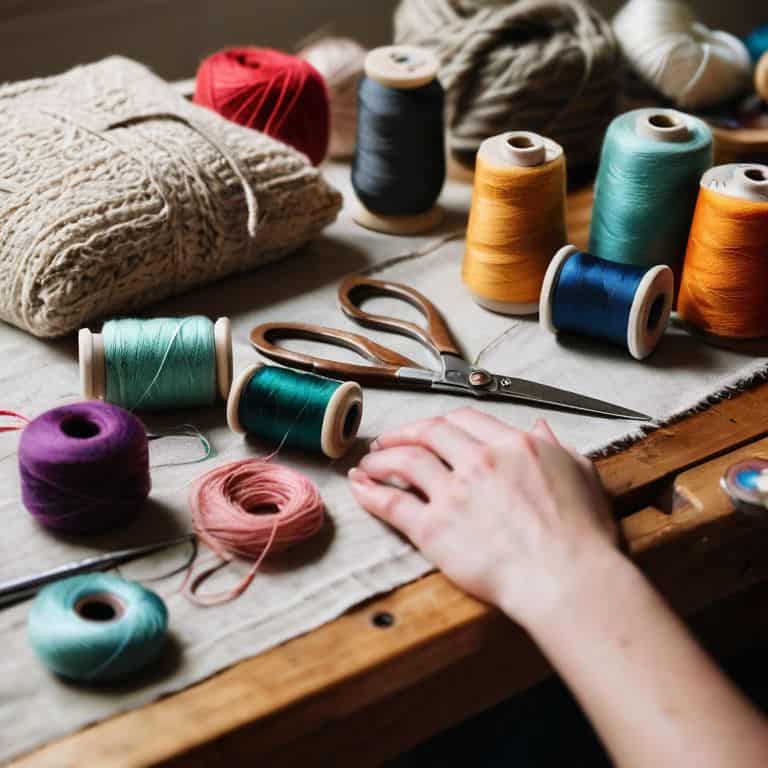
When it comes to choosing the fabric for your project bag, durability is key. I always look for materials that can withstand the wear and tear of daily use, like canvas or dense cotton. My wife, an avid knitter, swears by a sturdy denim for her project bags – it’s perfect for withstanding the occasional poked needle or pulled thread. I’ve also experimented with waxed canvas, which adds a nice water-resistant layer to the bag.
For a more rustic look, you could try using a heavy linen or cotton duck. These fabrics have a beautiful texture that will only improve with age, and they’re incredibly resilient. Whatever fabric you choose, make sure it’s something you love working with – after all, you’ll be spending plenty of time with your project bag as you work on your latest knitting or crochet project.
Sawdust to Stitch Diy Sewing for Knitters
Now that we’ve covered the woodworking basics, let’s talk about bringing our project bag to life with some DIY sewing. I love this part of the process – it’s where our wooden creations meet the yarn. As a woodworker and a maker, I believe that the tool you use is just as important as the materials. For sewing, I recommend using a heavy-duty needle and a walking foot on your machine to handle thick fabrics.
When sewing your project bag, remember to leave a small opening to turn it right side out. Use a blunt object like a chopstick to push out the corners, and then press the seams with a hot iron to create a crisp fold. Finally, topstitch around the edges for a professional finish. With these simple sewing steps, you’ll be able to bring your project bag from sawdust to stitch, and start carrying your knitting projects in style.
Hammering Out the Details: 5 Essential Tips for Crafting the Perfect Project Bag
- Choose the Right Fabric: Select materials that are durable, easy to clean, and have a bit of texture to them – I personally love working with canvas or a sturdy cotton twill
- Measure Twice, Cut Once: Double-check your measurements to ensure your project bag is the perfect size for your needs, whether you’re a knitter, crocheter, or sewer
- Reinforce Those Seams: Use a heavy-duty sewing machine and reinforce your seams with a bit of extra stitching to ensure your project bag can withstand the rigors of frequent use
- Add Some Personality with Pockets: Incorporate a few cleverly designed pockets to keep your notions, yarn, and patterns organized and within easy reach
- Finish It Like a Pro: Take the time to add a few professional-looking touches, such as a sturdy strap, a magnetic closure, or a decorative stitch pattern, to give your project bag a polished, handmade feel
Key Takeaways for Your Handmade Project Bag
Choose the right materials: Select durable fabrics and sturdy wood or leather components to ensure your project bag withstands regular use and lasts for years to come.
Pay attention to details: From reinforced stitching to cleverly designed pockets, it’s the small details that make a project bag truly functional and a joy to use.
Make it your own: Don’t be afraid to add personal touches, such as custom embroidery or a unique wood finish, to make your project bag a one-of-a-kind reflection of your personality and crafting style.
The Heart of the Craft
A project bag is more than just a container for your yarn and needles – it’s a reflection of your craft, a symbol of the care and attention you bring to every stitch, and a reminder that the tools we use are just as important as the things we create with them.
Finnian "Finn" Burke
Wrapping Up Your Handmade Project Bag
As we’ve seen throughout this guide, making a project bag from scratch is all about combining the right materials with a bit of creativity and some practical skills. We’ve covered everything from choosing durable fabrics to adding a personal touch with custom stitching. By following these steps, you’ve not only created a functional bag to hold your knitting or crochet projects but also gained experience in working with different materials and techniques. This project bag is more than just a tool – it’s a reflection of your craftsmanship and attention to detail.
Now that you’ve completed your project bag, I hope you feel a sense of pride and accomplishment. Remember, the joy of making something from scratch lies not just in the end product, but in the process itself. Don’t be afraid to experiment, try new things, and make mistakes – they’re all part of the journey to becoming a skilled maker. As you fill your new bag with yarn and tools, I encourage you to keep pushing your creative boundaries and embracing the beauty of handmade.
Frequently Asked Questions
What type of leather is best suited for a project bag?
For a project bag, I recommend using a sturdy, full-grain leather like bridle or tooling leather. It’s got the perfect balance of durability and suppleness, and it’ll develop a beautiful patina over time. I personally love working with it – the smell of freshly cut leather is almost as great as the smell of sawdust from my woodworking projects!
How do I ensure my project bag is the right size for my knitting or crochet projects?
To ensure your project bag is the right size, consider the types of projects you’ll be making. Measure your favorite knitting or crochet pieces, and add a few inches for ease. I like to think about the yarn, needles, and pattern notes I’ll need to fit inside – it’s all about creating a cozy home for your work.
Can I use a sewing machine to stitch my project bag or is it better to do it by hand?
Absolutely, you can use a sewing machine to stitch your project bag – it’s a huge time-saver. I recommend using a heavy-duty needle and a walking foot to handle thick fabrics. If you want a more personal touch, hand-stitching is still a great option, but for durability and speed, a sewing machine is the way to go.