I still remember the day my wife, a passionate weaver, asked me to build her a custom loom. As a carpenter, I was excited to take on the challenge, but I had no idea it would lead me to discover a new passion – creating beautiful, functional tools for fiber arts. That’s when I realized that a good loom is only as good as the yarn it’s weaving, and that’s why I’m excited to share with you a guide to spinning yarn. There’s a common myth that spinning yarn is a tedious, time-consuming process, but I’m here to tell you that with the right tools and techniques, it can be a fun and rewarding experience.
In this article, I’ll share my personal story of how I got started with spinning yarn, and provide you with practical tips and tricks to help you create your own unique yarns. You’ll learn how to prepare your fibers, choose the right spindle or wheel, and troubleshoot common issues that can arise during the spinning process. My goal is to empower you with the knowledge and confidence to take your fiber arts to the next level, and to show you that with a little patience and practice, you can create truly beautiful and functional yarns that will elevate your weaving, knitting, or crochet projects.
Table of Contents
Guide Overview: What You'll Need
Total Time: 2 hours 30 minutes
Estimated Cost: $50 – $100
Difficulty Level: Intermediate
Tools Required
- Spinning Wheel manual or electric
- Carding Brushes for preparing fibers
- Scissors for cutting yarn
- Measuring Tape for measuring yarn length in inches
- Yarn Ball Winder for winding yarn into balls
Supplies & Materials
- Raw Fibers such as wool, cotton, or flax
- Dye optional for coloring yarn
- Yarn Conditioner optional for softening yarn
Step-by-Step Instructions
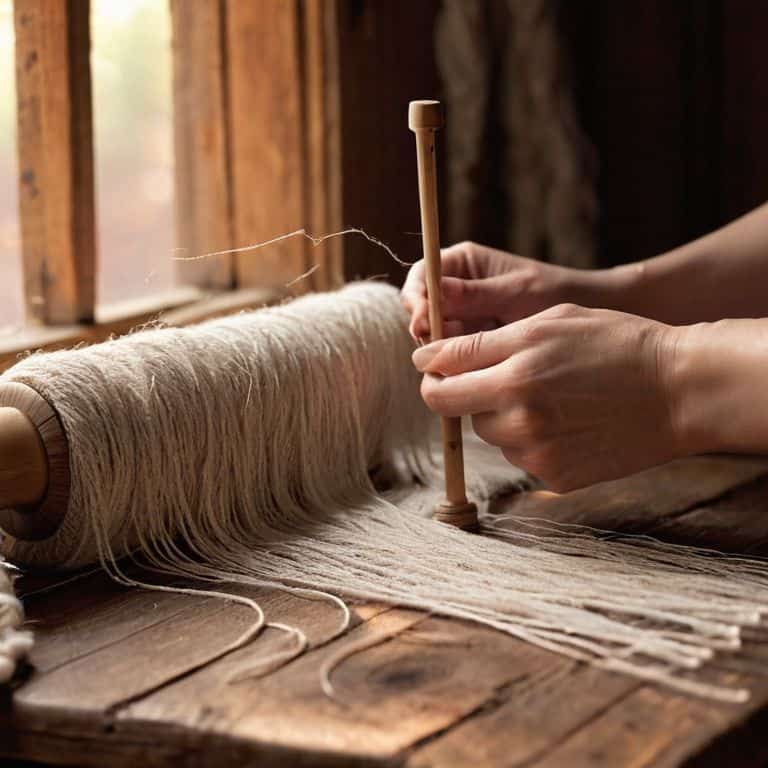
- 1. First, let’s start by preparing our fiber – this can be anything from raw wool to alpaca or even cotton. I like to think of this step as the foundation of our yarn, where we get to decide the texture, color, and overall feel of our final product. Take your fiber and gently tease it apart to remove any tangles or mats, working your way through the entire batch to ensure it’s all nice and smooth.
- 2. Next, we need to card our fiber to align the fibers in the same direction. This is where things can get a bit messy, but trust me, it’s worth it. Use a pair of hand cards or a drum carder to gently pull the fibers apart and reassemble them into a cohesive, fluffy mass. I find that working in small batches helps to keep things manageable and prevents any fibers from getting tangled or lost.
- 3. Now that our fiber is carded, it’s time to draft it into a roving. This is essentially a long, thin rope of fiber that’s been pulled out to the desired thickness. I like to use a gentle touch when drafting, as it’s easy to accidentally felt the fibers or create uneven spots. Take your time and work slowly, using your fingers or a drafting tool to pull the fibers out to the right consistency.
- 4. With our roving in hand, we can start spinning our yarn. This is the fun part – where we get to see our hard work come together into a beautiful, functional yarn. Use a spindle or spinning wheel to twist the fibers together, starting with a gentle touch and gradually increasing the tension as needed. I find that keeping a steady pace is key to creating a consistent yarn, so try to get into a rhythm and let the spindle or wheel do the work.
- 5. As we spin, it’s essential to monitor our yarn’s twist to ensure it’s not too loose or too tight. This can be a bit of an art, but don’t worry – with practice, you’ll get a feel for it. I like to check my yarn regularly by gently pulling on it to see how it responds. If it’s too loose, it will feel soft and prone to pilling; if it’s too tight, it will feel stiff and rigid.
- 6. Once we’ve spun our desired amount of yarn, it’s time to wind it onto a ball winder or spindle. This helps to keep our yarn organized and prevents it from getting tangled or knotted. I find that using a ball winder is a great way to keep my yarn tidy, and it also makes it easier to measure out the right amount for a project.
- 7. Finally, we can finish our yarn by washing and drying it to set the twist. This helps to even out the fibers and gives our yarn a soft, smooth texture. I like to use a mild detergent and cold water to avoid felting the fibers or causing them to shrink. Gently swish the yarn around, then rinse it thoroughly and gently squeeze out any excess water before drying it flat or on a yarn rack.
A Guide to Spinning Yarn
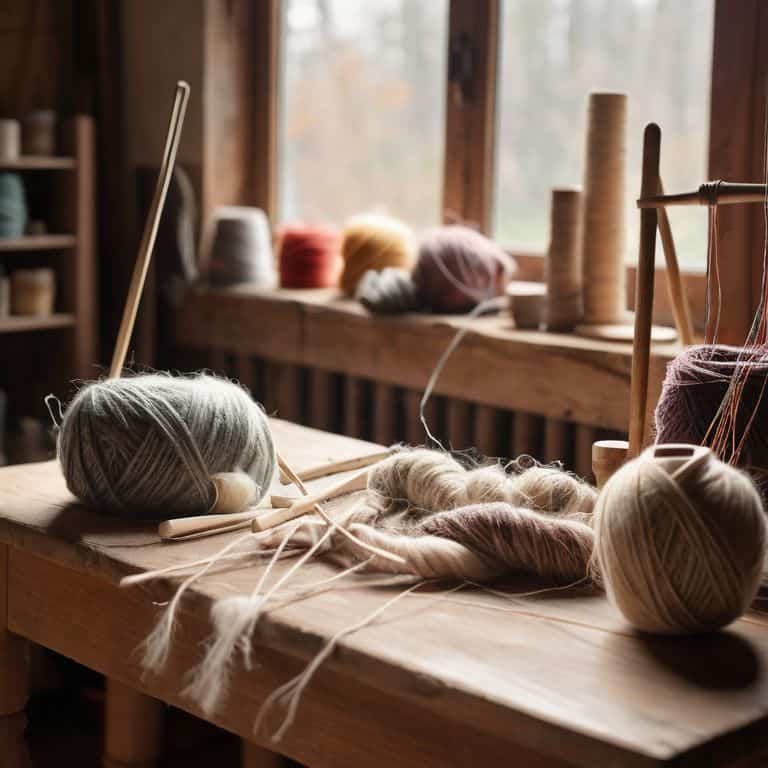
As you dive deeper into the world of yarn spinning, it’s essential to understand the types of spinning fibers you can work with. From soft and fluffy wool to strong and durable flax, each fiber has its unique characteristics and requirements. When it comes to yarn spinning techniques for beginners, it’s crucial to start with the right materials and tools. I always recommend beginning with a simple spindle or a beginner’s spinning wheel to get a feel for the craft.
One of the most critical steps in yarn spinning is preparing raw fibers for spinning. This involves cleaning, carding, and combing the fibers to align them in the same direction. It’s a bit like preparing a fine wood for a woodworking project – you want to make sure it’s smooth and even before you start shaping it. By taking the time to properly prepare your fibers, you’ll be able to create a more consistent and beautiful yarn.
As you gain more experience with yarn spinning, you’ll start to develop your own yarn spinning project ideas. Don’t be afraid to experiment with different fibers, colors, and techniques to create unique and personalized yarns. Remember, the key to mastering yarn spinning is practice and patience. Don’t get discouraged if you encounter common yarn spinning mistakes – they’re an opportunity to learn and improve your craft. With time and dedication, you’ll be creating stunning handmade yarns that will elevate your fiber arts projects to the next level.
Avoiding Common Spinning Mistakes
As I’ve spun my fair share of yarn, I’ve learned that it’s the little mistakes that can make a big difference in the final product. One common error is over-twisting, which can lead to a yarn that’s too dense and stiff. To avoid this, I recommend checking your twist regularly and adjusting as needed. Another mistake is not drafting the fibers evenly, resulting in a yarn with inconsistent thickness. By paying attention to your drafting and twist, you can create a yarn that’s soft, durable, and a joy to work with.
I’ve also found that taking my time and being gentle when handling the fibers can make a huge difference. Rough handling can cause the fibers to felt or tangle, leading to a frustrating spinning experience. By taking a deep breath and moving slowly, you can help prevent these issues and enjoy the spinning process. With a little practice and patience, you’ll be spinning like a pro in no time.
Choosing Fibers for Beginners
Choosing the right fiber can be overwhelming, especially for beginners. I remember when my wife first started spinning, she was drawn to the vibrant colors of merino wool. As a woodworker, I appreciate the unique characteristics of different fibers, just like the distinct grain patterns in various types of wood. For starters, consider working with wool or flax – they’re forgiving and easy to spin. I’ve found that these fibers respond well to gentle handling, much like the soft woods I use for crafting looms and spindles.
Spinning Like a Pro: 5 Essential Tips to Get You Twisted
- Start with the right fiber: Look for materials with a good balance of crimp, staple length, and fiber strength to make the spinning process smoother
- Prep your fiber like a pro: Take the time to properly clean, card, and comb your fibers to prevent tangles and unevenness in your yarn
- Get a feel for the twist: Experiment with different twist rates to find the perfect balance for your project – too little twist can lead to a weak yarn, while too much can make it brittle
- Keep your tension consistent: Pay attention to the tension in your yarn as you spin, aiming for a consistent flow to avoid unevenness and lumps
- Practice, practice, practice: Don’t be discouraged if your first few skeins don’t turn out as expected – spinning is an art that takes time and practice to master, so keep at it and you’ll soon be spinning like a pro
Key Takeaways for Spinning Your Own Yarn
Always choose the right fiber for your project, considering factors like durability, softness, and color to ensure your yarn turns out as expected
Mastering the spinning technique is crucial, but so is selecting the right tools – a good spindle or spinning wheel can make all the difference in the quality of your yarn
With practice and patience, you can avoid common spinning mistakes, like over-twisting or under-twisting, and create a beautiful, consistent yarn that you’ll love working with
Spinning Wisdom
The rhythm of the spindle, the twist of the yarn, it’s not just about creating something, it’s about being part of a tradition that weaves together past, present, and future with every thread.
Finnian "Finn" Burke
Spinning Your Own Path
As we’ve explored the world of spinning yarn, from choosing the right fibers to avoiding common mistakes, it’s clear that this craft is all about embracing the process. We’ve covered the key steps to get you started, from preparing your fibers to spinning your first yarn. Remember, the type of wood your spindle is made from can greatly affect the overall experience, and using the right tools can make all the difference in the quality of your yarn. By focusing on the materials and the process, you’ll be well on your way to creating unique, handmade yarns that reflect your personal touch.
As you continue on your spinning journey, don’t be afraid to experiment and try new things. The joy of spinning lies not just in the end result, but in the journey itself. So, take a deep breath, get a little messy, and remember that every twist and turn is an opportunity to learn and grow. With practice and patience, you’ll be spinning like a pro in no time, and the sense of accomplishment you’ll feel from creating something with your own hands is truly unbeatable.
Frequently Asked Questions
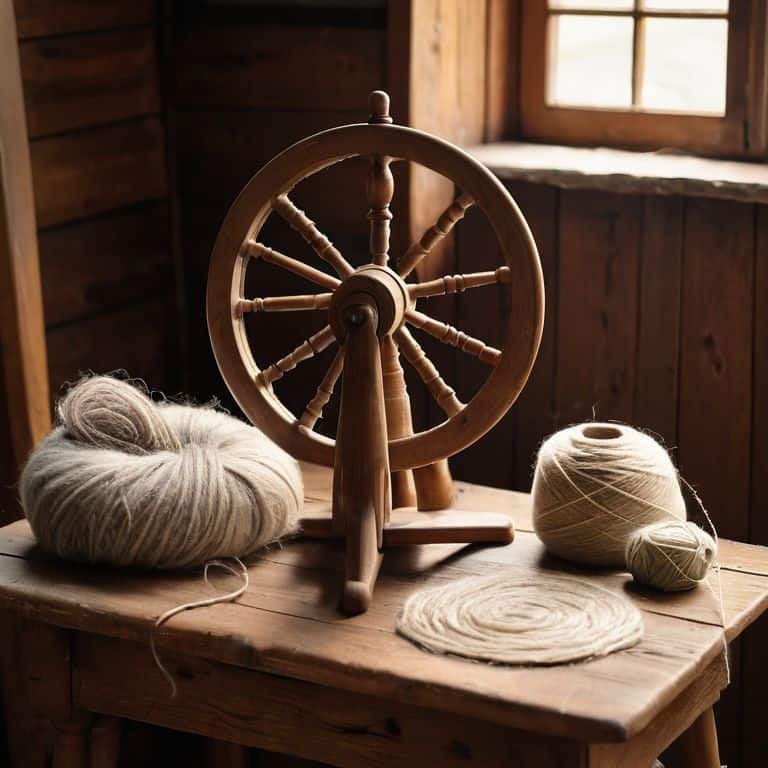
What are the best types of wood to use for making a spinning wheel?
For a spinning wheel, I recommend using hardwoods like oak, maple, or cherry. These woods are sturdy, durable, and can withstand the constant motion. I personally love working with cherry – it’s got a beautiful grain and a sweet smell when sanded. Plus, it’s resistant to warping, making it perfect for a spinning wheel.
How do I determine the right tension for my yarn when spinning?
Determining the right tension is key. I like to think of it as finding the ‘sweet spot’ where your yarn is neither too loose nor too tight. Try gently tugging on the yarn as you spin – when it feels like it’s just starting to resist, that’s often the perfect tension. It’s all about feel, so don’t be afraid to experiment and adjust as you go.
Can I use recycled or repurposed materials to create my own spinning tools?
Absolutely, I love upcycling old materials into spinning tools. Consider repurposing an old wooden dowel as a spindle or transforming a vintage fork into a distaff. Get creative and give new life to discarded items – it’s a great way to add character to your handmade tools and reduce waste.