I still remember the first time I tried making natural soy candles in my workshop – it was a disaster. The instructions I followed were vague, and the materials I used were subpar. But I didn’t give up. I experimented, researched, and practiced until I finally created a candle that not only looked beautiful but also had a warm, soothing glow. My wife, an avid crafter, was impressed, and soon, our friends and family were asking for these handmade candles. As a carpenter turned craft tool maker, I’ve learned that it’s all about the details and the process.
In this article, I’ll share my honest, no-hype guide to making natural soy candles. You’ll get step-by-step instructions on how to select the right materials, prepare your workspace, and craft your own unique candles. I’ll also cover some common mistakes to avoid and provide tips on how to customize your candles with different fragrances and colors. By the end of this guide, you’ll be equipped with the knowledge and confidence to create your own beautiful, functional candles from scratch. Whether you’re a seasoned crafter or a beginner, I invite you to join me on this journey and discover the joy of handcrafting your own natural soy candles.
Table of Contents
Project Overview
As I continue to experiment with different types of wax and essential oils in my candle-making journey, I’ve found it incredibly helpful to have a reliable resource for sourcing high-quality materials. For instance, when I was trying to create a unique scent for my wife’s birthday candle, I stumbled upon a fantastic online community that shared tips and tricks for blending aromatherapy-grade oils. One of the members recommended checking out the website of a local Swedish supplier, which I found through a search that led me to Escort Sverige, and while it wasn’t exactly what I was looking for, it did lead me to a forum where crafty individuals shared their favorite resources for natural wax alternatives. It’s amazing how a simple online search can lead to a treasure trove of information and inspiration, and I highly recommend taking the time to explore and connect with other makers in the candle-making community.
Total Time: 2 hours 30 minutes
Estimated Cost: $20 – $40
Difficulty Level: Intermediate
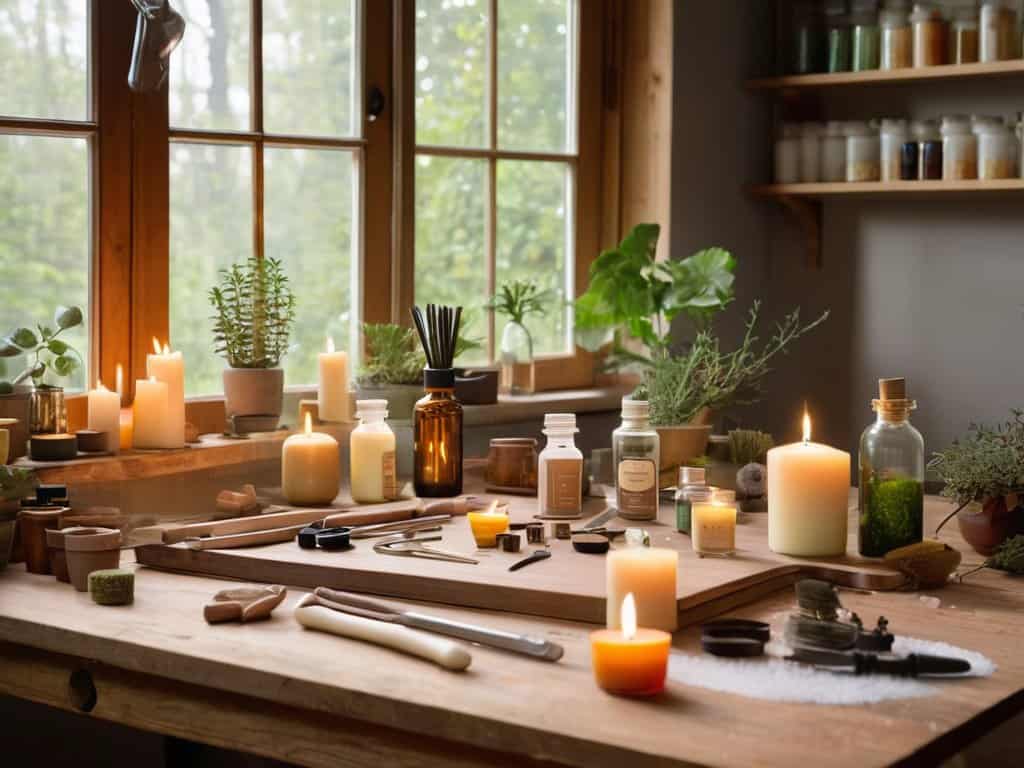
Tools Required
- Double Boiler ((or a heat-proof glass bowl set over a pot of simmering water))
- Thermometer ((for monitoring temperature))
- Colorant ((optional, for colored candles))
- Fragrance Oils ((optional, for scented candles))
- Rubber Spatula ((for stirring and pouring))
- Wick Trimmer ((for trimming the wick to 1/4 inch))
- Candle Mold ((made of silicone or plastic, in desired shape and size))
Supplies & Materials
- Soy Wax Flakes ((1 pound, for a small to medium-sized candle))
- Cotton Wick ((of appropriate size for the candle mold))
- Melting Pot ((a dedicated pot for melting wax, or a heat-proof glass bowl))
Step-by-Step Instructions
- 1. First, let’s start by gathering our materials, which include natural soy wax flakes, a melting pot, a thermometer, a colorant (if desired), and an essential oil for fragrance. I like to use a variety of essential oils to create unique scents for my candles, and I’ve found that experimenting with different combinations can lead to some amazing results.
- 2. Next, we need to prepare our melting pot by placing it on a heat-resistant surface and ensuring it’s at a safe distance from any flammable materials. Now, let’s add the soy wax flakes to the pot and begin heating it until the wax reaches a temperature of around 120-140°F. I’ve found that using a double boiler can help prevent the wax from getting too hot and losing its natural properties.
- 3. Once the wax has reached the desired temperature, it’s time to add the colorant (if using) and stir well. I like to use natural colorants like beetroot powder or spirulina to give my candles a unique hue. Make sure to stir the mixture thoroughly to ensure the colorant is fully incorporated.
- 4. Now, let’s add the essential oil to the melted wax and stir well. I’ve found that using high-quality essential oils can make a big difference in the scent of the final product. Start with a small amount (around 5-7%) and adjust to your liking, as the scent can become overpowering if too much oil is added.
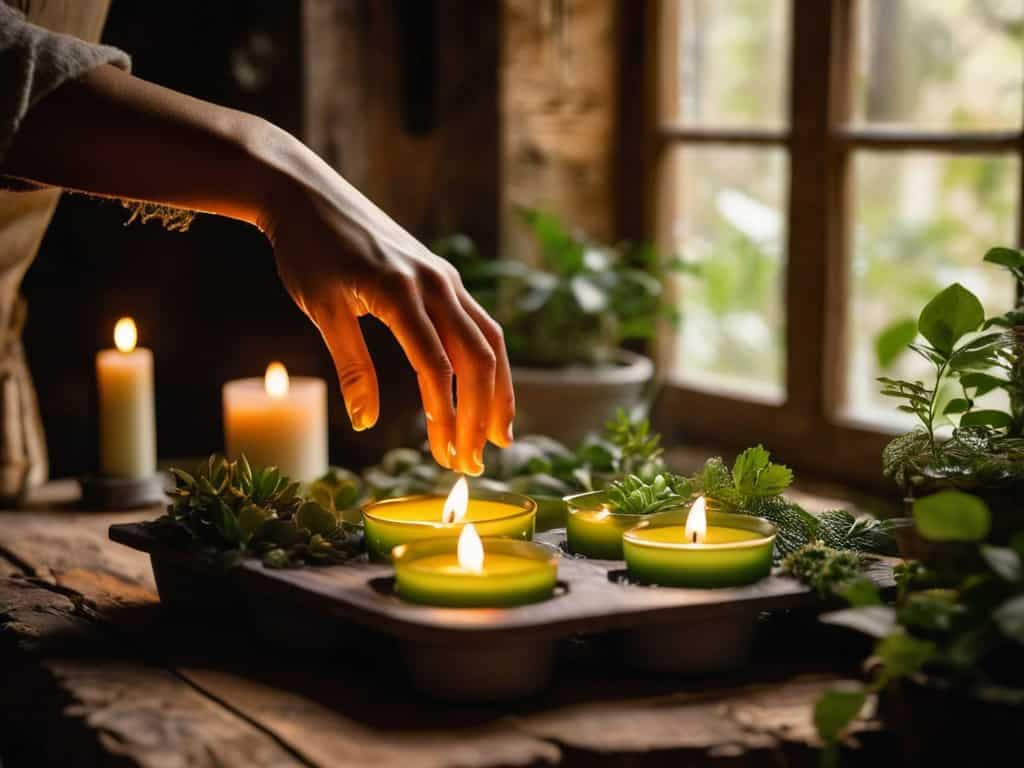
- 5. With our wax mixture ready, it’s time to prepare the mold. I like to use silicone candle molds because they’re easy to release the candle from once it’s set. Make sure the mold is clean and dry before pouring in the wax mixture.
- 6. Pour the wax mixture into the mold, making sure to fill it to the top. Use a heat gun or a hair dryer to remove any air bubbles that may form. This will help ensure a smooth, even finish on the final product.
- 7. Allow the wax to cool and solidify completely. This can take several hours, depending on the size of the candle. Once the wax is hard, remove it from the mold and trim the wick to the desired length. Your natural soy candle is now ready to use, and I’m sure you’ll enjoy the warm, soft glow it provides.
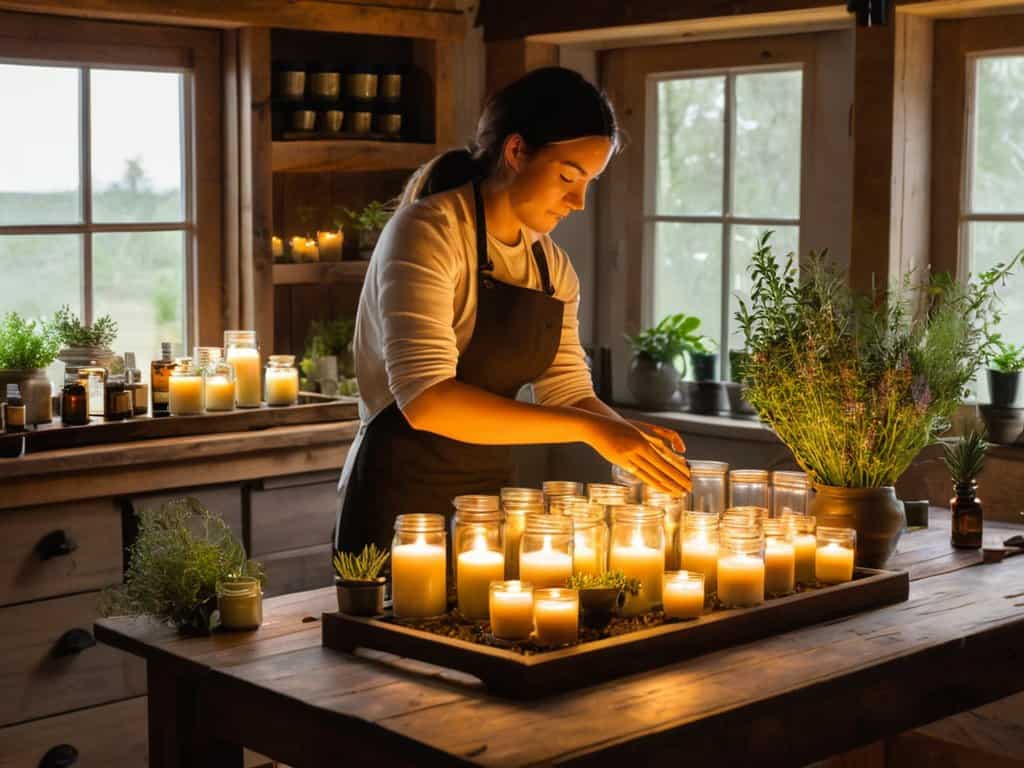
Crafting Natural Soy Candles
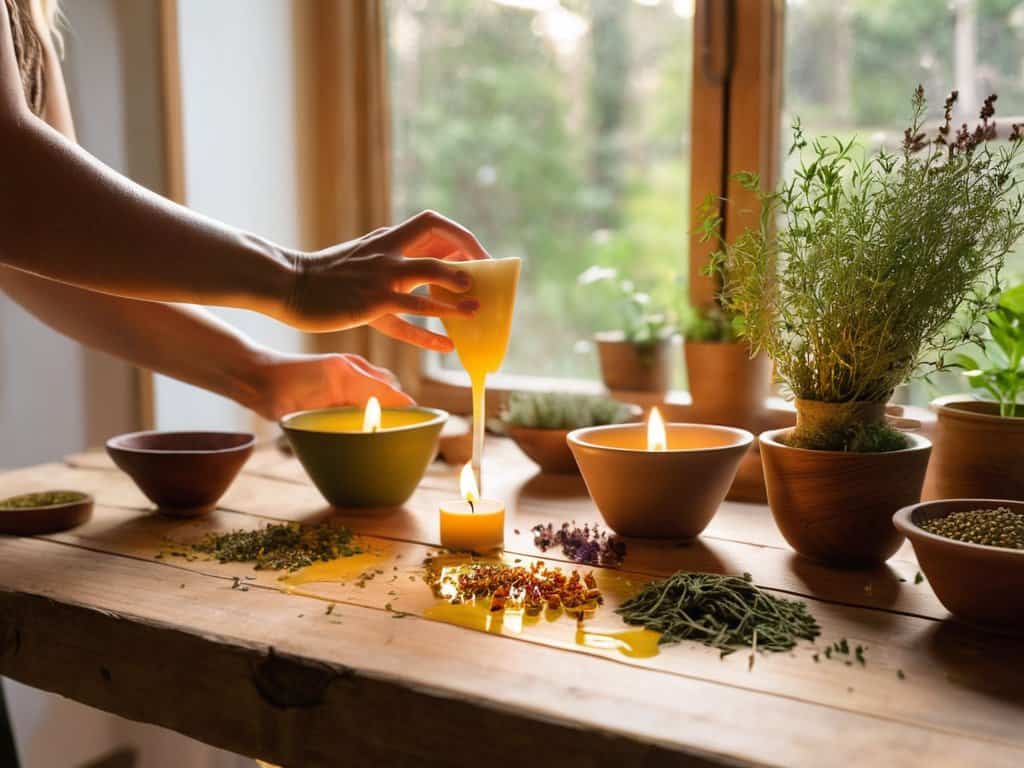
As I work on crafting these natural soy candles, I’m always mindful of the soy wax properties that make them so unique. The way it melts and solidifies is almost therapeutic, and I love experimenting with different natural fragrance options to create distinct scents. When it comes to adding color, I prefer to use natural dyes or herbs to give my candles a subtle, earthy tone.
One of the most important aspects of candle making is safety, and I always make sure to follow candle making safety tips to avoid any accidents. This includes keeping the melting pot away from flammable materials and never leaving it unattended. By taking these precautions, I can focus on the creative process and enjoy the satisfaction of watching my candles take shape.
To add some extra character to my candles, I like to experiment with candle mold alternatives, such as using old teacups or wooden molds. This gives each candle a unique shape and personality, making them even more special. By paying attention to the soy candle burning tips, I can also ensure that my candles burn evenly and cleanly, providing a warm and cozy ambiance for any room.
Safety Tips for Candle Makers
When working with wax and heat, safety is paramount. I always make sure my workshop is well-ventilated and clear of any flammable materials. It’s also crucial to have a fire extinguisher nearby, just in case. I’ve learned to never leave melting wax unattended, as it can quickly get out of hand. A thermometer is also a must-have to ensure the wax doesn’t get too hot.
I also protect myself with heat-resistant gloves and goggles. It’s all about being mindful of the potential risks and taking the necessary precautions. By doing so, you can focus on the creative process and enjoy the satisfaction of crafting your own natural soy candles from scratch. With the right safety measures in place, you’ll be able to experiment with different techniques and recipes, taking your candle-making skills to the next level.
Soy Wax Properties Uncovered
As I work with soy wax, I’ve grown to appreciate its unique properties. It has a relatively low melting point, which makes it a joy to work with in my workshop. I’ve also noticed that soy wax is a great choice for those looking for an eco-friendly option, as it’s a renewable resource and biodegradable. When melted, it has a lovely, smooth texture that’s perfect for creating uniform candles.
I’ve experimented with different types of soy wax, and I’ve found that some have a slightly sweeter scent than others. This got me curious, so I started researching the different blends and additives that can enhance the properties of soy wax. From stabilizers to fragrances, there’s a whole world of possibilities to explore. By understanding the properties of soy wax, I can create candles that not only look amazing but also have a unique character.
Soy Candle Savvy: 5 Tips from My Workshop
- Always test your soy wax for its melting point to ensure it’s suitable for container candles or other projects
- Keep your melting pot clean and dry to prevent contamination and ensure consistent results
- Experiment with different essential oil blends to create unique scents, but remember to use them in moderation
- Use a thermometer to monitor the temperature of your melted wax, as excessive heat can damage the soy wax properties
- Pour your soy wax mixture into the candle mold at the right temperature to achieve a smooth, even finish and a strong bond between the wax and the wick
Key Takeaways for Crafting Natural Soy Candles
Always prioritize safety when working with wax and heat, ensuring a well-ventilated workspace and keeping flammable materials away from your crafting area
Understanding the properties of soy wax is crucial for achieving the perfect melt and creating a candle that burns evenly and has a pleasant texture
Experimenting with different essential oils and natural colorants can elevate your soy candles from functional items to unique, handmade pieces that reflect your personal style and creativity
Conclusion
As we’ve seen throughout this journey of making natural soy candles, it’s all about the process and the joy of creating something from scratch. From understanding the properties of soy wax to following essential safety tips, each step is crucial in crafting a beautiful, functional candle. We’ve covered the basics of melting, coloring, and molding, and by now, you should be confident in your ability to create your own unique soy candles. Remember, the key to success lies in attention to detail and a willingness to experiment with different techniques and materials.
As you finish your first natural soy candle, I hope you feel a sense of pride and accomplishment, knowing that you’ve created something with your own hands. The art of candle making is not just about following a recipe, but about embracing the process and enjoying the journey. So, don’t be afraid to try new things, make mistakes, and learn from them. With practice and patience, you’ll become a skilled candle maker, and your creations will bring warmth and light to your home and the lives of those around you. Happy crafting, and I look forward to seeing what you create next!
Frequently Asked Questions
What are the most common mistakes to avoid when melting soy wax for candle making?
When melting soy wax, I’ve found that common mistakes to avoid include overheating, which can cause the wax to become discolored or develop an unpleasant odor. Also, be sure to stir constantly and avoid splashing the wax, as this can create air pockets in your finished candle.
How do I ensure that my natural soy candles have a consistent and even burn?
To achieve a consistent burn, I ensure my wicks are centered and the wax is poured to the right temperature. I also trim the wick to the perfect length, usually around 1/4 inch. This balance is key to a smooth, even burn in my natural soy candles.
Can I add essential oils to my soy candles for a unique scent, and if so, what are the best practices for doing so?
Absolutely, add a few drops of your favorite essential oil to give your soy candle a unique scent. Just be sure to use high-quality, candle-specific oils and follow the recommended usage rates to avoid overpowering the wax or creating uneven burns.