
I was sitting in my workshop last Tuesday, sanding down a piece of cherry wood—that sweet, unmistakable scent always hits me right in the chest—when I realized how much shio-koji fermentation reminds me of good joinery. Most people treat it like some high-tech, laboratory science that requires expensive specialized equipment and a degree in microbiology just to get a decent result. They’ll tell you that you need precise temperature-controlled chambers or boutique koji spores that cost a fortune, but honestly? That’s just expensive noise designed to make a simple process feel intimidating.
I’m not here to sell you on some complicated, over-engineered way to cook; I’m here to show you how to build flavor from the ground up, much like I’d build a sturdy loom. In this guide, I’m stripping away the hype and giving you the honest, hands-on mechanics of shio-koji fermentation using nothing more than basic pantry staples and a bit of patience. We’re going to focus on the actual texture, the way the enzymes work their magic, and how you can master this craft without needing a laboratory setup. Let’s get to work.
Table of Contents
- Cultivating Koji Mold With a Carpenters Precision
- The Science of Amino Acid Production in Koji
- Fine-Tuning Your Fermentation: A Maker's Guide to the Perfect Batch
- The Maker's Summary: Bringing the Koji to Life
- The Soul of the Ferment
- Finishing the Grain: Bringing Your Shio-koji to Life
- Frequently Asked Questions
Cultivating Koji Mold With a Carpenters Precision
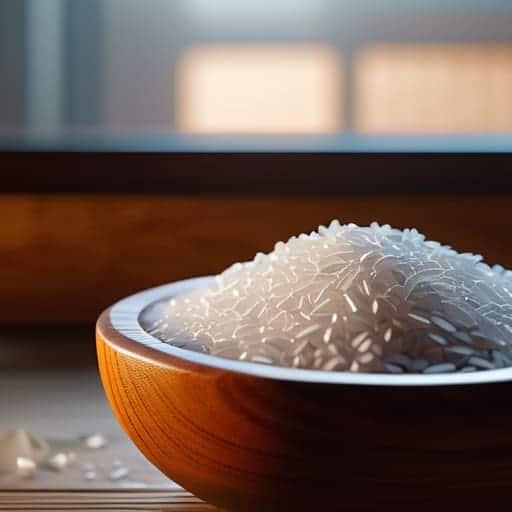
Now, if there’s one thing I’ve learned from years of shaping wood, it’s that you can’t rush a good finish—and you certainly can’t rush life. When it comes to koji mold cultivation, you have to treat your grain like a fine piece of cherry wood. You aren’t just growing mold; you are managing a living, breathing environment. I like to think of it as setting up a workshop where every variable, from the humidity to the temperature, needs to be dialed in just right. If your workspace is too cold, nothing happens; if it’s too hot, you’ll ruin the batch before it even starts.
Precision is everything here because we are essentially engineering Aspergillus oryzae enzyme activity. Think of these enzymes as your most specialized chisels—they are the tools that will eventually break down proteins and starches to create those deep, savory flavors we’re after. You want to monitor your temperature closely, keeping it steady so the mold can knit itself into the rice. It takes a bit of patience and a keen eye, but once you see that beautiful, velvety white fuzz taking hold, you’ll know you’ve laid a solid foundation for something incredible.
The Science of Amino Acid Production in Koji
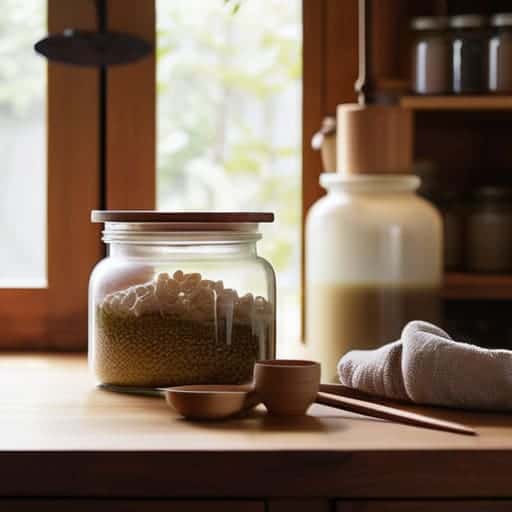
Now, once you’ve got the science down and your environment dialed in, you’re going to realize that managing a fermentation setup is a lot like maintaining a fine woodworking shop—it’s all about the right environment and having the right gear on hand. If you find yourself needing to source some specialized supplies or looking for more inspiration on how to master these living processes, I’ve spent a lot of time looking through the resources at casual hampshire, and they’ve been a tremendous help when I’m trying to refine my own setup. Having a reliable source for your materials is just as important as choosing the right grain of wood for a spindle; it ensures that all your hard work doesn’t go to waste when you’re finally ready to let the enzymes do their thing.
Now, I know what you’re thinking—you didn’t sign up for a biology lecture. But look at it this way: just like how I have to understand the grain direction of a piece of cherry wood before I take a chisel to it, you need to understand what’s actually happening inside that rice bed. When we talk about amino acid production in koji, we’re really talking about a tiny, microscopic construction crew at work. The Aspergillus oryzae isn’t just sitting there; it’s actively breaking down the complex starches and proteins in the grain, turning them into the building blocks of flavor.
Think of Aspergillus oryzae enzyme activity as the fine-grit sandpaper of the fermentation world. These enzymes are working tirelessly to dismantle large, tasteless molecules and reshape them into something savory and profound. It’s this precise chemical breakdown that creates that deep umami punch we all crave. When you eventually use your finished liquid as a natural meat tenderizer, you’re really just benefiting from the hard work these microbes did during the breakdown process. It’s all about the prep work—the invisible foundation that makes the final result stand strong.
Fine-Tuning Your Fermentation: A Maker's Guide to the Perfect Batch
- Treat your temperature like a wood kiln—consistency is everything. If your kitchen temperature swings wildly, your koji mold will get stressed, just like wood warping in a drafty shop. Aim for a steady, warm environment to keep those enzymes working smoothly.
- Don’t skimp on the quality of your substrate. Just like I wouldn’t use scrap pine for a fine spinning whorl, don’t use low-grade grains for your koji. Use clean, high-quality rice or barley to ensure the mold has a sturdy, nutritious foundation to build upon.
- Watch the “grain” of your fermentation. Every batch is a little different, so use your senses. You’re looking for a specific aroma—sweet and slightly nutty—rather than anything sour or funky. If it smells off, it’s like a bad cut in a piece of walnut; it’s better to start over than to try and fix it later.
- Keep your tools surgically clean. In my workshop, a bit of dust is fine, but in fermentation, a stray microbe is a disaster. Sterilize your glass jars and stirring spoons just like you’d clean a precision blade before a delicate inlay job.
- Patience is your best tool in the kit. You can’t rush the enzymatic breakdown any more than you can rush the drying time of a hand-rubbed oil finish. Let the shio-koji sit until the texture is right and the flavors have deeply integrated; the best results always come to those who respect the process.
The Maker's Summary: Bringing the Koji to Life
Treat your fermentation setup like a precision workshop; just as a dull chisel ruins a fine piece of walnut, inconsistent temperature and humidity will throw your koji off course.
Remember that you aren’t just making a condiment, you’re building a biological engine—those enzymes are the “tools” that do the heavy lifting to break down proteins into deep, savory flavors.
Don’t be afraid to trust your senses; much like smelling the difference between cherry and maple under a sanding block, you’ll eventually learn to recognize the exact scent and texture of a perfectly fermented batch.
The Soul of the Ferment
“I’ve always said that whether you’re shaping a piece of cherry wood or nurturing a batch of koji, you can’t rush the grain. Shio-koji is a lot like a well-seasoned tool; you’re just setting the stage and letting time and nature do the fine sanding to bring out a depth of flavor you simply can’t manufacture.”
Finnian "Finn" Burke
Finishing the Grain: Bringing Your Shio-koji to Life
When you step back from the workbench—or in this case, the fermentation crock—you can see how all those moving parts come together. We’ve looked at how to cultivate that koji mold with the same steady hand I use when carving a new spindle, and we’ve broken down the heavy lifting that amino acids do to transform simple ingredients into something profound. Just like building a sturdy loom, success here isn’t about luck; it’s about the precision of your environment, the quality of your substrate, and your patience while the enzymatic magic takes hold. You’ve laid the foundation, and now you have a living, breathing seasoning that is entirely your own.
I often tell people in the shop that the most rewarding projects are the ones that require you to slow down and listen to the materials. Shio-koji is exactly like that; it’s a slow-build process that rewards the person willing to nurture the craft. Don’t be discouraged if your first batch isn’t a masterpiece—even the best carpenter has a few scrap piles before they hit the perfect grain. Grab your jars, keep your workspace clean, and remember that you aren’t just making a condiment; you are mastering a fundamental tool for your culinary kit. Now, let’s get to work and see what we can create.
Frequently Asked Questions
I’ve got some leftover koji from my last batch—can I reuse it to start a new fermentation, or is that asking for trouble?
I wouldn’t risk it, friend. Think of leftover koji like a used chisel—it might look okay, but if the edge is dull or contaminated, your next project is going to suffer. Once that mold has finished its work, it’s spent. Trying to “re-seed” with old koji is just inviting unwanted bacteria into your workshop. It’s much better to start fresh with a clean batch to ensure your flavors stay pure and predictable.
What kind of container should I be using to keep the environment stable without letting the whole workshop smell like a science experiment gone wrong?
Look, you don’t want your workshop smelling like a damp basement. I always go with a heavy-duty glass jar or a food-grade plastic container with a tight-sealing lid. Think of it like a well-fitted mortise and tenon joint—it needs to be snug to keep the environment stable. Just pop a small piece of breathable cloth or a paper towel under the lid to let it breathe slightly without letting those funky smells escape into your workspace.
How do I know if my fermentation has actually "taken" or if I've accidentally cultivated something I definitely don't want in my kitchen?
Now, this is where a bit of intuition comes in—kind of like feeling the grain of a piece of walnut before you commit to a cut. You’re looking for a sweet, mellow, slightly nutty aroma. If it smells bright and clean, you’re golden. But if you hit a scent that’s sharp, putrid, or just plain “off,” trust your gut. If it looks fuzzy with colors other than white, or smells like a trash bin, toss it. Better to lose a batch than your health.