I still remember the first time I tried to learn knitting – I was overwhelmed by the numerous stitches and patterns. A friend had given me a guide to basic knitting stitches, but it seemed like a foreign language to me. The more I tried to practice, the more frustrated I became. It wasn’t until I broke down each stitch into simple, manageable steps that I finally began to enjoy the process. Now, as a craft instructor, I’ve seen many students struggle with the same issues I faced. That’s why I’m excited to share my approach to mastering the fundamentals of knitting, starting with a guide to basic knitting stitches.
In this article, I promise to provide you with practical advice and step-by-step instructions to help you overcome any hurdles and become confident in your knitting abilities. You’ll learn how to create beautiful, intricate patterns using basic stitches, and I’ll share my favorite tips and tricks to make the process enjoyable and rewarding. Whether you’re a complete beginner or looking to refresh your skills, this guide is designed to be your trusted companion on your knitting journey. So, let’s get started and unravel the magic of knitting together!
Table of Contents
Guide Overview: What You'll Need
Total Time: 2 hours 30 minutes
Estimated Cost: $10 – $30
Difficulty Level: Easy
Tools Required
- Knitting Needles Aluminum or wooden, size 8 or 10
- Scissors For cutting yarn
- Tapestry Needle For weaving in ends
Supplies & Materials
- Yarn Acrylic or cotton, medium weight, 300 yards
- Stitch Markers Small plastic or metal markers, 10-20 count
- Measuring Tape For measuring work in inches
Step-by-Step Instructions
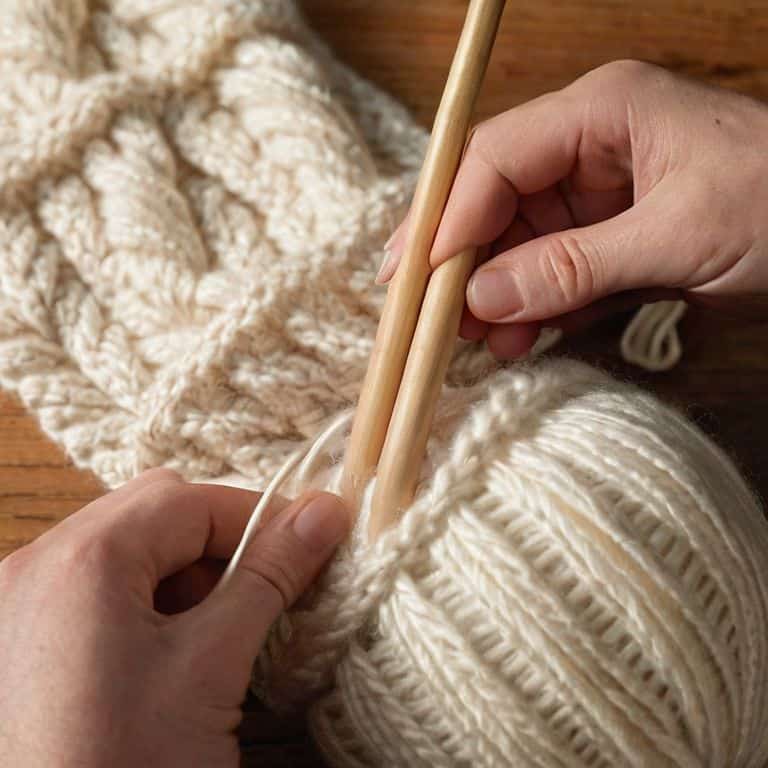
- 1. First, let’s start with the foundation of knitting: casting on. To cast on, create a slipknot on one of your knitting needles by holding the needle in your non-dominant hand and using your dominant hand to make a loop with the yarn. Then, take the other needle and insert the tip into the loop, pulling the yarn gently to create a small stitch.
- 2. Next, we’ll move on to the _garter stitch_, which is the most basic knit stitch. To create a garter stitch, insert the right needle into the first stitch on the left needle, wrapping the yarn around the right needle in a clockwise direction. Pull the yarn back through the stitch, and you’ll have one knit stitch on your right needle. Repeat this process for each stitch on the left needle.
- 3. Now that we have the garter stitch down, let’s try the purl stitch. The purl stitch is similar to the knit stitch, but you’ll wrap the yarn around the right needle in a counterclockwise direction. To create a purl stitch, insert the right needle into the first stitch on the left needle, wrapping the yarn around the right needle in a counterclockwise direction. Pull the yarn back through the stitch, and you’ll have one purl stitch on your right needle.
- 4. To create a _row_ of knit stitches, simply repeat the knit stitch process for each stitch on the left needle. When you reach the end of the row, turn your work and start a new row. Remember to always keep the yarn at a comfortable tension, not too tight or too loose, to ensure your stitches are even.
- 5. As you become more comfortable with the knit and purl stitches, let’s try combining them to create a ribbing pattern. To create a ribbing pattern, alternate between knit and purl stitches in a single row. For example, you could knit one stitch, then purl one stitch, repeating this process until the end of the row.
- 6. Now, let’s talk about _binding off_, which is the process of securing your last row of stitches. To bind off, knit the first stitch on the left needle, then pass the second stitch over the first stitch. Repeat this process, knitting one stitch and passing the next stitch over, until you have one stitch left on the left needle.
- 7. Finally, to secure your last stitch, cut the yarn leaving a tail of about 6 inches, then pull the tail through the last loop on your right needle. Pull the yarn gently to tighten the stitch, and you’ll have completed your first knitting project using basic knitting stitches.
A Guide to Basic Knitting Stitches
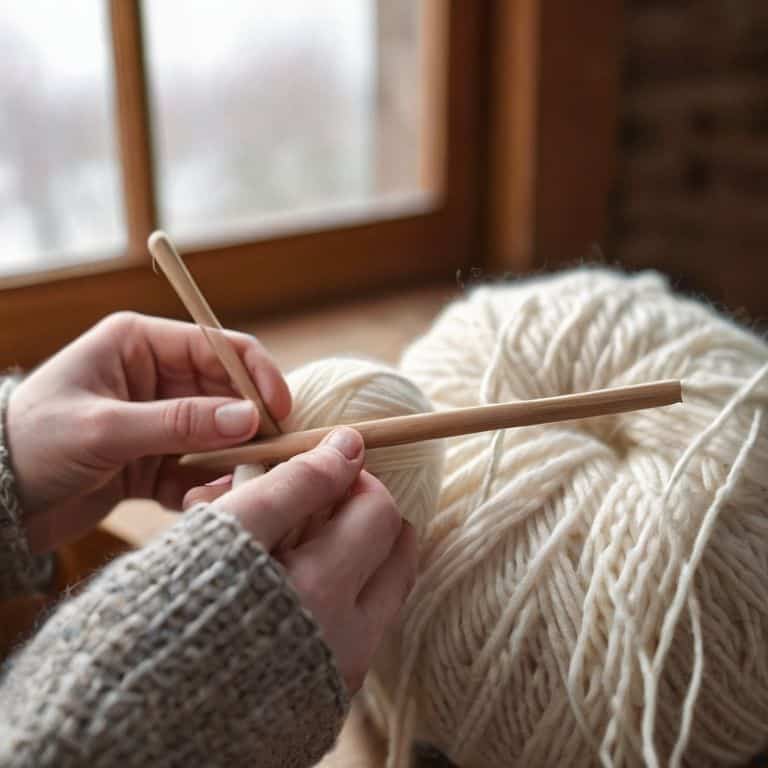
As you progress in your knitting journey, it’s essential to understand the different types of knitting needles and how they can affect your project. For beginners, straight needles or circular needles are great options, as they allow for a more relaxed grip and easier maneuverability. When choosing needles, consider the yarn weight guide for knitting to ensure you’re using the correct size for your project.
To avoid common knitting mistakes, it’s crucial to pay attention to your tension and stitch count. Watching knitting for beginners youtube tutorials can be incredibly helpful, as they provide visual guidance and tips for maintaining a consistent stitch pattern. Additionally, exploring various beginner knitting patterns can help you develop your skills and build confidence in your abilities.
As you practice and become more comfortable with the stitches, you can start to experiment with different yarns and needles. Remember to always refer to a yarn weight guide for knitting to ensure you’re using the correct materials for your project. With patience and practice, you’ll be creating beautiful pieces in no time, and you can even find additional resources through knitting stitch tutorials to further enhance your skills.
Mastering Knitting Stitch Tutorials
As we dive deeper into the world of knitting, it’s essential to practice and reinforce your newfound skills. I recommend starting with simple projects like scarves or dishcloths, which allow you to focus on mastering individual stitches. Break down each pattern into smaller, manageable chunks, and don’t be afraid to pause or rewind if you need to review a particular step.
By following this approach, you’ll build confidence and develop muscle memory, making it easier to tackle more complex projects. Remember, the key to mastering knitting stitch tutorials is patience and repetition. Take your time, and don’t hesitate to refer back to my earlier instructions or seek guidance if you need it. With consistent practice, you’ll be well on your way to becoming a proficient knitter.
Unraveling Beginner Knitting Patterns
As we explore beginner knitting patterns, let’s break it down into manageable parts. I like to think of patterns as a recipe for your knitting project. To start, choose a pattern that suits your skill level and desired project. Look for patterns labeled “beginner-friendly” or “easy,” as they typically involve simple stitches and techniques.
When reading a pattern, take your time and don’t be afraid to look up unfamiliar terms. I recommend making a checklist of the materials and stitches needed, so you can stay organized and focused. By doing so, you’ll be able to unwind and enjoy the knitting process, creating something truly special.
Weaving Wisdom: 5 Essential Tips for Mastering Basic Knitting Stitches
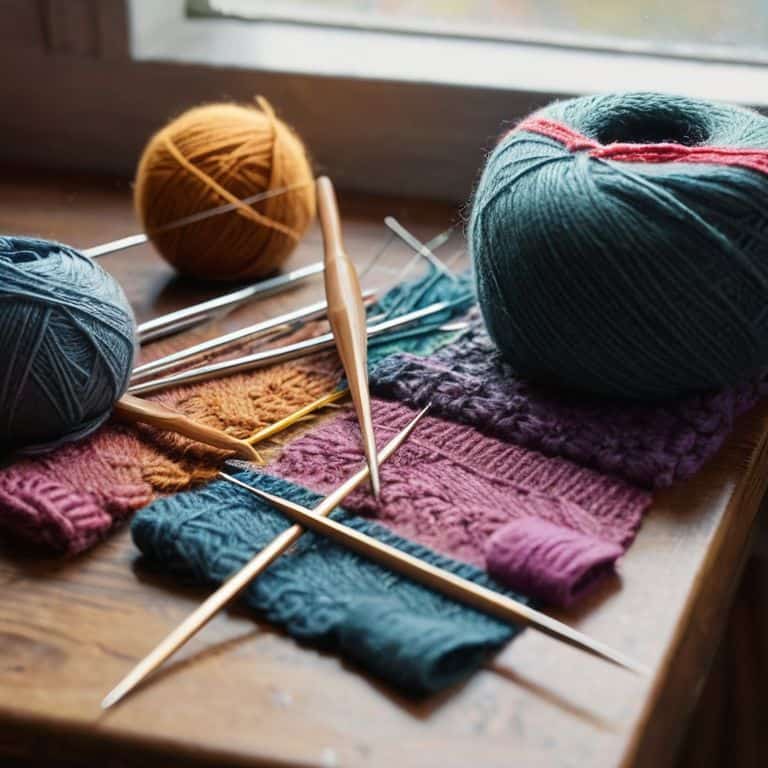
- Start with the right tools: invest in a good pair of knitting needles and a yarn that suits your project, as this will make a huge difference in your knitting experience
- Practice, practice, practice: don’t be discouraged if your stitches are uneven at first, as consistency and evenness come with time and practice
- Watch your tension: keeping an even tension is crucial for a professional-looking finish, so try to keep your stitches relaxed but not too loose
- Don’t pull the yarn too tight: this can cause your work to pucker, so try to keep a consistent flow and avoid pulling the yarn too tightly
- Join a knitting community or find a knitting buddy: sharing your projects and learning from others can be a great motivator and help you stay on track with your knitting journey
Key Takeaways for Mastering Basic Knitting Stitches
By following a simple, step-by-step approach, you can confidently learn and master the fundamental knitting stitches, setting a strong foundation for more complex projects
Breaking down each stitch into manageable parts and practicing them in a logical sequence will help you develop muscle memory and improve your overall knitting skills
With patience, clear instructions, and a willingness to learn, you can overcome any initial frustration and enjoy the rewarding process of creating something beautiful with yarn and needles
Conclusion: Weaving It All Together
As we come to the end of this journey through the world of basic knitting stitches, I hope you’ve found the step-by-step instructions and detailed explanations helpful in building your confidence as a beginner knitter. We’ve covered a range of essential stitches, from the simple garter stitch to more complex patterns, and explored how these can be combined to create unique and personalized projects. Remember, the key to mastering these stitches is practice and patience, so don’t be discouraged if it takes a little time to get the hang of it. With consistent effort, you’ll soon find yourself effortlessly switching between different stitches and creating beautiful, intricate designs.
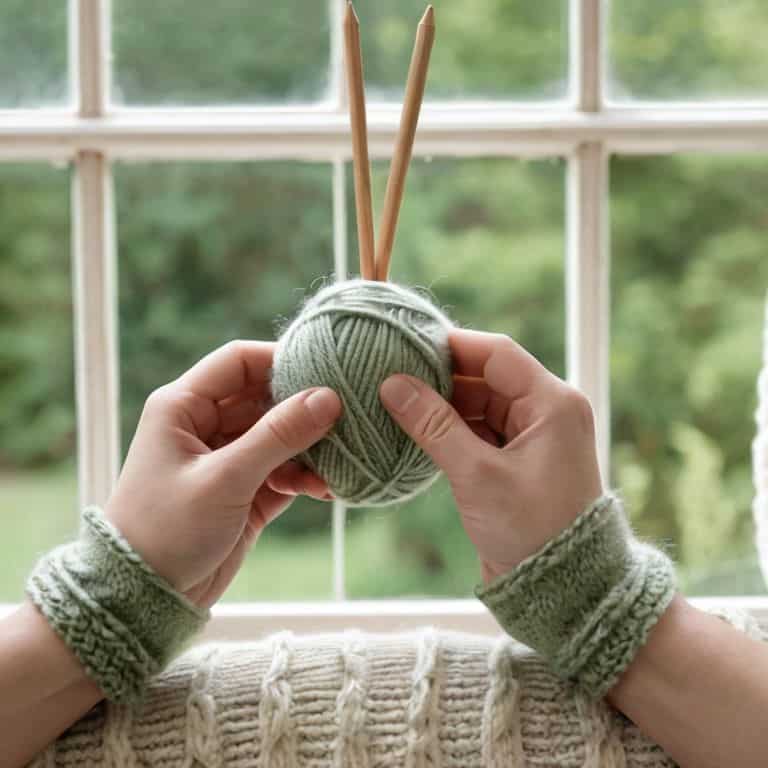
As you continue on your knitting journey, I encourage you to experiment and explore new stitches and techniques. Don’t be afraid to try new things and make mistakes – they are an essential part of the learning process, and you never know what amazing creations you might discover. With the foundation established in this guide, you now have the tools to unlock a world of creative possibilities. So, go ahead, grab your yarn and needles, and let the joy of knitting inspire you to create something truly special.
Frequently Asked Questions
What are the essential knitting stitches I need to know as a beginner?
As a beginner, you’ll want to start with the basics: garter stitch, stockinette stitch, and ribbing. These three stitches are the foundation of most knitting patterns and will give you a solid understanding of how to work with yarn and needles. Don’t worry, I’ll guide you through each one step-by-step, so you can feel confident and comfortable as you begin your knitting journey.
How do I choose the right yarn and needles for my first knitting project?
To choose the right yarn and needles, start by considering the project’s purpose and desired texture. Think about the season, the recipient, and the level of softness you want to achieve. Then, match your yarn choice with the recommended needle size on the label. Don’t worry, it’s easier than it sounds – I’ll break it down into a simple checklist for you.
What are some common mistakes to avoid when learning basic knitting stitches?
Don’t worry, my friend, we’ve all been there. Common mistakes to avoid include uneven tension, miscounting stitches, and not watching your row endings. Let’s take a deep breath and go through each potential pitfall together, and I’ll share some tips to help you troubleshoot and get back on track.