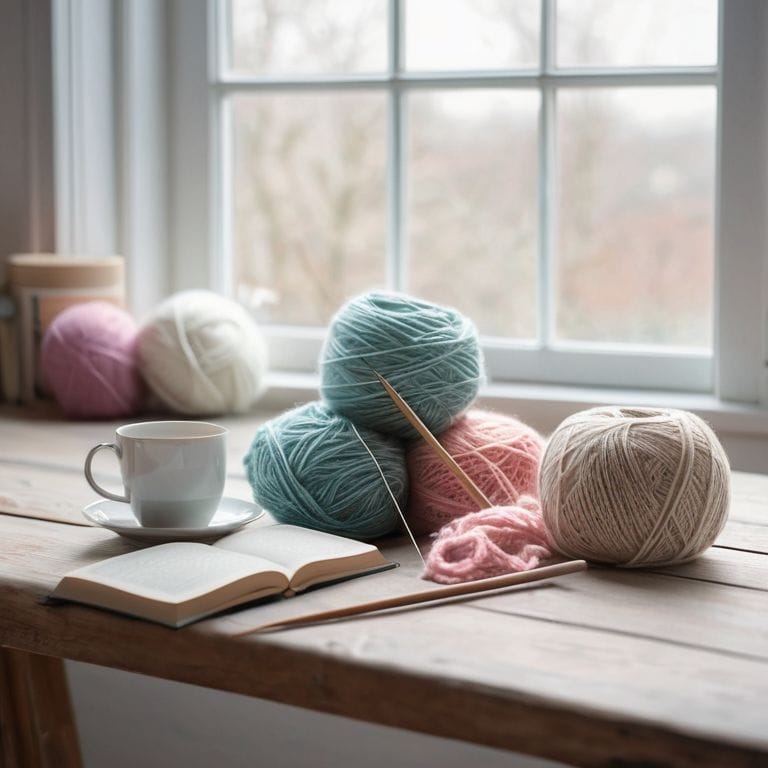
As I sit here surrounded by balls of yarn and half-finished scarves, I’m reminded of the countless times I’ve heard fellow knitters lament, “I’ll just have to rip it all out and start over.” But the truth is, most knitting mistakes can be fixed with a little patience and practice, and that’s exactly what I want to share with you in this guide on how to fix knitting mistakes. I’ve seen too many beautiful projects end up in the scrap pile due to a simple mistake that could have been easily corrected. My goal is to empower you with the knowledge and skills to confidently tackle those pesky mistakes and bring your creations back on track.
In this article, I’ll walk you through a step-by-step process to identify and correct common knitting mistakes, from dropped stitches to mismatched tension. You’ll learn how to fix knitting mistakes without having to start from scratch, and I’ll share some of my favorite tips and tricks for preventing mistakes in the first place. My approach is all about breaking down complex techniques into simple, manageable steps, so you can focus on the joy of creating something beautiful, rather than getting bogged down in frustration. By the end of this guide, you’ll be equipped with the skills and confidence to tackle even the most daunting knitting projects, and you’ll be well on your way to becoming a proficient knitter.
Table of Contents
- Guide Overview: What You'll Need
- Step-by-Step Instructions
- Fixing Knitting Mistakes Simplified
- Savvy Solutions: 5 Essential Tips for Fixing Knitting Mistakes
- Key Takeaways for Fixing Knitting Mistakes
- A Calming Perspective on Knitting Mistakes
- Embracing the Journey of Knitting
- Frequently Asked Questions
Guide Overview: What You'll Need
Total Time: 30 minutes to 2 hours
Estimated Cost: $0 – $10
Difficulty Level: Intermediate
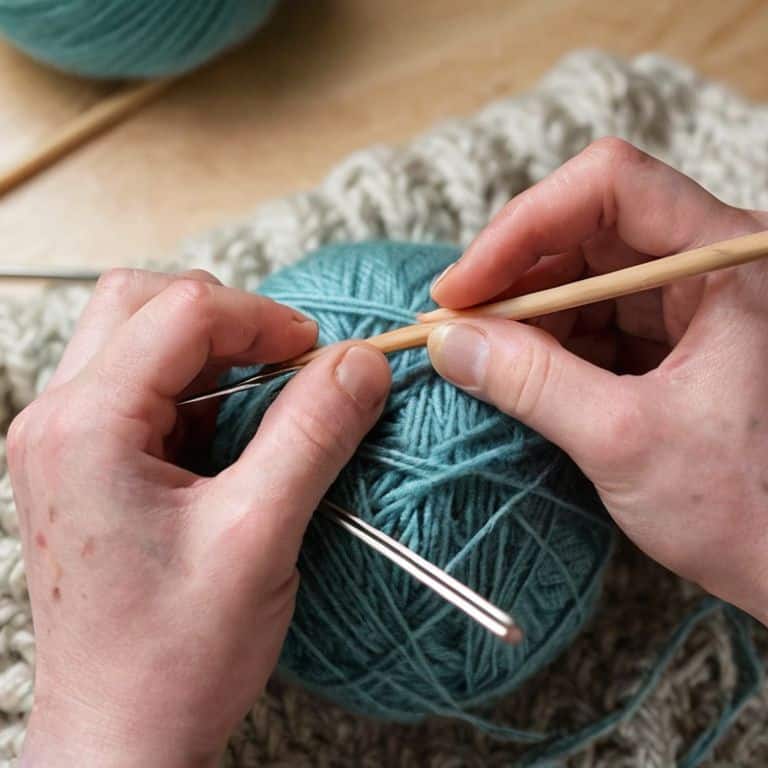
Tools Required
- Knitting needles of the same type used for the project
- Scissors for cutting yarn
- Tapestry needle for weaving in ends
- Measuring tape or ruler for measuring stitches
Supplies & Materials
- Yarn of the same type and color used for the project
- Stitch markers optional, for marking mistakes or patterns
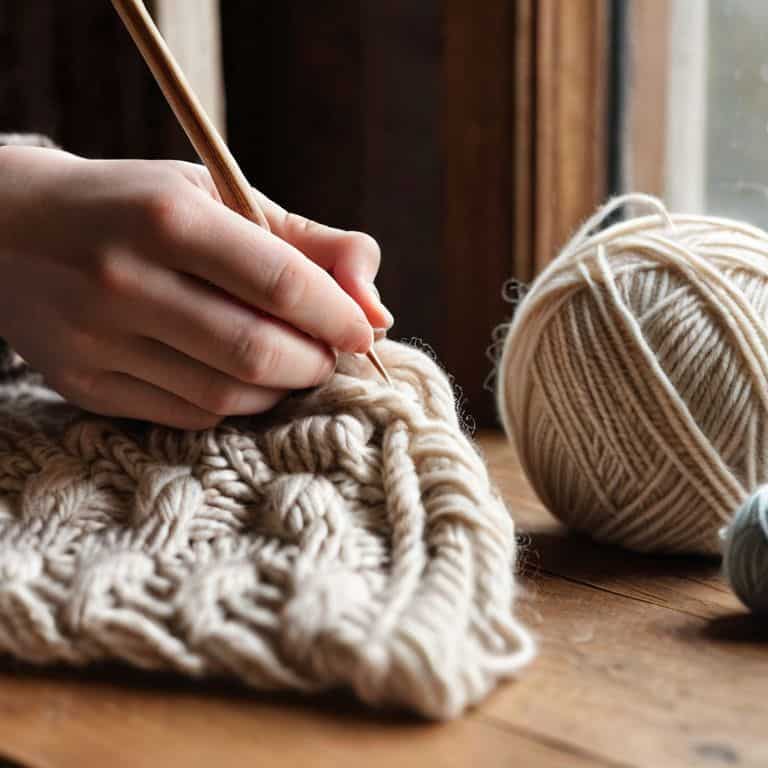
Step-by-Step Instructions
- 1. First, let’s take a deep breath and assess the situation. Look at your knitting project and identify where the mistake is. Is it a dropped stitch, a miscounted row, or perhaps a misplaced yarn over? Take a moment to _understand the nature of the error_ so we can tackle it effectively.
- 2. Next, we need to prepare our tools. Make sure you have a tapestry needle, a pair of scissors, and a yarn needle handy. If you’re working with a complex pattern, it’s also a good idea to have a copy of the pattern and a pencil to mark any corrections as we go along. _Having everything within reach_ will help us stay focused on the task at hand.
- 3. Now, let’s isolate the mistake. If you’ve dropped a stitch, gently work the stitches above it onto a spare needle or a stitch holder to keep them from unraveling further. For other types of mistakes, try to _contain the error_ to the smallest area possible to minimize the amount of rework needed.
- 4. The fourth step involves unraveling the mistake. If you need to undo rows of knitting, do so carefully, making sure to keep the working yarn from tangling. It’s essential to _work patiently_ and not rush this process, as it can be frustrating but is a crucial part of correcting the mistake.
- 5. Once you’ve unraveled back to the point of the mistake, it’s time to re-knit the corrected section. Pay close attention to your tension and stitch count to ensure that the corrected area blends seamlessly with the rest of the project. Remember, the key to a successful correction is to _match your original gauge_ as closely as possible.
- 6. After re-knitting the section, weave in the ends. Use your yarn needle to securely weave in any loose ends, making sure they are _tucked away neatly_ and won’t come undone with wear. This step might seem minor, but it significantly affects the overall finish of your project.
- 7. Finally, inspect and block your work. Once the correction is complete and the ends are woven in, give your project a thorough inspection to ensure that the mistake is fully corrected and the surrounding area looks even and consistent. If necessary, block your project to even out the stitches and give it a professional finish. _The final inspection_ is your last chance to catch any minor errors before considering your project complete.
Fixing Knitting Mistakes Simplified
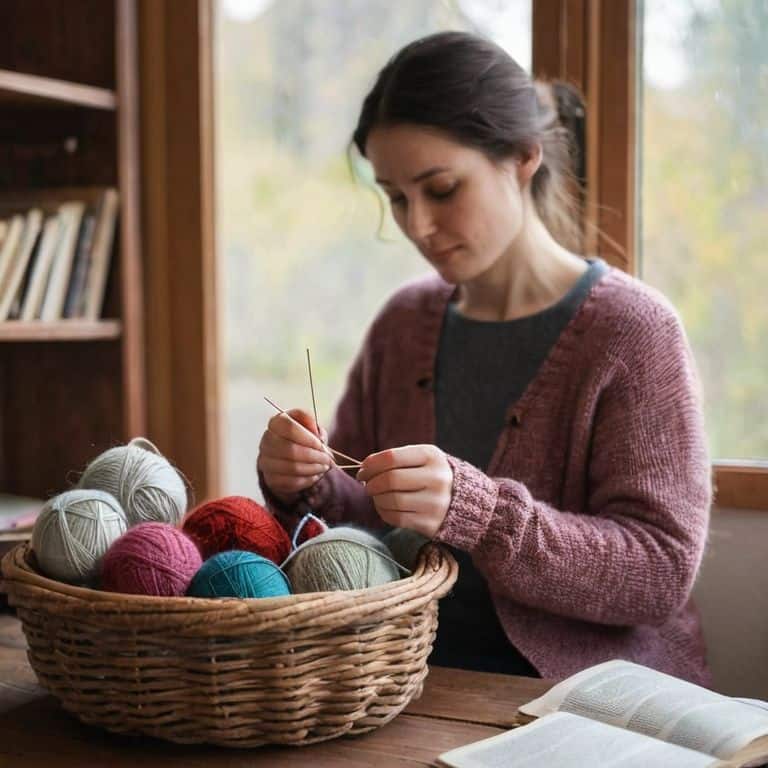
As we work through the process of correcting our knitting slip-ups, it’s essential to keep in mind that preventing knitting mistakes is just as important as fixing them. By taking the time to thoroughly review our patterns and understand the materials we’re working with, we can avoid many common issues altogether. For instance, being mindful of yarn substitution tips can help us choose the right materials for our project, reducing the likelihood of errors down the line.
When it comes to troubleshooting, having a comprehensive knitting needle sizes guide can be a lifesaver. Being able to quickly reference the correct needle size for our project can help us identify and fix problems before they become major issues. Additionally, understanding how to properly seam knitting projects can make all the difference in creating a polished, professional finish.
By approaching our knitting projects with a clear understanding of the potential pitfalls and taking steps to mitigate them, we can create beautiful, lasting pieces that bring us joy for years to come. Whether we’re dealing with common knitting errors or more complex issues, the key is to remain calm, patient, and methodical in our approach. With practice and patience, we can become proficient in knitting pattern troubleshooting, and our finished projects will reflect the care and attention we’ve brought to the craft.
Preventing Mistakes With Yarn Substitution
When substituting yarn, it’s essential to consider factors like fiber content, weight, and color to prevent mistakes. Take a moment to review the yarn label and compare it to the recommended yarn in your pattern. Ensure the gauge is similar, as this can significantly impact the finished project’s size and texture. I like to create a simple checklist to compare these factors, making it easier to make an informed decision.
By doing so, you’ll avoid potential issues like uneven tension or an unflattering color combination. Remember, a little planning goes a long way in preventing knitting mistakes. With a clear understanding of your yarn substitution, you’ll be well on your way to a successful and enjoyable knitting experience.
Unraveling Common Knitting Errors
When working through knitting mistakes, it’s essential to identify the type of error. Is it a dropped stitch, a misplaced increase, or a forgotten decrease? Once you’ve pinpointed the issue, you can begin to unravel the problem. I like to think of it as a puzzle, where each piece is carefully removed and reworked to create a seamless finish. By taking your time and working methodically, you’ll be able to gently correct even the most frustrating mistakes.
To start, take a deep breath and carefully examine your work. Look for the source of the error and work backwards, row by row, to isolate the problem. This approach will help you avoid making the same mistake twice and ensure a smooth repair process. Remember, fixing knitting mistakes is all about patience and attention to detail – with a little practice, you’ll become a pro at troubleshooting and repairing your projects.
Savvy Solutions: 5 Essential Tips for Fixing Knitting Mistakes
- Stop and Assess: Before you try to fix a mistake, take a deep breath and carefully examine your work to identify the error and determine the best course of action
- Swatch and Measure: Always swatch your yarn and measure your gauge to ensure that you’re working with the correct tension, which can help prevent mistakes from occurring in the first place
- Frogging with Care: If you need to frog (rip out) your work, do so carefully and slowly to avoid damaging the yarn or losing your place, and consider using a lifeline to make the process less painful
- Yarn Substitution Simplified: When substituting yarns, make sure to choose a replacement with similar fiber content, weight, and color to ensure that your finished project looks and feels as intended
- Practice Patience and Persistence: Fixing knitting mistakes can be frustrating, but remember that it’s all part of the learning process, and with patience, persistence, and practice, you’ll become a pro at troubleshooting and repairing your work
Key Takeaways for Fixing Knitting Mistakes
Always approach knitting mistakes with patience and a calm mindset, breaking down the correction process into manageable, step-by-step tasks to ensure a smooth and successful repair
Understand that preventing mistakes is just as important as fixing them, with yarn substitution being a critical area to master in order to avoid common errors and achieve the desired texture and appearance
By following a systematic approach to identifying and correcting knitting mistakes, and by adopting good habits such as regularly checking your work and using the right tools, you can transform your knitting experience into a more enjoyable and rewarding one
A Calming Perspective on Knitting Mistakes
The beauty of knitting lies not in the absence of mistakes, but in the gentle art of correction, where every misplaced stitch becomes an opportunity to learn, to grow, and to weave a tale of patience and dedication into the very fabric of our craft.
Beatrice "Bea" Quinn
Embracing the Journey of Knitting
As we conclude our journey through the world of knitting mistake fixes, remember that every error is an opportunity to learn and grow. We’ve covered the essential steps to fixing knitting mistakes, from identifying the issue to carefully working it out, and even touched on the importance of yarn substitution to prevent future mishaps. By following these simple, methodical steps, you’ll be well on your way to becoming a confident knitter who can tackle any project that comes your way. Whether you’re a beginner or an experienced crafter, the key to success lies in your ability to break down complex problems into manageable, bite-sized tasks.
So, the next time you encounter a knitting mishap, take a deep breath and remind yourself that it’s all part of the process. Knitting is a journey, not a destination, and the time you spend creating something with your own two hands is just as valuable as the finished product. As you continue to knit and learn, don’t be afraid to make mistakes – they’re an integral part of your growth as a crafter, and with patience and practice, you’ll become a master of your craft.
Frequently Asked Questions
What if I've already completed a significant portion of my knitting project and only then noticed a mistake, can I still fix it without unraveling the entire thing?
Don’t worry, friend, it’s not uncommon to discover mistakes later on. If you’ve already completed a significant portion of your project, we can still work with that. Let’s assess the mistake together and explore options like careful unraveling of just the affected area or using a technique called “surgery” to fix the error without starting over.
How do I prevent knitting mistakes from happening in the first place, especially for beginners who are new to the craft?
To prevent knitting mistakes, I recommend starting with a simple project, using high-quality yarn, and measuring your gauge carefully. As a beginner, it’s also essential to understand the basics of yarn substitution, as using the wrong yarn can lead to mistakes. Let’s break it down step by step, and I’ll share my favorite tips for avoiding common errors.
Are there any specific knitting tools or accessories that can help me identify and fix mistakes more efficiently, such as stitch markers or yarn needles?
My favorite topic – knitting tools! Yes, indeed, stitch markers, yarn needles, and row counters can be total game-changers in identifying and fixing mistakes. I swear by my trusty tapestry needle for weaving in ends and my set of colorful stitch markers for keeping track of pattern repeats. These simple tools can save you so much time and frustration in the long run.