I still remember the first time I tried to learn how to do the knit stitch – I was frustrated, confused, and ready to give up on my knitting dreams. But, as I delved deeper into the world of knitting, I discovered a counter-intuitive truth: the knit stitch isn’t as complicated as it seems. In fact, with a clear, step-by-step approach, anyone can master it. My own experience taught me that the key to success lies in breaking down the process into simple, manageable parts, and that’s exactly what I’ll share with you in this guide.
As we embark on this journey together, I promise to provide you with practical, no-nonsense advice on how to do the knit stitch. You won’t find any confusing jargon or intimidating instructions here – just a gentle, step-by-step guide that will walk you through every stage of the process. By the end of this article, you’ll be equipped with the knowledge and confidence to tackle your first knitting project, and you’ll be well on your way to creating something truly beautiful. So, let’s take a deep breath, grab our knitting needles, and get started on this creative adventure together!
Table of Contents
Guide Overview: What You'll Need
Total Time: 1 hour 30 minutes
Estimated Cost: $10 – $20
Difficulty Level: Easy
Tools Required
- Knitting Needles size 8 or 9
Supplies & Materials
- Yarn choose your preferred color and type, approximately 300 yards
Step-by-Step Instructions
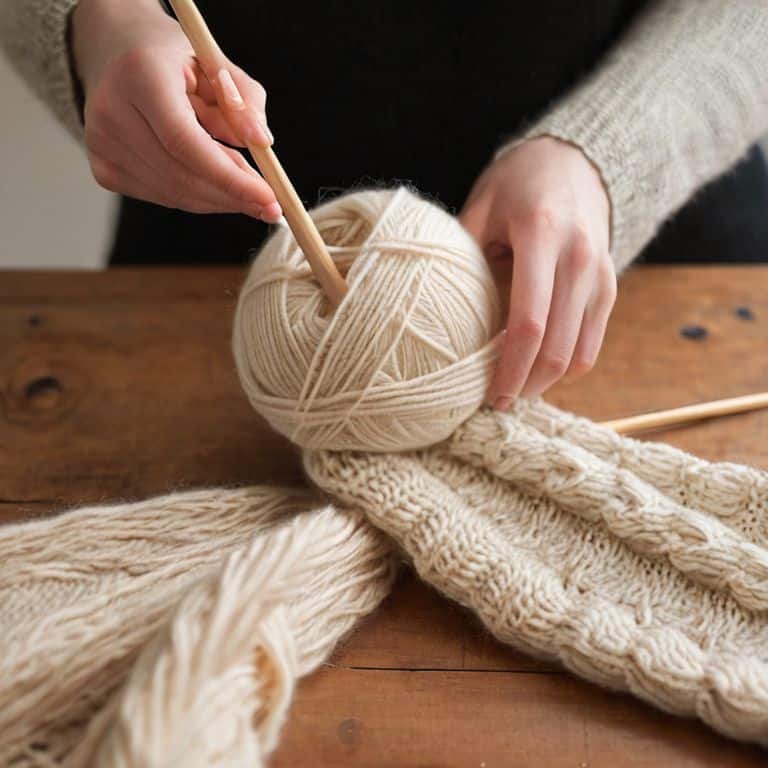
- 1. To begin, let’s get our materials ready – we’ll need some yarn, a pair of knitting needles, and a comfortable, quiet space to work in. Make sure your yarn is not tangled and your needles are the right size for the project you have in mind. I like to organize my yarn stash using the Dewey Decimal System, it might sound old-fashioned, but it helps me find the perfect yarn every time.
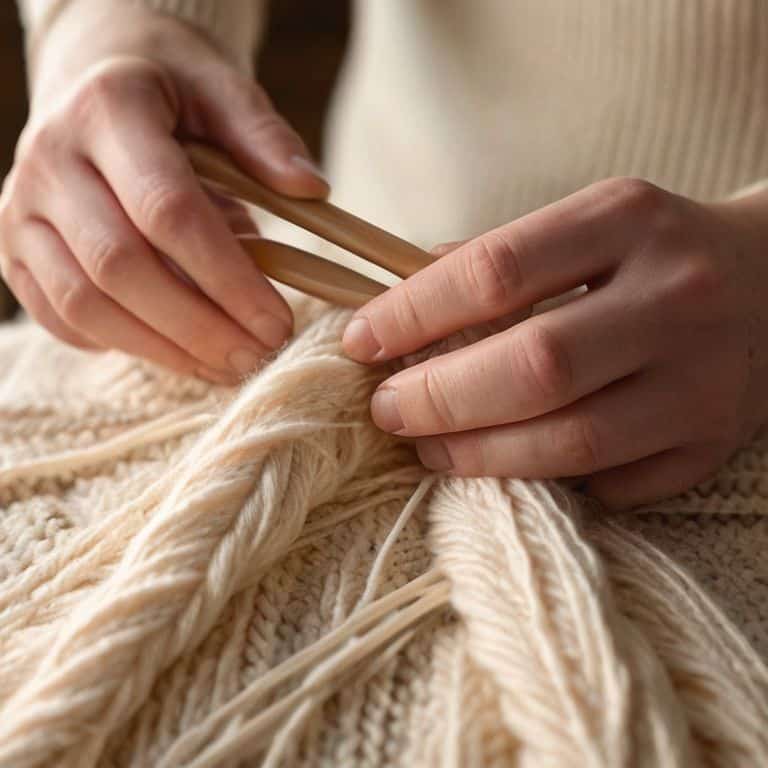
- 2. Next, we need to create a slipknot on one of our needles. To do this, hold the yarn in one hand, make a loop with the yarn, and then hook the needle through the loop. Pull the yarn gently to tighten the knot around the needle. This is a crucial step, as it will help us start our knitting project with a secure foundation. Take your time, and don’t worry if it takes a few tries to get it just right.
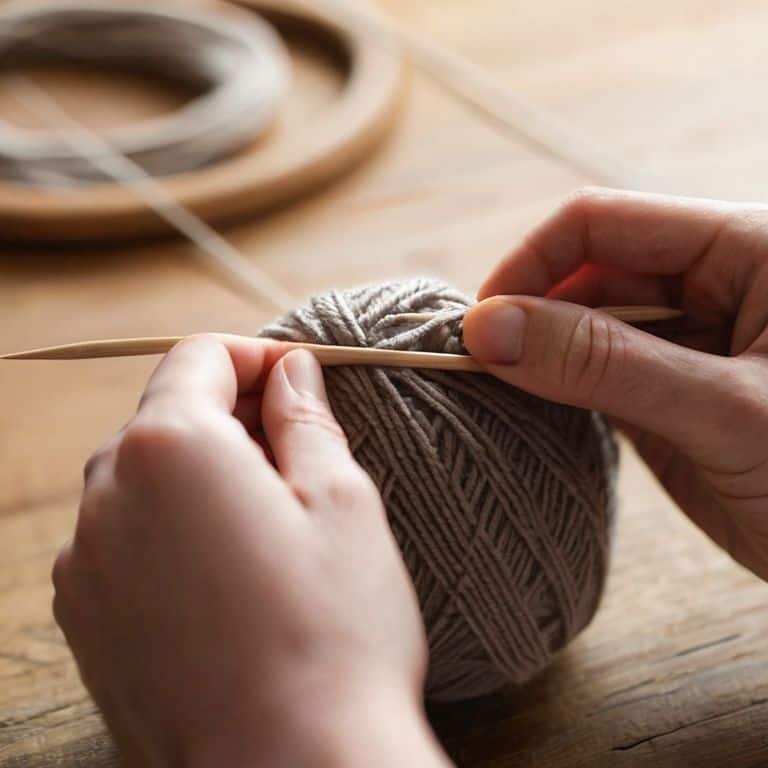
- 3. Now, let’s cast on our stitches. Casting on is the process of placing stitches onto our needle, and there are several methods to do this. For beginners, I recommend the long-tail cast-on method. It might seem a bit fiddly at first, but with practice, you’ll get the hang of it. To start, create a slipknot on your needle, then hold the yarn in your non-dominant hand, making a loop with your thumb and index finger. Use your dominant hand to pull the yarn through the loop, and then pull it through the stitch on your needle. Repeat this process until you have the desired number of stitches.
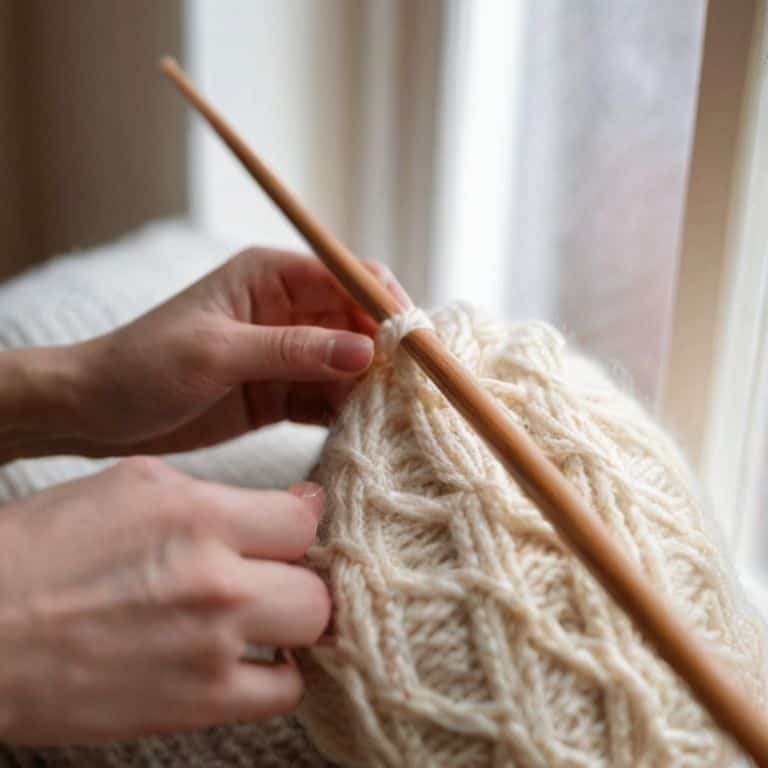
- 4. With our stitches cast on, it’s time to learn the knit stitch itself. To knit a stitch, insert the right needle into the first stitch on the left needle, making sure it goes through the stitch from front to back. Then, take the yarn and wrap it around the right needle, moving it from back to front. This is the key movement that will create our knit stitch. After wrapping the yarn, bring the right needle back through the stitch, and slide the stitch off the left needle. You’ve just completed your first knit stitch!
- 5. Continue knitting each stitch in the row by repeating the process described in step 4. As you get more comfortable with the knit stitch, you’ll find your rhythm and speed will increase. Remember to keep your tension even, not too tight or too loose, as this will affect the overall look and feel of your project. If you find that your stitches are uneven, don’t worry, it’s an easy mistake to fix, and we can address it in future tutorials.
- 6. When you reach the end of the row, you’ll need to turn your work. To do this, simply rotate your knitting so that the other side is facing you. You’re now ready to start a new row. Before you begin, take a moment to count your stitches to ensure you haven’t accidentally added or dropped any. This is a good habit to get into, as it will save you time in the long run.
- 7. As you continue to knit row after row, you’ll start to see your project take shape. Remember, the most important thing is to enjoy the process. Don’t be too hard on yourself if you make mistakes – they’re an opportunity to learn and improve. Take breaks when you need to, and come back to your project with fresh eyes. With time and practice, you’ll become more confident in your knitting abilities, and you’ll be creating beautiful, intricate patterns in no time.
Mastering How to Do the Knit Stitch
As you become more comfortable with the knit stitch, it’s essential to consider the basic knitting stitches for beginners that will help you expand your skills. Understanding how different stitches interact with each other is crucial for creating complex patterns. I always recommend starting with simple projects, like scarves or hats, to get a feel for how the yarn and needles work together.
When it comes to choosing the right tools, knitting needle sizes and types can make a significant difference in the outcome of your project. For example, using the wrong size needle can result in a fabric that’s either too tight or too loose. It’s also important to consider the yarn weight and fiber you’re using, as this will affect the drape and texture of your finished project. By taking the time to select the right materials, you’ll be able to create a piece that’s not only beautiful but also functional.
To take your knitting to the next level, it’s crucial to be aware of common knitting mistakes to avoid, such as uneven tension or dropped stitches. By being mindful of these potential pitfalls, you can develop good habits that will serve you well as you tackle more complex projects. Remember, practice makes perfect, so don’t be discouraged if you encounter setbacks along the way. With patience and persistence, you’ll be creating beautiful, professional-looking pieces in no time.
Avoiding Common Mistakes With Yarn Weight
As we explore the world of knitting, it’s essential to consider the weight of our yarn. Using the wrong weight can lead to a finished project that’s either too loose or too tight. To avoid this, always check the yarn label for its recommended gauge. If you’re unsure, it’s better to swatch the yarn before starting your project. This simple step can save you from frustration and ensure your knit stitch turns out beautifully.
By being mindful of yarn weight, you’ll be able to achieve the perfect tension in your stitches. Remember, practice makes perfect, and it’s okay to make mistakes – they’re an opportunity to learn and grow. With patience and attention to detail, you’ll master the knit stitch and create something truly special.
Basic Knitting Stitches for Beginners Guide
As we build upon the foundation of the knit stitch, it’s essential to explore other basic knitting stitches that will enhance your skills. The purl stitch, for instance, is a natural companion to the knit stitch, and together they form the backbone of many knitting patterns. By mastering these two stitches, you’ll be able to create a wide range of textures and fabrics.
In my experience, practicing the knit and purl stitches in tandem helps to develop muscle memory, making it easier to switch between the two. I recommend starting with a simple scarf or dishcloth project that combines these stitches, allowing you to become comfortable with their rhythm and flow. With patience and practice, you’ll find that these basic stitches become second nature, freeing you to explore more complex and exciting knitting projects.
Weaving Wisdom: 5 Essential Tips for Mastering the Knit Stitch
- Start with the right tools: invest in a good pair of knitting needles and a yarn that suits your project, as this will make a huge difference in your knitting experience
- Pay attention to your tension: consistent tension is key to a beautiful knit stitch, so take your time and try to maintain a steady pace
- Practice, practice, practice: the knit stitch is like a muscle that needs to be exercised, so don’t be discouraged if it takes a few tries to get it right
- Watch your stitch count: keeping track of your stitches is crucial to avoiding mistakes, so make sure to count your stitches at the end of each row
- Don’t pull the yarn too tight: this can cause your stitches to pucker and your fabric to become misshapen, so try to keep a gentle touch as you knit
Key Takeaways for Mastering the Knit Stitch
By following a simple, step-by-step approach, you can confidently learn the knit stitch and begin your knitting journey with ease
Understanding the importance of yarn weight and its potential impact on your project can help you avoid common mistakes and ensure a professional finish
Practice and patience are key to mastering the knit stitch, so don’t be discouraged if it takes time to get the hang of it – with consistent effort, you’ll be creating beautiful, intricate patterns in no time
A Knitter's Wisdom
The knit stitch is not just a technique, it’s a journey of gentle rhythms and soothing repetition – with every stitch, you’re not just creating something new, you’re also quieting your mind and awakening your sense of wonder.
Beatrice "Bea" Quinn
Wrapping Up Your Knit Stitch Journey
As we come to the end of our journey together, let’s take a moment to reflect on what we’ve accomplished. We’ve broken down the knit stitch into manageable steps, and I’ve shared my tips for mastering this fundamental technique. From understanding the basics of knitting stitches to avoiding common mistakes with yarn weight, we’ve covered it all. Remember, the key to success lies in practice and patience, so don’t be too hard on yourself if it takes a little time to get the hang of it.
Now that you’ve learned the knit stitch, I encourage you to keep exploring and pushing your creative boundaries. Whether you’re making a cozy scarf or a warm hat, the sense of accomplishment you’ll feel when you complete a project is incredibly rewarding. So, go ahead, grab your yarn and needles, and let the joy of making something with your own hands bring a smile to your face. Happy knitting, and I look forward to guiding you through your next craft adventure!
Frequently Asked Questions
What if my stitches are uneven or loose, how can I tighten them up?
Don’t worry, my friend, uneven stitches are an easy fix. To tighten them up, simply try gently pulling on the working yarn or adjusting your tension as you knit. You can also try using a smaller needle size or checking your gauge to ensure it’s consistent. Let’s take a deep breath and get those stitches even and cozy.
How do I know if I'm holding the yarn at the right tension for a consistent knit stitch?
To check your yarn tension, gently pull the working yarn to feel its resistance. It should have a soft, gentle give, but not be too loose or too tight. Think of it as a happy medium – not too taut, not too slack. You can also compare it to the tension of the stitches on your needles; they should look even and relaxed.
Can I use any type of yarn for the knit stitch, or are there specific weights or fibers that work best?
When it comes to choosing yarn for the knit stitch, not all fibers are created equal. I recommend selecting a medium-weight yarn with a smooth texture, such as merino wool or cotton. These yarns will help you achieve a clear, even stitch. Avoid very bulky or too-thin yarns, as they can be tricky to work with, especially for beginners.