I still remember the first time I tried to learn how to cast on knitting – I was frustrated and confused by the intricate instructions and complicated terminology. But as I delved deeper into the world of knitting, I realized that it doesn’t have to be that way. In fact, casting on is a relatively simple process that can be broken down into easy-to-follow steps. The problem is that many tutorials and guides make it seem more complicated than it needs to be, leaving beginners feeling overwhelmed and unsure of where to start.
As we explore how to cast on knitting together, I promise to provide you with practical advice and clear instructions that will make the process a breeze. You won’t find any confusing jargon or complicated techniques here – just straightforward, step-by-step guidance that will have you casting on like a pro in no time. My goal is to empower you with the knowledge and confidence to start your knitting journey, and I’m excited to share my expertise with you. By the end of this article, you’ll be well on your way to creating beautiful, handmade knits that you’ll treasure for years to come.
Table of Contents
Guide Overview: What You'll Need
Total Time: 30 minutes to 1 hour
Estimated Cost: $10 – $20
Difficulty Level: Easy
Tools Required
- Knitting needles US size 8 or size of your choice
- Scissors for cutting yarn
- Tapestry needle for weaving in ends
Supplies & Materials
- Yarn choose your preferred type and color
- Measuring tape or ruler to measure your work in inches
- Stitch markers optional, but helpful for tracking your progress
Step-by-Step Instructions
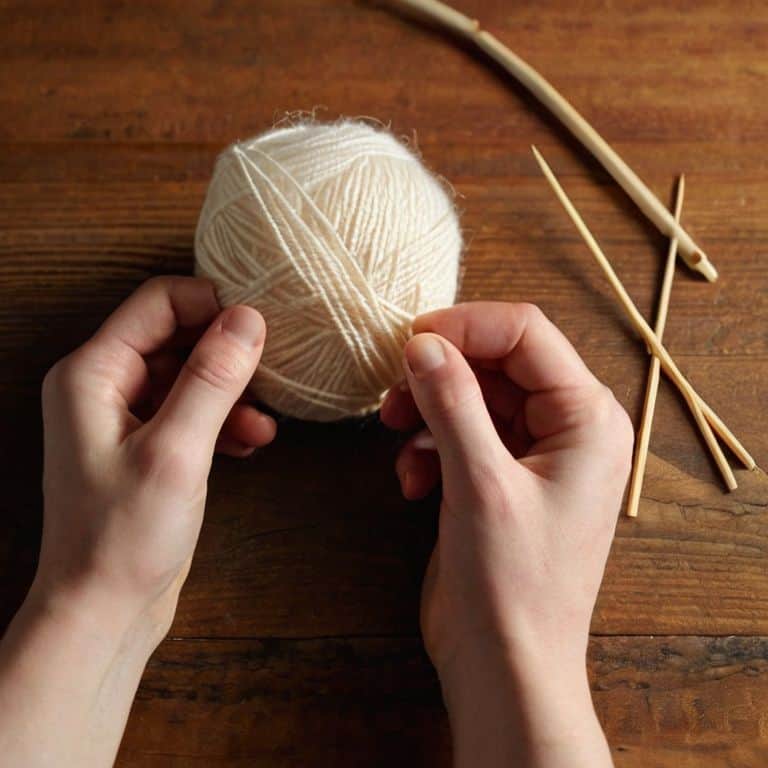
- 1. First, let’s get our materials ready. To cast on, you’ll need your knitting needles and the yarn you’ve chosen for your project. I like to take a moment to admire my yarn and think about the finished project – it’s a great way to get excited about what you’re making. Make sure your yarn is untangled and your needles are the right size for your project.
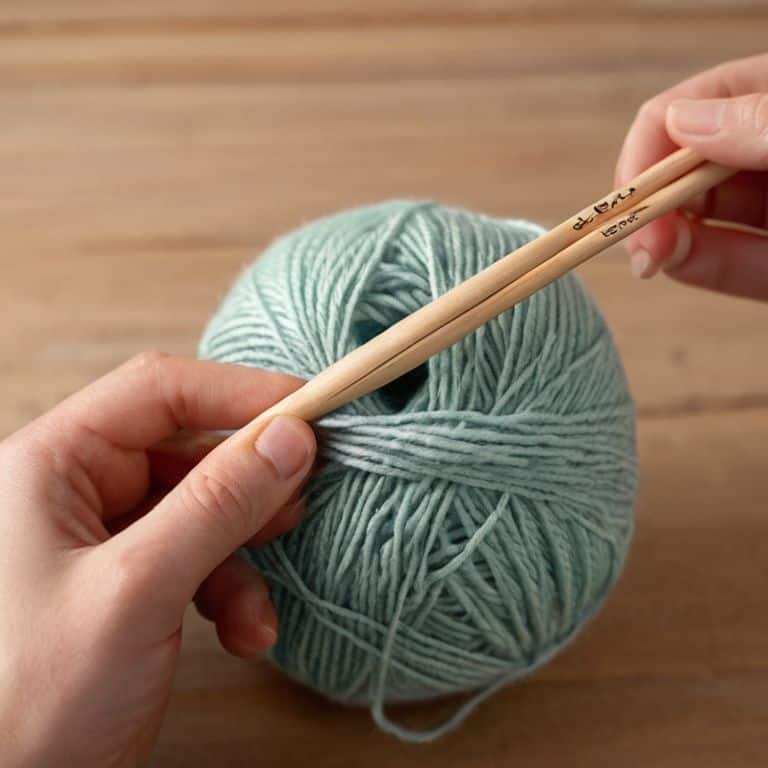
- 2. Next, create a slipknot on one of your needles. To do this, hold the yarn in one hand, make a loop with the yarn, and then hook the needle through the loop. Pull the yarn gently to tighten the slipknot around the needle. This is a great opportunity to practice your yarn handling skills, which will come in handy as you continue knitting.
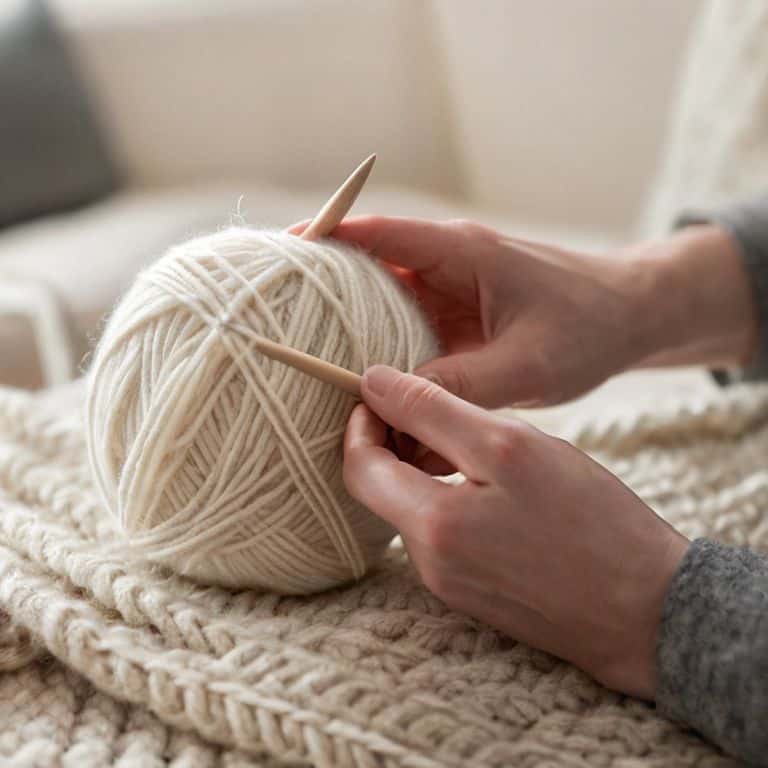
- 3. Now, let’s move on to the actual casting on process. You’ll be using the long-tail cast-on method, which is a great technique for beginners. To start, hold the yarn in your non-dominant hand, with the end of the yarn closest to your body. Use your dominant hand to pull out a length of yarn – about 3-4 times the width of your project. You’ll use this yarn to create the foundation of your project.
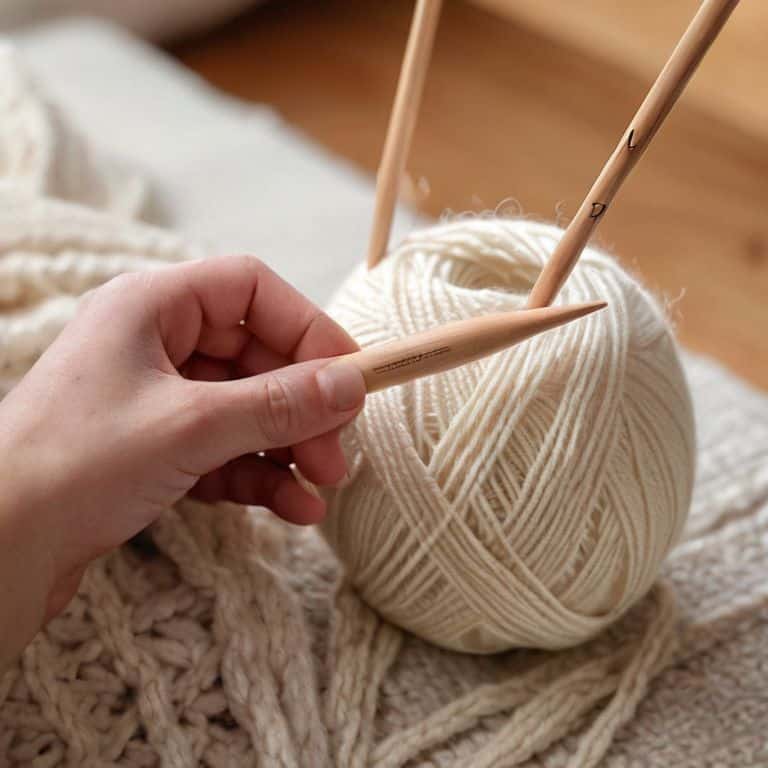
- 4. Next, make a loop with the yarn and hook the needle through it, just like you did when creating the slipknot. Pull the yarn gently to tighten the loop around the needle. You should now have one stitch on your needle. Repeat this process, moving the needle from one hand to the other, until you have the desired number of stitches.
- 5. As you cast on, be sure to keep the tension even. You don’t want your stitches to be too tight or too loose, as this can affect the overall fit and look of your project. I like to think of it as finding a happy medium – not too tight, not too loose, but just right.
- 6. Once you’ve cast on the desired number of stitches, you can start knitting. To do this, insert the tip of the other needle into the first stitch on the needle. Wrap the yarn around the needle, moving from front to back, and then pull the yarn through the stitch. You should now have one knit stitch. Repeat this process, moving from one stitch to the next, until you’ve completed a row.
- 7. Finally, take a step back and admire your handiwork. You’ve successfully cast on and completed your first row of knitting. This is a great time to celebrate your progress and think about how far you’ve come. Don’t be afraid to make mistakes – they’re all part of the learning process, and you can always frogging (rip out) your work and start again if needed.
Casting on With Ease
As you become more comfortable with the casting on process, you’ll want to explore different methods to find what works best for you. One popular technique is the cable cast on method, which creates a sturdy and flexible edge. This method is particularly useful for beginners, as it helps to prevent loose stitches and ensures a smooth start to your project. When using this method, be sure to keep your tension even, as uneven tension can lead to a wonky edge.
When it comes to knitting cast on for beginners, it’s essential to choose the right type of cast on for your project. There are several types of knitting cast on to choose from, each with its own unique characteristics. For example, the long-tail cast on is great for projects that require a lot of stretch, such as scarves or hats. On the other hand, the knit cast on is better suited for projects that require a more rigid edge, such as blankets or sweaters.
To make the casting on process even easier, try using knitting cast on tips and tricks such as casting on with two needles. This technique allows you to create a more even edge and can help to prevent mistakes. Additionally, consider using a double knitting cast on technique to create a reversible fabric. By following these tips and practicing regularly, you’ll be able to cast on with ease and confidence, and you’ll be well on your way to creating beautiful knitting projects, such as cast on knitting for scarves.
Knitting Cast on for Beginners Tips
As a beginner, it’s essential to keep a few tips in mind to make the casting on process even smoother. First, make sure your yarn is at a comfortable length – not too long, not too short. You want to be able to manage it easily without feeling overwhelmed. Also, take your time and don’t rush through the steps. It’s better to go slow and steady, ensuring each stitch is secure, than to risk mistakes that can be frustrating to fix.
I also recommend practicing with a scrap piece of yarn before starting your actual project. This will help you get a feel for the yarn and the needles, and you’ll be more confident when you begin your project. Remember, casting on is just the first step, and with a little patience and practice, you’ll be knitting like a pro in no time.
Mastering Cable Cast on Method
Now that we’ve explored the basics of casting on with ease, let’s dive into a more advanced technique: the cable cast on method. This method creates a beautiful, twisted edge that’s perfect for projects like scarves, hats, and sweaters. To master the cable cast on, start by holding your yarn in your non-dominant hand, making a slipknot on your needle. Then, take your working yarn and pass it around your non-dominant hand, forming a loop.
Next, take your needle and pick up the loop, pulling it through the slipknot. Repeat this process until you have the desired number of stitches. Remember to keep your tension even, as this will affect the overall look of your project. With a little practice, you’ll be casting on like a pro using the cable cast on method.
5 Essential Tips to Enhance Your Knitting Cast On Experience
- Casting on with the right tension is crucial – not too tight, not too loose, just like Goldilocks, it’s all about finding that perfect balance
- Choose the right cast on method for your project, whether it’s the long-tail cast on, cable cast on, or knitting cast on, each has its own unique benefits and challenges
- Using good quality yarn and the correct needle size will make a world of difference in your cast on experience, so take the time to select the right materials
- Practice, practice, practice – don’t be discouraged if your first few attempts at casting on don’t go as smoothly as you’d like, it’s all part of the learning process
- Take your time and don’t rush the cast on process, it’s the foundation of your knitting project, and a strong foundation will make all the difference in the success of your finished product
Key Takeaways for a Seamless Casting On Experience
Remember to choose the right cast-on method for your project, considering factors like stitch type, yarn weight, and personal preference to ensure a comfortable and enjoyable knitting experience
Practice makes perfect: don’t be discouraged if your first few attempts at casting on don’t turn out as expected – with patience and persistence, you’ll soon be casting on like a pro
Keep in mind that casting on is just the beginning of your knitting journey, and with these simple steps and tips, you’ll be well on your way to creating beautiful, cozy projects that bring you joy and satisfaction
Wrapping Up Your Knitting Journey
As we conclude our journey through the world of casting on, I want to summarize the key takeaways from our time together. We’ve explored the importance of choosing the right cast-on method for your project, and I’ve shared my favorite tips and tricks for making the process as smooth as possible. From the cable cast on method to knitting cast on for beginners, we’ve covered it all. Remember, the cast-on is just the beginning of your knitting adventure, and with practice, you’ll be creating beautiful, cozy projects in no time.
As you put down your needles and admire your handiwork, I hope you feel a sense of pride and accomplishment. Knitting is a journey, not a destination, and it’s the small moments – like mastering the cast-on – that make it so rewarding. So, go ahead, cast on with confidence, and watch your creations come to life. Happy knitting, and I’ll see you in the next tutorial!
Frequently Asked Questions
What if I accidentally twist my stitches while casting on, how can I fix it?
Don’t worry, it’s an easy fix. If you twist your stitches while casting on, simply remove the needle and gently untwist the stitches, then reseat them on the needle. You can also try slipping the stitches back to the beginning of the row and re-casting on. Take a deep breath, it’s a common mistake, and you’ll be back on track in no time.
How do I know if I've cast on the right number of stitches for my project?
Don’t worry, it’s easy to double-check. Simply count the stitches on your needle, or better yet, use a stitch counter or a measuring tape to ensure you’ve cast on the correct number for your project. I always say, “measure twice, knit once” – it’s a great habit to get into for stress-free knitting.
Can I use the cable cast on method for any type of knitting project, or are there specific patterns that require a different cast on technique?
While the cable cast on method is versatile, it’s not suitable for every project. For example, lace or loose-fitting garments often require a more elastic cast on, like the long-tail cast on. I always recommend checking your pattern’s specifics to ensure you’re using the best cast on technique for your unique project.