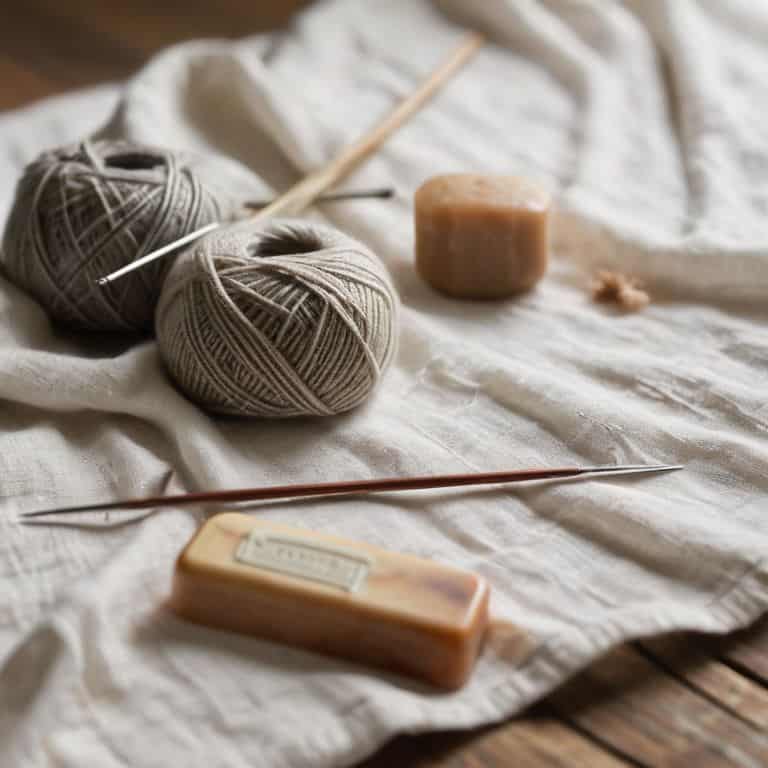
I still remember the day my wife, an avid weaver, inherited her grandmother’s vintage knitting needles. As I watched her gently unwrap them, I noticed how dull and worn they looked. She asked me to help her figure out how to clean vintage knitting needles, and I was surprised to find that most online advice was either too harsh or too vague. It seemed like nobody was addressing the unique challenges of restoring these delicate tools to their former glory.
As we embarked on this journey together, I realized that cleaning vintage knitting needles is not just about removing dirt, but also about preserving the history and character of these treasured tools. In this article, I’ll share my practical tips and tricks for gently reviving your own vintage knitting needles, from assessing their condition to applying the right cleaning techniques. You’ll learn how to identify the type of material, choose the right cleaning solutions, and handle these fragile tools with care. By the end of this guide, you’ll be equipped with the knowledge and confidence to restore your vintage knitting needles to their former beauty, and maybe even discover a new appreciation for the art of weaving and woodworking.
Table of Contents
- Guide Overview: What You'll Need
- Step-by-Step Instructions
- Reviving Grandmas Needles
- Sanding Down to the Essentials: 5 Tips for Cleaning Vintage Knitting Needles
- Key Takeaways for Reviving Your Vintage Knitting Needles
- The Careful Art of Revival
- Bringing New Life to Vintage Knitting Needles
- Frequently Asked Questions
Guide Overview: What You'll Need
Total Time: 30 minutes to 1 hour
Estimated Cost: $5 – $10
Difficulty Level: Easy
Tools Required
- Soft-bristled toothbrush (for gentle cleaning)
- Cotton swabs (for precision cleaning)
- Microfiber cloth (for drying and polishing)
Supplies & Materials
- Mild dish soap (diluted in warm water)
- White vinegar (for removing tarnish or rust)
- Mineral oil or needle oil (for conditioning and protecting the needles)
Step-by-Step Instructions
- 1. First, let’s start by gathering our materials – we’ll need a soft, lint-free cloth, a mild detergent, and some warm water to get those vintage knitting needles sparkling like the wood in my workshop after a fresh sanding. I like to use a gentle dish soap that’s specifically designed for cleaning delicate items, as it won’t leave any harsh residues behind.
- 2. Next, carefully examine each needle for any signs of damage or wear – we don’t want to risk causing any further damage during the cleaning process. Take note of any discoloration or rust spots, as these areas may require a bit more TLC. I’ve found that a soft-bristled toothbrush can be a great tool for gently sweeping away any debris or fluff that may have accumulated in the needles’ eyes.
- 3. Now it’s time to mix our cleaning solution – I recommend using a small bowl of warm water and adding just a tiny amount of mild detergent. The goal is to create a mild soap solution that will effectively clean the needles without leaving any residue behind. Stir the mixture well to ensure the soap is fully dissolved, then dip your soft cloth into the solution and wring it out thoroughly.
- 4. With our cleaning cloth at the ready, gently wipe down each needle, paying special attention to the areas around the tips and eyes. Be sure to clean in a smooth, even motion, working from the top of the needle down to the bottom. This will help prevent any dirt or debris from being pushed further into the needle’s crevices. If you encounter any particularly stubborn stains, you can try using a soft-bristled toothbrush to gently scrub the area.
- 5. Once you’ve cleaned all of the needles, it’s time to rinse them off – but don’t reach for the faucet just yet! Instead, use a clean, damp cloth to wipe away any remaining soap residue. This will help prevent water spots from forming on the needles. I like to use a microfiber cloth for this step, as it’s incredibly effective at absorbing moisture and leaving the needles feeling smooth and dry.
- 6. To add an extra layer of protection to your vintage knitting needles, consider applying a small amount of wood wax or beeswax to the surface of each needle. This will help to moisturize the wood and prevent it from drying out over time. Simply apply a small amount of wax to a soft cloth, then rub it gently into the surface of each needle.
- 7. Finally, take a moment to inspect your newly cleaned vintage knitting needles – don’t they look beautiful? To keep them in top condition, consider storing them in a protective case or pouch when not in use. This will help to shield them from dust, dirt, and other potential hazards, ensuring they remain a treasured part of your knitting collection for years to come.
Reviving Grandmas Needles
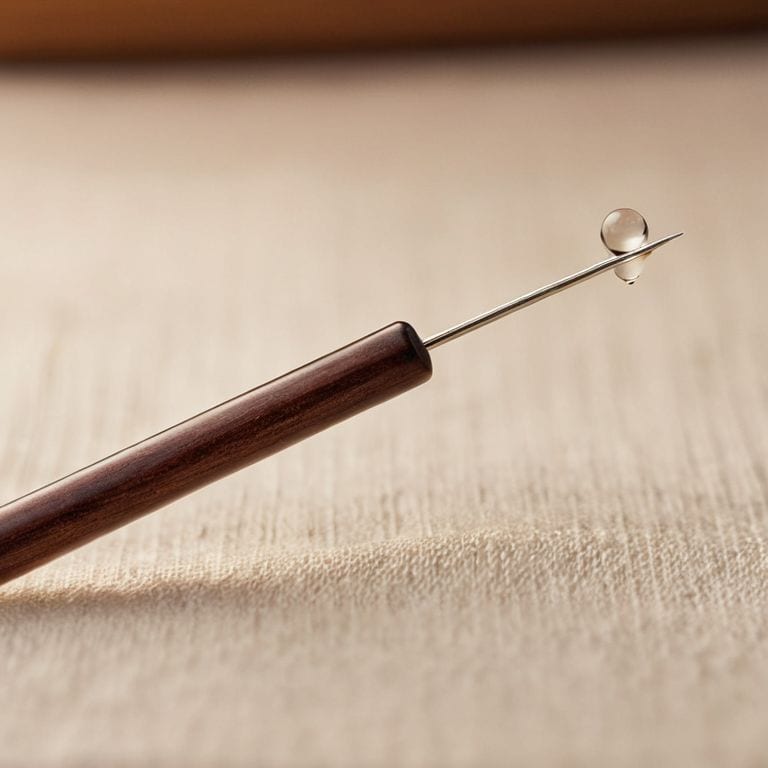
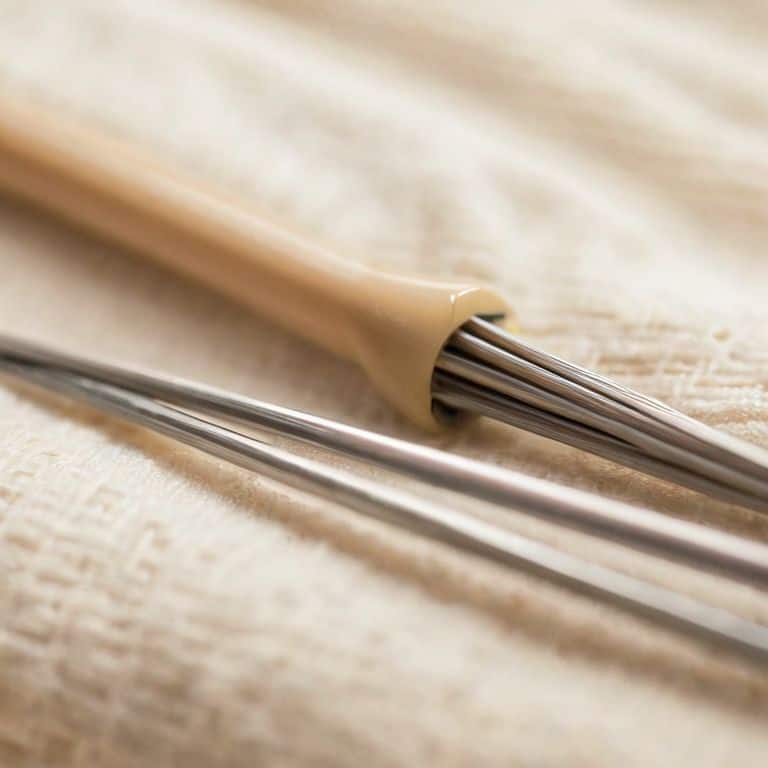
As I work on restoring my wife’s vintage knitting needles, I’m reminded of the importance of preserving the original materials. Many of these needles are made from beautiful woods, like rosewood or ebony, which can be prone to drying out over time. To keep them in good condition, I apply a small amount of wood oil after cleaning. This not only protects the wood but also brings out the rich grain patterns.
When it comes to restoring wooden knitting needles, it’s essential to be gentle. Avoid using harsh chemicals or abrasive materials that can damage the wood or strip away its natural finish. Instead, opt for a soft cloth and a mild soap solution to clean the needles. For metal needles, removing rust can be a challenge. I’ve found that a gentle scrub with a toothbrush and some white vinegar can work wonders.
To keep your vintage knitting needles in top condition, regular maintenance is key. This includes sanitizing the needles after each use and storing them in a dry, cool place. By following these simple tips, you can enjoy your vintage knitting needles for years to come and perhaps even pass them down to the next generation of crafty family members.
Restoring Wooden Treasures
Restoring Wooden Treasures
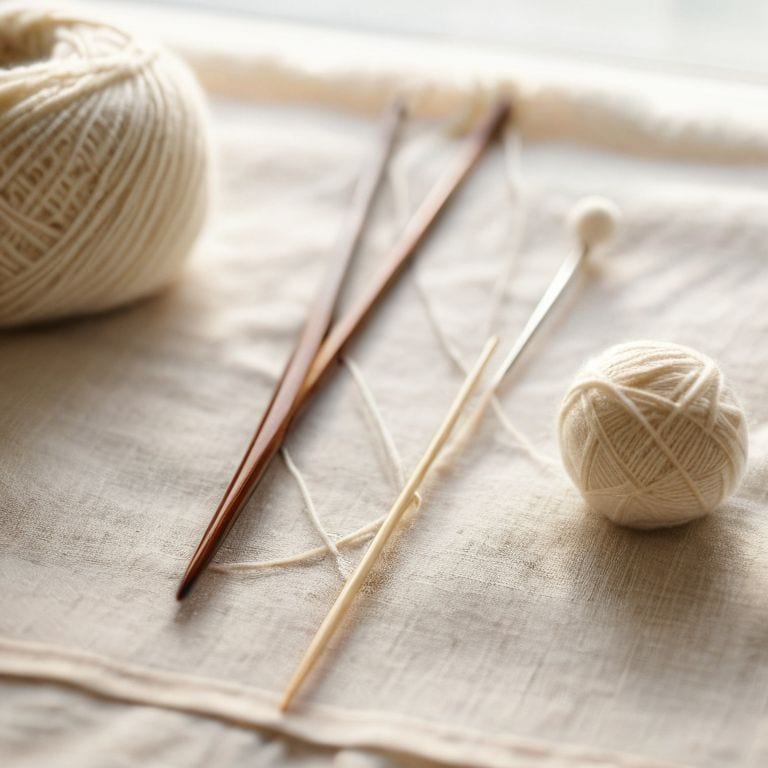
When I’m not in my workshop making custom looms, I love to forage for unique woods to craft one-of-a-kind tool handles. There’s something special about holding a piece of history in your hands, like a beautifully worn wooden knitting needle. To restore these treasures, I use a gentle wood conditioner to bring out the grain and richness of the wood. It’s amazing how a little TLC can revive the beauty of a well-loved needle.
I’ve found that sanding with a fine grit, then applying a natural wax, can work wonders on wooden needles. The smell of sanded wood always transports me back to my woodworking days, and I feel a deep connection to the craft. By restoring these wooden treasures, we’re not only preserving a piece of history, but also ensuring they remain functional and comfortable to use for years to come.
Sanitizing Metal and Plastic
When it comes to metal and plastic needles, I like to think of sanitizing as a way to give them a fresh start. For metal ones, a gentle soak in warm soapy water usually does the trick, followed by a rinse and dry with a soft cloth. I’ve found that a mixture of equal parts water and white vinegar can also help remove any stubborn grime. As for plastic needles, a mild dish soap and warm water are all you need – just be sure to avoid any abrasive materials that might scratch the surface.
Sanding Down to the Essentials: 5 Tips for Cleaning Vintage Knitting Needles
- Use a soft, dry cloth to wipe away loose debris before deep cleaning to prevent scratches
- Mix a tiny bit of mild soap with warm water, and use a soft-bristled toothbrush to gently scrub away grime and yarn residue
- Sanitize metal and plastic needles with a diluted vinegar solution, but avoid using it on wooden needles to prevent damage
- Apply a small amount of wood conditioner or oil to revive and protect wooden needles, just like I do with my woodworking projects
- Regularly cleaning and maintaining your vintage knitting needles will not only keep them in good condition, but also ensure they remain a trusted companion for your fiber arts journey
Key Takeaways for Reviving Your Vintage Knitting Needles
Always handle vintage knitting needles with care, using a soft cloth and mild soap to clean them and avoiding harsh chemicals that could damage the materials
Restoring wooden needles requires attention to the type of wood and its condition, with gentle sanding and natural oils used to revive the wood’s original beauty
Whether you’re sanitizing metal, plastic, or wooden needles, the goal is to preserve their integrity and functionality, ensuring they remain treasures for generations of makers to come
The Careful Art of Revival
Cleaning vintage knitting needles isn’t just about removing dirt, it’s about unveiling the stories of the hands that once held them, and preparing them for the tales they’re yet to help weave.
Finnian "Finn" Burke
Bringing New Life to Vintage Knitting Needles
As we’ve seen, cleaning vintage knitting needles is all about gentle care and attention to detail. From using a soft cloth and mild soap to sanitizing metal and plastic parts, each step is crucial in restoring these treasures to their former glory. Whether you’re reviving Grandma’s old needles or discovering a new passion for knitting, the process of cleaning and restoring these tools is just as rewarding as the craft itself. By following these simple steps, you’ll not only be giving your vintage knitting needles a new lease on life but also ensuring they remain a trusted companion for many projects to come.
As you finish cleaning and restoring your vintage knitting needles, remember that the true beauty of this craft lies not just in the finished product, but in the journey itself. The feel of the wood, the smell of the yarn, and the satisfaction of creating something with your own hands – these are the things that make knitting, and the tools we use, truly special. So, go ahead, get creative, and make something beautiful. The needles are ready, and so are you.
Frequently Asked Questions
What if my vintage knitting needles have intricate carvings or details that I don't want to damage during the cleaning process?
For those delicate carvings, I use a small, soft-bristled brush to gently sweep away dirt and debris, followed by a damp cloth wrapped around my finger to carefully wipe down the details – it’s a bit like sanding a delicate wood trim, you want to coax out the beauty, not force it.
How often should I clean my vintage knitting needles to prevent buildup and maintain their condition?
I clean my vintage knitting needles after every project, or at least every few months. It’s like maintaining my woodworking tools – a little TLC goes a long way. For high-use needles, I’d say clean them every 1-2 months to prevent yarn buildup and grime. Trust me, it’s worth the extra step to keep them in top shape.
Can I use the same cleaning method for vintage knitting needles made from different materials, such as wood, metal, or plastic?
Not quite, my friend. While some methods overlap, each material needs special care. For wooden needles, I use a soft cloth and a hint of oil to preserve the grain. Metal and plastic, on the other hand, can handle a gentle soap and water. Let’s get specific to ensure we’re treating each material with the love it deserves.