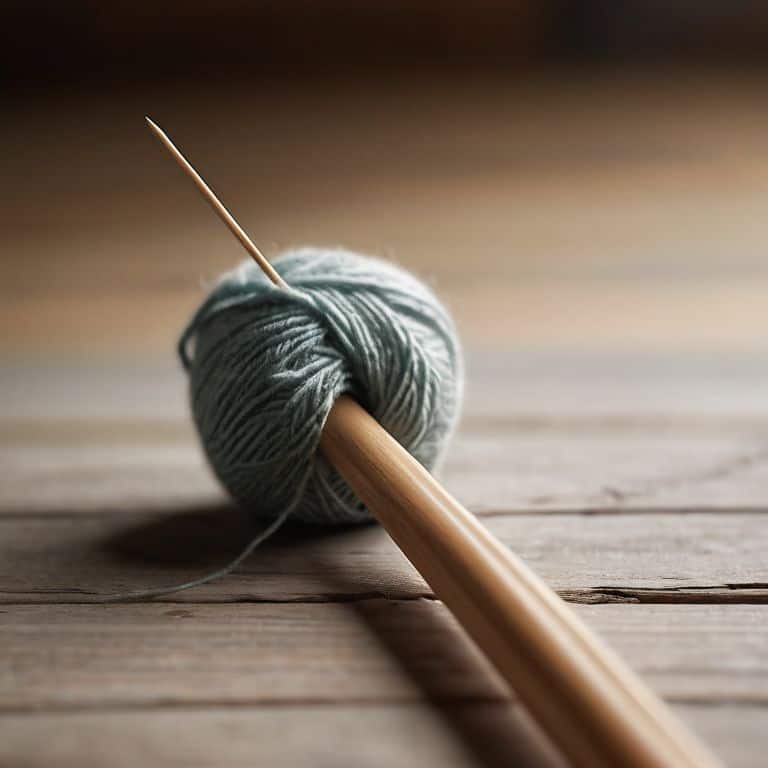
I still remember the day my wife, an avid knitter, came to me with a frustrated look on her face, holding her trusty wooden knitting needle with a pesky splinter. She had been struggling to find a solution on how to fix a splinter on a wooden knitting needle, and I knew I had to help. As a carpenter and custom woodworker, I’ve learned that the right tools can make all the difference, and a well-made wooden knitting needle is no exception. But when a splinter gets in the way, it can be frustrating. That’s why I’m excited to share my knowledge on how to fix a splinter on a wooden knitting needle, so you can get back to creating something beautiful.
In this article, I’ll walk you through a simple, step-by-step process to rescue your wooden knitting needle from that annoying splinter. You’ll learn how to identify the type of wood your needle is made of, prepare the necessary tools, and gently remove the splinter without damaging the needle. My goal is to empower you with the practical skills needed to fix your own tools, so you can focus on what matters most – creating something with your own hands. By the end of this guide, you’ll be able to confidently fix a splinter on your wooden knitting needle and get back to knitting with ease.
Table of Contents
Guide Overview: What You'll Need
Total Time: 30 minutes to 1 hour
Estimated Cost: $5 – $15
Difficulty Level: Easy
Tools Required
- Fine-grit Sandpaper (for smoothing out the splinter area)
- Clamp (small, for holding the needle in place)
- Utility Knife (with extra blades, for careful removal of splintered wood)
- Wood Glue (for reinforcing the area around the splinter)
- Cotton Cloth (for applying even pressure and cleaning)
Supplies & Materials
- Wood Filler (optional, for filling any gaps after repair)
- Clear Varnish or Sealant (for protecting the wooden needle after repair)
Step-by-Step Instructions
- 1. First, assess the damage and determine the severity of the splinter. Take a closer look at the wooden knitting needle and identify the location and size of the splinter. This will help you decide the best course of action to repair it.
- 2. Next, gather your tools, which should include a small, flat screwdriver, a needle file or a small sanding block, some wood glue, and a cloth. Having the right tools at hand will make the process much smoother and help you achieve a professional-looking result.
- 3. Now, carefully remove the splinter using the flat screwdriver. Gently pry the splinter away from the rest of the needle, taking care not to split the wood further. If the splinter is particularly stubborn, you can use a small amount of wood glue to stabilize it before attempting to remove it.
- 4. With the splinter removed, use the needle file or sanding block to smooth out the area. This will help to remove any remaining splinter fragments and create a smooth surface for further repair. Be careful not to sand too aggressively, as this can damage the surrounding wood.
- 5. If the splinter has left a small hole or gap in the needle, you can use wood glue to fill it. Apply a small amount of glue to the affected area and let it dry completely before proceeding. This will help to stabilize the wood and prevent further damage.
- 6. Once the glue is dry, use the sanding block again to smooth out the area. This time, focus on blending the repaired section with the rest of the needle, so that it’s virtually indistinguishable from the surrounding wood.
- 7. Finally, apply a small amount of wood finish to the repaired area, using a cloth to buff it into the wood. This will help to protect the wood and give the needle a smooth, consistent finish. With these steps, your wooden knitting needle should be good as new, ready for you to get back to your knitting projects.
Fixing Splinters With Love
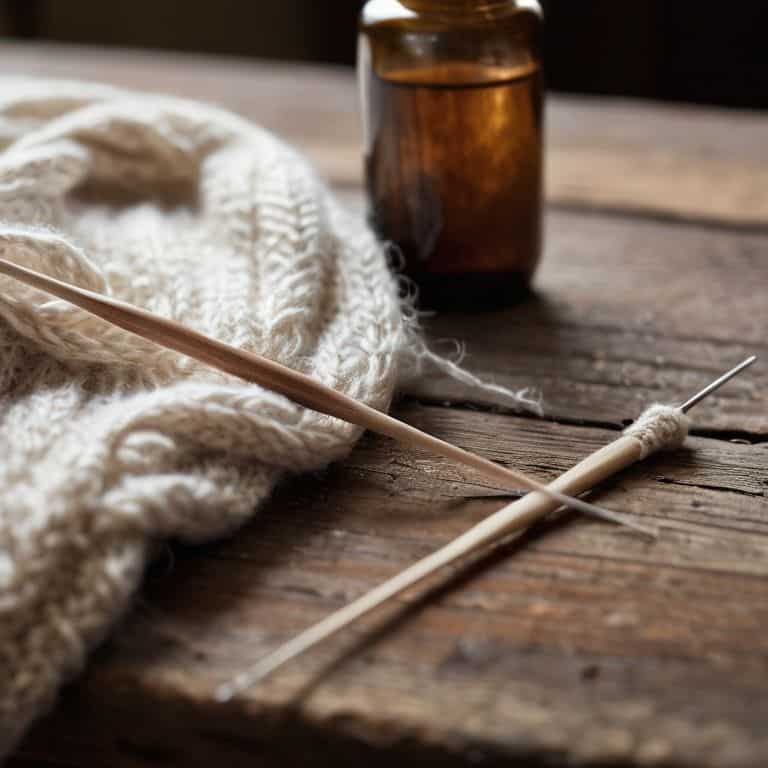
As I work on restoring my wife’s favorite wooden knitting needles, I’ve come to realize that preventing splinters on wooden needles is just as important as fixing them. A simple trick I use is to apply a wood conditioner to the needles periodically, which helps to keep the wood moisturized and less prone to splintering. It’s a small step that can make a big difference in the long run.
When it comes to removing splinters from wood, I’ve found that patience and gentle care are key. It’s essential to work slowly and carefully to avoid causing further damage to the needle. I also recommend having a diy wooden knitting needle repair kit on hand, which can include items like sandpaper, wood glue, and a small scraper. This kit can help you tackle minor repairs and maintenance tasks with ease.
In my experience, wooden knitting needle maintenance tips are often overlooked, but they can make a significant impact on the overall performance and longevity of your needles. By taking the time to regularly inspect and maintain your needles, you can help prevent splinters and other issues from arising. I like to think of it as showing love and care to the tools that help us create something beautiful.
Sawdust and Stitches Removing Splinters
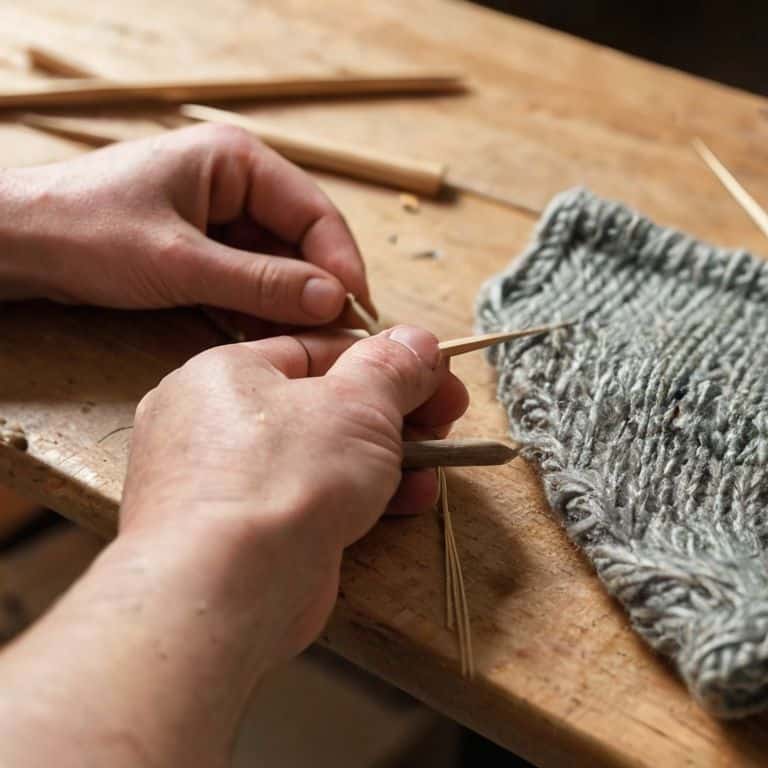
When it comes to removing splinters, I always say it’s all about the gentle touch. You want to coaxes that splinter out, rather than forcing it, which can cause more damage. I like to use a small, flat tool, like a razor blade or a specialized splinter remover, to carefully pry the splinter loose. It’s a bit like whittling a piece of wood – you need to feel the grain and work with it.
As I work, I think about the wood itself, the tree it came from, and the journey it took to become a knitting needle. It’s a mindset that helps me stay patient and focused. With a little love and care, that splinter will be gone in no time, and your needle will be good as new.
Wooden Wisdom Preventing Future Splinters
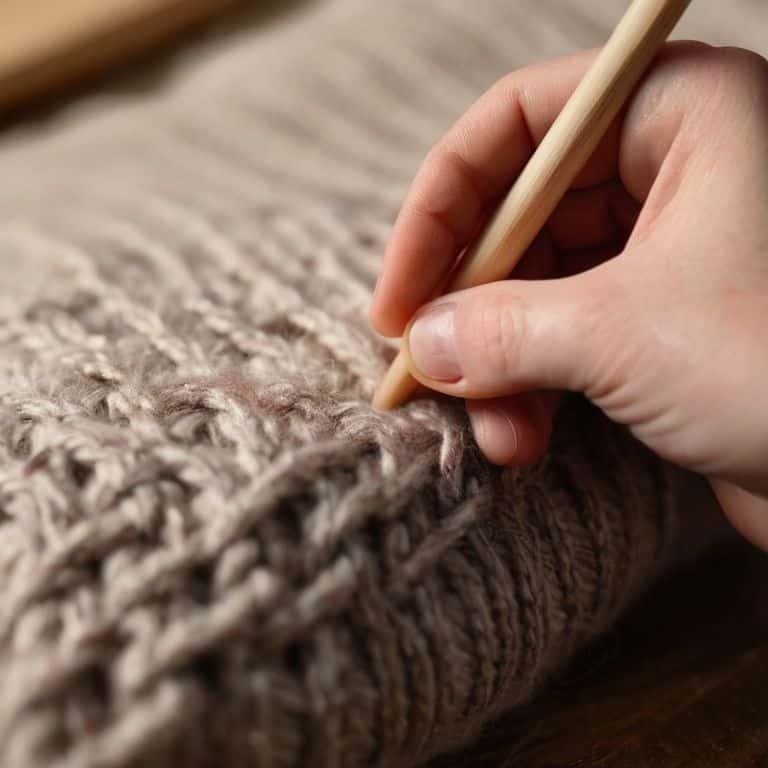
To keep your wooden knitting needles in top condition, regular maintenance is key. I like to give mine a gentle sanding every now and then to smooth out any rough spots. It’s also a good idea to apply a small amount of wood oil or wax to protect the wood from drying out. This simple care can help prevent splinters from forming in the first place.
By taking a little extra time to care for your wooden tools, you can enjoy a lifelong partnership with your knitting needles. I’ve found that a well-maintained needle is not only a joy to work with, but it also becomes a trusted companion in your crafting journey. With a little wooden wisdom, you can keep your needles in great shape and focus on what really matters – creating something beautiful with yarn.
Sanding Down to Perfection: 5 Tips for a Splinter-Free Knitting Needle
- Always inspect your wooden knitting needle for splinters before starting a new project, as catching them early can save you from a world of frustration
- Use a fine-grit sandpaper to gently remove the splinter, working with the wood grain to avoid creating more scratches or damage
- Apply a small amount of wood glue to the affected area after sanding to seal any remaining wood fibers and prevent future splinters
- Regularly conditioning your wooden knitting needle with a wood oil or wax can help to prevent splinters by keeping the wood moisturized and supple
- Consider using a needle sander or a small rotary tool with a sanding drum to get into tight spaces and remove splinters from intricate or detailed areas of your knitting needle
Key Takeaways for a Splinter-Free Knitting Experience
Always inspect your wooden knitting needles regularly for signs of wear and potential splinters to prevent them from becoming a problem
By using a gentle touch and the right tools, such as fine-grit sandpaper and a small amount of wood finish, you can remove splinters and restore your needles to their original smoothness
Preventing future splinters involves not only proper maintenance but also choosing high-quality woods and finishes for your knitting needles, ensuring they remain a joy to use for years to come
Wrapping Up: A Splinter-Free Knitting Experience
As we’ve worked through the process of fixing a splinter on your wooden knitting needle, remember that it’s all about attention to detail and a little bit of love for the craft. We’ve covered the essential steps, from preparation to the final touches, and even dived into the importance of preventing future splinters. By following these guidelines and adopting a mindset of care and maintenance, you’ll not only rescue your current needle but also ensure your future projects are splinter-free. It’s this blend of woodworking and fiber arts that I’m passionate about, and I hope it inspires you to look at your tools and materials in a new light.
As you return to your knitting, I hope you feel a sense of accomplishment and pride in your ability to not just create something beautiful with yarn, but to also care for the tools that make it all possible. The joy of making is deeply intertwined with the joy of fixing and maintaining, and it’s this holistic approach that makes our craft so rewarding. So, go ahead, pick up those needles, and remember that every stitch, every repair, and every newly crafted tool brings you closer to a more fulfilling and handmade life.
Frequently Asked Questions
What type of wood glue is best to use when repairing a splinter on a wooden knitting needle?
For repairing splinters on wooden knitting needles, I swear by a high-quality, water-resistant wood glue like Titebond or Gorilla Wood Glue. They dry clear and won’t compromise the wood’s natural feel, ensuring your needle stays smooth and functional.
Can I use a regular sandpaper to smooth out the splinter area or is there a special type recommended?
For smoothing out splinters, I recommend using a fine-grit sandpaper, at least 220-grit. Regular sandpaper can be too coarse and might scratch the wood. If you want to get fancy, try using a sanding sponge or a wood file – they’re gentler on the wood and can help you get into tight spaces.
Will fixing a splinter on my wooden knitting needle affect its balance or performance in any way?
Don’t worry, fixing a splinter won’t throw off your needle’s balance or performance. I’ve found that a well-repaired splinter can actually make your needle feel more solid in your hand. Just be sure to sand it smooth and apply a finish to protect the wood, and you’ll be back to knitting in no time.