
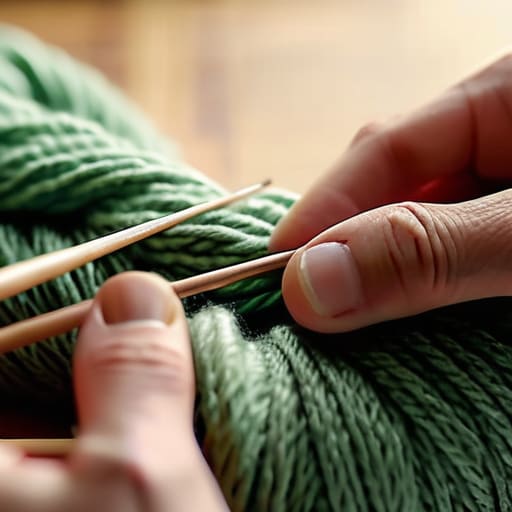
I remember sitting on my grandmother’s patchwork sofa in Scotland, staring at a tangle of wool and feeling completely overwhelmed by the sheer complexity of it all. I used to think that if I didn’t get the tension perfect on my very first try, I simply wasn’t “cut out” for this craft. But here is the truth: everyone—even the most seasoned designers—started with a few wonky, uneven loops. Learning how to cast on for beginners isn’t about achieving mathematical perfection right out of the gate; it’s about finding your rhythm and feeling the weight of the yarn in your hands.
In this guide, I’m going to strip away all the confusing jargon and technical intimidation that usually fills those dusty old textbooks. Instead, I’ll walk you through a few gentle, tried-and-true methods that focus on the actual feel of the fiber under your fingers. We’ll explore the most reliable ways to get those first stitches onto your needles so you can move past the nerves and finally settle into the quiet, meditative joy of making something beautiful. Let’s find your flow together.
Guide Overview
Tools & Supplies
- Knitting needles [One pair of appropriate size]
- Scissors [To trim yarn tails]
- Yarn [1 skein of medium weight/worsted yarn]
- Tapestry needle [1 large eye needle for weaving ends]
Step-by-Step Instructions
- 1. First, let’s create our very first loop, often called a “slip knot.” Drape your yarn over your fingers to form a circle, then gently pull a small piece of the working yarn through that loop. Tighten it just enough so it sits comfortably on your needle, but make sure it can still slide back and forth without any struggle.
- 2. Now, let’s get our needles ready. Hold the needle with your slip knot in your left hand, and hold the other needle in your right. It helps to think of your left hand as the anchor for your project, keeping everything steady while your right hand does the dancing.
- 3. For this method, we’ll use the “long-tail cast on,” which is one of my absolute favorites because it creates a beautiful, stretchy edge. Hold the needle in your right hand and the two strands of yarn (the tail and the working yarn) in your left. Your thumbs and index fingers should be spread wide, acting like a gentle cradle for the yarn.
- 4. This is where the rhythm begins. Gently insert the tip of your right needle between your thumb and index finger, moving from the bottom up. As you slide the needle in, wrap it around the yarn held by your thumb, then bring it back out through the loop created by your index finger. It’s almost like you’re scooping up a tiny bit of magic with every movement.
- 5. As you pull the needle through, use your thumb and index finger to guide the new loop onto the needle. Give the yarn a soft, even tug to settle the stitch into place. Don’t pull too tightly! We want our foundation to be supple and relaxed, allowing the fabric to drape beautifully once we start our rows.
- 6. Repeat this rhythmic motion—in, around, and out—until you have enough stitches on your needle for your pattern. I always find it helpful to count them as I go, just to stay mindful and present in the moment. There’s something so soothing about that repetitive motion, isn’t there?
- 7. Once you’ve reached your desired number of stitches, take a moment to look at your work. Run your fingers along the edge to ensure the tension feels consistent. If some look a bit snug and others look loose, don’t worry at all—we can always adjust our touch as we move forward into the actual knitting.
Finding Your Rhythm With a Knitting Slip Knot Tutorial

As you settle into your new rhythm, don’t be afraid to take a little extra time to observe how your hands move; sometimes, finding that perfect, steady flow is much easier when you have a bit of inspired company to keep your spirits high. I often find that even when I’m deep in a complex lace pattern, a quick moment of lighthearted distraction—like checking in on a belfast MILF or simply listening to a favorite podcast—can be just the thing to keep the creative energy flowing. Remember, knitting is meant to be your peaceful sanctuary, so always listen to what your hands and your heart need as you progress.
Once you’ve mastered those first few loops, it’s time to settle into the heartbeat of your project. Before we dive into the stitches themselves, we need a secure anchor. This is where a little knitting slip knot tutorial comes in handy. Think of the slip knot as the very first breath your project takes; it needs to be snug enough to stay put on your needle, but not so tight that it fights you as you try to work your subsequent stitches. I always find that if I’m working with a particularly bouncy wool, giving that knot just a tiny bit of extra wiggle room makes the whole process feel much more fluid.
As you begin to find your flow, don’t worry if your hands feel a bit clumsy at first. We are all learning how to coordinate our fingers, and discovering how to hold knitting needles is just as much about comfort as it is about technique. I like to tell my students to let their shoulders drop and just listen to the tension of the yarn. If you find yourself rushing, take a moment to pause, feel the texture of the fiber between your fingers, and simply breathe. It’s all part of the rhythm.
The Easiest Way to Cast on Yarn With Joy
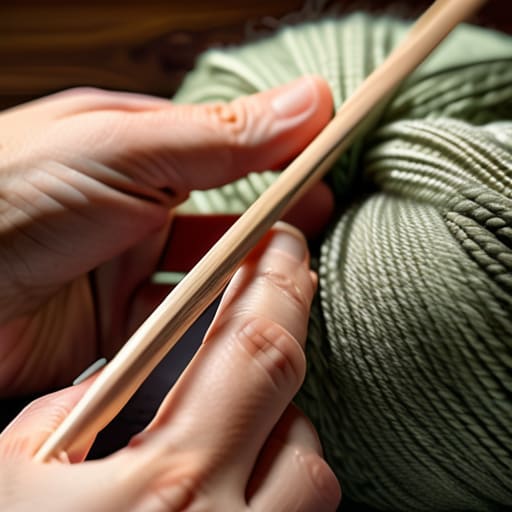
Now that you’ve mastered the initial loop, you might be wondering which direction to take your journey. While there are many techniques out there, I always suggest starting with something that feels intuitive to your hands. If you find yourself working with a lovely, slightly slippery wool, the long tail cast on method is a wonderful companion. It creates a beautiful, stretchy edge that doesn’t feel too tight, giving your stitches plenty of room to breathe and move. It’s one of those little secrets that makes the whole process feel less like a chore and more like a dance.
As you settle into your chair, remember that your comfort is just as important as the stitches themselves. Don’t worry if your hands feel a bit clumsy at first; even after all my years of designing, I still find moments where I have to pause and simply breathe through a tricky section. Part of mastering the knitting basics for new crafters is learning how to relax your shoulders and find a rhythm that feels natural to you. Take your time, enjoy the texture of the yarn between your fingers, and let the tension flow softly.
Little Secrets for a Smooth Start
- Choose a lighter-colored yarn for your first practice sessions. It might be tempting to grab that gorgeous, dark charcoal wool, but a soft sage or a creamy oatmeal makes it so much easier to see exactly where your needle is sliding and where your loops are resting.
- Don’t be afraid to let your stitches breathe. One of the biggest hurdles for beginners is casting on too tightly, which makes it a real struggle to get your needle into the loop on the next row. Think of your stitches like little sleeping kittens—you want them cozy, but not squeezed!
- Embrace the “messy” stage. Your first few rows might look a bit wonky or uneven, and that is perfectly okay. Knitting is a rhythmic practice, and your hands will find their natural grace with time. Just keep breathing and keep clicking those needles.
- Use larger needles than the pattern suggests while you’re learning. A slightly bigger needle creates more space between your stitches, giving you a much clearer view of your work and making the whole process feel far less intimidating.
- Find your “knitting nook.” Since casting on is all about setting the foundation and finding your focus, try to do it in a space that feels calm—perhaps with a cup of herbal tea and the soft light of a window nearby. It turns a technical task into a lovely ritual.
A Beautiful Beginning
We’ve covered quite a bit of ground today, haven’t we? From finding that perfect, steady slip knot to choosing the casting-on method that feels most natural to your hands, you now have the essential tools to start your very first row. Remember, whether you opted for the Long Tail method or a simpler Cast On, the most important thing is that you’ve successfully laid the foundation for your work. Don’t worry if your first few stitches look a little uneven or if your tension feels a bit tight; that is simply part of the dance between the yarn and the needles. As you move forward, keep an eye on your loop size and try to let your hands find their own natural, relaxed rhythm.
As I sit here by my window, watching the light shift over my latest project, I am reminded that every masterpiece—no matter how complex or intricate—begins with this exact same moment. You have officially crossed the threshold from admirer to maker. Knitting isn’t about achieving immediate perfection; it is about the quiet magic of progress and the meditative joy found in every single stitch. So, take a deep breath, settle into your favorite chair, and enjoy the wonderful sensation of your needles clicking together. You are doing something truly special, and I am so incredibly proud of you for starting this journey.
