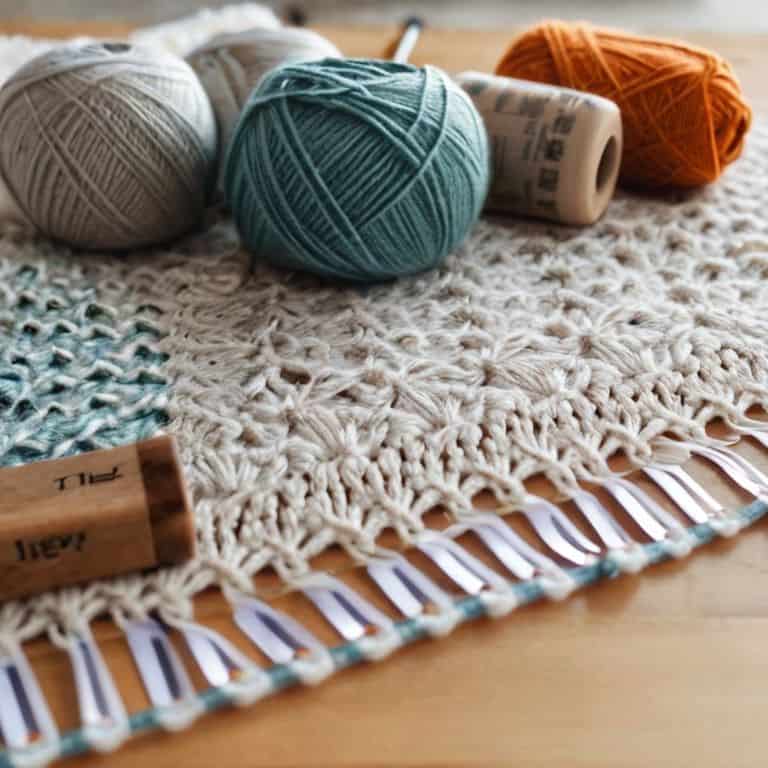
As I sat in my cozy little cottage, surrounded by balls of yarn and half-finished knitting projects, I couldn’t help but think about the magic of blocking. You see, I’ve often heard people say that learning how to block your finished knitting projects is a daunting task, a chore that requires too much time and effort. But I’m here to tell you that it’s quite the opposite – with a few simple steps, you can transform your handmade items into professional-looking masterpieces. I still remember the first time I blocked a scarf, and how it went from being a slightly misshapen, fuzzy piece of fabric to a beautiful, drapey accessory that I couldn’t wait to wear.
In this article, I’ll share my honest, no-fuss approach to blocking, and guide you through the process with easy-to-follow steps and tips. You’ll learn how to prepare your knitting for blocking, choose the right tools and techniques, and troubleshoot common problems. By the end of this guide, you’ll be confident in your ability to block your finished knitting projects like a pro, and enjoy the satisfaction of seeing your handmade items look and feel their absolute best. Whether you’re a seasoned knitter or just starting out, I invite you to join me on this journey and discover the joy of transforming your knitting into something truly special.
Table of Contents
Guide Overview: What You'll Need
Total Time: 1 hour 15 minutes
Estimated Cost: $10 – $20
Difficulty Level: Easy
Tools Required
- Tape measure (for measuring projects)
- Ruler (for ensuring straight edges)
- Iron (with steam function)
- Ironing board (with a heat-resistant surface)
Supplies & Materials
- Blocking pins (rust-resistant)
- Blocking mat (at least 2 inches thick)
- Measuring tape (for measuring projects)
- Yarn needle (for weaving in ends)
Step-by-Step Instructions
- 1. First, let’s start by preparing our knitting project for blocking – this means weaving in any ends and making sure the piece is completely finished before we begin. I like to take a moment to admire my handiwork and make any necessary adjustments before moving on to the next step. It’s also a good idea to read through the care instructions for your specific yarn to ensure you’re using the right method for blocking.
- 2. Next, we need to soak our knitting project in warm water to relax the fibers and open up the stitches. I find that using a large sink or a basin filled with lukewarm water is perfect for this step – just make sure the water is not too hot or too cold, as this can felt or shrink certain types of yarn. Gently submerge your project and let it soak for about 30 minutes to an hour, or according to the yarn manufacturer’s instructions.
- 3. While our project is soaking, let’s prepare the blocking surface. I like to use a large, thick towel or a specialized blocking mat to provide a smooth, even surface for my project to dry on. If you’re using a towel, make sure it’s clean and dry before laying out your project – you don’t want any lint or debris to transfer to your beautiful knitting.
- 4. Once our project has finished soaking, it’s time to gently remove it from the water and gently squeeze out excess water without wringing or twisting the fabric. I find that using a clean towel to gently blot the project and remove excess moisture helps to prevent stretching or distorting the stitches. Be patient and take your time during this step – it’s essential to handle your project with care to avoid damaging the yarn or the stitches.
- 5. Now it’s time to lay out our project on the prepared blocking surface. I like to use T-pins or specialized blocking pins to secure the project in place, making sure to pin it out to the desired shape and measurements. For items like sweaters or cardigans, I’ll often use a measuring tape or a blocking wire to help maintain the shape and ensure even blocking.
- 6. As we continue to shape and pin our project, let’s make sure to pay attention to the stitches and the overall texture of the fabric. I find that using a blunt-tipped tapestry needle or a weaving needle to gently tease out any stitches or yarn tails helps to create a smooth, even finish. Take your time and work slowly, making sure each stitch is properly aligned and the fabric is lying flat.
- 7. Finally, let’s allow our project to dry completely, either air-drying it or using a fan to gently speed up the process. I find that it’s essential to be patient during this step, as rushing the drying process can cause the yarn to felt or become misshapen. Depending on the type of yarn and the thickness of the project, this can take anywhere from a few hours to several days – but trust me, the end result is well worth the wait.
Unlocking Knit Finishing Secrets
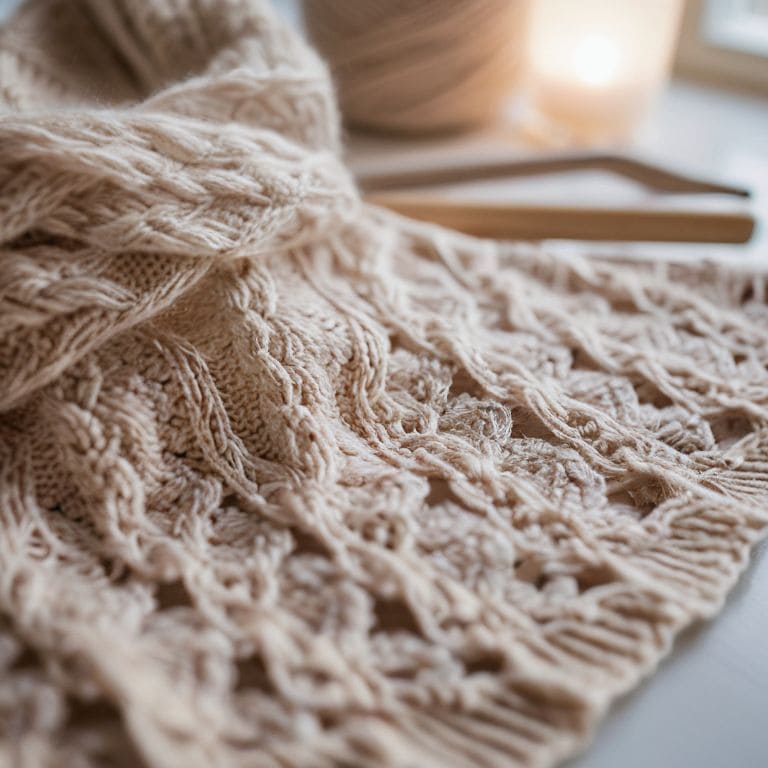
As we dive deeper into the world of knit finishing, it’s essential to understand the benefits of wet blocking knitting. This technique allows the fibers to relax and even out, giving your finished project a professional look and feel. When using blocking mats for knitting, make sure to gently stretch and pin your garment to the desired shape, taking care not to over-stretch or distort the fabric.
To achieve the best results, it’s crucial to consider the drying times for blocked knitting. This can vary depending on the type of yarn and the ambient temperature and humidity. As a general rule, it’s best to allow your project to dry slowly and naturally, away from direct sunlight or heat sources. By doing so, you’ll be able to preserve the natural texture and color of your yarn.
By mastering these knitting project finishing techniques, you’ll be able to take your handmade items to the next level. Remember, tips for shaping knitting projects are all about patience and attention to detail. With practice and experience, you’ll develop a keen eye for what works best for each unique project, and your finished garments will reflect the love and care that you’ve put into creating them.
Shaping Dreams Tips for Wet Blocking Wool
When it comes to wet blocking wool, I just adore how it can transform a garment. To start, gently submerge your knit in cold water, making sure it’s fully saturated. Then, lay it out on a towel, reshaping it to the desired dimensions. For wool, it’s essential to handle it with care, as it can felt easily. I like to use a blocking mat or a large, thick towel to help maintain the shape.
By pinning the edges and allowing it to dry slowly, you’ll be amazed at how your wool knit opens up and becomes soft and even. It’s truly magical, don’t you think?
Weaving a Little Magic Blocking Basics
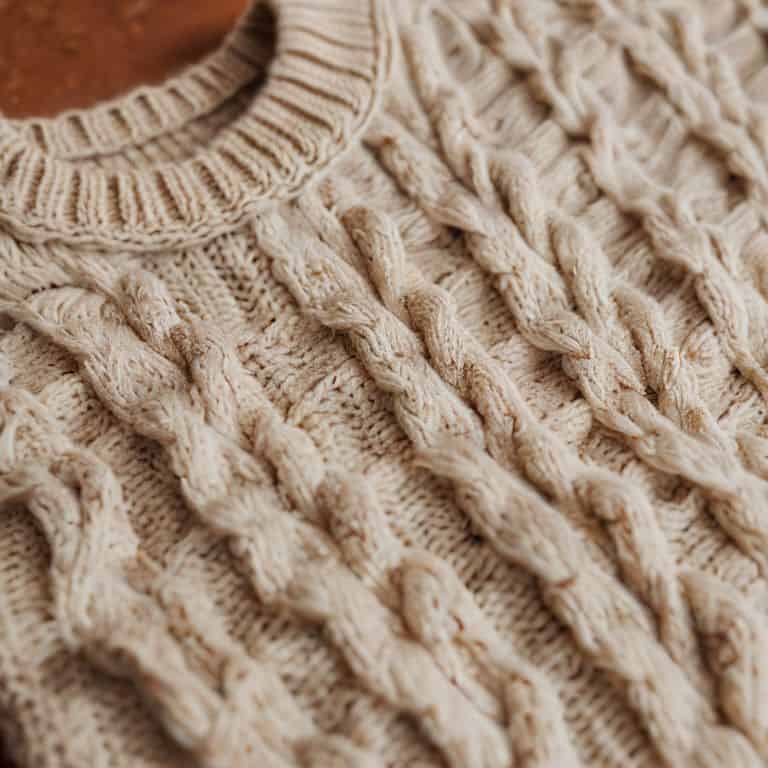
As we dive into the world of blocking, it’s essential to understand the basics. Blocking is a simple yet powerful technique that can transform your finished knitting project into a professional-looking masterpiece. It involves wetting, stretching, and drying your knit to even out the stitches, relax the fibers, and give it a beautiful drape. By blocking your project, you’ll not only improve its appearance but also enhance its texture and durability.
To get started, you’ll need a few basic supplies, including a large towel, a measuring tape or blocking pins, and a flat surface. I like to use a vintage wooden board or a large piece of cardboard to block my projects. The key is to create a stable and even surface that allows your knit to dry slowly and evenly. With these simple tools and a bit of patience, you’ll be well on your way to weaving a little magic into your finished knitting projects.
Finishing Touches: 5 Essential Tips for Blocking Your Knits
- Let your project relax: before blocking, make sure your finished knit has been washed and dried to remove any excess dye or finish that might affect the blocking process
- Choose the right tools: invest in a good set of blocking pins, a blocking mat, and a measuring tape to ensure your project is evenly spaced and precisely shaped
- Pay attention to fibre content: different yarns require different blocking techniques, so be sure to research the best approach for your specific fibre – wool, alpaca, and cotton all have unique needs
- Don’t over-block: it’s easy to get carried away with the blocking process, but be gentle with your project and avoid over-stretching or distorting the fabric
- Allow time to dry: blocking can be a slow process, so be patient and let your project dry completely, away from direct sunlight and heat sources, to ensure it retains its shape and texture
Key Takeaways for Beautifully Blocked Knits
Blocking your finished knitting project is the secret to giving it a professional finish, and it’s easier than you think – with the right tools and a little patience, you can make your handmade item look and feel its absolute best
Understanding the type of yarn you’re working with is crucial for choosing the right blocking method, whether it’s wet blocking for wool or steam blocking for more delicate fibers, to bring out the unique texture and drape of your knitting
By incorporating blocking into your knitting routine, you’ll not only improve the appearance of your finished projects, but also develop a greater appreciation for the process, allowing you to slow down, enjoy the journey, and truly savor the joy of creating something with your own hands
The Blocking Wisdom
Blocking is where the magic happens, my friends – it’s the moment when your stitches come alive, and your handmade item transforms into a professional, polished masterpiece that whispers stories of love and craftsmanship with every thread.
Clara Meadows
The Finishing Touches
As we come to the end of our journey on how to block your finished knitting projects, let’s take a moment to reflect on the key points we’ve covered. From the basics of wet blocking to the more nuanced techniques for shaping and finishing our knits, it’s been a delight to share my passion for knitting with you. By mastering these skills, you’ll be able to take your knitting to the next level, creating beautiful, professional-looking pieces that will be treasured for years to come. Whether you’re a seasoned knitter or just starting out, the art of blocking is an essential tool to have in your toolkit.
So, as you put down your needles and admire your latest creation, remember that the true magic of knitting lies not just in the stitches themselves, but in the love and care that goes into every detail. By taking the time to block your finished projects, you’re not only creating something beautiful, but also infusing it with a sense of calm and mindfulness that will be passed on to whoever wears or uses it. Happy knitting, and I look forward to seeing the beautiful things you create!
Frequently Asked Questions
How do I determine the best blocking method for my specific yarn type?
To determine the best blocking method for your yarn, consider its fiber content and texture. For wool and other natural fibers, wet blocking is often ideal, while synthetic blends might prefer steam blocking. Let’s explore the unique needs of your yarn together, shall we?
Can I block a knitting project that has multiple colors or intricate patterns, and if so, are there any special considerations?
Absolutely, you can block a project with multiple colors or intricate patterns. For these types of projects, I recommend using a gentle blocking method, like wet blocking, to prevent colors from bleeding or running. It’s also a good idea to use a blocking mat with grid lines to help you pin out complex patterns and maintain even tension.
What are some common mistakes to avoid when blocking a finished knitting project to ensure it looks its best?
When blocking, beware of stretching your knit too tightly, as it can lose its natural texture. Also, avoid over-saturating your project, which can lead to fading or felted fibers. And, please, don’t skip the measuring step – it’s crucial to ensure your blocked piece retains its intended shape and size.