I still remember the first time I tried to learn how to knit for beginners. I was frustrated by the lack of clear instructions and the assumption that I already knew the basics. It seemed like every tutorial or guide I found was written for someone who already had experience with knitting, leaving me feeling lost and intimidated. But I didn’t give up, and that’s exactly what I want to help you avoid – the frustration and confusion that comes with trying to learn a new craft without a clear guide.
In this article, I promise to provide you with honest and practical advice on how to knit for beginners, breaking down the process into simple, manageable steps. You won’t find any confusing jargon or assumptions about prior knowledge here. Instead, I’ll walk you through every step of the way, from choosing the right tools to completing your first project. My goal is to make the process of learning to knit as enjoyable and stress-free as possible, so you can focus on creating something beautiful and relax into the rhythm of knitting.
Table of Contents
Guide Overview: What You'll Need
Total Time: 2 hours 30 minutes
Estimated Cost: $20 – $50
Difficulty Level: Easy
Tools Required
- Knitting Needles available in aluminum, wood, or plastic, in sizes ranging from 2 inches to 17 inches
- Scissors for cutting yarn
- Tapestry Needle for weaving in ends
Supplies & Materials
- Yarn choose a soft, medium-weight yarn, such as acrylic or cotton, in a color of your choice
- Measuring Tape for measuring your work as you knit
- Stitch Markers small plastic or metal markers to help you keep track of your place in a pattern
Step-by-Step Instructions
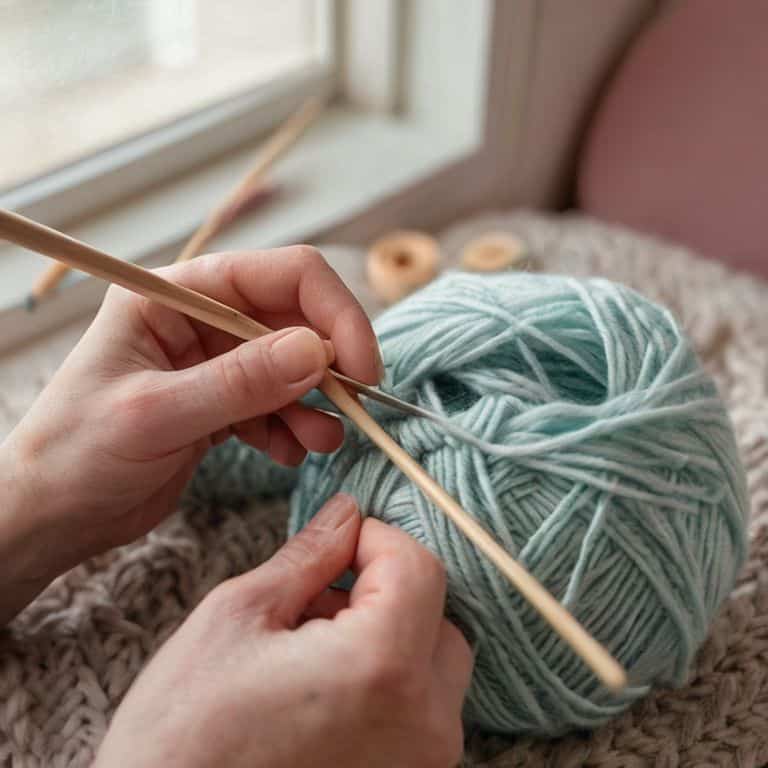
- 1. First, let’s start with the basic tools you’ll need to begin your knitting journey. You’ll need a pair of knitting needles, which come in different materials like aluminum, wood, or plastic, and some yarn. Don’t worry too much about the type of yarn at this stage; just choose one that you like the feel and color of. I’ll walk you through how to choose the right yarn for your project as we progress.
- 2. Next, we need to create a slip knot on one of your needles. To do this, hold the needle in one hand and the yarn in the other. Make a loop with the yarn, then hook the needle through the loop and pull the yarn tight. This will create a small knot on the needle, which is your starting point. Remember, the key here is to keep the knot small so it doesn’t interfere with your knitting.
- 3. Now, let’s talk about casting on. This is the process of getting the yarn onto your needles so you can start knitting. There are several methods to cast on, but for beginners, the long-tail cast-on is a good method to start with. It involves creating a series of loops on one of your needles using the yarn. To start, make a slip knot on one needle, then hold the yarn in your non-dominant hand, making a loop with your thumb and index finger. Use your other hand to pull the yarn through the loop, creating a stitch on the needle. Repeat this process until you have the desired number of stitches.
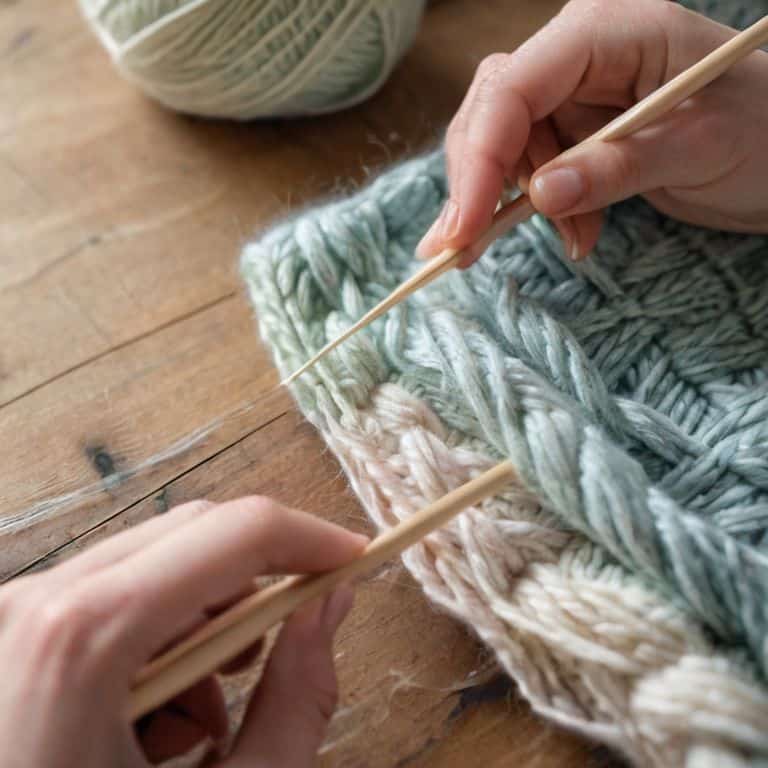
- 4. With your stitches cast on, it’s time to start knitting your first row. Hold the needle with the cast-on stitches in your non-dominant hand and the other needle in your dominant hand. Insert the tip of the empty needle into the first stitch on the filled needle, then wrap the yarn around the empty needle, moving it from the front of the work to the back. Next, bring the yarn back to the front and slide the stitch off the filled needle. You’ve just completed your first knit stitch. Repeat this process for each stitch on the needle.
- 5. As you continue knitting, you’ll eventually need to turn your work to start a new row. To do this, when you’ve completed knitting all the stitches on the needle, simply turn the work around so the other side is facing you. You’ll notice the first stitch on the new row is a bit tighter than the others; this is normal. Just make sure to keep your tension even as you knit to ensure your fabric lies flat.
- 6. Now, let’s address common mistakes beginners make. One of the most common issues is uneven tension, which can cause your fabric to pucker or become misshapen. To avoid this, try to keep your stitches consistent, not too tight or too loose. Another issue is dropping stitches, which can happen if you’re not careful when turning your work or if your yarn is too slippery. If you notice a dropped stitch, don’t panic; you can fix it by working it back up to the needle with a crochet hook or a spare needle.
- 7. Finally, as you become more comfortable with the basic knit stitch, you can start to think about binding off. Binding off is the process of securing your last row of stitches so your work doesn’t unravel. There are several methods to bind off, but a simple one for beginners is the basic bind-off. To start, knit the first stitch on the needle, then pass the second stitch over the first. Repeat this process, knitting one stitch and then passing the next stitch over it, until you have one stitch left on the needle. Cut the yarn, leaving a small tail, and pull it through the last loop to secure it.
Unlock How to Knit for Beginners
As you continue on your knitting journey, it’s essential to understand the importance of choosing the right knitting needles. This can make a significant difference in the quality and comfort of your knitting experience. I always recommend starting with straight needles, as they are easier to manage for beginners. When selecting needles, consider the material, size, and type of needles that suit your project and personal preference.
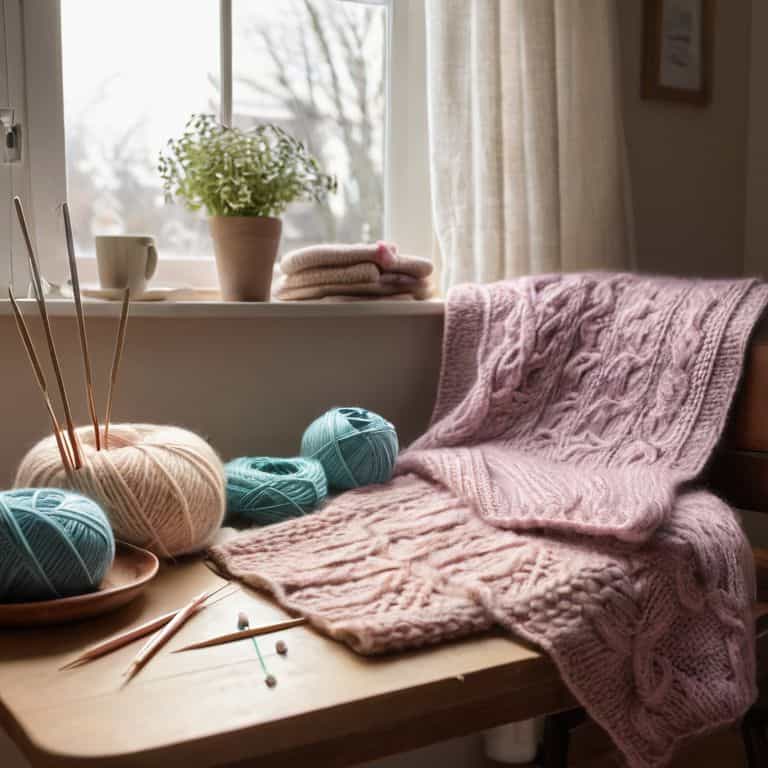
To ensure a smooth knitting process, it’s crucial to familiarize yourself with basic knitting tools and accessories. This includes scissors, yarn needles, and measuring tapes. Having these tools readily available will help you navigate any challenges that may arise during your project. Additionally, understanding easy knitting patterns for beginners will help you build confidence and develop your skills. Start with simple patterns, such as scarves or hats, and gradually move on to more complex projects.
As you practice and become more comfortable with knitting, you’ll encounter various types of yarn. It’s essential to learn about knitting yarn types for beginners, including their textures, weights, and fibers. This knowledge will help you select the perfect yarn for your project, ensuring a beautiful and durable finish. By mastering these fundamental aspects of knitting, you’ll be well on your way to creating stunning pieces that you’ll treasure for years to come.
Discover Easy Knitting Patterns
As we continue on our knitting journey, let’s explore some easy patterns to get you started. I just love how a simple stitch can be transformed into a beautiful fabric. For beginners, I recommend starting with a classic garter stitch or a stockinette stitch. These patterns are not only easy to learn, but they’re also versatile and can be used to create a variety of projects, from scarves to hats.
Let’s break down these patterns into manageable steps. For a garter stitch, you’ll simply knit every row, while a stockinette stitch involves alternating between knit and purl rows. I’ve created a handy checklist to help you keep track of your stitches, and with a little practice, you’ll be knitting like a pro in no time. Remember, the key is to take it one step at a time and don’t be afraid to make mistakes – they’re all part of the learning process.
Understanding Knitting Terminology
As we dive into the world of knitting, it’s essential to understand the terminology used. Don’t worry if it seems overwhelming at first – I’m here to break it down for you. Let’s start with the basics: “cast on” refers to the process of placing stitches onto your needles, while “bind off” is the technique used to secure your final stitches. You’ll also come across terms like “row,” “stitch,” and “yarn over.” I’ll explain each of these terms in detail, so you can feel confident as you begin your knitting journey.
Think of knitting terminology as a secret language – once you learn the basics, you’ll be able to decipher even the most complex patterns. I’ll provide you with a comprehensive guide to common knitting terms, so you can focus on creating something beautiful, rather than getting bogged down in jargon. With a little practice, you’ll be speaking like a pro in no time!
5 Essential Tips to Get You Started on Your Knitting Journey
- Start with the right tools: Invest in a good pair of knitting needles and a yarn that suits your project, and don’t be afraid to ask for help if you’re not sure what to choose
- Practice, practice, practice: Don’t be discouraged if your first attempts at knitting don’t turn out perfectly – it’s all part of the learning process, and you’ll get better with time
- Watch and learn: Online tutorials and videos can be a great resource for beginners, as they can help you understand the stitches and techniques more clearly
- Join a community: Look for local knitting groups or online forums where you can connect with other knitters, share tips and advice, and get feedback on your projects
- Be patient with yourself: Knitting can be frustrating at times, especially for beginners, but remember that it’s okay to make mistakes – they’re an opportunity to learn and improve your skills
Key Takeaways for Beginner Knitters
Start with the basics: understand your tools and materials before diving into your first knitting project, and don’t be afraid to ask for help along the way
Break down complex patterns into simple, manageable steps – every project can be reduced to a series of straightforward instructions, making it easier to tackle even the most daunting designs
Practice patience and persistence: knitting is a skill that takes time to develop, but with clear guidance, a willingness to learn, and a commitment to enjoying the process, you’ll be creating beautiful, handmade items in no time
Embracing the Joy of Knitting
As we conclude our journey through the world of knitting for beginners, let’s take a moment to reflect on the key points we’ve covered. From understanding the basic tools and materials to mastering easy knitting patterns and grasping essential terminology, we’ve broken down the process into manageable, bite-sized steps. This approach is designed to make your learning experience as smooth and enjoyable as possible, allowing you to focus on the creative aspect of knitting rather than getting bogged down in confusion.
As you move forward with your knitting adventure, remember that the true beauty of this craft lies not just in the end product, but in the journey itself. The process of creating something with your own hands can be incredibly fulfilling, and I encourage you to embrace the imperfections and enjoy the ride. Whether you’re making something for yourself or as a gift for a loved one, the love and care that goes into each stitch is what truly makes your handmade item special.
Frequently Asked Questions
What are the essential knitting tools and materials I need to get started?
Let’s get started with the basics – you’ll need a few simple tools like knitting needles, yarn, and scissors. Don’t worry, I’ll walk you through every step of the way. For beginners, I recommend starting with straight needles and a medium-weight yarn, it’s easy to work with and forgiving.
How do I choose the right yarn and needles for my first knitting project?
Let’s talk yarn and needles. For your first project, choose a smooth, medium-weight yarn and a pair of straight needles in a size that feels comfortable in your hands. I recommend starting with a worsted weight yarn and US size 8 needles – it’s a great combination for beginners.
What are some common mistakes beginners make when learning to knit, and how can I avoid them?
Don’t worry, my friend, we’ve all been there. Common mistakes include uneven tension, miscounting stitches, and dropped stitches. To avoid these, take your time, count carefully, and don’t pull the yarn too tight. I like to make a simple checklist to double-check my work – it really helps!