I still remember the first time I tried to change colors in a granny square – it was a hot mess! I had envisioned this beautiful, vibrant blanket with a perfect transition between colors, but what I got was a jumbled mess of yarn and frustration. I quickly learned that the key to mastering this technique is not about following a strict pattern, but about understanding the rhythm of the stitches. If you’re like me and have struggled with how to change colors in a granny square, you know how frustrating it can be to have your creativity hindered by a simple technical issue.
In this article, I’ll share my honest, no-nonsense advice on how to change colors in a granny square, so you can avoid the pitfalls I encountered. I’ll walk you through the process, step by step, and provide you with practical tips and tricks to help you achieve a seamless color transition. Whether you’re a beginner or an experienced crocheter, this guide will help you unlock the full potential of your granny square project and add a pop of color to your creations. By the end of this article, you’ll be confident in your ability to change colors like a pro and take your crochet game to the next level.
Table of Contents
- Guide Overview: What You'll Need
- Step-by-Step Instructions
- Rebel Colors in Granny Squares
- Color Your World: 5 Essential Tips for Changing Colors in a Granny Square
- 3 Key Takeaways to Rock Your Granny Square
- The Art of Colorful Expression
- Embracing the Art of Colorful Creations
- Frequently Asked Questions
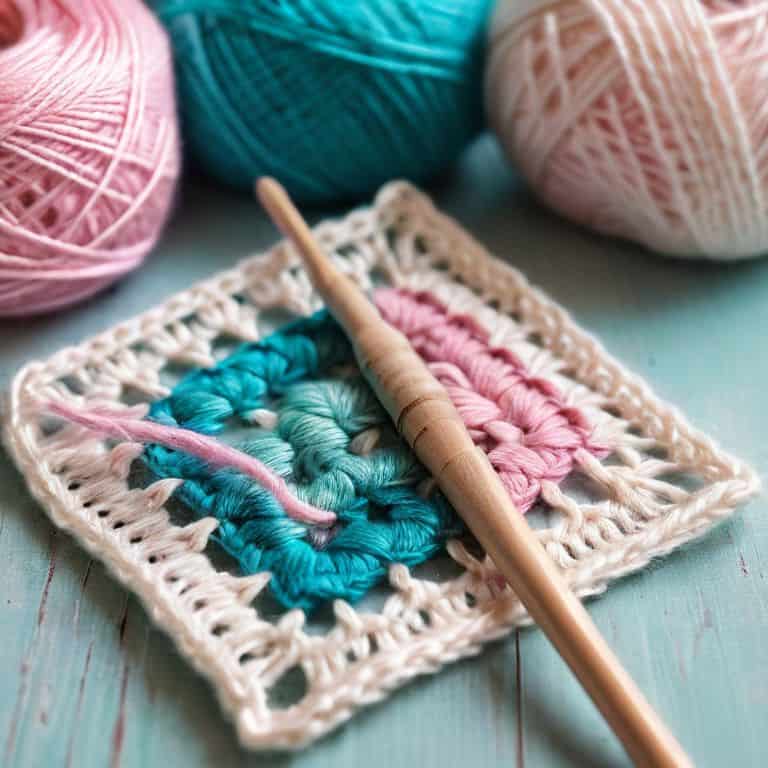
Guide Overview: What You'll Need
Total Time: 30 minutes to 1 hour
Estimated Cost: $5 – $15
Difficulty Level: Easy
Tools Required
- Tapestry Needle (for weaving in ends)
- Scissors (sharp and dedicated to cutting yarn)
- Stitch Markers (optional for tracking color changes)
Supplies & Materials
- Yarn (in desired new colors)
- Granny Square Pattern (or knowledge of the stitch pattern)
- Measuring Tape (or ruler, for measuring crochet hook size in inches)
Step-by-Step Instructions
- 1. First, let’s get started with the basics – to change colors in a granny square, you’ll need to finish the last stitch of the round you’re on, and then you can prepare for the color switch. Make sure to secure the last stitch with a slip stitch, and then you can cut the yarn, leaving a long tail for weaving in later.
- 2. Next, you’ll need to join the new color – take your new yarn and pull it through the stitch where you ended the previous round. This will create a loop on the hook, and you can then pull the yarn tight to secure it. Don’t pull it too tight, though – you want to leave a bit of room for the stitch to lie flat.
- 3. Now it’s time to start the new round – chain three to create a starting point for your stitches, and then begin making your double crochet stitches in the usual pattern. Remember to keep your tension even, and don’t pull the yarn too tight, or your granny square might start to pucker up.
- 4. As you work the new round, make sure to keep track of your stitch count – it’s easy to get distracted and lose count, especially if you’re watching TV or chatting with friends while you crochet. Take your time, and use a stitch marker if you need to, to keep yourself on track.
- 5. When you get to the end of the round, slip stitch to join – this will create a seamless join, and you can then start the next round with your new color. Make sure to pull the yarn tight, so the join lies flat, and you don’t have any loopy bits sticking out.
- 6. Repeat the process of changing colors as many times as you like – just remember to cut and weave in your ends as you go, so you don’t have a big mess to deal with at the end. It’s also a good idea to use a yarn needle to weave in your ends, as it makes the process much easier.
- 7. Finally, once you’ve completed your granny square, block it to shape – this will even out the stitches, and give your square a professional finish. You can use a blocking mat and some pins to hold it in place, and then let it dry completely before using it in your project.
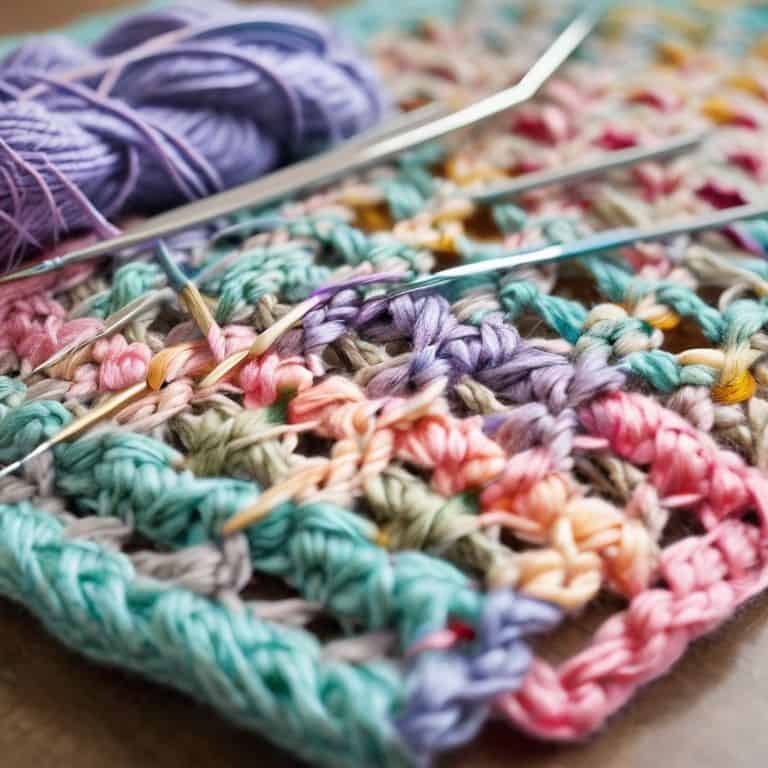
Rebel Colors in Granny Squares
As I experiment with granny square color transition techniques, I love discovering new ways to add a pop of color to my projects. One of my favorite things to do is play with multicolor crochet patterns to create a unique and eye-catching design. By combining different yarn weights and colors, I can add depth and texture to my granny squares, making them truly one-of-a-kind.
When it comes to changing yarn colors seamlessly, I’ve found that it’s all about the timing. I like to switch colors at the end of a round, when I’m about to start a new stitch pattern. This way, the color transition is smooth and barely noticeable. Plus, it gives me the freedom to get creative with my yarn weight and color selection. I might choose a bold, bright color for the center of the square, and then graduate to softer, pastel shades towards the edges.
For a really show-stopping look, I love adding a decorative border to my granny squares using crochet color theory for beginners. By choosing colors that complement each other, I can create a beautiful, harmonious design that ties the whole project together. And the best part? The possibilities are endless, so I can let my imagination run wild and come up with something truly unique. Whether I’m making a blanket, a pillow cover, or a simple coaster, my granny squares are always a reflection of my personality and style.
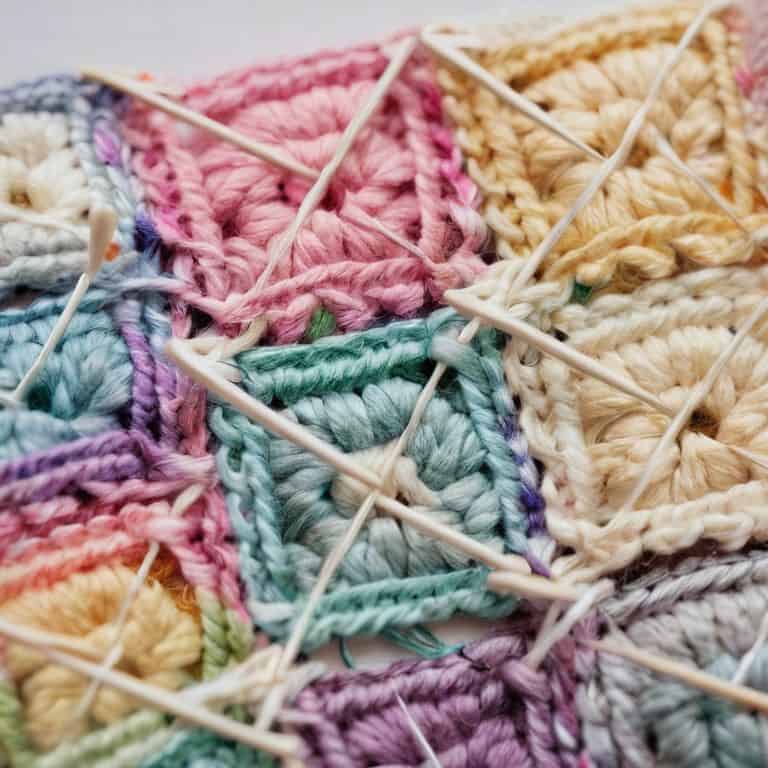
Granny Square Color Transition Techniques
Now that we’ve unleashed our inner rebels, let’s explore some fun techniques for transitioning between colors in our granny squares. I love using the “fade” method, where I gradually switch from one color to another by carrying the yarn up the side of the work. It creates this beautiful, ombre-like effect that adds so much visual interest to the square. You can also try the “block” method, where you switch colors abruptly, creating a fun, graphic look.
I’ve also had a blast experimenting with the “speckle” technique, where I drop in little pops of contrasting color throughout the square. It’s such a great way to add some whimsy and personality to your project. Remember, the key to pulling off these techniques is to not be too hard on yourself – it’s all about embracing the imperfections and having fun with the process!
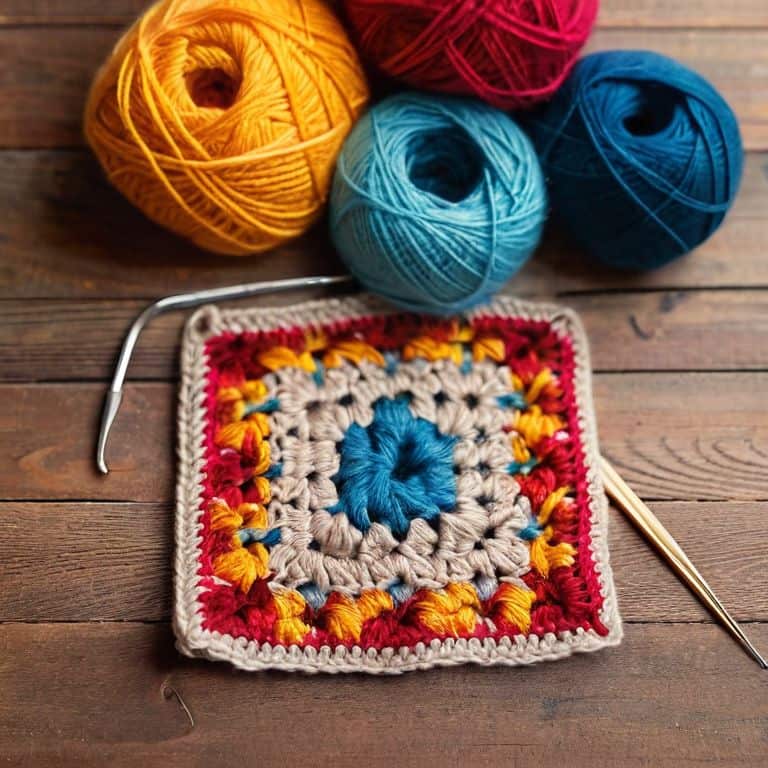
Multicolor Crochet Patterns for Beginners
Now that we’ve explored the magic of rebel colors, let’s talk about multicolor crochet patterns that are perfect for beginners. I just love how a simple granny square can be transformed into a vibrant, one-of-a-kind masterpiece with the right color combinations. When I’m working on a new project, I like to experiment with different hues and textures to create a unique look that reflects my personality.
For those just starting out, I recommend playing with complementary colors like blue and orange, or purple and yellow. These combinations add a fun pop of color to your granny square and can help you develop your own signature style. Plus, they’re easy to work with, even if you’re new to crochet. Remember, the key is to have fun and not be afraid to try new things – after all, that’s what makes handmade items so special!
Color Your World: 5 Essential Tips for Changing Colors in a Granny Square
- Start with a plan, but don’t be afraid to stray: before you begin, think about the color palette you want to achieve, but remember, it’s okay to make changes as you go along – it’s all part of the creative process!
- Choose colors that vibe well together: when selecting your colors, consider the 60-30-10 rule – 60% of your granny square will be a dominant color, 30% a secondary color, and 10% an accent color – it’s a great way to ensure your colors are harmonious
- Learn to love the slip stitch: it’s a game-changer when it comes to changing colors, and with a little practice, you’ll be a pro in no time – just remember to always slip stitch into the first stitch of the next round
- Don’t stress about the yarn tails: we’ve all been there – you’re changing colors and you’re left with a bunch of yarn tails to weave in, but honestly, it’s not the end of the world – just take a deep breath and get weaving (or use a yarn needle to make it easier)
- Experiment with different color change techniques: from the simple ‘carry the yarn’ method to more complex techniques like intarsia, there are so many ways to change colors in a granny square – don’t be afraid to try new things and see what works best for you
3 Key Takeaways to Rock Your Granny Square
Embracing the art of changing colors in your granny square is all about experimentation and having fun – don’t be afraid to try new hues and combinations to make your project truly unique
Mastering the skill of transitioning between colors seamlessly is a game-changer for any crochet enthusiast, and with a few simple techniques, you can add a professional touch to your handmade items
Whether you’re a beginner or a seasoned pro, incorporating multicolor patterns into your granny square projects can add a whole new level of visual interest and personality, making each piece a reflection of your personal style and creativity
The Art of Colorful Expression
Changing colors in a granny square is like adding a new chapter to your favorite story – it’s a chance to surprise, to delight, and to make the ordinary, extraordinary, one stitch at a time!
Ruby Warren
Embracing the Art of Colorful Creations
As we’ve explored the world of granny squares and color changes, I hope you’ve picked up some valuable tips and tricks to enhance your crochet journey. From the basic steps of changing colors to the more advanced techniques of rebel colors and multicolor patterns, it’s all about embracing your creativity and having fun with the process. Don’t be afraid to experiment with different hues and see what unique combinations you can come up with – after all, that’s what makes handmade items truly special. Remember, the key to mastering color changes in granny squares is practice, patience, and a willingness to try new things.
So, my fellow crafty friends, I encourage you to keep pushing the boundaries of what’s possible with crochet and color. Whether you’re a seasoned pro or just starting out, don’t be afraid to add your own twist to traditional patterns and make them your own. As you continue to create and experiment, I hope you’ll find joy in the process and take pride in the beautiful, one-of-a-kind items you’re making. Happy hooking, and don’t forget to share your colorful creations with the world – I’d love to see what you’re working on!
Frequently Asked Questions
What if I want to change colors in the middle of a row, not just at the beginning or end?
Oh, I love a good color twist! If you want to change colors mid-row, simply fasten off the first color, then join the new color and keep crocheting. You can also carry the yarn up the side of your work to avoid weaving in ends – just be sure to keep your tension loose so it doesn’t show.
How do I ensure a smooth transition between colors so my granny square doesn't look patchy?
To avoid a patchy look, try carrying your yarn up the side of the work instead of cutting it, and use a stitch marker to keep track of where you are. This way, you can seamlessly transition between colors and maintain a cohesive look in your granny square.
Can I use this color-changing technique with any type of yarn, or are there specific yarns that work better for granny squares?
Oh, absolutely, friends! While this color-changing technique works with most yarns, I just adore using variegated or self-striping yarns for a unique, ombre effect. But honestly, the key is to choose yarns with great texture and drape – think cotton, acrylic, or blends. Experiment with different weights and fibers to find your perfect match!