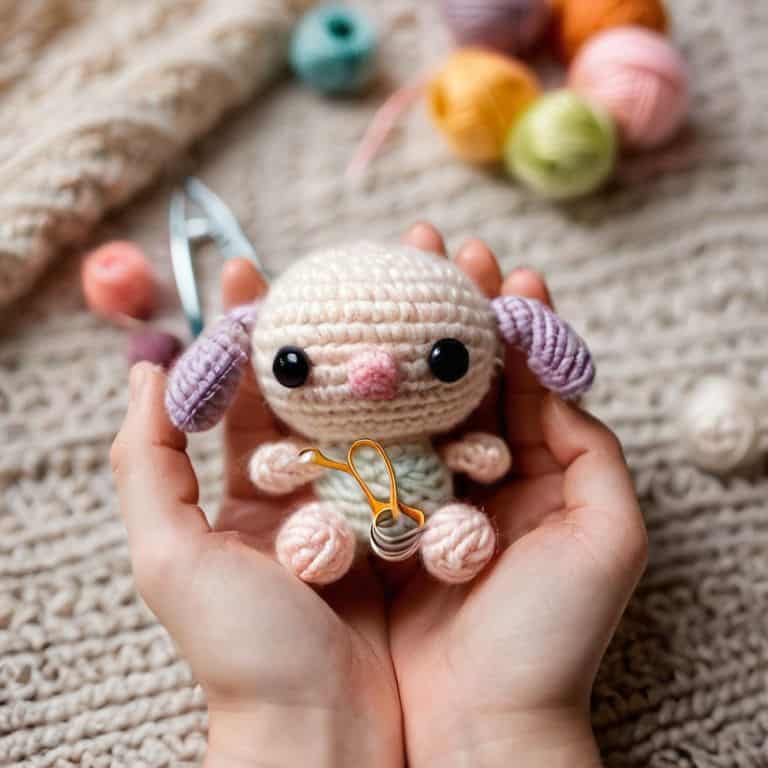
I still remember the first time I attempted to attach amigurumi parts to my handmade toy – it was a hot mess! I had watched countless tutorials, but somehow, my poor little creature ended up with wonky eyes and a lopsided smile. It was then that I realized that how to attach amigurumi parts wasn’t just about following a set of instructions, but about understanding the nuances of working with yarn and fiber. As I experimented and learned from my mistakes, I discovered that with a few simple tricks and tips, even the most novice crafter could create adorable, professional-looking amigurumi toys.
In this article, I’ll share my honest, no-fuss approach to attaching amigurumi parts, learned through trial and error. You’ll get practical advice on how to choose the right materials, how to sew on those tiny eyes without losing your mind, and how to troubleshoot common problems that can leave your project looking, well, a bit wonky. My goal is to empower you with the confidence to create your own unique, handmade amigurumi toys, and to show you that how to attach amigurumi parts is not rocket science – it’s just a matter of patience, practice, and a willingness to experiment and have fun.
Table of Contents
Guide Overview: What You'll Need
Total Time: 30 minutes to 1 hour
Estimated Cost: $5 – $15
Difficulty Level: Easy
Tools Required
- Tapestry Needle (for weaving in ends)
- Stuffing Tool (optional)
- Scissors (sharp and dedicated to cutting yarn)
- Stitch Markers (small and easy to place on needles or crochet hooks)
Supplies & Materials
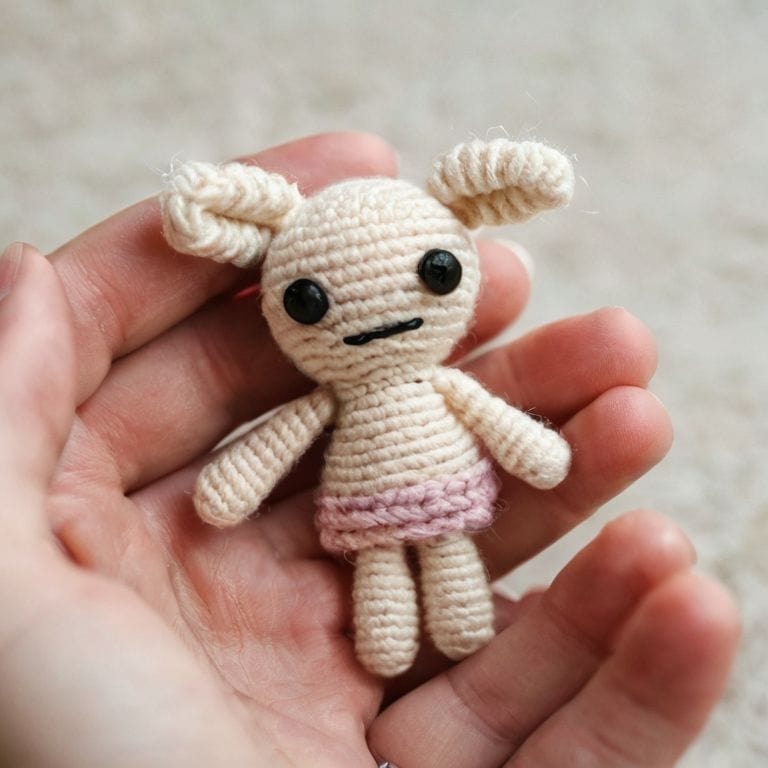
- Amigurumi Parts (such as eyes, ears, arms, and legs)
- Polyester Fiberfill (for stuffing)
- Yarn (matching the color of your amigurumi project)
- Fabric Glue (optional for attaching parts)
Step-by-Step Instructions
- 1. First, let’s get started with the basics: gathering our materials. We’ll need a few essential tools, like a tapestry needle, some sturdy thread or yarn, and of course, the amigurumi parts we want to attach. Make sure you have a comfortable and well-lit workspace, because we’re about to get cozy and creative.
- 2. Next, let’s prepare our amigurumi parts for attachment. This means making sure they’re stuffed and shaped to your liking, and that any excess yarn tails are neatly trimmed. Take a moment to admire your handiwork – it’s exciting to see your creation start to take shape.
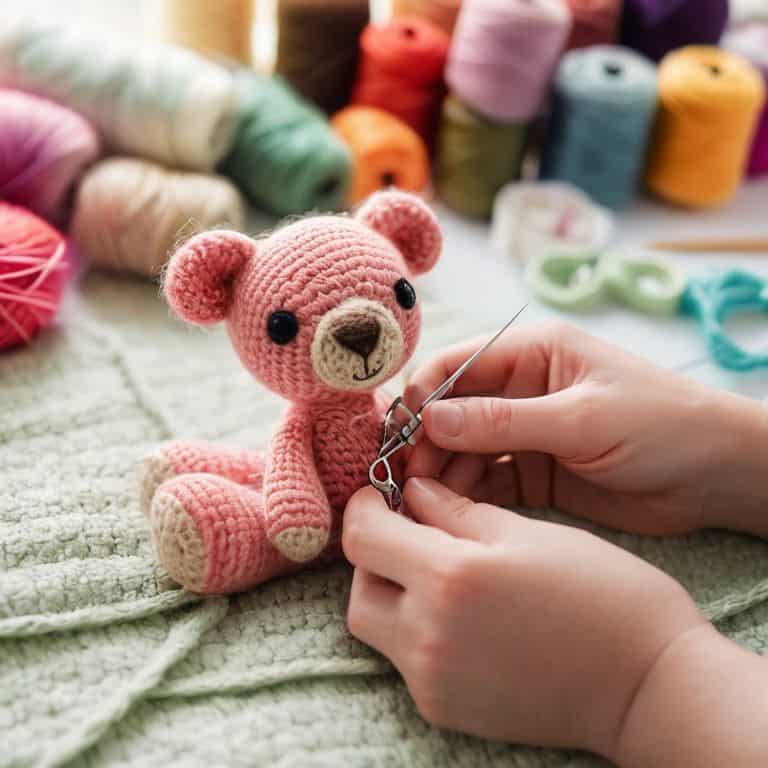
- 3. Now it’s time to choose an attachment method. There are a few ways to do this, but my personal favorite is the whipstitch. It’s a simple and secure way to join two pieces of crochet or knitting together. To start, thread your tapestry needle with a length of yarn or thread, and tie a small knot at the end to prevent it from slipping through the stitches.
- 4. With your needle and yarn ready, bring the two amigurumi parts together and insert the needle into the first stitch. Pull the yarn gently to create a small loop, then pass the needle back through the loop to secure it. This is the beginning of your whipstitch, and you’ll repeat this process for each stitch, moving slowly and carefully around the edge of the parts.
- 5. As you continue to whipstitch the parts together, be sure to keep your tension even and not too tight. You want the stitches to be secure, but not so tight that they pucker or distort the surrounding fabric. It’s a bit like finding the perfect balance in life – not too loose, not too tight, but just right.
- 6. Once you’ve completed the whipstitch around the entire edge of the parts, tie a secure knot to finish the attachment. Trim the excess yarn, and voila! Your amigurumi parts are now beautifully attached. Take a step back and admire your handiwork – you should be proud of yourself for bringing these adorable parts together.
- 7. Finally, add any finishing touches to your amigurumi. This might include adding eyes, a nose, or other details that bring your creation to life. I like to use a permanent marker for small details, but you can also use embroidery floss or other materials to add color and texture. The most important thing is to have fun and be creative – after all, that’s what making amigurumi is all about.
Attaching Amigurumi Parts
As I sit here surrounded by my yarn stash, I just can’t help but think about the magic of bringing amigurumi characters to life. One of the most crucial steps in this process is sewing small doll limbs onto the body, and I’ve learned a thing or two about making it look seamless. My favorite tip is to use an invisible seam method, which involves sewing the limbs on from the inside out. This not only hides the stitches but also gives the amigurumi a more polished look.
When it comes to stuffing and shaping amigurumi, it’s essential to make sure the limbs are securely attached. I like to use a combination of pins and sewing needles to get the job done. For example, when attaching the arms, I pin them in place first to ensure they’re even and then sew them on using a whipstitch. This technique allows for a lot of flexibility and movement, making the amigurumi more cuddly and endearing.
In addition to sewing on limbs, amigurumi eye attachment is another crucial step that can make or break the overall look of your creation. I prefer to use a strong adhesive or sew the eyes on directly, depending on the type of eyes I’m using. The key is to be patient and take your time, as amigurumi jointing techniques can be delicate and require a gentle touch. With practice, you’ll get the hang of it, and your amigurumi friends will come to life in no time!
Invisible Seam Methods for Beginners
Now that we’ve covered the basics of sewing small doll limbs, let’s talk about creating a seamless finish. I just love using invisible seam methods – they make your amigurumi look like they were knitted by magic! For beginners, I recommend starting with the whipstitch or the slip stitch. These stitches are easy to master and will give your amigurumi a professional finish. Simply insert your needle into the stitch directly below where you want to join, and pull the yarn through. Repeat this process, moving around the edge of the piece, until you’ve secured it in place.
By using an invisible seam, you’ll be able to hide any stray yarn ends or uneven stitches, giving your amigurumi a clean and polished look. Trust me, it’s worth the extra effort – the end result is totally worth it! With a little practice, you’ll be creating seamless joins like a pro, and your amigurumi will look adorable and cuddly.
Sewing Small Doll Limbs With Love
When it comes to sewing small doll limbs, I like to think of it as a labor of love. It’s all about the tiny details that bring your amigurumi to life. I use a tapestry needle and a matching thread color to sew those itsy-bitsy limbs in place. My trick is to use a simple whipstitch, making sure to leave a little room for posing – because, let’s be real, who doesn’t love a doll with a bit of attitude?
As I sew, I imagine the stories my amigurumi will tell, and the joy they’ll bring to their new owners. It’s a meditative process, really – just me, my yarn, and the gentle rhythm of the needle. I encourage you to take your time, too, and savor the process of bringing your little friend to life, one stitch at a time.
Stitching It Together: 5 Essential Tips for Attaching Amigurumi Parts

- Use the right needle: I swear by my trusty tapestry needle for weaving in ends and sewing on small parts – it’s a game-changer!
- Pin it before you sew: Trust me, taking the extra minute to pin those tiny limbs in place will save you from frustration and wonky attachments
- Don’t pull too tight: Leave a little wiggle room when sewing on parts, or you might end up with a stiff or distorted amigurumi friend
- Choose the perfect thread: Pick a thread that matches your amigurumi’s main color, and use a needle that’s big enough to handle it – you don’t want any pesky knots or tangles
- Add a dab of flair: Why settle for boring old attachments when you can add some personality with a few strategically-placed stitches or a sprinkling of embroidery floss?
My Top 3 Tips for Attaching Amigurumi Parts with Ease
Always use a tapestry needle to sew small parts, like ears and tails, to avoid visible stitches and give your amigurumi a polished look
Never be afraid to experiment with different seam methods – whether it’s the invisible seam or a decorative stitch, the key is to find what works best for you and your project
Remember, attaching amigurumi parts is all about patience and love – take your time, breathe, and don’t be too hard on yourself if it’s not perfect, because that’s what makes handmade so charming
The Heart of Amigurumi
Attaching amigurumi parts is not just about sewing limbs together, it’s about stitching love, personality, and a piece of yourself into every seam, making each creation truly one-of-a-kind.
Ruby Warren
Wrapping Up with Love
As we’ve explored the world of attaching amigurumi parts, I hope you’ve picked up some essential tips to make your stitching journey smoother. From sewing small doll limbs with love to mastering invisible seam methods, we’ve covered the basics to get you started. Remember, the key to beautiful amigurumi is not just about following a pattern, but also about adding your own personal touch. Experimenting with different materials and techniques can elevate your creations from cute to truly unique. Don’t be afraid to try new things and make mistakes – they’re all part of the learning process.
So, as you put down your hook and yarn, I want to leave you with a final thought: creating with your own hands is a powerful way to bring joy and personality into your life. Whether you’re making amigurumi for yourself or as a gift, remember that every stitch is a labor of love. Don’t underestimate the impact that handmade items can have on your space and your well-being. Keep stitching, and most importantly, have fun!
Frequently Asked Questions
What's the best way to ensure the limbs are securely attached without being too tight or too loose?
For me, it’s all about finding that sweet spot – not too tight, not too loose. I like to use a gentle tug test to make sure the limbs are secure, but still have a bit of wiggle room. You can also try using a few extra stitches to reinforce the attachment, or even add a tiny dab of fabric glue for extra security.
How do I prevent the seams from showing when using the invisible seam method for amigurumi parts?
Ah, sweet friend, to keep those seams from showing, try using a yarn needle with a blunt tip and a matching thread color. Gently weave the needle in and out of the stitches, making sure to keep your tension even. And, voila! Your seams will be nearly invisible, giving your amigurumi that adorable, professional finish.
Can I use hot glue instead of sewing to attach amigurumi parts, and if so, what are the pros and cons?
Hey, friend! While hot glue can work, it’s not my fave for amigurumi. Pros: quick and strong. Cons: can be bulky and damage the yarn. If you do try it, use a low-temp glue gun and apply sparingly. But, honestly, sewing is still my top pick for a soft, cuddly finish.