I still remember the first time I tried to learn how to make a granny square – I was a total newbie to crochet, and those intricate stitches seemed like a puzzle I’d never solve. But, as I sat amidst my yarn stash, surrounded by half-finished projects and cups of cold coffee, something clicked. I realized that the traditional approach to making a granny square didn’t have to be so, well, traditional. I began to experiment, adding my own twist to the classic pattern, and voilà! – my very own, unique granny square was born.
In this article, I’ll share my honest, no-fuss approach to making a granny square that’s truly one-of-a-kind. You’ll learn how to choose the perfect yarn, master the basic stitches, and add your own personal touch to this timeless crochet classic. I’ll walk you through the process, step-by-step, and provide you with practical tips and tricks to ensure your granny square turns out perfectly imperfect. So, if you’re ready to ditch the ordinary and create something truly special, let’s get hooked on making a granny square together!
Table of Contents
Guide Overview: What You'll Need
Total Time: 2 hours 30 minutes
Estimated Cost: $10 – $30
Difficulty Level: Easy
Tools Required
- Crochet Hook Size J or K
- Tapestry Needle For weaving in ends
- Scissors For cutting yarn
Supplies & Materials
- Medium Weight Yarn Acrylic or cotton blends in various colors
- Stitch Markers Optional, for marking corners
Step-by-Step Instructions
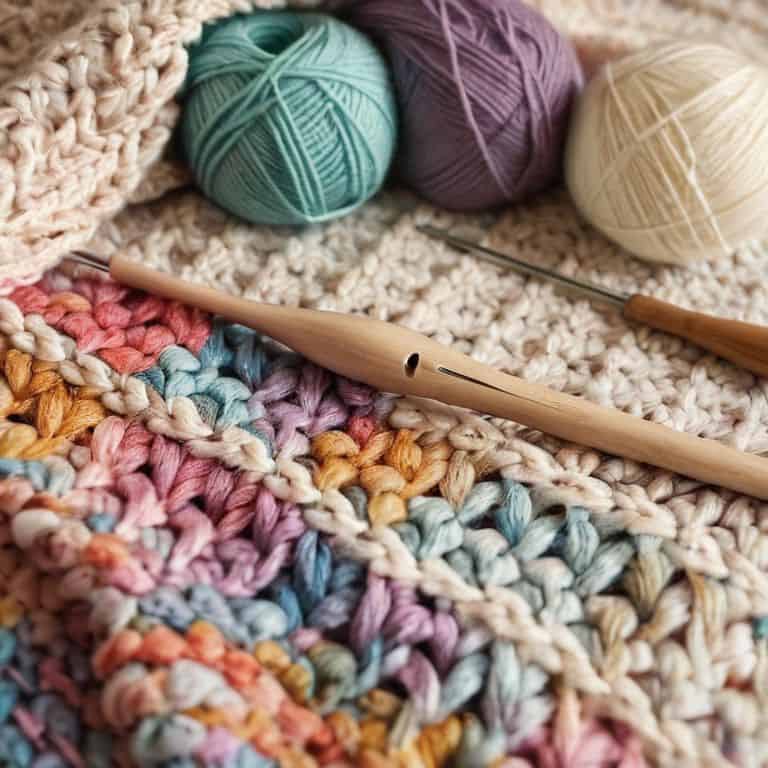
- 1. First, let’s get started with the basics – to make a granny square, you’ll need a few essential supplies, including a crochet hook, some yarn (I love using colorful, chunky yarns for a more playful vibe), and a pair of scissors. Don’t worry too much about the yarn weight or fiber content at this stage, just choose something that makes you happy and feels good to work with.
- 2. Next, create a slip knot on your hook and chain four stitches to form a small loop – this will be the foundation of your granny square. I like to think of this step as the seed of creativity, where your project starts to take shape and grow. Make sure the loop is not too tight, as you’ll need to work into it in the next steps.
- 3. Now, let’s start building the square by working a series of double crochet stitches into the loop. To do this, yarn over, insert the hook into the loop, and pull up a loop – you should now have two loops on the hook. Yarn over again, and pull through both loops to complete the double crochet stitch. Repeat this process until you have a total of seven double crochet stitches in the loop.
- 4. The next step is to work the first corner of the granny square. To do this, chain one, and then work three double crochet stitches into the same space. This will create a small cluster of stitches that will form the corner of the square – think of it as a little anchor point that will help you build the rest of the design.
- 5. Continue working around the square, creating clusters of double crochet stitches and chaining one between each cluster. As you work, make sure to keep your tension even and not too tight, as this can cause the square to pucker. I like to think of this step as the rhythm of crochet, where you get into a flow and the stitches start to come naturally.
- 6. As you complete each round, slip stitch into the top of the first double crochet stitch to join the round, and then chain three to start the next round. This will give you a neat and tidy edge, and help you keep track of where you are in the pattern. Don’t worry if it takes a few rounds to get the hang of it – with practice, you’ll be working like a pro in no time, and your granny square will start to take on a beautiful, textured quality.
- 7. Finally, once you’ve completed the desired number of rounds, fasten off the yarn and weave in the ends. Take a step back and admire your handiwork – you should now have a beautiful, one-of-a-kind granny square that’s full of color and character. You can use this as a starting point for a larger project, such as a blanket or pillow cover, or simply enjoy it as a standalone piece of handmade art.
How to Make a Granny Square
As we dive into the world of granny squares, I want to share some crochet tips for beginners that will make your journey so much smoother. One of the most important things to keep in mind is to not pull the yarn too tight, as this can cause your square to pucker. Instead, try to maintain a consistent tension throughout your work. This will ensure that your granny square lies flat and looks its best.
When it comes to changing colors in crochet, it’s all about timing. You’ll want to switch colors at the end of a round, when you’re about to start a new one. This will help you avoid any visible seams or bumps in your work. And don’t be afraid to experiment with different color combinations – after all, the granny square is all about granny square pattern for afghans that are unique and personalized.
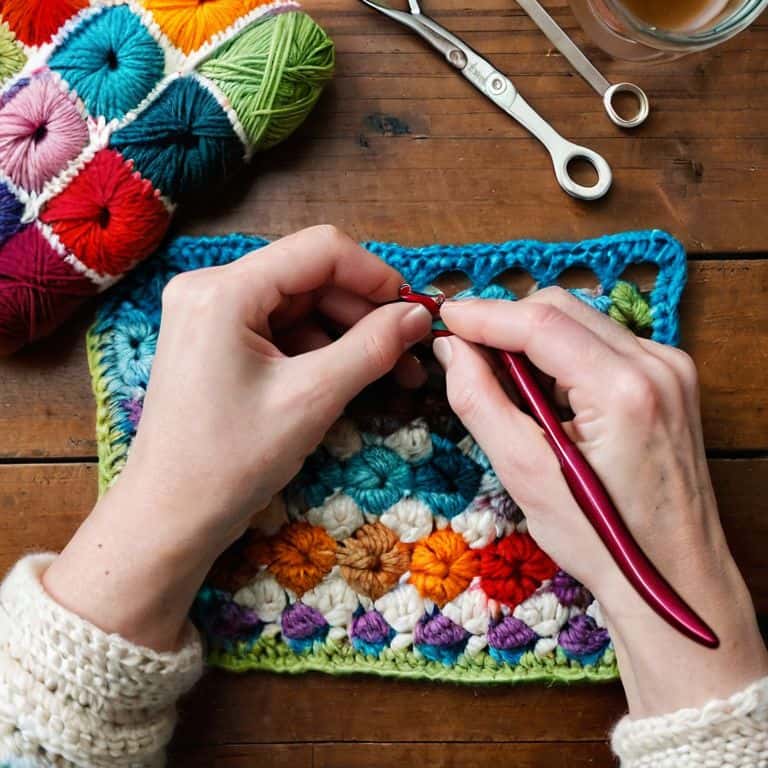
Now, let’s talk about adding some extra flair to your granny square. Have you considered trying out some granny square border ideas? A simple border can completely transform the look of your square, and there are countless patterns to choose from. From delicate lace to bold stripes, the possibilities are endless. And if you’re feeling ambitious, you could even try joining multiple granny squares together to create a stunning afghan.
Changing Colors With Crochet Tips
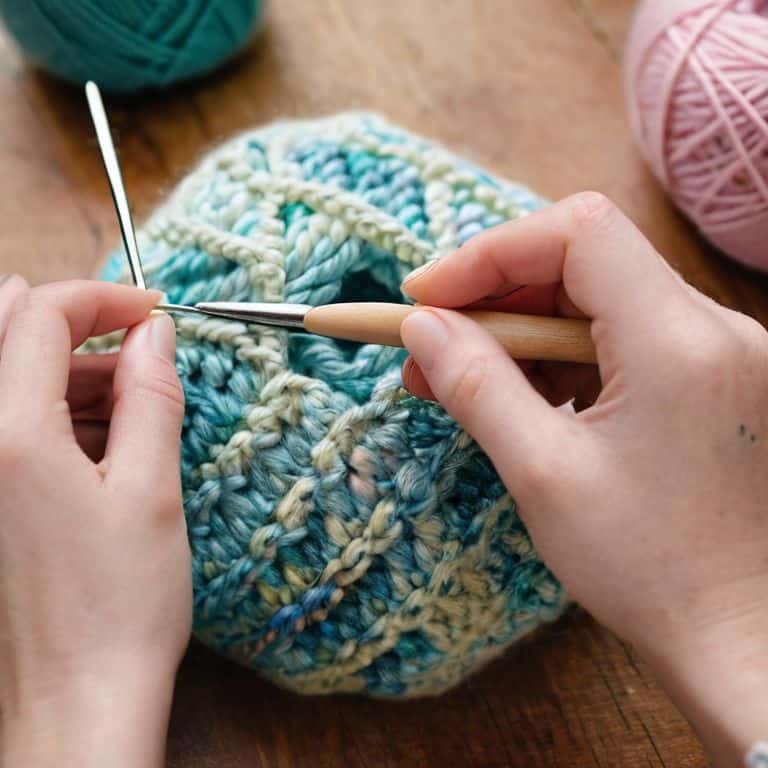
Now that we’ve got the granny square pattern down, let’s talk about adding some extra flair with color changes. I just love how a simple switch of hues can completely transform the vibe of our crochet project. To change colors, I like to finish the last stitch of the old color, then join the new color with a slip stitch. It’s all about seamless transitions, my friends!
When changing colors, remember to carry the yarn up the side of your work to avoid weaving in too many ends. Trust me, it’s a total game-changer. And don’t be afraid to experiment with different color combos – after all, that’s what makes handmade so unique, right?
Unraveling the Granny Square Pattern
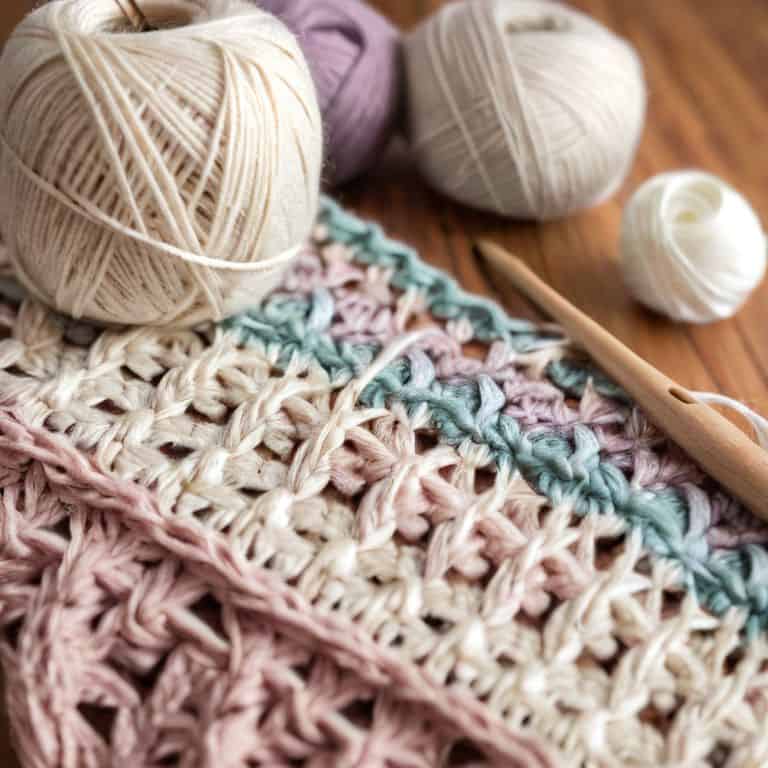
Now that we’ve got the basics down, let’s dive deeper into the granny square pattern. I just love how versatile it is – you can use any color combo that strikes your fancy, and it’s the perfect way to use up scraps of yarn from other projects. When I’m creating a new granny square, I like to think about the mood I want to evoke – do I want it to be bright and playful, or more muted and earthy?
As you start to work on your granny square, remember that it’s all about the texture and visual interest. Don’t be afraid to experiment with different stitches or add your own personal touches – that’s what makes handmade items truly special. I like to add a little twist to my granny squares, whether it’s a pop of color or a unique border. The possibilities are endless, and that’s what makes this pattern so much fun to work with!
Hooked on Perfection: 5 Essential Tips for a Stunning Granny Square
- Choose your yarn wisely – pick colors that make you happy and complement each other, and don’t be afraid to mix and match different textures and weights
- Don’t stress about the stitch count – a granny square is all about character, so if you miss a stitch or two, it’s totally okay, just keep on hooking
- Use a stitch marker to keep track of your rounds – trust me, it’s a game-changer, especially when you’re working with multiple colors
- Block your granny square as you go – it helps to even out the stitches and gives your square a professional finish, plus it’s super satisfying to see it come together
- Experiment with different border styles – whether you’re a fan of the classic single crochet or like to mix it up with some fancy shell stitches, the border is where you can really make your granny square pop
Granny Square Magic: 3 Key Takeaways
Embracing imperfections is key to creating a unique and personalized granny square, so don’t be too hard on yourself if your stitches aren’t perfect
Experimenting with different colors and textures can elevate your granny square from a classic pattern to a one-of-a-kind masterpiece that reflects your personality
With a little patience and practice, you can turn your granny square into a stunning blanket, pillow cover, or wall hanging that adds a touch of handmade charm to any room
The Heart of Crochet
The beauty of a granny square lies not in its perfection, but in the imperfections that make it uniquely yours – every stitch, every color choice, and every wonky corner tells a story of love, laughter, and the joy of creating something with your own two hands.
Ruby Warren
Wrapping Up Your Granny Square Journey
As we’ve explored the world of granny squares together, I hope you’ve picked up some valuable tips and tricks to make your crochet experience even more enjoyable. From unraveling the granny square pattern to mastering the art of changing colors with crochet tips, we’ve covered the essential steps to create a unique and personalized blanket. Remember, the key to a beautiful granny square is not just about following a pattern, but about embracing the imperfectly perfect nature of handmade crafts. Don’t be afraid to experiment with different colors, yarns, and designs to make your project truly one-of-a-kind.
As you finish your granny square, I want to leave you with a final thought: the true magic of crochet lies in the process, not just the end result. The gentle rhythm of the hook, the soft texture of the yarn, and the sense of accomplishment that comes with creating something with your own hands – these are the things that make crochet so special. So, don’t just stop at one granny square; keep exploring, keep creating, and most importantly, keep enjoying the journey of making something beautiful and meaningful with your own two hands.
Frequently Asked Questions
What if my granny square doesn't lie flat, is there a way to fix it?
Don’t worry, sweetheart, it’s an easy fix! If your granny square isn’t lying flat, try blocking it by wetting it, stretching it out to the desired shape, and letting it dry. This will help even out the stitches and give it a beautiful, flat finish.
Can I use different types of yarn to create a unique texture and color combination in my granny square?
Absolutely, darling! Mix and match different yarns to create a one-of-a-kind texture and color combo. Try pairing smooth cotton with chunky wool or metallic thread with pastel hues. The key is to experiment and have fun with it – your granny square will be a true reflection of your personality!
How do I join multiple granny squares together to make a larger blanket or afghan?
Now that we’ve got our granny squares hooked up, let’s talk about joining them together to create a stunning blanket! I just love this part – it’s like watching a puzzle come together. To join your squares, you can use a simple whipstitch or a more decorative stitch like the slip stitch or single crochet. I personally adore the whipstitch for its ease and flexibility.