I still remember the first time I stumbled upon a guide to amigurumi – I was a sculpture student, trying to find a new medium to express my creativity. What I found was a world of adorable, cuddly companions that sparked a sense of wonder and joy in me. But, as I delved deeper, I realized that many people believed amigurumi to be a complicated, tedious craft that only experienced crocheters could master. This couldn’t be further from the truth. With the right guidance, anyone can create these charming creatures and bring a touch of handmade magic into their lives.
As you dive into this guide to amigurumi, you can expect to get a healthy dose of practical advice and real-world examples to help you overcome common obstacles and unleash your creativity. I’ll share my own experiences, tips, and tricks to ensure that you’re well-equipped to create your own unique amigurumi pieces. Whether you’re a seasoned crafter or a beginner, this guide is designed to be a friendly companion on your amigurumi journey, offering a clear, step-by-step approach to creating these delightful characters. So, let’s get started and discover the joy of amigurumi together!
Table of Contents
Guide Overview: What You'll Need
Total Time: 2 hours 30 minutes
Estimated Cost: $20 – $50
Difficulty Level: Intermediate
Tools Required
- Crochet Hook Size dependent on project
- Scissors For cutting yarn
- Stuffing Tool For filling amigurumi with polyester fiberfill
- Tapestry Needle For weaving in ends
Supplies & Materials
- Medium Weight Yarn Choose color and type suitable for project
- Polyester Fiberfill For stuffing amigurumi
- Embroidery Floss For eyes and other details
- Black Thread For sewing on small parts
Step-by-Step Instructions
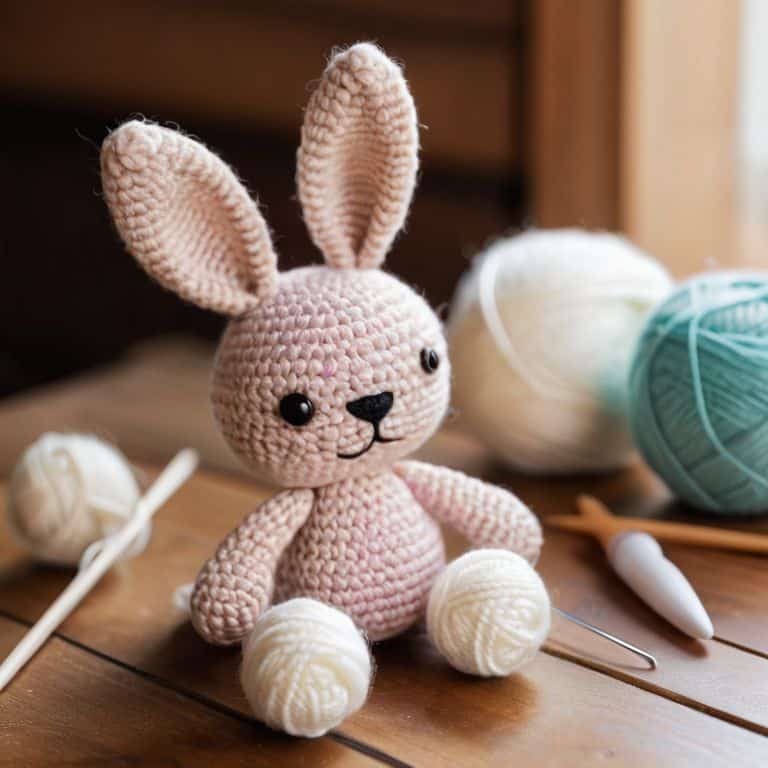
- 1. First, let’s start with the basics: gathering our materials. We’ll need some yarn that speaks to us – I love using colorful, chunky yarns for amigurumi because they add so much personality to our little creations. You’ll also need a hook that feels comfortable in your hand, some stuffing to bring our friends to life, and a pair of scissors to cut our yarn as we work. Don’t forget a tapestry needle for weaving in ends; it’s a game-changer for keeping our work neat.
- 2. Next, we need to get familiar with the basic stitches. Amigurumi primarily uses single crochet (sc) and slip stitch (sl st), so let’s practice those until they feel like second nature. I always say, the more you practice, the more your stitches will become muscle memory, making the whole process so much more enjoyable. Remember, it’s all about the journey, not the destination.
- 3. Now, let’s talk about tension. It’s crucial in amigurumi because we want our pieces to be firm enough to hold their shape but not so tight that they become stiff. If you find your stitches are too loose, try using a smaller hook, and if they’re too tight, switch to a larger one. It’s all about finding that perfect balance, and with a little patience, you’ll get the hang of it.
- 4. Once you’re comfortable with your stitches and tension, it’s time to start creating the components of your amigurumi. Typically, this begins with the head, then the body, and finally the limbs. Remember, each piece is worked in the round, so we use a magic ring to start, which is a great technique for avoiding that pesky hole in the middle of your work.
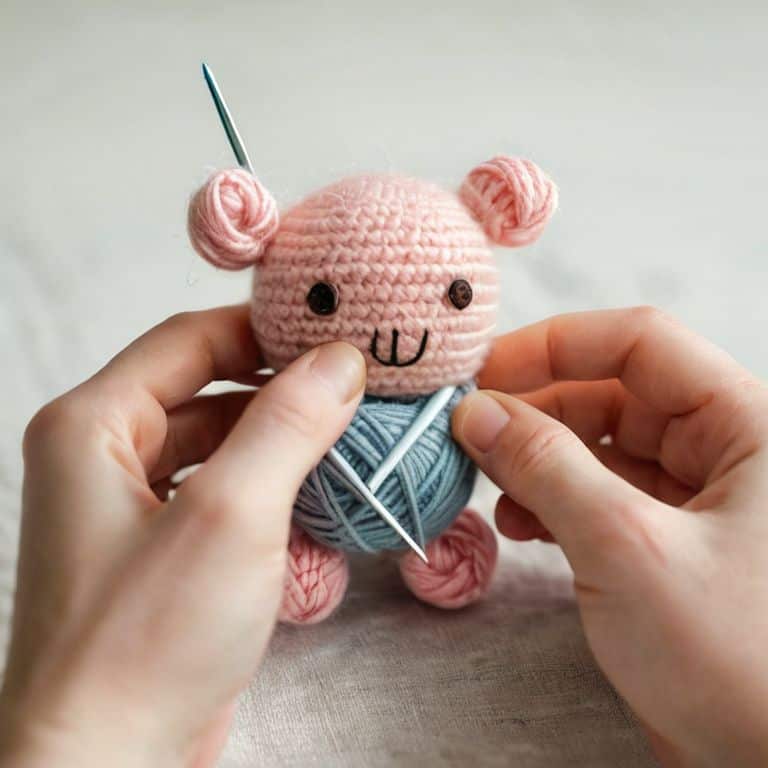
- 5. As we work on each component, don’t forget to stuff them firmly but not too tightly. You want your amigurumi to be cuddly, not stiff. I like to use a chopstick or pencil to help push the stuffing into those tiny limbs. It’s a simple trick that makes a big difference in the end result.
- 6. After all the components are made, it’s time for assembly. This is where the magic happens, and your amigurumi starts to take shape. Use a tapestry needle and some of your yarn to sew the pieces together. I find it helpful to pin the pieces in place before sewing to ensure everything is aligned just right.
- 7. Finally, add any details you like – eyes, nose, mouth, or maybe some cute little clothes. This is where you can really let your personality shine through. I adore using embroidery floss for the face because it’s so versatile and can create the most expressive little faces. And don’t be afraid to experiment; that’s what makes each amigurumi truly unique.
- 8. To keep your amigurumi fresh and new, consider displaying them in a place of pride. You could make a little scene with your creations, or even create a mobile using some of your favorite pieces. The key is to have fun and enjoy the process of creating something truly special.
A Guide to Amigurumi
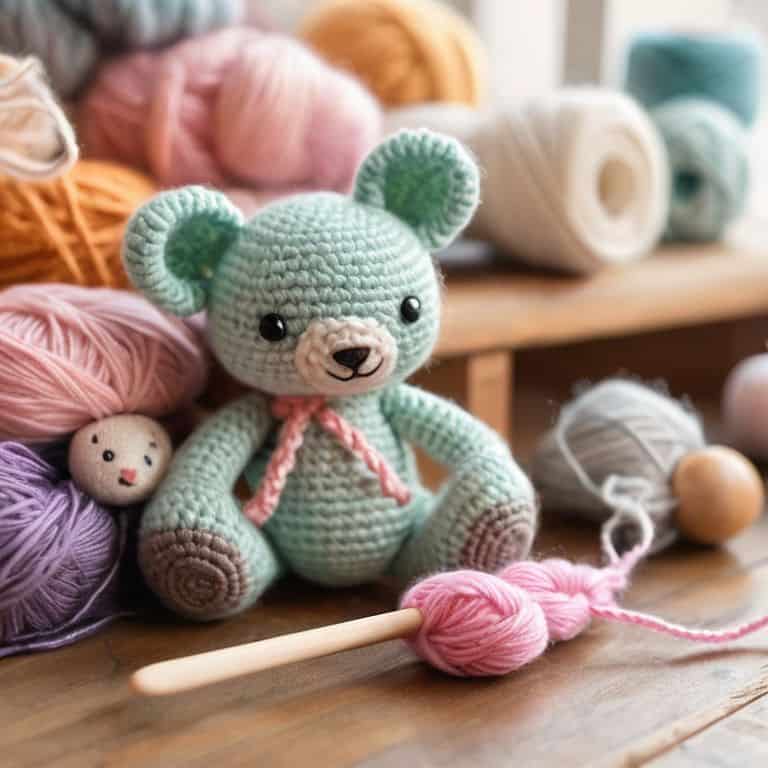
As I delve deeper into the world of amigurumi, I’ve discovered that yarn selection is a crucial aspect of creating these adorable creatures. The right yarn can make all the difference in bringing your design to life. I personally love experimenting with different textures and colors to add a unique touch to my amigurumi patterns for beginners. When it comes to crochet toy designs, it’s all about finding the perfect balance between softness and durability.
One of the most common challenges I face when creating amigurumi is managing my small crochet hook. It’s easy to get frustrated when you’re working with tiny stitches, but I’ve found that using a yarn needle can be a game-changer. It helps me to weave in ends and sew seams with ease, making the entire process much more enjoyable. Additionally, I’ve developed a few tricks for amigurumi stuffing techniques that ensure my creations are nice and plush.
When working on amigurumi projects, I always keep a few essential tools within reach. A good pair of scissors, a tapestry needle, and a small crochet hook are must-haves in my book. I also like to have a variety of yarns on hand to inspire my next project. By combining these basics with a little creativity, you can create truly unique and charming amigurumi designs that reflect your personal style. Whether you’re a beginner or an experienced crafter, the world of amigurumi is full of possibilities, and I’m excited to see what you’ll create.
Unraveling Amigurumi Patterns for Beginners
Unraveling Amigurumi Patterns for Beginners
As a beginner, diving into amigurumi patterns can be overwhelming, but don’t worry, I’ve got you covered. The key is to start with simple projects and gradually move on to more complex ones. Look for patterns that use basic stitches like single crochet or double crochet, and don’t be afraid to experiment with different yarn weights and colors. Remember, practice makes perfect, so don’t be too hard on yourself if your first few projects don’t turn out exactly as you imagined.
I always say, the beauty of amigurumi lies in its imperfections, so feel free to add your own twist to a pattern or try something entirely new. With time and patience, you’ll develop your own unique style and voice in the world of amigurumi. Happy hooking, friends!
Yarn Selection Secrets for Crochet Toy Designs
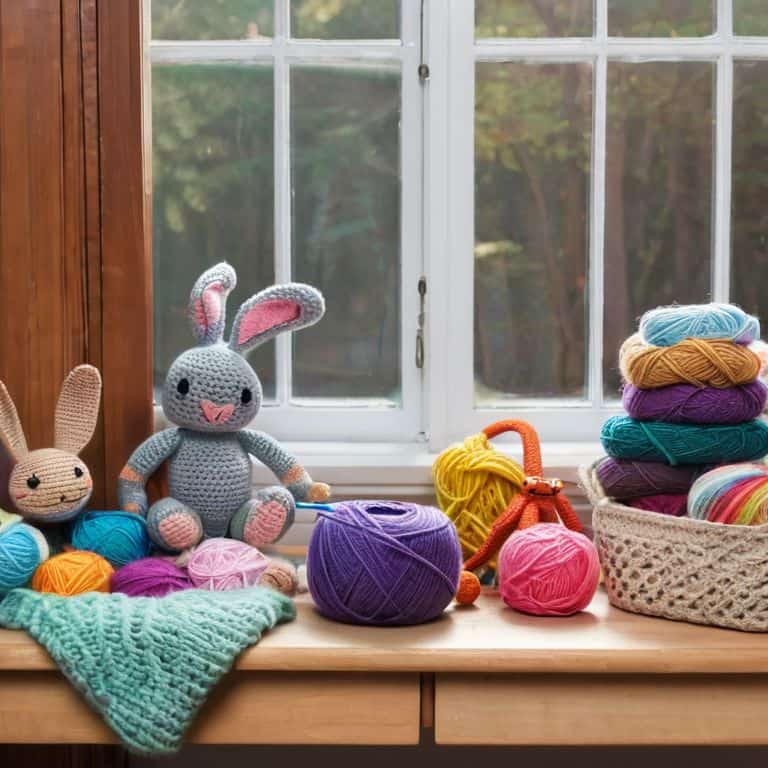
When it comes to choosing the perfect yarn for your amigurumi friends, I say, don’t be shy! Pick something that makes you happy, whether it’s a vibrant hue, a soft pastel, or a bold texture. I adore experimenting with different yarn weights and fibers – it’s amazing how a simple switch can completely transform the personality of your design. For a more rustic, earthy feel, try a chunky wool or cotton blend. If you’re aiming for something sweet and delicate, a lightweight acrylic or silk yarn could be just the thing.
My yarn stash is a treasure trove of colorful possibilities, and I encourage you to build your own collection of favorites. Don’t worry too much about matching the “perfect” shade – amigurumi is all about embracing the quirky and unique. Mix and match different yarns to create a one-of-a-kind look that reflects your personal style. The most important thing is to have fun and enjoy the process of bringing your creations to life, one stitch at a time!
Hooking You Up: 5 Essential Tips for Amigurumi Newbies
- Start with the right hook: Choose a hook that’s comfortable for you to hold and maneuver, and don’t be afraid to experiment with different sizes to find the one that works best for your yarn and project
- Yarn it up: Select a yarn that’s soft, yet sturdy enough to hold its shape – and don’t forget to consider the color palette, because let’s face it, half the fun of amigurumi is picking out the perfect hues
- Stuff it like you mean it: Don’t be shy with the stuffing – you want your amigurumi to be plush and cuddly, but not so overstuffed that it loses its shape or starts to look like it’s about to burst
- Pay attention to tension: Keep your stitches consistent, but don’t stress if it’s not perfect – a little bit of character is what makes amigurumi so charming, after all
- Join the amigurumi community: Share your creations, ask for feedback, and get inspired by the work of other makers – it’s a great way to stay motivated, learn new techniques, and make friends who share your passion for crochet
Key Takeaways to Get You Hooked on Amigurumi
Embracing the world of amigurumi means unleashing your creativity and bringing unique, cuddly companions to life with every stitch, making each piece a reflection of your personality and style
Selecting the right yarn is crucial – it’s not just about color, but also about texture and weight, ensuring your amigurumi toys are not only adorable but also durable and fun to play with
Remember, amigurumi is all about experimentation and having fun; don’t be afraid to add your own twist to patterns, try new yarns, and make mistakes – they’re all part of the journey to creating truly one-of-a-kind handmade items
The Heart of Amigurumi
As I always say, the true magic of amigurumi lies not in the stitches, but in the stories they hold – every toy is a tale of love, a testament to the human touch, and a reminder that even the smallest creations can bring the greatest joys.
Ruby Warren
Embracing the Joy of Amigurumi
As we conclude this journey through the world of amigurumi, let’s reflect on the key takeaways that will help you embark on your own creative adventure. From understanding the basics of amigurumi patterns to selecting the perfect yarn for your project, we’ve covered it all. Remember, the most important aspect of creating amigurumi is to have fun and not be afraid to experiment with different designs and colors. Don’t be discouraged if your first attempts don’t turn out as expected – it’s all part of the learning process, and with time, you’ll develop your own unique style.
As you put down your hook and yarn, I hope you feel inspired to continue exploring the world of amigurumi. Imagine the joy of creating a personalized gift for a loved one or envision the sense of accomplishment that comes with completing a complex project. Happy crafting, and I look forward to seeing the amazing amigurumi creations you’ll bring to life. Keep in mind that the world of amigurumi is all about creativity and self-expression, so don’t be afraid to push boundaries and try new things.
Frequently Asked Questions
What are some essential tips for reading amigurumi patterns as a beginner?
Hey, friend! Reading amigurumi patterns can seem daunting, but don’t worry, I’ve got you covered! Start by breaking down the pattern into smaller sections, and don’t be afraid to look up unfamiliar terms. Pay attention to stitch counts, and use a highlighter to mark important notes. Practice, practice, practice, and remember, it’s okay to make mistakes – they’re all part of the handmade charm!
How do I choose the right hook size for my amigurumi project to ensure it turns out the right size?
Sweet question, friend! Choosing the right hook size is like finding the perfect rhythm for your stitch – it makes all the difference! For amigurumi, I recommend using a hook that’s one to two sizes smaller than recommended for the yarn, to get that perfect snug fit. Experiment with different hooks and swatch, swatch, swatch – it’s the best way to ensure your project turns out just the right size!
What are some common mistakes to avoid when stuffing and shaping amigurumi toys to make them look professionally made?
Oh my, let’s talk about the not-so-secret secrets to making your amigurumi toys look pro! When it comes to stuffing and shaping, I’ve found that avoiding overstuffing is key – you want it to be snug, not stuffed sausage-style. Also, make sure to use a tool or pencil to help shape those tiny details, and don’t be afraid to tweak as you go for that perfect, adorable finish.