I still remember the first time I tried to make a magic circle for amigurumi – it was like trying to solve a puzzle blindfolded. I had watched countless tutorials, but somehow, my stitches just wouldn’t cooperate. It wasn’t until I stumbled upon a quirky little trick that I finally mastered the magic circle. The truth is, learning how to make a magic circle for amigurumi doesn’t have to be a frustrating experience. With a little patience and practice, you can create a beautiful, sturdy base for your amigurumi projects.
In this article, I’ll share my no-fuss approach to creating a magic circle, along with some helpful tips to ensure your stitches are even and secure. You’ll learn how to troubleshoot common issues and adapt the technique to suit your personal style. Whether you’re a seasoned crocheter or just starting out, my goal is to empower you with the confidence to tackle any amigurumi project that comes your way. So, let’s dive in and explore the wonderful world of magic circles together – I promise you’ll be hooked from the very first stitch!
Table of Contents
Guide Overview: What You'll Need
Total Time: 1 hour 15 minutes
Estimated Cost: $10 – $20
Difficulty Level: Easy
Tools Required
- Tapestry Needle (for weaving in ends)
- Scissors (sharp and dedicated to cutting yarn)
- Stitch Markers (small and suitable for marking increases or decreases)
Supplies & Materials
- Medium-Weight Yarn (in the color of your choice, approximately 300 yards)
- Crochet Hook (size J or 6 millimeters)
- Stuffing Material (polyester fiberfill, about 1 cup)
Step-by-Step Instructions
- 1. First, let’s get our materials ready – I like to think of this as the pre-game show for our amigurumi adventure. You’ll need your hook, some yarn, and a pair of scissors. Don’t worry too much about the yarn color at this stage, just pick something that makes you happy.
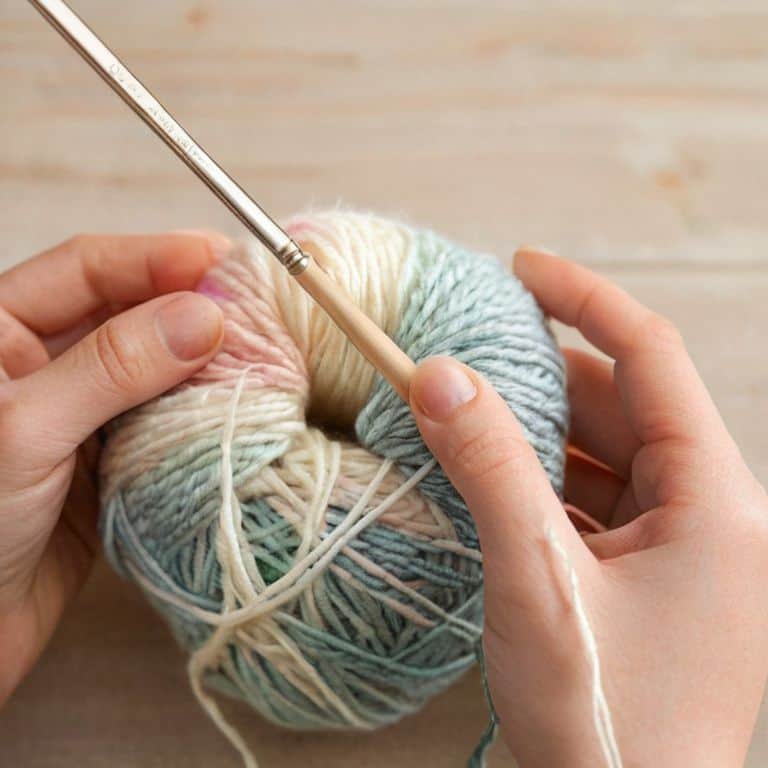
- 2. Now, let’s create a slip knot on our hook. To do this, hold the yarn in one hand, make a loop with the end of the yarn, and then hook it with your crochet hook. Pull the yarn gently to tighten the loop around the hook – this is where the magic begins.
- 3. Next, we’re going to chain one stitch. This is a simple step, but it’s essential for setting up our magic circle. Just insert your hook into the stitch, yarn over, and pull the yarn through. You should now have one loop on your hook, which is the foundation of our magic circle.
- 4. Now it’s time to start building our circle. We’re going to make a series of single crochet stitches into the center of our loop. To do this, insert your hook into the center of the loop, yarn over, and pull the yarn through. You should now have two loops on your hook. Yarn over again, and pull the yarn through both loops on your hook. Repeat this process until you have the desired number of stitches for your amigurumi project.
- 5. As we work our way around the circle, it’s essential to keep the tension even. If your stitches are too tight, your circle might start to pucker, and if they’re too loose, it might be too floppy. So, let’s aim for a happy medium – not too tight, not too loose, just right.
- 6. Once you’ve completed the desired number of single crochet stitches, it’s time to pull the yarn tight to form our magic circle. Take your hook and gently pull the yarn to close the circle. You should start to see the shape of your amigurumi take form, which is always an exciting moment.
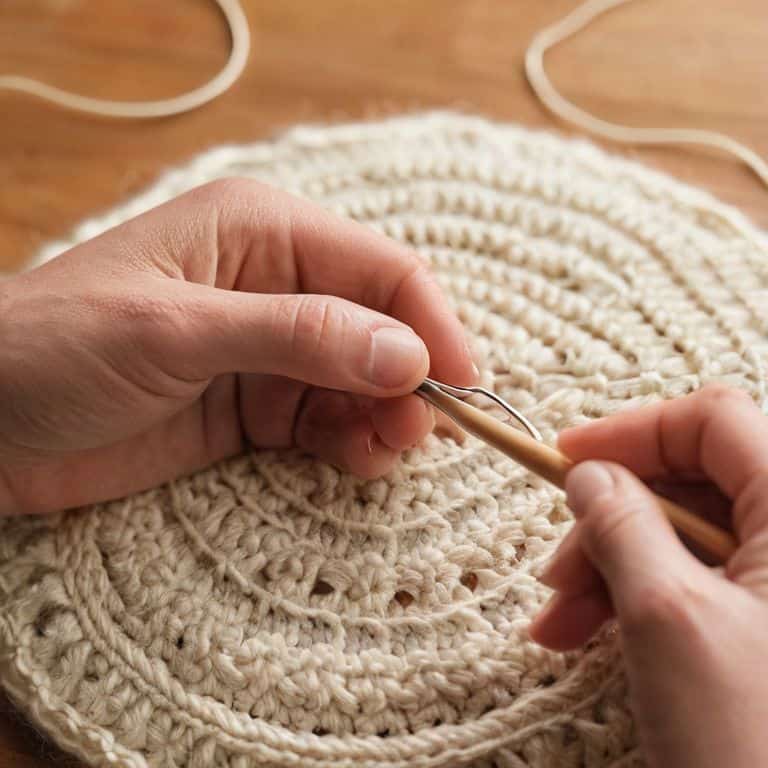
- 7. Finally, let’s secure our magic circle with a slip stitch. To do this, insert your hook into the first stitch of the round, yarn over, and pull the yarn through both loops on your hook. This will keep our circle in place and prevent it from coming undone as we work on our amigurumi project. And that’s it – our magic circle is complete, and we’re ready to start building our amigurumi friend.
Stitching Magic Circles
As I dive deeper into the world of amigurumi, I’m always on the lookout for new ways to refine my magic ring technique. One thing that’s helped me immensely is experimenting with different yarn weights and types. I’ve found that using a thicker yarn can make it easier to see the stitches, which is especially helpful when working with intricate amigurumi patterns for beginners. On the other hand, thinner yarns can create a more delicate, lacy effect that’s perfect for certain projects.
When it comes to stitching magic circles, I like to think of it as a dance of loops. You want to make sure your tension is just right, not too tight or too loose, so that your circle lies flat and even. To achieve this, I recommend using an adjustable ring size to get a feel for how the yarn will behave. It’s also important to pay attention to the number of stitches you’re making, as this will affect the overall size of your circle. With a little practice, you’ll be creating beautiful, no hole magic ring circles in no time.
For those just starting out, I highly recommend investing in an amigurumi starter kit, which usually includes everything you need to get started, from yarn and hooks to patterns and tutorials. These kits can be a great way to learn the crochet circle methods that will serve as the foundation for all your future amigurumi projects. As you become more confident in your skills, you can start to experiment with different techniques and patterns, always pushing yourself to try new things and refine your craft.
Amigurumi Patterns Magic Ring Tutorial
Now that we’ve got the magic circle basics down, let’s dive into some amazing amigurumi patterns that showcase this technique. I just love how a simple magic ring can be the foundation for adorable characters, from cute critters to sweet treats. Whether you’re making a bunny, a ball, or a beautiful botanical, the magic ring is the perfect starting point.
In my own designs, I like to experiment with different yarn weights and colors to create unique textures and visual interest. For example, a bulky yarn can add a fun, chunky touch to a magic ring-based project, while a variegated yarn can create a beautiful, ombre effect. Feel free to get creative and try out new combinations – that’s the beauty of amigurumi, after all!
No Hole Magic Ring Tips and Tricks Inside
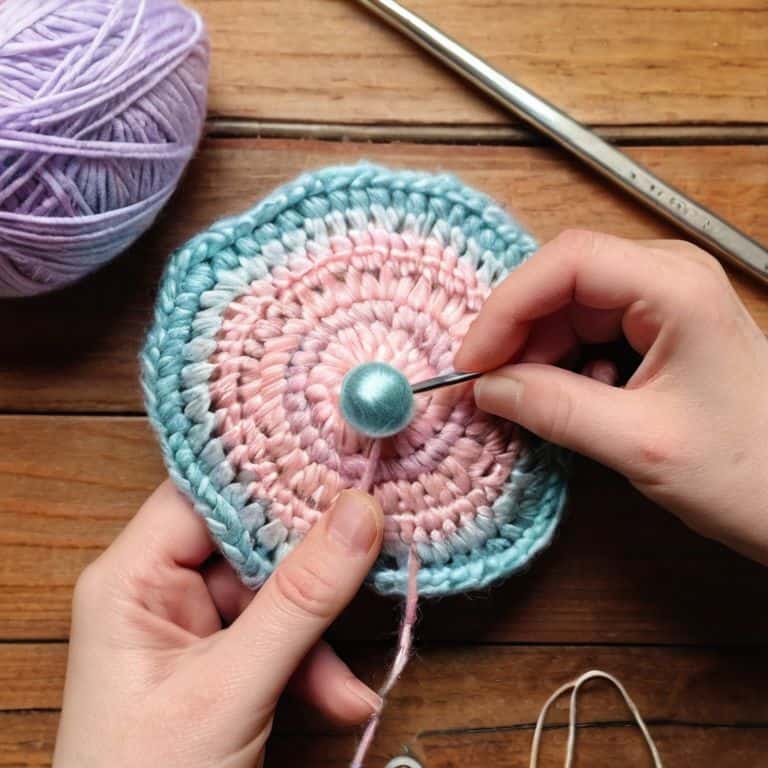
Now that we’ve mastered the magic circle, let’s talk about a game-changer: the no hole magic ring. I know, I know – it sounds like magic, and trust me, it kind of is! This technique is a total lifesaver when you want a seamless join, and I’m obsessed with how it elevates my amigurumi pieces. To get started, you’ll want to use a stitch marker to keep track of your first stitch – it’s a total hack, but it works like a charm.
When working with a no hole magic ring, remember to keep your tension even, and don’t be afraid to experiment with different yarn weights and hook sizes. This will help you achieve a flawless, hole-free center that’s perfect for amigurumi beginners and pros alike. With a little practice, you’ll be hooked (pun intended)!
Weaving Wisdom: 5 Enchanted Tips for a Flawless Magic Circle
- Start with a twist: Don’t be afraid to experiment with different yarn weights and colors to add a pop of personality to your magic circle
- Loop-the-loop: Keep your tension even, but don’t pull it too tight – you want a smooth, flowing circle that’s the perfect foundation for your amigurumi
- Stitch savvy: Use a stitch marker to keep track of your place, especially if you’re a beginner – it’s a total game-changer for maintaining that perfect circle
- Ring leader: Don’t be too hard on yourself if your magic circle isn’t, well, perfect – it’s all about the journey, and a little imperfection can add character to your amigurumi
- Yarn yardage: Make sure you have enough yarn to complete your project, and consider using a yarn with a bit of texture or visual interest to add depth to your magic circle
Three Key Takeaways to Cast a Perfect Magic Circle
Always remember, the magic circle is the foundation of your amigurumi project, so take your time and make sure it’s just right – a little patience will make all the difference in the end!
Don’t be afraid to experiment with different yarn weights and hook sizes to find the perfect combination that works for you and your unique amigurumi style – it’s all about finding that special something that makes your project pop!
Practice makes perfect, so don’t get discouraged if your first few magic circles aren’t exactly what you hoped for – with a little practice, you’ll be stitching like a pro and creating adorable amigurumi friends in no time!
Weaving Words of Wisdom
The magic circle is more than just a technical stitch – it’s a gateway to a world of whimsy and wonder, where every loop and twist tells a story of its own, and the true magic happens not in the pattern, but in the pause between stitches, where imagination and yarn entwine.
Ruby Warren
Weaving Magic: A Conclusion
And that’s a wrap, my friends! We’ve dived head-first into the world of magic circles, exploring the essential steps to create a sturdy foundation for your amigurumi projects. From the initial loop to the final pull, we’ve covered it all. You now know the secret to making a magic circle that will make your amigurumi creations stand out. Whether you’re a seasoned pro or a beginner, this fundamental technique is sure to elevate your crochet game. Remember, practice makes perfect, so don’t be discouraged if it takes a few tries to get the hang of it.
As you embark on your amigurumi journey, keep in mind that the true magic happens when you let your creativity shine. Don’t be afraid to experiment with different colors, patterns, and designs. Your handmade creations are a reflection of your personality, and that’s what makes them truly special. So, go ahead, pick up that hook, and let the yarn guide you. With every stitch, you’re not only creating something beautiful, but also telling a story that will be treasured for years to come. Happy crafting, and I’ll see you in the next tutorial!
Frequently Asked Questions
What if my magic circle is too tight or too loose, how can I adjust it to get the perfect fit for my amigurumi project?
Don’t worry, my friend, it’s easy to adjust your magic circle – just gently tug or loosen the yarn to get the perfect fit. If it’s too tight, try easing up on the stitches, and if it’s too loose, give it a teeny bit of a pull. Remember, it’s all about finding that sweet spot that makes your amigurumi project feel just right!
Can I use a magic circle for all types of amigurumi, or are there specific projects where it's more suitable?
Honestly, while magic circles are super versatile, they’re not always the best fit. I love using them for amigurumi toys, like cute animals or characters, but for items like scarves or blankets, a traditional foundation might be more suitable. It really depends on the project’s texture and style you’re aiming for!
How do I ensure that my magic circle is secure and won't come undone as I continue to crochet my amigurumi design?
To keep your magic circle secure, I swear by pulling the yarn tail gently to tighten it – it’s like giving your amigurumi a cozy hug! You can also use a stitch marker to keep track of the first stitch, ensuring your circle stays snug as you crochet along.