I still remember the first time I stumbled upon the concept of a guide to invisible decrease in amigurumi – it was like a revelation for my crochet journey. I had been struggling to create amigurumi toys that looked polished and professional, but every time I tried to decrease stitches, it would leave a visible bump or seam. It wasn’t until I mastered the art of invisible decrease that my creations started to look truly magical. I was hooked (pun intended!) and I’ve been obsessed with sharing this technique with fellow crafters ever since.
In this article, I’ll share my honest, no-hype advice on how to achieve seamless, invisible decrease in amigurumi. You’ll learn the simple yet powerful techniques to coax your stitches into submission, creating a flawless finish that will elevate your handmade creations to the next level. Whether you’re a seasoned crocheter or just starting out, this guide is designed to be accessible and easy to follow, with plenty of tips and tricks to help you overcome common obstacles and achieve the desired result. So, let’s dive in and explore the world of invisible decrease together!
Table of Contents
- Guide Overview: What You'll Need
- Step-by-Step Instructions
- A Guide to Invisible Decrease in Amigurumi
- Crochet Toy Making Secrets Best Stuffing Materials for Amigurumi Design
- Mastering Clean Finishing With Amigurumi Invisible Decrease Tutorial
- 5 Essential Tips to Elevate Your Amigurumi Game with Invisible Decrease
- Invisible Decrease in Amigurumi: 3 Key Takeaways
- The Art of Subtlety
- Wrapping Up the Invisible Decrease Journey
- Frequently Asked Questions
Guide Overview: What You'll Need
Total Time: 1 hour 15 minutes
Estimated Cost: $10 – $20
Difficulty Level: Intermediate
Tools Required
- Yarn Needle (for weaving in ends)
- Stitch Markers (small, to mark decrease points)
- Tapestry Needle (for sewing pieces together if needed)
Supplies & Materials
- Amigurumi Yarn choose a color of your choice
- Stuffing Material for filling your amigurumi creation
- Scissors dedicated to cutting yarn, approximately 6 inches long
Step-by-Step Instructions
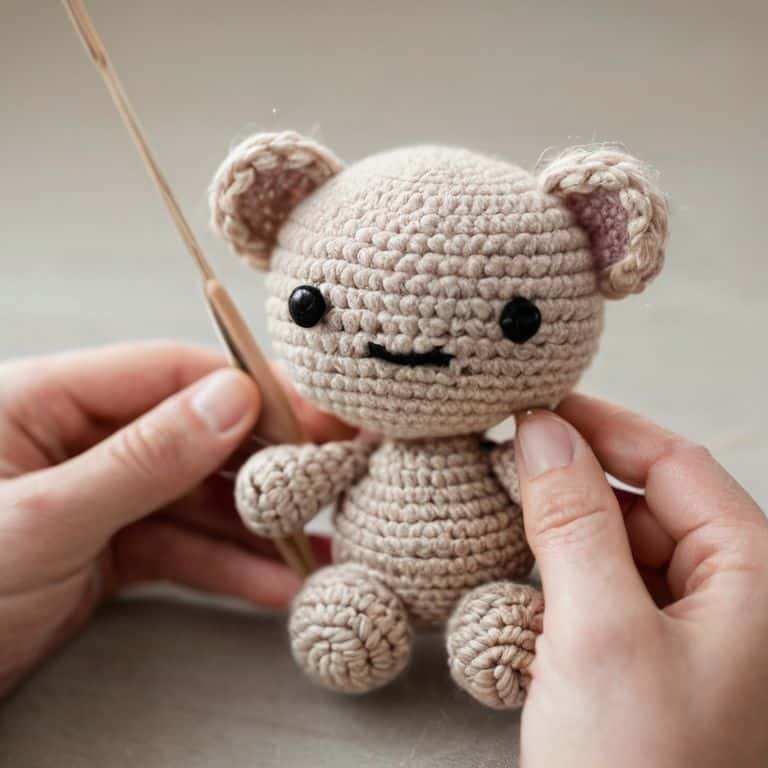
- 1. First, let’s get started with the basics of invisible decrease in amigurumi – it’s a technique that will make your stuffed friends look more polished and professional. To begin, you’ll need to have a basic understanding of amigurumi patterns and have your yarn and hook ready. I like to use a variety of colors to keep things interesting, but for this tutorial, let’s stick to a single color to make it easier to follow along.
- 2. Next, you’ll need to identify the area where you want to apply the invisible decrease – usually, it’s where you want to shape the amigurumi to create a more defined feature, like the nose or the ears. Take a closer look at your stitch pattern and determine which stitches you’ll need to work together to create the decrease. This is where the magic happens, and your amigurumi starts to take shape.
- 3. Now, let’s talk about the invisibility part of the invisible decrease – it’s all about working the stitches in a way that creates a seamless join. To do this, you’ll need to insert your hook into the stitch directly below the one you’re working on, and then yarn over and pull through. This will create a hidden stitch that won’t be visible from the outside, giving your amigurumi a more streamlined look.
- 4. As you work the invisible decrease, make sure to keep your tension even – you don’t want your amigurumi to pucker or become misshapen. To achieve this, try to keep your yarn tension consistent, and don’t pull the yarn too tightly. Remember, it’s all about creating a smooth, seamless join that will make your amigurumi look like it was made by a pro.
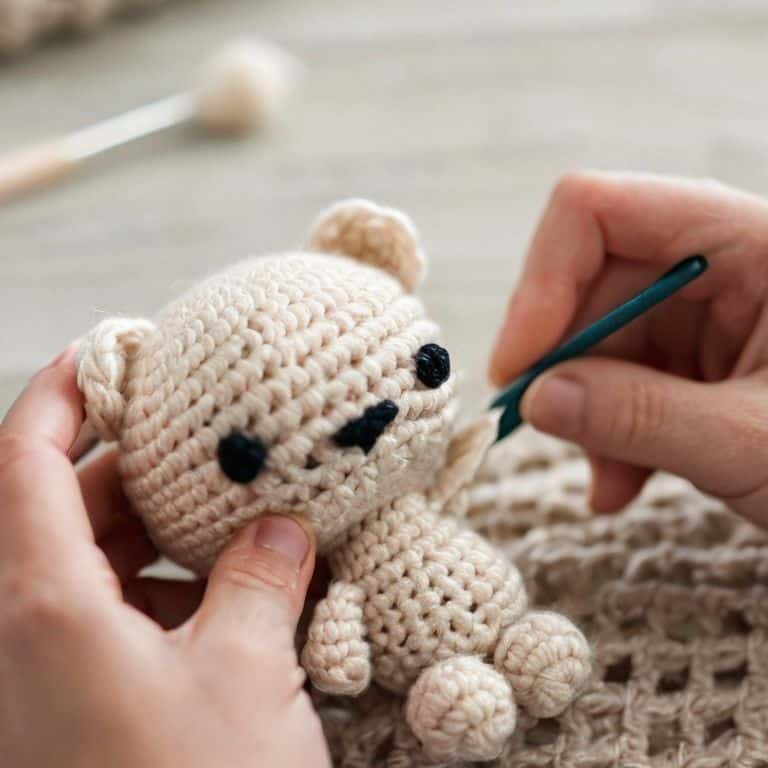
- 5. Once you’ve worked the invisible decrease, take a step back and admire your handiwork – you should see a subtle shaping of the amigurumi that creates a more defined feature. If you’re happy with the result, you can move on to the next step – if not, don’t worry, you can always frogging your work and try again. The key is to be patient and take your time, as practice makes perfect.
- 6. To add some extra definition to your amigurumi, you can work multiple invisible decreases in a row – just be sure to space them out evenly to avoid creating a bunched-up look. As you work, remember to keep your stitches evenly spaced and your tension consistent, and you’ll be amazed at how quickly your amigurumi comes together.
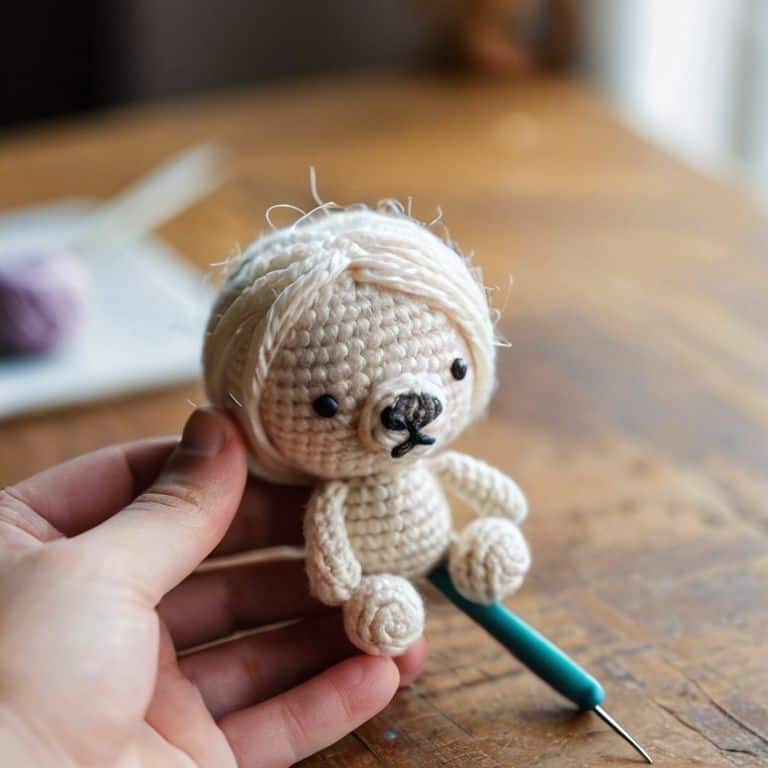
- 7. Finally, once you’ve completed the invisible decrease, you can start to stuff your amigurumi and bring it to life. Make sure to use a high-quality stuffing material that will give your amigurumi a soft, cuddly texture – and don’t be afraid to add some personal touches, like embroidery or appliques, to make your creation truly unique. With these steps, you’ll be well on your way to creating amigurumi that are not only adorable but also professionally finished.
A Guide to Invisible Decrease in Amigurumi
As I delve deeper into the world of amigurumi, I’m constantly amazed by the impact of clean finishing techniques on the overall appearance of our beloved crochet toys. One of the most crucial aspects of achieving a polished look is mastering the art of invisible decrease. By incorporating this technique into your amigurumi designs, you’ll be able to create a seamless, professional finish that will make your toys truly stand out.
When it comes to choosing the best stuffing materials for your amigurumi, it’s essential to consider the type of fiber and its potential impact on the overall texture and appearance of your toy. I personally prefer using high-quality polyester fiberfill, as it provides a soft, cuddly texture that’s perfect for snuggling. Additionally, using the right stuffing tools can make a significant difference in achieving a smooth, even finish. By combining these elements with your newfound skills in invisible decrease, you’ll be well on your way to creating truly exceptional amigurumi pieces.
For those just starting out in the world of crochet toy making, I recommend exploring various amigurumi design tips to help you develop your skills and style. Don’t be afraid to experiment with different yarns, colors, and patterns – it’s all part of the creative process, and you never know what amazing designs you might discover. As you continue to hone your craft, you’ll find that invisible decrease becomes second nature, allowing you to focus on the fun, creative aspects of bringing your amigurumi designs to life.
Crochet Toy Making Secrets Best Stuffing Materials for Amigurumi Design
When it comes to bringing your amigurumi designs to life, the right stuffing material can make all the difference. I’m obsessed with using high-quality polyester fiberfill – it’s soft, fluffy, and gives my creations the perfect amount of squish. Another favorite of mine is wool roving, which adds a lovely texture and warmth to my toys. Experimenting with different materials can help you achieve the desired look and feel for your amigurumi, so don’t be afraid to try out new things!
For me, the best part about choosing a stuffing material is the opportunity to add an extra layer of personality to my designs. Whether you’re making a cuddly companion or a decorative piece, the right filling can elevate your amigurumi from cute to irresistible. So go ahead, get creative, and find the perfect match for your handmade masterpiece!
Mastering Clean Finishing With Amigurumi Invisible Decrease Tutorial
Now that we’ve dived into the world of invisible decrease, let’s talk about how to master clean finishing with this technique. For me, there’s nothing quite like the satisfaction of completing an amigurumi project and having a beautifully finished piece to show for it. Invisible decrease is a total game-changer when it comes to achieving that polished look. By incorporating this technique into your work, you’ll be able to create seamless transitions between shapes and sizes, giving your amigurumi a professional finish.
I just love how invisible decrease allows me to add a touch of elegance to my creations, whether I’m making a cute creature or a functional item like a plant cover. With a little practice, you’ll be a pro at using invisible decrease to finish your amigurumi projects with style and finesse.
5 Essential Tips to Elevate Your Amigurumi Game with Invisible Decrease
- Invisible Decrease Magic: Use the Right Hook Size to Avoid Loose Stitches
- Stitch Savvy: Pay Attention to Tension for a Flawless Finish
- Yarn Whisperer: Choose the Perfect Yarn Weight for Your Amigurumi Project
- Decrease with Ease: Use a Stitch Marker to Keep Track of Your Place
- Finishing Touches: Weave in Ends Carefully to Maintain the Invisible Decrease Effect
Invisible Decrease in Amigurumi: 3 Key Takeaways
Invisible decrease is a game-changer for amigurumi makers, allowing for a clean and polished finish that elevates your handmade creations to the next level
Mastering the invisible decrease technique requires practice, patience, and a willingness to experiment with different stitches and yarns to find what works best for you and your project
By incorporating invisible decrease into your amigurumi designs, you’ll not only improve the overall appearance of your toys, but also develop a valuable skill that will serve you well in all your future crochet endeavors
The Art of Subtlety

Invisible decrease is not just a technique, it’s a whisper to your amigurumi, a gentle nudge that says, ‘let’s create something truly enchanting, together’
Ruby Warren
Wrapping Up the Invisible Decrease Journey
As we conclude this guide to invisible decrease in amigurumi, let’s recap the key takeaways that will elevate your crochet game: mastering the invisible decrease technique, choosing the right yarn and hook, and paying attention to tension. By incorporating these tips into your amigurumi practice, you’ll be well on your way to creating adorable, professional-looking toys with a personal touch. Remember, the invisible decrease is all about creating a seamless, clean finish that makes your amigurumi designs truly special.
As you embark on your next amigurumi adventure, I want to leave you with a final thought: the true magic of crochet lies in its imperfections. Don’t be afraid to experiment, try new things, and make mistakes – they’re all part of the creative journey. With the invisible decrease technique under your belt, you’ll be empowered to push the boundaries of what’s possible with amigurumi, and that’s a truly exciting place to be. Happy hooking, friends!
Frequently Asked Questions
What are the most common mistakes to avoid when using the invisible decrease technique in amigurumi?
Oh, friends, let’s talk about those pesky mistakes to avoid when using invisible decrease in amigurumi! I’ve been there, too – uneven tension, misplaced stitches, and forgetting to count those stitches (yes, it happens to the best of us!). To steer clear of these common blunders, just remember to keep your tension consistent, double-check your stitch count, and don’t pull that yarn too tight!
How does the invisible decrease method affect the overall texture and appearance of my amigurumi creations?
The invisible decrease method is a total game-changer for amigurumi texture and appearance! It creates a seamless, smooth finish that’s almost magical. By hiding those decreases, you’ll get a more even, rounded shape that’s just adorable. Plus, it adds a level of polish that makes your handmade creations look truly professional.
Can I use the invisible decrease technique with different types of yarn and hooks, or are there specific recommendations for optimal results?
Absolutely, friends! The invisible decrease technique is versatile and can be used with various yarns and hooks. However, for optimal results, I recommend using a yarn with a bit of texture and a hook that’s not too slippery. Experiment with different combos to find your fave – just remember, the key is to maintain a consistent tension!