I still remember the day my wife, an avid weaver, came to me frustrated with her latest yarn dyeing project. She had fallen victim to one of the common yarn dyeing mistakes to avoid, and her beautiful handspun yarn had turned into a faded, uneven disaster. As a carpenter and custom tool maker, I’ve always been fascinated by the process of creating something from scratch, and I realized that yarn dyeing was no exception. The right tools and techniques can make all the difference between a stunning, one-of-a-kind yarn and a disappointing failure.
In this article, I’ll share my honest, no-nonsense advice on how to steer clear of those pesky mistakes and achieve the vibrant, professional-looking colors you desire. I’ll walk you through the most common yarn dyeing mistakes to avoid, from incorrect temperature control to insufficient yarn preparation, and provide you with practical tips and tricks to ensure your next project turns out perfectly. Whether you’re a seasoned fiber artist or just starting out, this guide will give you the confidence to experiment with new colors and techniques, and help you create truly unique, handmade yarns that will elevate your weaving or knitting projects to the next level.
Table of Contents
Guide Overview: What You'll Need
Total Time: 1 hour 30 minutes
Estimated Cost: $10 – $30
Difficulty Level: Intermediate
Tools Required
- Measuring Cups (for accurate dye measurement)
- Stainless Steel Pot (large enough to hold yarn and dye)
- Thermometer (for monitoring temperature)
- Gloves (for protecting hands from dye)
- Spoon or Stirring Rod (for mixing dye)
Supplies & Materials
- Yarn (choose a dye-friendly fiber)
- Dye Powder or Liquid (select a suitable color)
- Salt (for helping dye bind to yarn)
- Vinegar (for adjusting pH levels)
- Running Water (for rinsing dyed yarn)
Step-by-Step Instructions
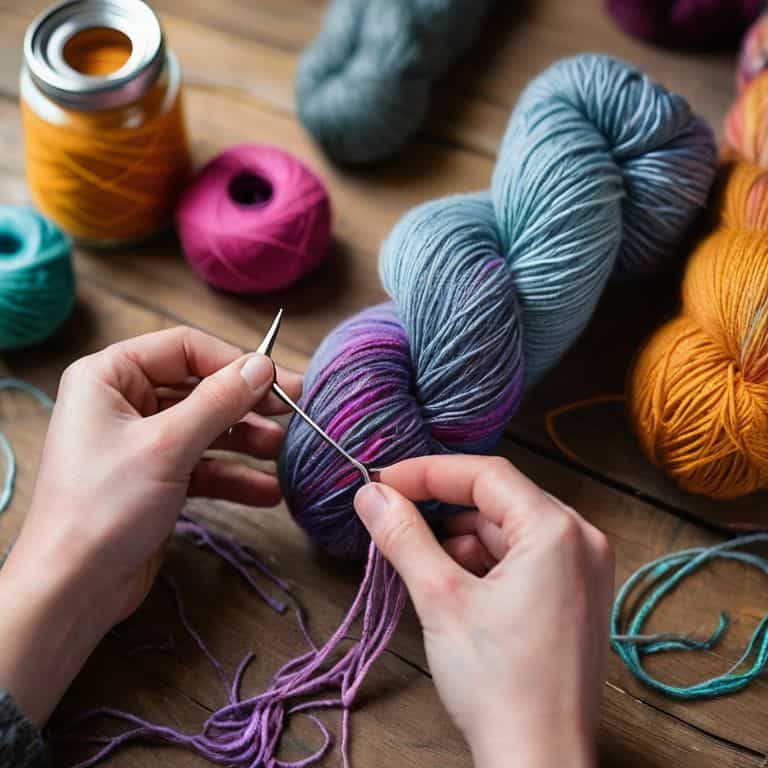
- 1. First, prepare your workspace by covering your table or counter with old sheets, towels, or a plastic tablecloth to prevent any accidental stains. I’ve learned this the hard way, and trust me, you don’t want to be scrubbing dye out of your favorite woodworking bench. Make sure you have all your materials within arm’s reach, including your yarn, dye, measuring cups, and gloves.
- 2. Next, measure your dye carefully, as too much or too little can drastically affect the final color of your yarn. I like to use a digital scale to ensure accuracy, and I always double-check my measurements before proceeding. It’s also a good idea to write down your recipe, including the type and amount of dye, so you can replicate it later if you like the result.
- 3. Now, mix your dye, following the instructions provided by the manufacturer. Be sure to wear your gloves and work in a well-ventilated area, as dye can be harsh on skin and lungs. I like to mix my dye in a large bucket or container, using a wooden spoon or stirrer to combine the ingredients. Make sure to mix thoroughly, as any unmixed dye can lead to uneven color.
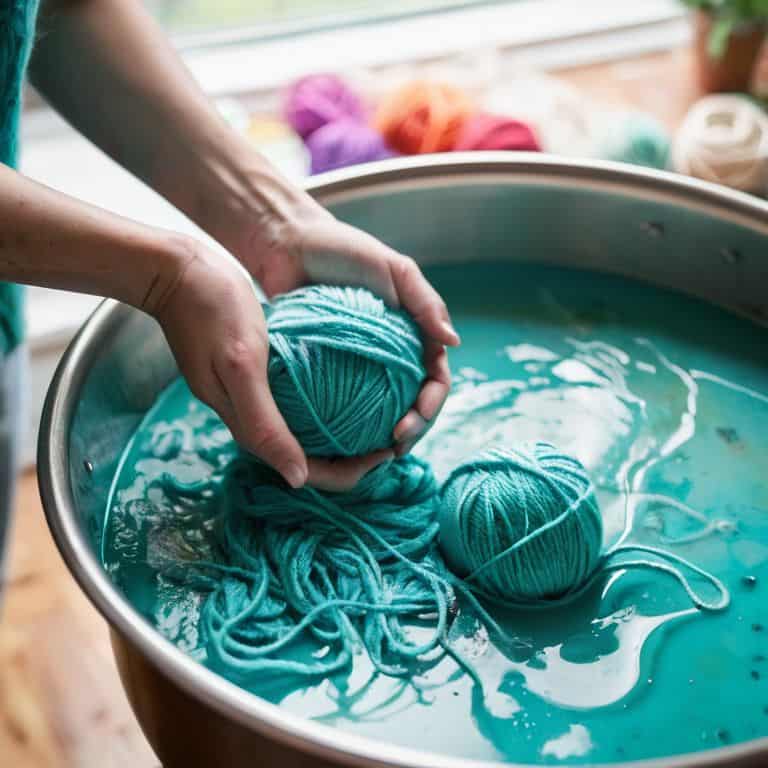
- 4. After mixing your dye, it’s time to soak your yarn. This step is crucial, as it helps the dye penetrate the fibers evenly. I like to soak my yarn in warm water for at least an hour before adding the dye, making sure to gently squeeze out any excess water before submerging it in the dye bath. Be careful not to felt your yarn during this process, as it can cause it to become misshapen or develop unwanted texture.
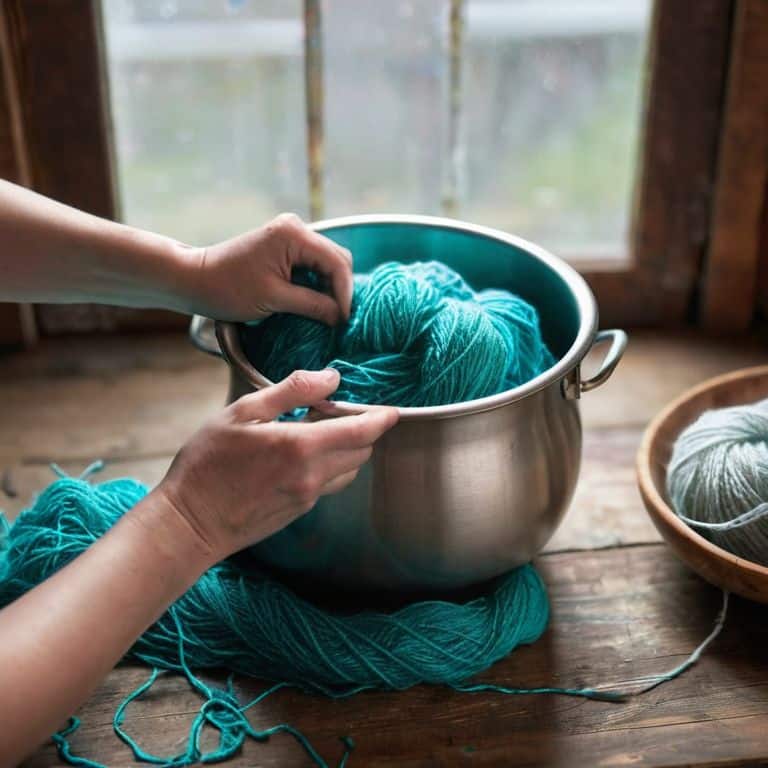
- 5. Once your yarn is soaked, it’s time to add it to the dye bath. Make sure the water level is high enough to cover the yarn completely, and that the yarn is fully submerged. I like to use a wooden spoon or skimmer to gently agitate the yarn, ensuring that it’s evenly coated with the dye. Be careful not to over-agitate, as this can cause the yarn to become tangled or felted.
- 6. Now, wait for the magic to happen, as the dye works its way into the yarn. The waiting time will depend on the type of dye and yarn you’re using, so be sure to follow the manufacturer’s instructions. I like to check on my yarn periodically, making sure that the color is developing evenly and that the yarn isn’t becoming too dark or too light. If necessary, I’ll adjust the dye bath or add more dye to achieve the desired color.
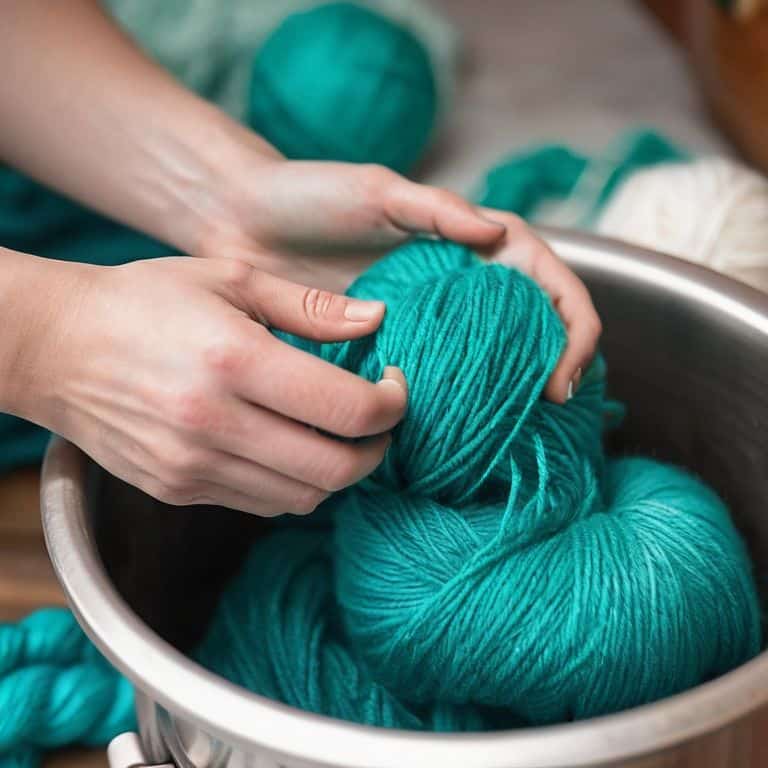
- 7. Finally, rinse and dry your yarn, making sure to remove any excess dye and water. I like to rinse my yarn gently with cool water, then squeeze out as much water as possible using a towel. To dry, I’ll either hang the yarn over a clothesline or lay it flat on a towel, making sure it’s not exposed to direct sunlight or heat. This will help prevent the yarn from fading or becoming discolored over time.
Avoid Yarn Dyeing Disasters
As I’ve learned from my own experiences and those of my wife, a skilled weaver, yarn dyeing techniques for beginners can be a bit of a trial by fire. It’s essential to understand the basics of natural yarn dyeing methods to achieve the desired colors and avoid disasters. One crucial aspect to consider is the type of yarn fiber you’re working with, as different fibers respond uniquely to various dyes.
When it comes to yarn color theory and selection, it’s vital to consider the color wheel and how different hues interact with each other. This knowledge will help you create a harmonious palette and avoid clashing colors. Additionally, being aware of yarn fiber types and dyeing characteristics can save you from potential errors, such as using the wrong dye for a particular fiber type.
To minimize the risk of errors, it’s also important to follow yarn dyeing safety precautions. Always work in a well-ventilated area, wear protective gear, and follow the instructions provided with your dye. If you do encounter an issue, don’t panic – there are often ways to fixing yarn dyeing errors and salvage your project. With practice and patience, you’ll become more confident in your yarn dyeing skills and be able to create beautiful, unique colors for your projects.
Natural Nuances Dyeing Safety First
When working with dyes, it’s essential to consider the natural nuances of the yarn fibers. Some fibers, like wool and silk, can be more prone to felting or discoloration if not handled properly. I’ve found that taking the time to understand the unique characteristics of each fiber type can make all the difference in achieving the desired color. As someone who’s spent years working with wood and now with yarn, I can appreciate the importance of respecting the material’s natural properties.
To ensure a safe and successful dyeing process, I always recommend wearing protective gear, including gloves and goggles. It’s also crucial to work in a well-ventilated area, away from any open flames or sparks. By taking these simple precautions, you can minimize the risk of accidents and focus on creating beautiful, one-of-a-kind yarns.
Sawdust Secrets Yarn Fiber Types
As a woodworker and tool maker, I’ve developed a deep appreciation for the unique characteristics of different materials. Similarly, when it comes to yarn dyeing, understanding the specific fiber type you’re working with is crucial. I’ve found that wool, for instance, can be quite forgiving, while silk and cotton require more finesse. My wife, an avid weaver, always says that the key to achieving the perfect hue is to know your yarn’s personality.
I’ve seen how different fibers interact with dyes, and it’s amazing how a small adjustment can make all the difference. For example, plant-based fibers like hemp and flax can produce stunning, earthy tones with the right dye combination. By recognizing the distinct traits of each yarn fiber, you can unlock a world of creative possibilities and avoid those frustrating dyeing disasters.
Dyeing to Know: 5 Tips to Save Your Yarn
- Overdyeing: Don’t overdo it, or you’ll end up with a muddy mess – know when to stop and let your yarn breathe
- Wrong Water: Using the wrong water temperature can felt your yarn or cause uneven dye distribution, so make sure to check your fiber type first
- Dye Stuff: Not all dyes are created equal, and using the wrong type can lead to disastrous results – choose the right dye for your yarn fiber
- Measure Up: Measuring your dye and yarn accurately is crucial to achieving the color you want – don’t skip this step or you’ll be in for a surprise
- pH Balance: Keep an eye on your pH levels, as extreme acidity or alkalinity can affect the dye’s ability to bind to the yarn, resulting in uneven or faded colors
Sawdust-Tested Takeaways
Dye with intention: understanding your yarn’s fiber type is crucial to achieving the desired color, so take the time to research and choose the right dye for your project
Safety always comes first: never underestimate the importance of proper ventilation, protective gear, and a clean workspace when working with dyes and chemicals to avoid accidents
Experiment with confidence: don’t be afraid to try new things and make mistakes – they’re an opportunity to learn and improve your yarn dyeing skills, and with practice, you’ll develop your own sawdust-approved techniques
Conclusion: Dyeing to Perfection
As we’ve explored the world of yarn dyeing, it’s clear that avoiding common mistakes is all about understanding the intricacies of fiber types and being mindful of dyeing safety. From recognizing the unique characteristics of different yarns to taking necessary precautions when working with dyes, every step counts in achieving the desired results. By following the guidelines and tips outlined in this guide, you’ll be well on your way to creating beautifully dyed yarns that reflect your creativity and skill. Whether you’re a seasoned pro or just starting out, remembering that practice makes perfect is key to overcoming initial setbacks and developing your unique voice in the world of yarn dyeing.
As you embark on your next yarn dyeing adventure, remember that the journey is just as important as the destination. Don’t be afraid to experiment, try new things, and push the boundaries of what’s possible with color and fiber. With patience, persistence, and a willingness to learn from your mistakes, you’ll unlock a world of creative possibilities and discover the true joy of yarn dyeing. So go ahead, get messy, and make something truly remarkable – your next handmade project is waiting!
Frequently Asked Questions
What are the most common yarn dyeing mistakes that can affect the color and texture of my final project?
I’ve seen many a yarn dyeing disaster in my workshop, and I’m happy to share the most common mistakes to watch out for. Overdyeing, uneven temperature, and using the wrong mordant can all wreak havoc on your final project’s color and texture. Let’s break it down and get your yarn dyeing back on track.
How can I prevent uneven dye distribution and ensure a consistent color throughout my yarn?
To prevent uneven dye distribution, I swear by gentle stirring and a balanced dye-to-water ratio. Think of it like sanding a fine wood – you want a smooth, even finish. For consistent color, try dividing your yarn into smaller skeins and dyeing them simultaneously, ensuring each strand gets equal love.
Are there any specific yarn fiber types that are more prone to dyeing mistakes, and how can I adjust my dyeing process to accommodate them?
When it comes to yarn fiber types, I’ve found that wool and silk can be a bit finicky. Wool, in particular, can felt if agitated too much, while silk can be prone to over-dyeing. To adjust, use gentler agitation for wool and shorter dyeing times for silk. I’ve also had success with adding a little vinegar to the dye bath for wool to help the colors hold.