
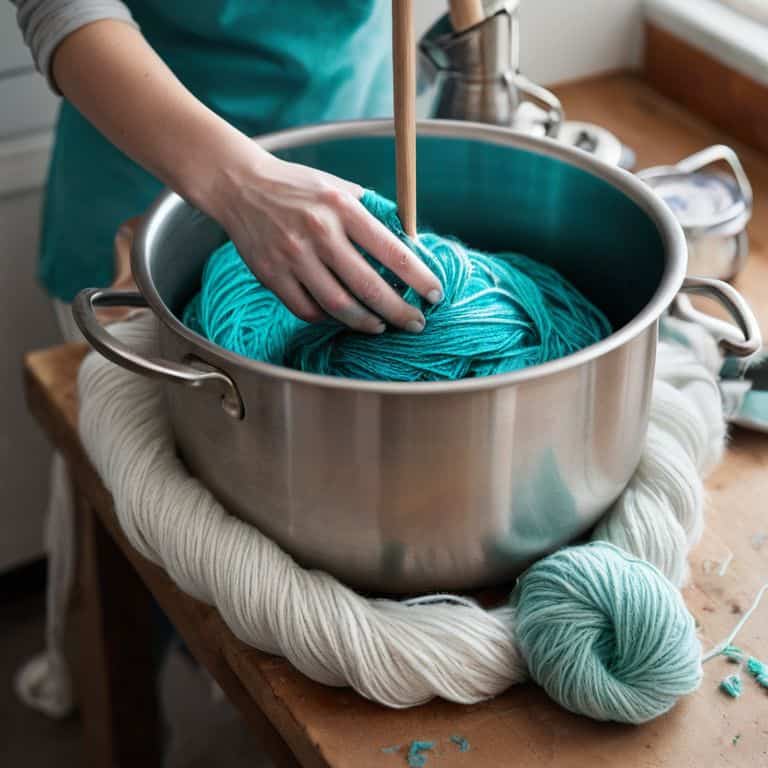
I still remember the day my wife, a passionate weaver, asked me to help her find the perfect yarn for her next project. She wanted a specific shade of indigo that seemed impossible to find in stores. That’s when I stumbled upon the world of how to dye yarn. I was amazed by the endless possibilities and decided to take matters into my own hands. With my background in carpentry, I approached yarn dyeing as a craft that requires the right tools and techniques. I soon discovered that it’s not just about throwing some dye into a pot, but rather a delicate process that requires patience, practice, and the right materials.
As someone who’s passionate about creating functional and beautiful tools, I want to share my knowledge with you. In this article, I’ll guide you through the process of how to dye yarn like a pro. You’ll learn about the different types of dyes, how to prepare your yarn, and the best techniques for achieving consistent results. I’ll also share some tips and tricks I’ve picked up along the way, from choosing the right equipment to troubleshooting common mistakes. By the end of this article, you’ll be equipped with the confidence and skills to create your own unique, hand-dyed yarns that will take your weaving or knitting projects to the next level.
Table of Contents
Guide Overview: What You'll Need
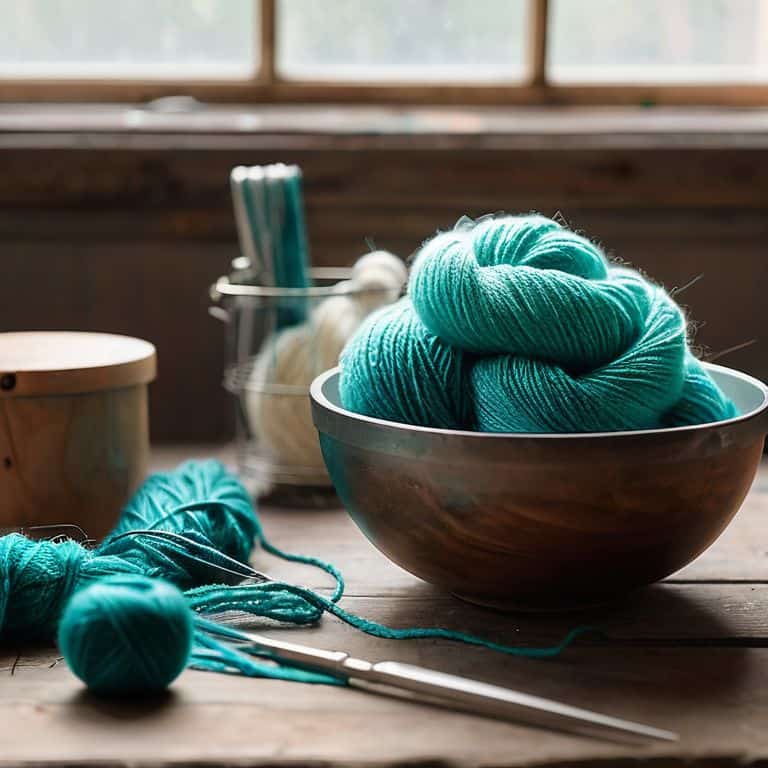
Total Time: 2 hours 30 minutes
Estimated Cost: $20 – $40
Difficulty Level: Intermediate
Tools Required
- Large Pot stainless steel or enamel-coated cast iron
- Thermometer for monitoring temperature
- Wooden Spoon for stirring
- Measuring Cups for accurate measurements
- Gloves for protecting hands from dye
Supplies & Materials
- Yarn natural fibers like wool, cotton, or silk
- Dye Powder or Liquid choose desired color
- Salt for helping dye bind to yarn
- Vinegar for helping dye bind to yarn
- Water enough to cover yarn in pot
Step-by-Step Instructions
- 1. First, gather your materials, including the yarn you want to dye, a large pot, some measuring cups, and your chosen dye. I like to use a combination of natural dyes, like indigo and pomegranate, to create unique and earthy colors. Make sure you’ve got some protective gloves and a well-ventilated workspace, too – we don’t want any accidents or stains.
- 2. Next, prepare your yarn by unwinding it and soaking it in warm water. This helps to open up the fibers and get them ready for the dye. You can add a little bit of vinegar to the water to help the dye bind better, but be careful not to add too much or it’ll affect the color. I like to think of this step as waking up the yarn, getting it ready to absorb all the beautiful colors we’re about to add.
- 3. Now it’s time to mix your dye, following the instructions on the packaging or your own recipe if you’re using natural dyes. I love experimenting with different combinations of plants and spices to create one-of-a-kind colors. Make sure you’ve got a dedicated spoon and measuring cups for this step, as dye can stain and linger. Mix everything together in a separate container before adding it to the pot.
- 4. With your dye mixed and your yarn soaked, it’s time to heat things up. Fill the large pot with enough water to cover the yarn, and add the dye mixture. Bring the water to a simmer, then reduce the heat and let it cook for about an hour, or until the yarn has absorbed as much color as it can. Keep an eye on the temperature and stir occasionally to make sure everything is evenly distributed.
- 5. After the yarn has finished cooking, remove it from the heat and let it cool down. This is the hardest part – waiting for it to cool enough to handle. But trust me, it’s worth it. Once it’s cooled, you can rinse it gently with cold water to remove any excess dye, then give it a good wash with some mild soap to get it clean.
- 6. Now that your yarn is dyed and cleaned, it’s time to dry it out. You can do this by laying it out in a single layer on a towel, or by hanging it up to air dry. Be careful not to stretch or pull the yarn, as this can affect its texture and shape. I like to think of this step as the final reveal, where you get to see your beautiful, hand-dyed yarn in all its glory.
- 7. Finally, inspect and enjoy your handiwork. Take a closer look at the colors, the texture, and the overall quality of the yarn. You can use it right away for your next project, or store it away for later. Either way, you should be proud of yourself for taking the time to create something truly unique and special. And who knows – you might just find yourself hooked on dyeing yarn, like I did.
Dyeing Yarn From Scratch
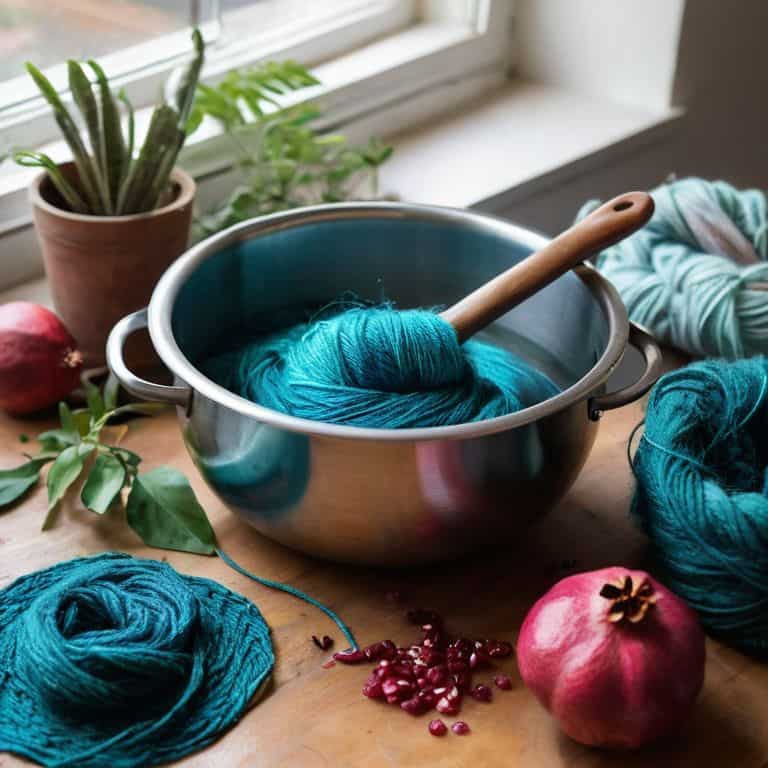
As I work on dyeing yarn from scratch, I’ve come to appreciate the importance of yarn dyeing techniques for beginners. It’s not just about throwing some dye into a pot, but rather understanding how different colors interact with each other. I’ve found that natural dye plants for yarn can add a unique twist to my projects, and experimenting with these plants has become a fun hobby. From indigo to pomegranate, the possibilities are endless.
When it comes to achieving the perfect color, yarn color theory and mixing is key. I’ve spent hours studying the color wheel and testing different combinations to create one-of-a-kind hues. Acid dye safety precautions are also crucial, as I’ve learned the hard way that improper handling can lead to disaster. By taking the time to understand the basics, I’ve been able to create hand-painted yarn that’s truly inspiring.
For those looking to take their yarn dyeing to the next level, I recommend trying overdyeing yarn for unique colors. This technique allows you to layer colors and create complex, multi-dimensional hues that are sure to impress. With a little practice and patience, you’ll be creating stunning, one-of-a-kind yarns that will elevate your fiber arts projects to new heights.
Acid Dye Safety First
When working with acid dyes, safety is paramount. I always make sure to wear protective gloves, goggles, and a mask to avoid any skin or eye irritation and inhalation of fumes. It’s also crucial to work in a well-ventilated area, away from any open flames or sparks. I’ve learned to respect the power of acid dyes and take necessary precautions to avoid accidents.
I recommend having a bucket of water and some baking soda on hand to neutralize any spills. It’s also a good idea to have a first aid kit nearby, just in case. By taking these simple precautions, you can ensure a safe and enjoyable dyeing experience. Remember, it’s always better to err on the side of caution when working with potent chemicals like acid dyes.
Natural Dye Plants for Beginners
When it comes to natural dye plants, I’m a big fan of keeping things simple, especially for beginners. You don’t need a massive garden to get started – just a few herbs and flowers can give you a wide range of colors. I like to use plants like indigo, marigold, and weld, which are all easy to find and work with. My wife, a talented weaver, loves experimenting with these natural dyes to create unique shades for her projects.
For a beginner-friendly option, try using onion skins or turmeric to create warm, golden hues. These plants are readily available and require minimal equipment to get started. I’ve found that the key to successful natural dyeing is to experiment and have fun with the process – don’t be afraid to try new combinations and see what happens. With a little practice, you’ll be creating beautiful, one-of-a-kind colors in no time.
5 Tips to Unleash Your Inner Yarn Dyeing Master
- Dive into the world of color theory and experiment with different dye combinations to create unique, one-of-a-kind hues
- Always, and I mean always, swatch your yarn before dyeing a full batch – it’s a game-changer for avoiding color disasters
- Keep it safe, keep it fun: make sure you’re working in a well-ventilated area and wearing protective gear when handling dyes
- Don’t be afraid to think outside the box and try natural dyeing methods, like using plants or spices, for a more organic look
- Remember, the key to achieving consistent results is to keep detailed records of your dyeing process, including measurements, times, and temperatures – trust me, your future self will thank you
Key Takeaways for Hand-Dyeing Yarn
Dyeing your own yarn can be a fun and creative process, but it’s crucial to follow safety guidelines, especially when working with acid dyes, to ensure a successful and safe experience
Natural dye plants offer a unique and sustainable way to add color to your yarn, and with the right knowledge, you can achieve a wide range of hues and shades using plants like indigo, madder, and pomegranate
Whether you’re a beginner or an experienced fiber artist, experimenting with different dyeing techniques and materials can help you develop your own unique style and voice, and with practice, you’ll be able to create one-of-a-kind yarns that reflect your personality and creativity
A Word of Wisdom on Yarn Dyeing
The beauty of dyeing your own yarn lies not just in the colors you create, but in the story you weave into every thread – it’s about experimentation, patience, and the joy of turning the ordinary into something extraordinary, one dye bath at a time.
Finnian "Finn" Burke
Bringing It All Together: The Art of Yarn Dyeing
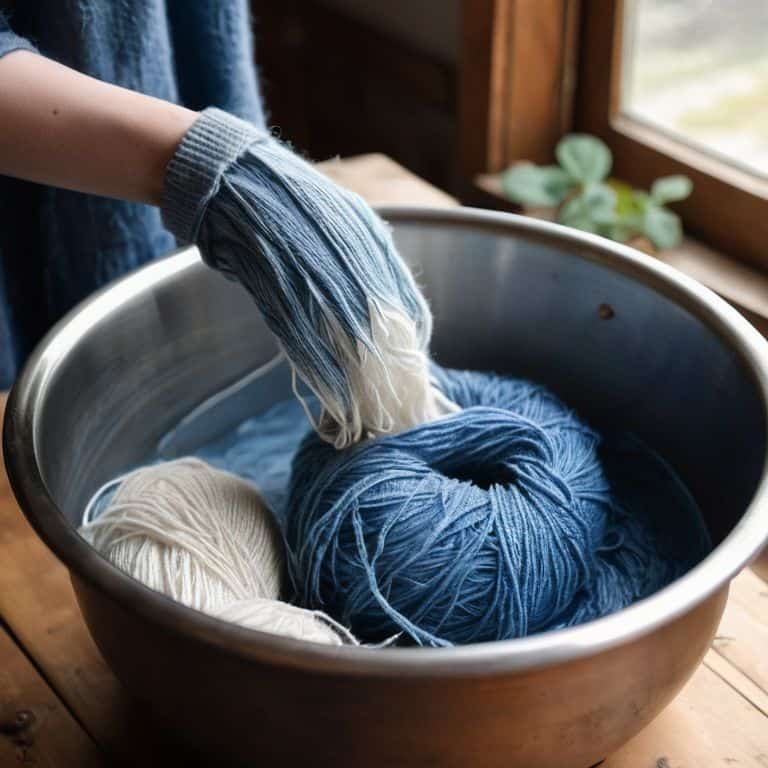
As we’ve explored the world of yarn dyeing, from the basics to more advanced techniques like using natural dye plants and understanding acid dye safety, it’s clear that this craft requires patience, practice, and a willingness to experiment. Key to success is not just following a recipe, but understanding the materials and the process. Whether you’re aiming for subtle, pastel shades or vibrant, bold colors, the journey of dyeing your own yarn is as rewarding as the end result. Remember, it’s about the process, not just the product.
As you put down your dyeing tools and step back to admire your handiwork, remember that every skein tells a story. It’s a story of trial and error, of discovery and creation. Whether you’re a seasoned pro or just starting out, the art of yarn dyeing offers a unique blend of science, art, and therapeutic joy. So, keep exploring, keep creating, and most importantly, keep getting your hands dirty – for in the world of yarn dyeing, every mistake is an opportunity to learn and grow.
Frequently Asked Questions
What are some common mistakes to avoid when dyeing yarn for the first time?
When dyeing yarn for the first time, I’ve found that common mistakes to avoid include using the wrong water temperature, not enough dye, or over-agitating the yarn. These can lead to uneven colors, felted fibers, or even damaged yarn. Trust me, I’ve been there – my wife still teases me about my first batch of “tie-dye disaster” yarn!
How do I achieve consistent color results when using natural dye plants?
Ah, consistent color results with natural dyes – that’s the holy grail! I’ve found that using a consistent ratio of plant material to water, and carefully monitoring temperature and steeping time, makes all the difference. My wife, a skilled weaver, swears by keeping a dye journal to track her recipes and results, and it’s been a game-changer for achieving those gorgeous, repeatable hues.
What safety precautions should I take when working with acid dyes to avoid skin and eye irritation?
When working with acid dyes, I always stress safety first. Wear protective gloves, goggles, and a mask to avoid skin and eye irritation. Make sure you’re in a well-ventilated area, and consider using a respirator to avoid inhaling fumes. I also keep a bucket of soapy water nearby to quickly wash off any spills – trust me, it’s better to be safe than sorry!
