I still remember the first time I tried to knit a scarf, only to end up with a frustrating mess because I didn’t understand the concept of right side vs wrong side. As I sat in my cozy library, surrounded by yarn and patterns, I realized that the internet was flooded with complicated explanations of what does right side vs wrong side mean in knitting. It seemed like every website was trying to make it sound more complicated than it needed to be. I was determined to simplify the process and make it accessible to everyone.
As someone who’s passionate about demystifying knitting, I want to assure you that understanding right side vs wrong side is not rocket science. In this article, I’ll provide you with a step-by-step guide that will walk you through the process of identifying and working with the right and wrong sides of your knitting project. My goal is to give you the confidence to create something beautiful, without feeling overwhelmed by complicated terminology or confusing patterns. I’ll share my personal experience and provide you with practical tips that will make your knitting journey a joy, not a chore.
Table of Contents
Mastering Knitting Basics
As we dive into the world of knitting, it’s essential to grasp the fundamentals of knitting pattern terminology. This includes understanding the difference between the right side and wrong side of your work, which can significantly impact the final result. To start, let’s explore the concept of stockinette stitch vs garter stitch, two basic textures that rely heavily on row orientation.
When working on a project, it’s crucial to comprehend understanding knitting instructions, including common abbreviations like RS (right side) and WS (wrong side). These notations help you navigate the pattern and ensure you’re on the right track. By familiarizing yourself with these terms, you’ll become more confident in your knitting abilities and better equipped to tackle more complex projects.
As you practice and become more comfortable with knitting, you’ll develop a sense of knitting row orientation, allowing you to effortlessly switch between rows and maintain a consistent fabric. Remember, mastering these basics takes time and patience, but with clear instructions and a willingness to learn, you’ll be well on your way to creating beautiful, professional-looking pieces.
Cracking Knitting Pattern Terminology
When diving into knitting patterns, it’s essential to understand the terminology used. Pattern language can seem like a foreign tongue at first, but trust me, it’s easier to grasp than you think. By breaking down each term, you’ll be well on your way to deciphering even the most complex patterns.
To start, let’s focus on the right side and wrong side terminology. This fundamental concept is crucial in knitting, as it determines the appearance of your finished project. By mastering this basic concept, you’ll be able to navigate patterns with confidence and accuracy, ensuring your knitting project turns out as intended.
Stockinette Stitch vs Garter Stitch Secrets
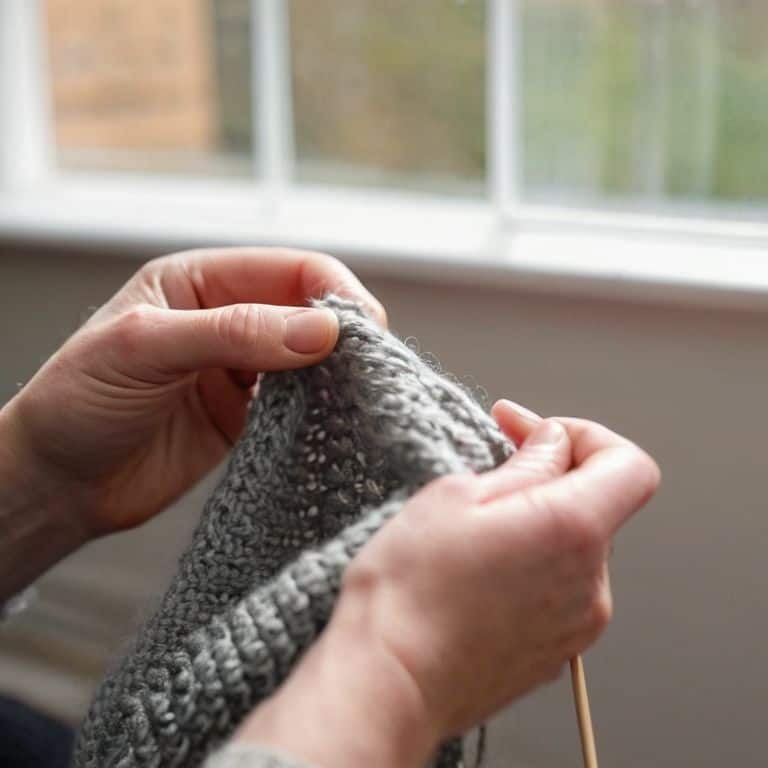
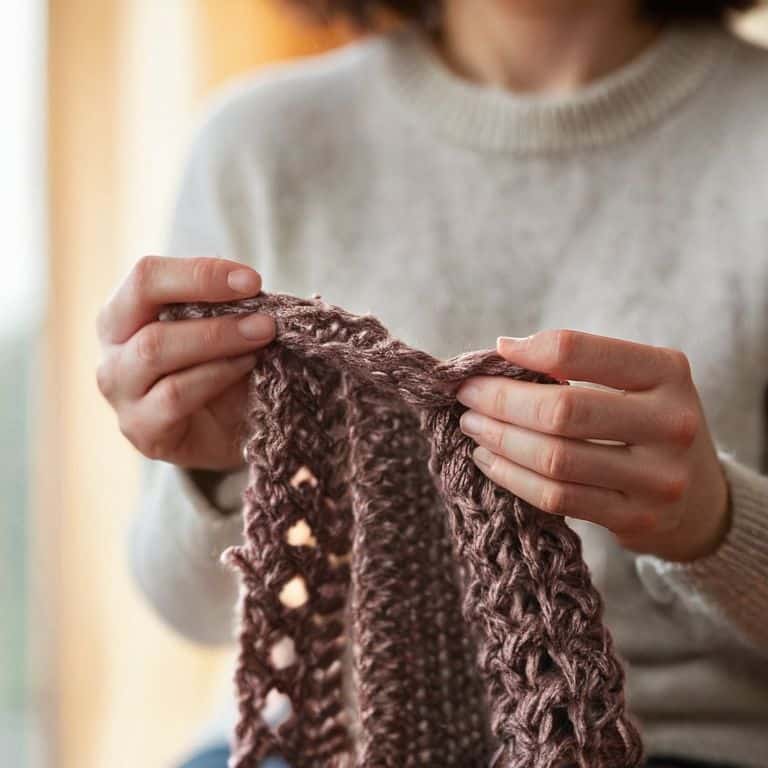
When working with knitting patterns, it’s essential to understand the difference between Stockinette Stitch and Garter Stitch. The key to success lies in recognizing the texture and appearance of each stitch. Stockinette Stitch has a smooth, flat surface, while Garter Stitch has a more textured, ridged appearance.
To master these stitches, start by practicing each one separately. Pay attention to how the yarn and needles interact to create the desired texture. Notice how the stitch pattern emerges as you work row after row, and don’t be afraid to experiment with different yarns and needle sizes to see how they affect the final result.
What Does Right Side vs Wrong Side Mean
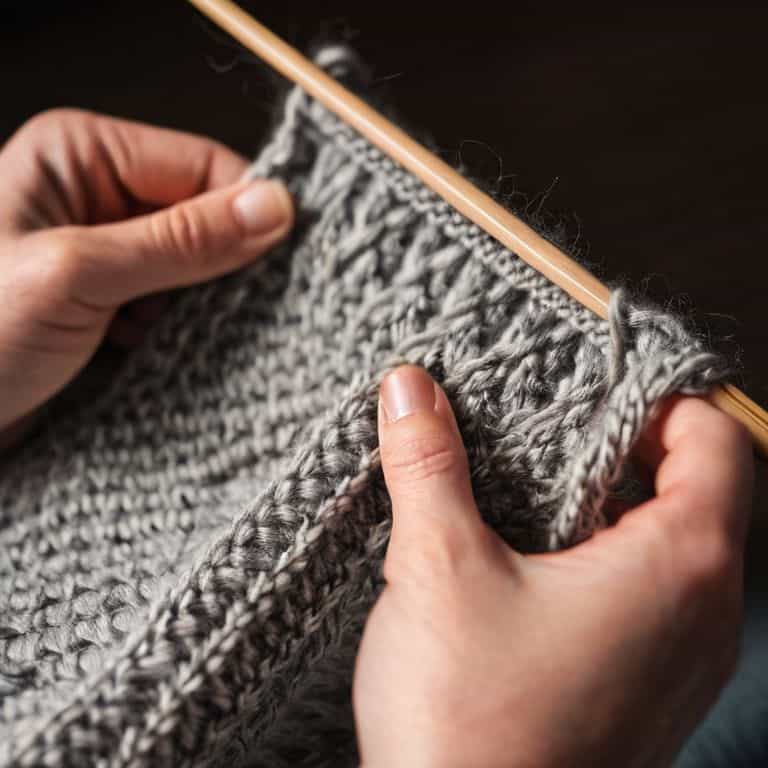
When working with knitting pattern terminology, it’s essential to understand the concept of right side and wrong side. This refers to the orientation of your knitting rows, where the right side is the side that will be visible when the garment is worn, and the wrong side is the reverse. To identify the right side, look for the side with the stockinette stitch or garter stitch pattern facing outwards.
In knitting instructions, you’ll often come across the abbreviation “RS” for right side and “WS” for wrong side. This right side wrong side abbreviation is crucial in ensuring that your knitting project turns out as intended. For example, if a pattern instructs you to knit a row on the right side, you’ll need to make sure that the right side of the fabric is facing you.
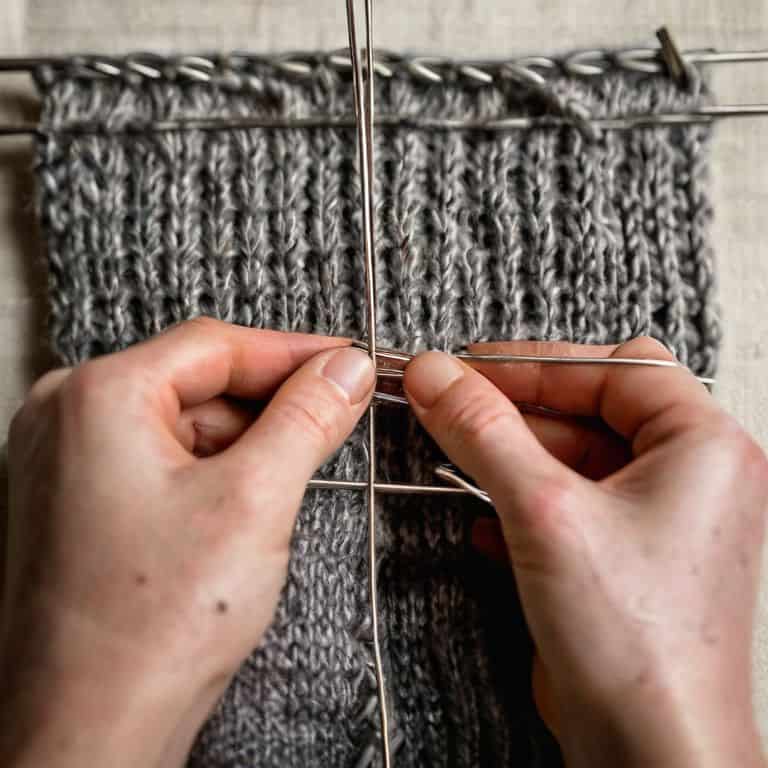
To avoid confusion, it’s helpful to develop a system for tracking the knitting row orientation. One approach is to use a stitch marker or a small piece of yarn to mark the beginning of a row on the right side. By doing so, you’ll be able to easily identify the right side and wrong side of your work, and ensure that your knitting project is progressing smoothly. This will also help you to understand knitting instructions more effectively and make the most of common knitting abbreviations.
Decoding Right Side Wrong Side Abbreviation
When you come across knitting patterns, you’ll often see the terms “right side” and “wrong side” abbreviated as RS and WS. Understanding these abbreviations is crucial to ensure you’re working on the correct side of your fabric. This might seem like a small detail, but trust me, it can make all the difference in the outcome of your project.
As you work through your pattern, you’ll need to pay attention to when to work on the right side of your fabric. This is usually indicated by the pattern specifying “RS” or “right side facing,” and it’s essential to follow these instructions carefully to achieve the desired texture and look of your finished project.
Understanding Row Orientation Made Easy
To grasp the concept of right side vs wrong side in knitting, it’s essential to understand row orientation. This refers to the way your rows are structured, which can affect the overall look and texture of your project. By paying attention to row orientation, you can ensure that your knitting looks even and polished.
When working on a project, I always make sure to keep track of my rows. This involves counting the number of rows I’ve completed and noting whether I’m on a right side or wrong side row. By doing so, I can maintain a consistent pattern and avoid mistakes that can be frustrating to fix.
5 Essential Tips to Master Right Side vs Wrong Side in Knitting
- Always start by identifying the right side of your knitting project, usually indicated by a smooth, flat surface, to ensure you’re on the right track
- Pay attention to row orientation, remembering that right-side rows are typically odd-numbered and wrong-side rows are even-numbered, to maintain consistency
- Use stitch markers or a small piece of yarn to mark the beginning of a row and help you keep track of right and wrong sides, especially in complex patterns
- Take a moment to examine your knitting project after completing a few rows to verify that you’re working on the correct side, making adjustments as needed to avoid mistakes
- Practice, practice, practice – the more you knit, the more intuitive it will become to distinguish between right and wrong sides, so don’t be afraid to start small and work your way up to more complex projects
Key Takeaways for Mastering Right Side vs Wrong Side in Knitting
Always identify the right side and wrong side of your knitting project before starting, as this determines the success of your pattern and the overall look of your finished piece
Understand that knitting patterns use specific terminology and abbreviations to indicate right and wrong sides, such as RS and WS, which are crucial for maintaining consistency in your stitches
Practice visualizing and working with row orientation, knowing when to start a new row and how to keep track of your place in the pattern, to ensure that your right side and wrong side are correctly aligned and your project turns out as intended
A Knitter's Wisdom
The difference between right side and wrong side in knitting isn’t just about technicality, it’s about understanding the very fabric of your craft – literally and figuratively – and once you grasp this concept, you’ll unlock a world of precision and beauty in every stitch.
Beatrice "Bea" Quinn
Wrapping Up: You're Now a Knitting Pro
As we’ve explored the world of knitting, it’s become clear that understanding the difference between the right side and wrong side is crucial for any project. We’ve cracked the code of knitting pattern terminology, delved into the secrets of Stockinette Stitch and Garter Stitch, and even learned how to decipher the RS and WS abbreviations. By mastering these basics, you’ll be well on your way to creating beautiful, professional-looking pieces that you can be proud of. Remember, practice makes perfect, so don’t be afraid to experiment and try new things – it’s all part of the learning process.
As you move forward on your knitting journey, keep in mind that the key to success lies in breaking it down to the basics. Don’t be intimidated by complex patterns or terminology – with a clear understanding of the fundamentals, you’ll be able to tackle even the most challenging projects. So, go ahead and grab your yarn and needles, and get ready to unleash your creativity. With patience, persistence, and a willingness to learn, you’ll be creating stunning knitted pieces in no time, and the sense of accomplishment will be incredibly rewarding.
Frequently Asked Questions
How can I consistently identify the right side and wrong side of my knitting project as I work on it?
To consistently identify the right and wrong sides, try this simple trick: mark the right side with a small stitch marker or a piece of yarn. As you work, periodically check the marker to ensure you’re on track. You can also take a photo of your work at the end of each row to keep a visual record and refer back to it if you’re unsure.
What happens if I accidentally knit a row with the wrong side facing out, can I fix it without starting over?
Don’t worry, it’s an easy fix. If you’ve knit a row with the wrong side facing out, simply frogging, or ripping out, the offending row and re-knit it with the right side facing. Your project will be back on track in no time.
Are there any visual cues or tips to help me distinguish between the right and wrong sides of different knitting stitches and patterns?
Let’s take a closer look. For visual cues, I recommend checking the stitch texture and edge formation. For example, stockinette stitch typically has a smooth side and a bumpy side, while garter stitch has a more textured look on both sides, but with a distinct edge. I’ll show you some photos to illustrate this in my next post.