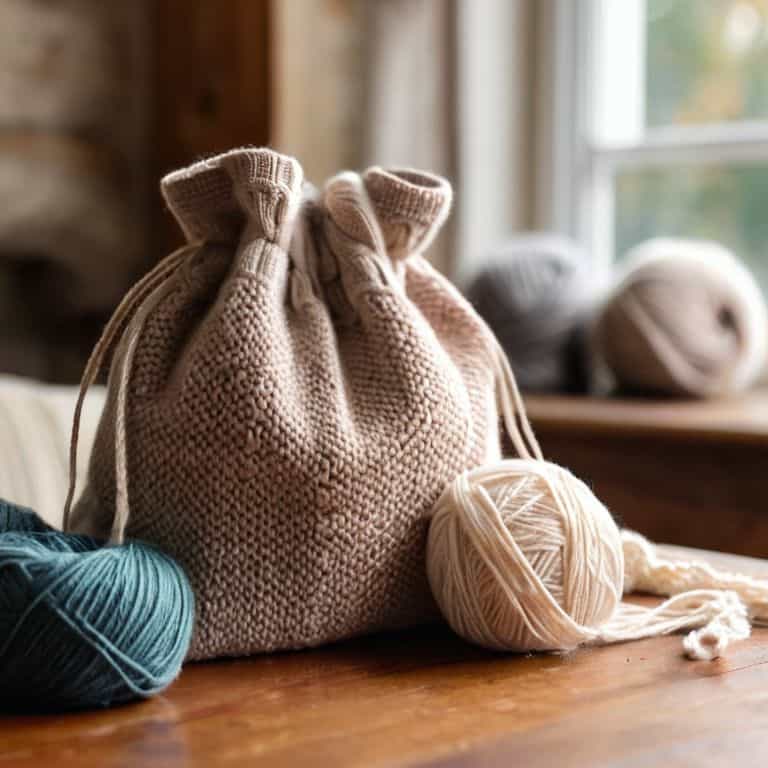
I still remember the day my wife, a passionate weaver, complained about her yarn and tools getting tangled and lost. I decided to create a solution, and that’s when I discovered the joy of making a simple drawstring project bag pattern. It’s amazing how something so straightforward can make a huge difference in our crafting lives. I’ve seen many makers struggle with keeping their materials organized, and I believe it’s time to set the record straight: you don’t need to be an expert seamstress to create a beautiful and functional project bag.
In this article, I’ll share my no-nonsense approach to creating a simple drawstring project bag pattern. You’ll learn how to choose the right materials, measure, and sew your bag with ease. I’ll provide you with step-by-step instructions and photos to ensure you can follow along effortlessly. By the end of this guide, you’ll have a gorgeous, handmade project bag to store your latest creation, and you’ll be amazed at how easy it is to make. Whether you’re a seasoned crafter or just starting out, this simple project bag pattern is the perfect solution to keep your yarn, tools, and creativity organized and within reach.
Table of Contents
- Guide Overview: What You'll Need
- Step-by-Step Instructions
- Crafting a Simple Drawstring Project Bag Pattern
- Sawdust & Stitches: 5 Essential Tips for a Simple Drawstring Project Bag
- Key Takeaways for Your Simple Drawstring Project Bag
- Sawdust & Stitches: A Simple Drawstring Bag to Hold Your Latest Creation
- Frequently Asked Questions
Guide Overview: What You'll Need
Total Time: 1 hour 15 minutes
Estimated Cost: $10 – $20
Difficulty Level: Easy
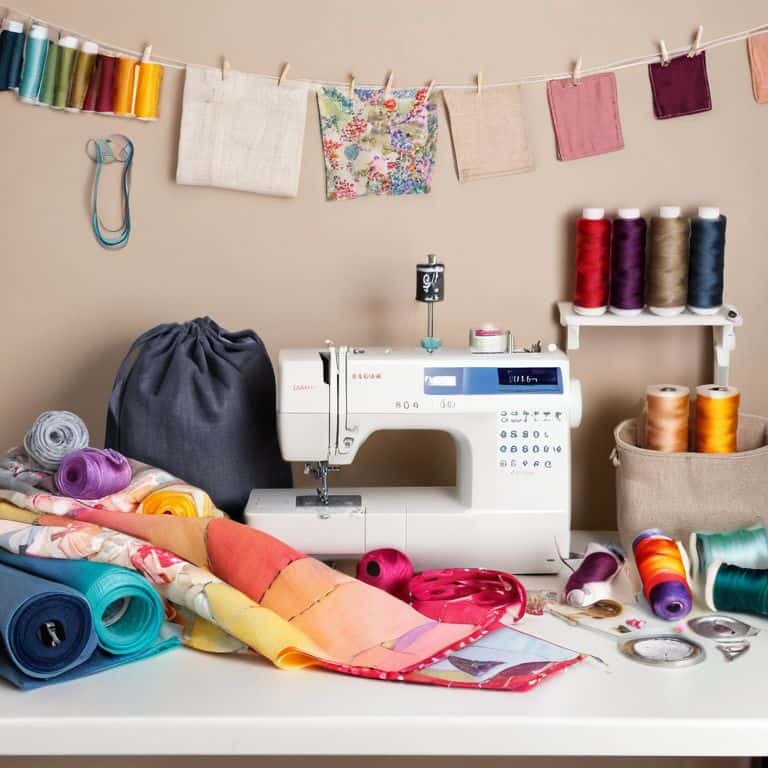
Tools Required
- Sewing Machine (with a straight stitch setting)
- Measuring Tape (for measuring fabric)
- Scissors (sharp and dedicated to cutting fabric)
- Sewing Needles (for hand-stitching the drawstring channel)
Supplies & Materials
- Cotton Fabric (1/2 yard, 45 inches wide)
- Drawstring (1 piece, 2 yards long, 1/4 inch wide)
- Thread (to match the fabric color)
- Sewing Notions (such as pins and a seam ripper)
Step-by-Step Instructions
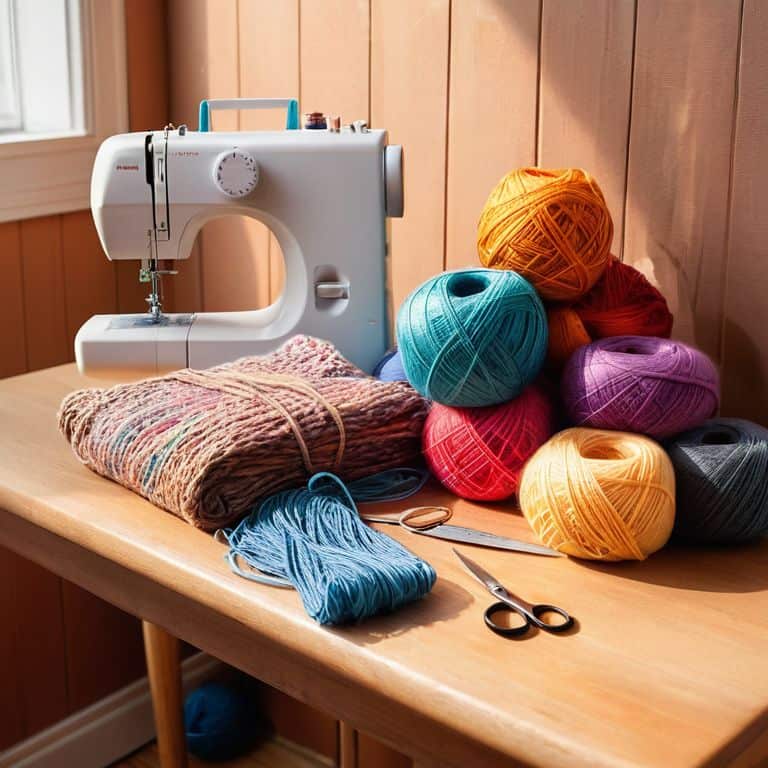
- 1. First, let’s start by gathering our materials, which include a piece of fabric for the bag, a piece of fabric for the lining, some ribbon or twine for the drawstring, and a few basic sewing tools like a sewing machine and scissors. I like to use a natural fiber like cotton or linen for my project bags, as it gives them a nice texture and feel.
- 2. Next, we need to cut out our fabric pieces. For a standard project bag, you’ll want to cut two main pieces: one for the outside of the bag and one for the lining. Make sure to cut them slightly larger than you want your finished bag to be, as we’ll be sewing them together and turning them right side out. I find it helpful to use a ruler and rotary cutter to get nice, clean edges.
- 3. Now it’s time to sew the sides and bottom of our bag. Place the two fabric pieces right sides together (meaning the wrong sides are facing out) and sew along the sides and bottom edge, leaving a small opening at the top for turning the bag right side out. Be sure to backstitch at the beginning and end of your seam to secure it in place.
- 4. After sewing the sides and bottom, carefully turn the bag right side out through the small opening we left. Use a blunt object like a chopstick or pencil to push out the corners and make sure they’re nice and crisp. Then, press the bag with an iron to get rid of any wrinkles and give it a professional finish.
- 5. Next, we need to create the channel for our drawstring. To do this, fold the top edge of the bag over twice to create a casing, and then sew in place. Make sure to leave a small gap at one side to thread our drawstring through. I like to use a walking foot on my sewing machine to help guide the fabric and prevent bunching.
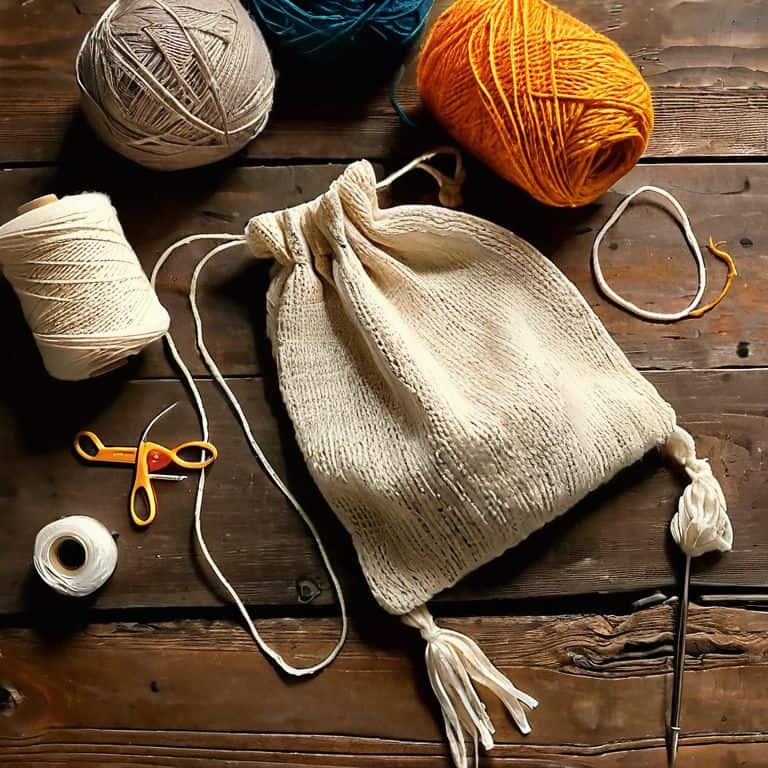
- 6. Now it’s time to thread our drawstring through the channel we just created. Use a safety pin to help guide the ribbon or twine through the casing, and then tie a knot at one end to prevent it from coming loose. You can also add a few decorative stitches to the top of the bag for a bit of extra flair.
- 7. Finally, topstitch around the edges of the bag to give it a nice, finished look. This will also help reinforce the seams and prevent them from coming undone over time. And that’s it! Your simple drawstring project bag is now complete, and you can use it to store all your latest yarn and crafting supplies.
Crafting a Simple Drawstring Project Bag Pattern
As I work on my latest woodworking project, I often find myself reaching for my trusty easy sewing patterns for beginners book to create a complementary accessory, like a knitting bag. There’s something special about crafting a custom bag to hold your yarn and tools, and I think that’s what drew me to making a simple drawstring bag in the first place. The process of sewing a lined bag can seem daunting, but with the right guidance, it’s actually quite straightforward.
When it comes to customizable project bag ideas, the possibilities are endless. You can choose from a variety of fabrics, colors, and patterns to create a unique bag that reflects your personal style. I’ve found that using a simple fabric pouch tutorial as a starting point can be really helpful, and then you can add your own flair with embroidery, patches, or other decorative elements. For me, the key to a great project bag is that it’s both functional and beautiful.
In terms of drawstring bag sewing tips, I’ve learned that it’s all about taking your time and paying attention to the details. Make sure to leave enough room for your yarn and tools, and consider adding a small pocket or compartment for smaller items like scissors or stitch markers. With a little practice and patience, you’ll be whipping up your own custom project bags in no time, and you’ll be amazed at how much of a difference it makes to have a beautiful, handmade bag to hold your latest creation.
Easy Sewing for Beginners Knitting Bag Designs
When it comes to sewing your project bag, don’t worry if you’re new to the craft – it’s easier than you think. I’ve found that simple, straight stitches are the way to go, and they’re perfect for beginners. Just remember to leave a small opening to turn your bag right side out. Once you’ve sewn up the sides and bottom, give it a good press with your iron to get those seams flat.
For knitting bag designs, consider adding a small pocket or pouch to store your needles, scissors, and other notions. You can also get creative with the fabric – I love using cotton prints with fun, yarn-inspired designs. Whatever you choose, make sure it’s something that makes you happy and inspires your next project. With these simple sewing steps, you’ll be well on your way to creating a beautiful, functional project bag that’s all your own.
Sewing a Lined Bag Customizable Project Bag Ideas
Now that we’ve covered the basics of our simple drawstring project bag, let’s take it to the next level by adding a lining. This is where things get really fun – you can choose a contrasting fabric that matches your personality or complements your yarn. I love using a pop of color or a fun print to give my bags some extra charm. When sewing a lined bag, just remember to leave a small gap to turn it right side out, and then slipstitch it shut by hand.
This is also a great opportunity to get creative with your project bag’s design. You could add pockets or compartments to keep your tools and yarn organized, or even embroidery to give it a personal touch. I’ve seen some amazing custom project bags with built-in needle holders or yarn clips – the possibilities are endless!
Sawdust & Stitches: 5 Essential Tips for a Simple Drawstring Project Bag
- I always make sure to choose a fabric that’s durable and easy to clean, because let’s face it, our crafting tools can get messy!
- Using a walking foot on your sewing machine can be a total game-changer when working with thicker fabrics or multiple layers – trust me, it’s worth the investment!
- Don’t be afraid to get creative with your drawstring material – I’ve used everything from cotton rope to leather strips to give my bags a unique touch
- When sewing the lining, take your time and make sure to match those seams carefully, it makes all the difference in the finished product
- I like to add a few extra features to my project bags, like a small pocket for notions or a loop for hanging, to make them even more functional and fun to use
Key Takeaways for Your Simple Drawstring Project Bag
I can confidently say that with just a few basic sewing skills, you can create a functional and stylish drawstring bag to keep your yarn, tools, and latest project tidy and organized.
By following the steps outlined in this guide, you’ll not only end up with a beautiful, handmade bag, but you’ll also gain hands-on experience with sewing and working with different materials – a great foundation for more complex projects down the line.
Remember, the beauty of DIY lies in customization, so don’t be afraid to experiment with different fabrics, colors, and designs to make your project bag truly unique and reflective of your personal style.
Sawdust & Stitches: A Simple Drawstring Bag to Hold Your Latest Creation
As we wrap up this project, I hope you’ve enjoyed crafting your own simple drawstring project bag as much as I have. From the initial steps of measuring and cutting your fabric, to the satisfying click of your sewing machine as you bring it all together, every part of this process is a testament to the joy of making something with your own hands. Whether you’re a seasoned pro or a beginner, this project is all about embracing the creative process and ending up with a beautiful, functional piece that will hold your latest knitting or crochet creation. I’ve loved sharing my passion for woodworking and fiber arts with you, and I hope this project has inspired you to explore the intersection of these two wonderful worlds.
Now that you’ve got your very own handmade drawstring bag, I encourage you to fill it up with your current project and take pride in the fact that you’ve created something truly unique. As you work on your latest knitting or crochet piece, remember that the tool is just as important as the craft – and in this case, the tool is the beautiful bag you’ve just made. Don’t be afraid to experiment with different fabrics, colors, and designs to make your bag truly one-of-a-kind. And most importantly, have fun and happy making!
Frequently Asked Questions
What type of fabric is best suited for a simple drawstring project bag?
For a simple drawstring project bag, I recommend using a sturdy yet soft fabric like cotton canvas or a cotton-linen blend. These fabrics hold their shape well and can withstand the occasional tug on the drawstring. Plus, they’re easy to work with and come in a variety of colors and patterns to match your unique style.
Can I customize the size of the project bag to fit specific yarn or tool sets?
Absolutely, you can customize the size to fit your specific needs. I love making bags to fit my own tools and yarns, and it’s easy to adjust the pattern to suit your favorites. Just measure your yarn or tools, add a bit of extra room, and adjust the fabric cuts accordingly. I’ve made bags for everything from tiny embroidery floss to big, bulky knitting yarns.
How do I add reinforcements or stabilizers to the bag to make it more durable?
To add some extra durability to your project bag, I recommend adding a layer of interfacing or stabilizer to the fabric. You can use a thin piece of cardboard or a specialized stabilizer like fusible fleece. This will give your bag a bit more structure and help it hold its shape, even when it’s loaded up with yarn and tools.