I still remember the first time I tried to use a wraps per inch (wpi) tool – I was frustrated and confused, with no clear instructions to guide me. As a craft instructor, I’ve seen many students struggle with this same issue, and it’s amazing how a simple tool can be so intimidating. But the truth is, mastering the wpi tool is not as complicated as it seems, and with a guide to the wraps per inch (wpi) tool, you can unlock a world of precision and control in your knitting or crochet projects.
In this article, I promise to break down the process into simple, easy-to-follow steps, so you can confidently use the wpi tool to achieve the perfect tension and texture in your work. You’ll learn how to choose the right yarn and measure your stitches with ease, and by the end of this guide, you’ll be equipped with the knowledge and skills to tackle even the most complex projects. Whether you’re a beginner or an experienced crafter, this practical guide will help you overcome any obstacles and achieve professional-looking results with your wpi tool.
Table of Contents
- Guide Overview: What You'll Need
- Step-by-Step Instructions
- A Guide to the Wraps Per Inch Tool
- Cracking the Code Yarn Weight Conversion and Wpi Correlation
- Unraveling Yarn Secrets Measuring Thickness Made Easy
- Mastering the Wraps Per Inch Tool: 5 Essential Tips
- Key Takeaways for Mastering the Wraps Per Inch Tool
- Unlocking the Secrets of Yarn
- Conclusion: Mastering the Wraps Per Inch Tool
- Frequently Asked Questions
Guide Overview: What You'll Need
Total Time: 30 minutes to 1 hour
Estimated Cost: $5 – $15
Difficulty Level: Easy
Tools Required
- Ruler (12 inches or 30 centimeters long)
- Pencil (for marking the tool)
- Scissors (for cutting cardboard or plastic)
- Craft Knife (optional, for precise cuts)
Supplies & Materials
- Cardboard or Plastic Strip (about 1 inch wide and 6 inches long)
- Glue (to secure the strip if needed)
Step-by-Step Instructions
- 1. To begin, let’s start by understanding what the wraps per inch (wpi) tool is and why it’s essential for your yarn projects. The wpi tool is a simple, yet powerful device that helps you measure the thickness of your yarn, ensuring that your projects turn out as expected. I like to think of it as a yarn gauge, helping you to achieve the perfect tension and texture in your work.
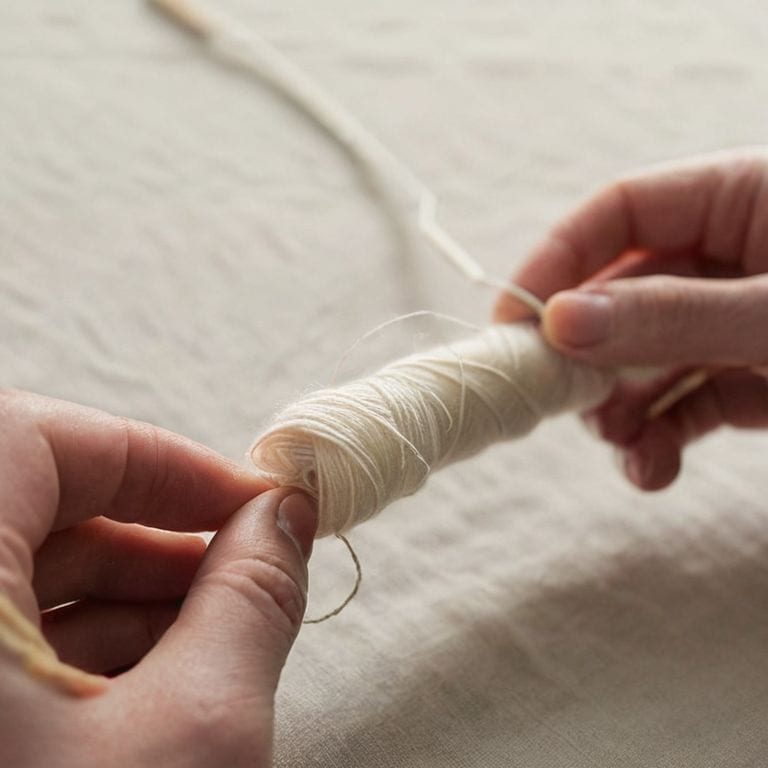
- 2. Next, you’ll need to gather your materials, including the wpi tool, a piece of yarn, and a pair of scissors. It’s also a good idea to have a yarn needle handy, as you’ll be working with the yarn directly. Take a moment to familiarize yourself with the wpi tool, noticing the small slots and markings on the device. These will be used to measure the yarn, so it’s essential to understand how they work.
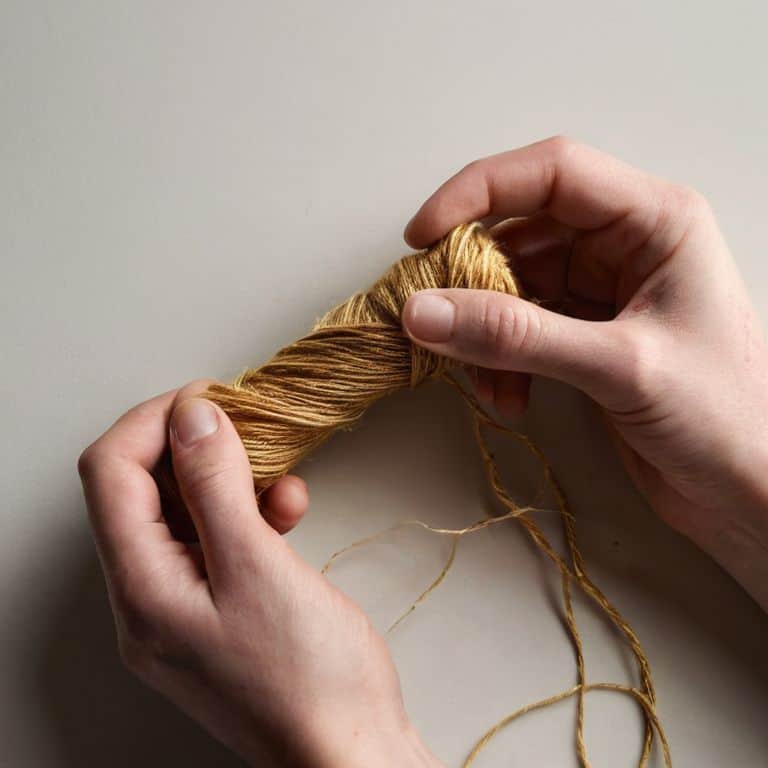
- 3. Now, let’s move on to preparing your yarn for measurement. Take the end of the yarn and cut a small piece, about 6-8 inches long. This will give you enough length to work with the wpi tool without feeling cramped. Hold the yarn between your fingers, with the cut end facing upwards, and gently pull it taut. This will help to remove any kinks or twists that may affect the measurement.
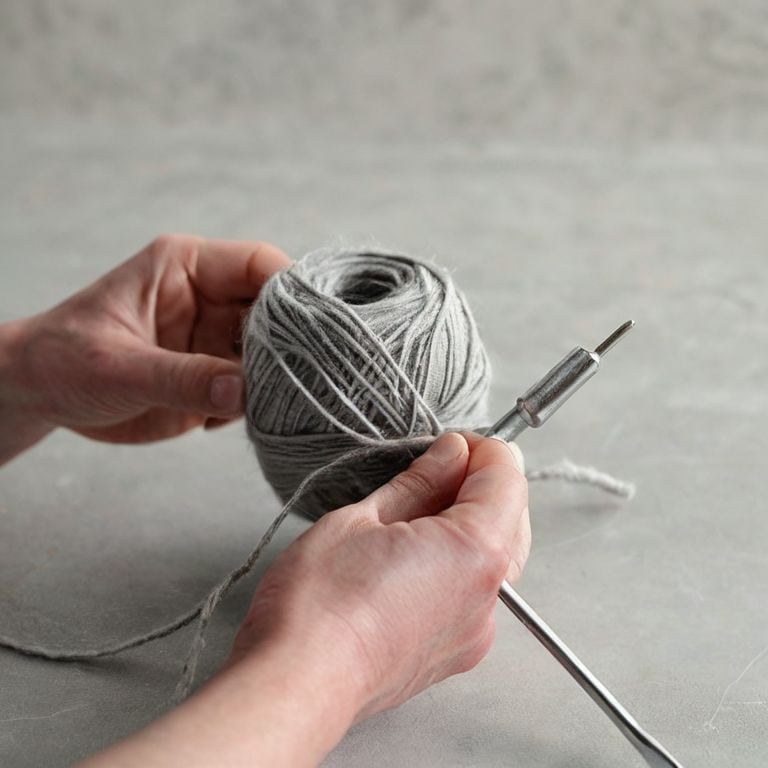
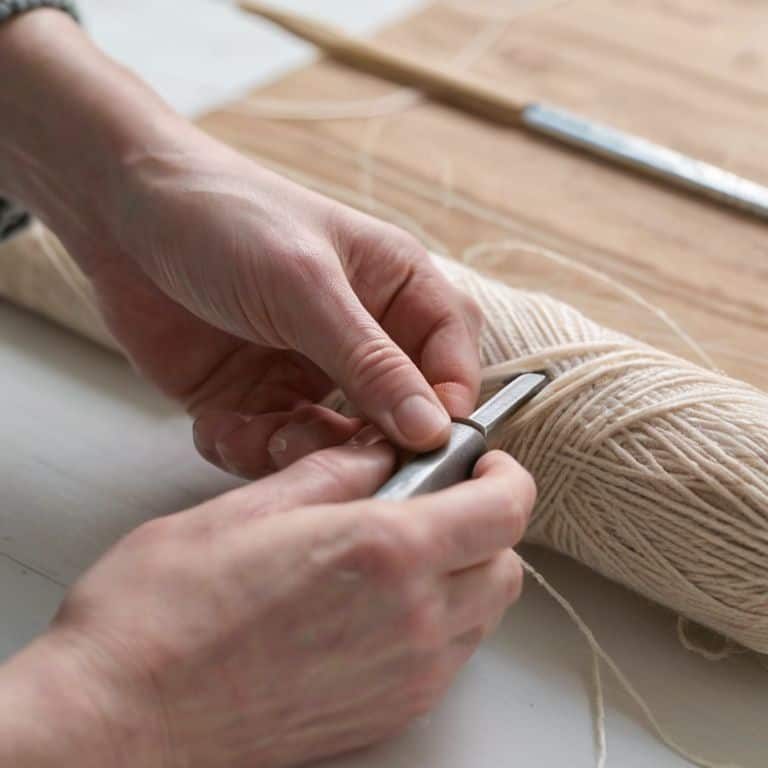
- 4. With your yarn prepared, it’s time to use the wpi tool. Take the tool and place the yarn into one of the small slots, making sure it’s seated snugly. You’ll notice that the yarn will be held in place by the tool’s design, allowing you to take an accurate measurement. Gently pull the yarn taut, making sure it’s not too loose or too tight, and take note of the measurement indicated on the tool.
- 5. To take an accurate reading, you’ll need to wrap the yarn around the tool a specified number of times. The exact number will depend on the type of yarn you’re using, but a good rule of thumb is to wrap it around 3-5 times. As you wrap the yarn, make sure to keep it even and consistent, avoiding any overlaps or gaps. This will ensure that your measurement is accurate and reliable.
- 6. Once you’ve wrapped the yarn around the tool, take a moment to record your measurement. You can do this by noting the number of wraps per inch, as indicated on the tool. It’s a good idea to write this down, along with the type of yarn and any other relevant details, so you can refer back to it later. This will help you to track your progress and make adjustments as needed.
- 7. Finally, let’s talk about how to use your wpi measurement in your yarn projects. This will depend on the specific project you’re working on, but in general, you’ll use the measurement to determine the correct needle size, yarn weight, and tension. By using the wpi tool, you’ll be able to achieve a consistent gauge, which is essential for producing professional-looking results. With practice, you’ll become more comfortable using the wpi tool, and you’ll be able to fine-tune your skills to produce beautiful, high-quality yarn projects.
A Guide to the Wraps Per Inch Tool
As you become more comfortable with using the wraps per inch tool, you’ll want to explore measuring yarn thickness in more detail. This is where things can get really interesting, especially when working with unknown fibers. To get an accurate reading, make sure to wrap the yarn snugly but not too tightly around the tool, as this can affect the overall measurement.
When it comes to yarn weight conversion charts, it’s essential to understand how they relate to wraps per inch. By calculating the wpi, you can determine the yarn’s weight and density, which is crucial for choosing the right pattern or project. For instance, if you’re spinning your own yarn, using a wpi tool can help you achieve a consistent thickness and understanding yarn density.
To take your skills to the next level, try calculating wraps per inch for unknown fibers. This will help you develop a deeper understanding of how different yarns behave and how to work with them effectively. By mastering this technique, you’ll be able to create beautiful, professional-looking projects with confidence, and yarn weight and wpi correlation will become second nature to you.
Cracking the Code Yarn Weight Conversion and Wpi Correlation
Now that we’ve mastered measuring yarn thickness with our trusty WPI tool, let’s dive into the fascinating world of yarn weight conversion. You might be wondering how the wraps per inch measurement correlates with the yarn weight system. The good news is that it’s quite straightforward once you understand the basics. Generally, a higher WPI value indicates a lighter yarn weight, while a lower WPI value suggests a heavier yarn weight.
To make this conversion more tangible, I’ve created a simple chart that you can refer to when working with different yarns. By cross-referencing the WPI value with the corresponding yarn weight category, you’ll be able to make informed decisions about your project, ensuring that you choose the perfect yarn for your needs.
Unraveling Yarn Secrets Measuring Thickness Made Easy
Measuring yarn thickness can seem daunting, but trust me, it’s a breeze with the right tool. The wraps per inch (WPI) tool is a game-changer for any crafter. To start, simply wrap your yarn around the tool, making sure to keep the strands evenly spaced and not overlapping. This will give you an accurate measurement of your yarn’s thickness. I like to think of it as unwrapping a little secret – once you know your yarn’s WPI, you’ll be able to choose the perfect patterns and needles for your project.
By using the WPI tool, you’ll be able to confidently select the right yarn for your next project, ensuring that your finished product turns out just as you envisioned it. Whether you’re a beginner or an experienced crafter, this simple technique will become an essential part of your toolkit.
Mastering the Wraps Per Inch Tool: 5 Essential Tips
- Choose the right yarn for your project by using the WPI tool to measure its thickness, ensuring a perfect match for your pattern
- Calibrate your WPI tool regularly to maintain accuracy and consistency in your measurements
- Take multiple measurements of your yarn’s thickness to account for any variability and ensure reliable results
- Use the WPI tool in conjunction with yarn weight conversion charts to make informed decisions about substitutions and equivalents
- Practice using the WPI tool with different types of yarn to develop a sense of how various fibers and textures affect the measurement process
Key Takeaways for Mastering the Wraps Per Inch Tool
Understanding the wraps per inch tool is crucial for ensuring the correct yarn thickness and weight for your projects, guaranteeing a professional finish and saving you time in the long run.
By mastering the technique of measuring yarn thickness using the WPI tool, you’ll be able to confidently convert between different yarn weights and ensure that your projects turn out as expected, whether you’re a beginner or an experienced crafter.
Remember, the key to success with the WPI tool lies in following a clear, step-by-step approach and practicing regularly – with patience and persistence, you’ll unlock the full potential of this essential crafting tool and take your yarn projects to the next level.
Unlocking the Secrets of Yarn
The wraps per inch tool is more than just a measuring device – it’s a key to unlocking the full potential of your yarn, a gateway to a world of precision and creativity where every stitch tells a story.
Beatrice "Bea" Quinn
Conclusion: Mastering the Wraps Per Inch Tool
In this guide, we’ve walked through the step-by-step process of using the wraps per inch tool to measure yarn thickness and convert yarn weights. We started with the basics, understanding what the wraps per inch tool is and how it’s used, and then dove deeper into unraveling yarn secrets and cracking the code of yarn weight conversion. By following these simple, yet detailed instructions, you’ve gained the confidence to tackle any yarn project that comes your way. Remember, the key to mastering the wraps per inch tool is to practice, practice, practice, and don’t be afraid to refer back to this guide whenever you need a refresher.
As you continue on your crafting journey, keep in mind that every project is a learning opportunity. Don’t be discouraged if your first attempts at using the wraps per inch tool don’t yield perfect results – it’s all part of the process. With time and patience, you’ll become a yarn whisperer, able to coax even the most stubborn yarns into submission. So go ahead, grab your wraps per inch tool, and start creating something beautiful. The world of yarn is full of endless possibilities, and with this guide, you’re ready to take on whatever project comes next.
Frequently Asked Questions
How do I calibrate my wraps per inch tool for accurate measurements?
To calibrate your wraps per inch tool, start by wrapping a known weight yarn around the tool 10 times. Then, measure the length of the wrapped yarn and divide it by the number of wraps. This will give you a baseline measurement to ensure accurate WPI readings for future projects.
Can I use the wraps per inch tool with different types of yarn, such as cotton or blends?
Absolutely, you can use the wraps per inch tool with various yarn types, including cotton and blends. Simply follow the same steps, taking into account the unique texture and thickness of each yarn. This will give you an accurate measurement and help you choose the perfect project to showcase your yarn’s characteristics.
What is the relationship between wraps per inch and yarn weight, and how does it impact my knitting or crochet project?
The relationship between wraps per inch and yarn weight is crucial. Essentially, the wraps per inch measurement helps you determine the yarn’s thickness, which in turn affects the project’s texture and drape. A higher WPI indicates a thinner yarn, while a lower WPI means a thicker yarn. This correlation is vital for choosing the right yarn for your knitting or crochet project.