I still remember the days when I’d spend hours in my yarn store, helping customers pick out the perfect yarn for their projects. One of the most common struggles I saw was figuring out how to use a yarn wraps per inch (wpi) tool. It’s amazing how such a simple tool can be so intimidating, but trust me, it’s a game-changer once you get the hang of it. I’ve lost count of how many times a customer would come in, frustrated with a yarn that just didn’t seem to be working out, only to discover that they had misjudged the wraps per inch.
In this article, I’ll share my no-nonsense approach to using a yarn wraps per inch tool, gained from years of experience in the fiber arts. You’ll learn the secrets to unlocking your yarn’s true potential, from understanding the importance of accurate measurements to choosing the right yarn for your project. I’ll walk you through the process, step by step, so you can confidently select the perfect yarn for your next knitting or crochet project. By the end of this guide, you’ll be a pro at using a yarn wraps per inch tool, and you’ll be well on your way to creating beautiful, long-lasting pieces that you’ll treasure for years to come.
Table of Contents
Guide Overview: What You'll Need
Total Time: 15 minutes
Estimated Cost: $5 – $10
Difficulty Level: Easy
Tools Required
- Yarn Wraps Per Inch (WPI) Tool (available at craft stores)
- Ruler or measuring tape (for measuring yarn length in inches)
- Scissors (for cutting yarn)
- Yarn sample (to test and measure)
Supplies & Materials
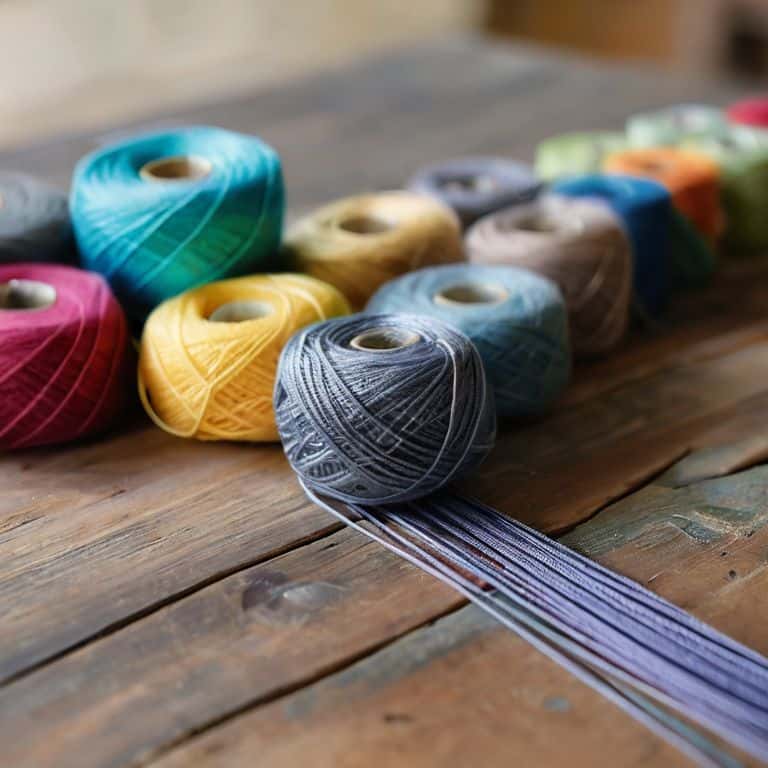
- Yarn (various types and weights)
- Pen or pencil (for recording measurements)
- Paper or notebook (for recording results)
Step-by-Step Instructions
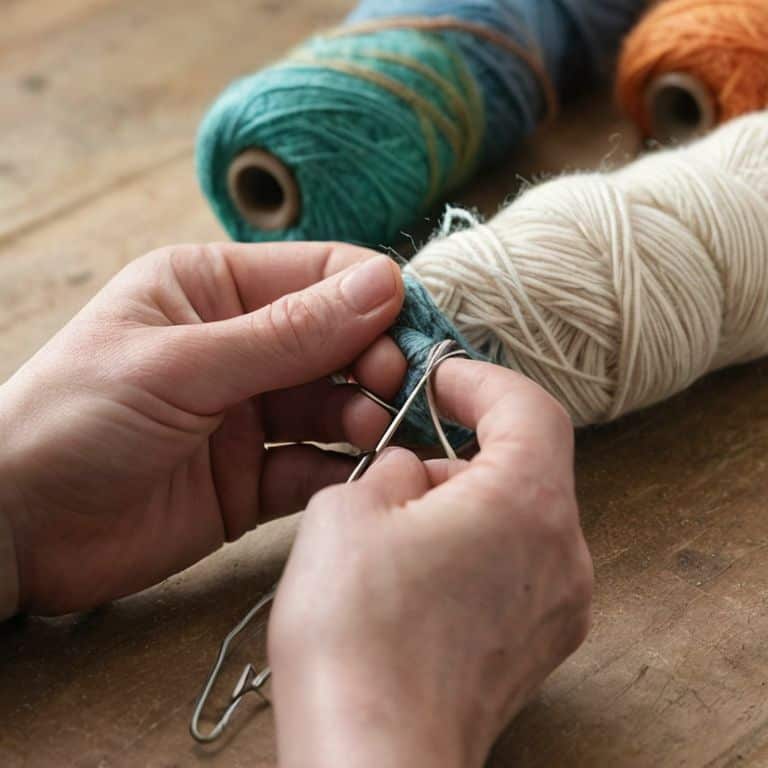
- 1. First, let’s start with the basics: to use a yarn wraps per inch (wpi) tool, you’ll need to gather your materials, including the tool itself, the yarn you want to measure, and a pair of scissors. I like to keep all my tools and yarns organized in a dedicated basket, it makes the process so much more enjoyable and _less prone to errors_.
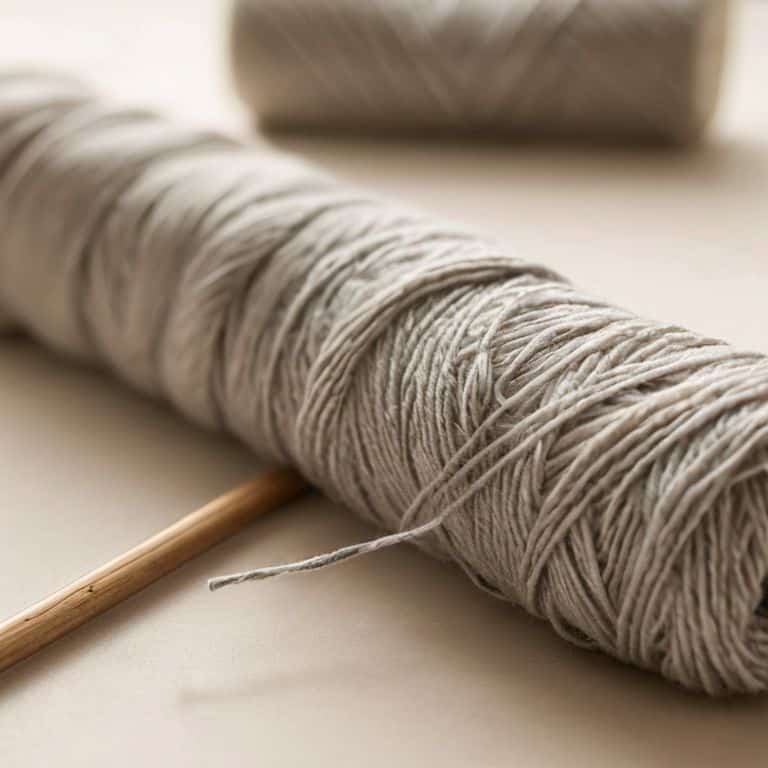
- 2. Next, cut a length of yarn, about 6-8 inches long, to work with. This will give you enough yarn to wrap around the tool without feeling cramped, and it’s also a good length for getting an _accurate measurement_. Now, take one end of the yarn and wrap it around the wpi tool, leaving a small tail at the beginning to make it easier to manage.
- 3. Now we get to the meat of the matter: wrapping the yarn around the tool. Take the yarn and wrap it around the tool in a consistent, smooth motion, making sure to keep the tension even. Don’t pull the yarn too tight, as this can _affect the accuracy_ of your measurement. You’re aiming for a gentle, relaxed wrap.
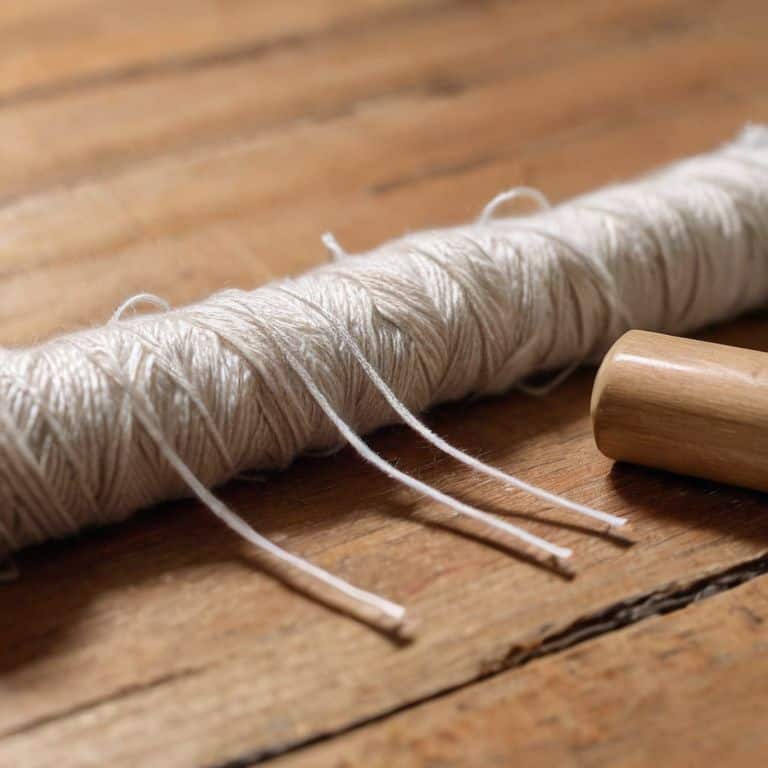
- 4. As you wrap the yarn, count the number of wraps it takes to cover the length of the tool. Most wpi tools have a marked section, usually an inch long, where you’ll be wrapping the yarn. This is where the magic happens, and you’ll start to get a sense of your yarn’s wraps per inch. Make sure to keep track of the number of wraps, as this will be crucial for calculating the wpi.
- 5. Once you’ve completed the wrap, take note of the number of wraps and the length of the tool. You’ll use this information to calculate the wpi, which is essentially the number of wraps divided by the length of the tool. I like to use a small notebook to _jot down my measurements_, it helps me keep track of different yarns and their respective wpi.
- 6. To calculate the wpi, simply divide the number of wraps by the length of the tool, usually 1 inch. So, if you got 20 wraps in 1 inch, your yarn has a wpi of 20. This crucial piece of information will help you choose the right yarn for your project, ensuring that your finished product will have the right _drape and texture_.
- 7. Finally, take your calculated wpi and compare it to the recommended wpi for your project. If you’re working with a pattern, the designer will usually specify the recommended wpi range for the yarn. By comparing your calculated wpi to this range, you’ll be able to determine if your yarn is _suitable for the project_, and make any necessary adjustments to ensure a beautiful, long-lasting finished product.
The Fiber Truth Wpi Tool
As I’ve worked with various yarns over the years, I’ve come to realize the importance of measuring yarn thickness accurately. This is where a yarn wraps per inch tool comes in handy, allowing me to determine the yarn’s weight and fiber content. I’ve found that using a wpi tool is especially helpful when working with vintage or rare yarns, as it helps me understand their unique characteristics.
When using a wpi tool for crochet or knitting projects, it’s essential to consider the yarn weight conversion chart to ensure that you’re using the right yarn for your project. This chart helps you understand how different yarn weights compare to one another, making it easier to substitute yarns if needed. By combining the wpi tool with a yarn weight conversion chart, you’ll be able to make informed decisions about your yarn choices.
In my experience, understanding yarn fiber content is also crucial when working with different yarns. A yarn fiber content guide can help you navigate the various types of fibers and their characteristics, from wool and cotton to silk and synthetic fibers. By considering the fiber content and using a wpi tool, you’ll be able to create projects that are not only beautiful but also long-lasting and durable.
Measuring Yarn Thickness Made Easy
Measuring yarn thickness can be a daunting task, but with a WPI tool, it’s a breeze. I’ve found that this simple device takes the guesswork out of determining yarn weight, allowing me to focus on the creative aspects of my projects. By wrapping the yarn around the tool and counting the number of wraps, I can quickly determine the yarn’s thickness and make informed decisions about my pattern choices. It’s amazing how such a small tool can make a big difference in the overall quality of my finished projects. With a WPI tool, I can ensure that my yarn choices are spot on, every time.
Unlocking Yarn Weight Secrets With Wpi
Unlocking Yarn Weight Secrets with WPI allows me to dive deeper into the nuances of yarn thickness. By using my trusty WPI tool, I can quickly determine the weight of a yarn, which is essential for choosing the right projects. I’ve found that this tool is particularly useful for comparing similar yarns from different brands, helping me make informed decisions about which ones will work best for my knitting and crochet projects. With this information, I can ensure that my finished products will have the desired drape, texture, and durability.
5 Essential Tips for Getting the Most Out of Your WPI Tool
- Choose the right WPI tool for your needs – I prefer a sturdy, metal tool with clear markings for accurate measurements
- Always measure yarn in the same condition, whether it’s straight from the skein or after a swatch has been knitted or crocheted, to ensure consistency
- Take multiple measurements and average them for an accurate reading, as yarn thickness can vary along the length of the skein
- Consider the fiber content and construction of the yarn when interpreting WPI readings – some fibers like wool or silk may have more variability than others
- Keep a record of your WPI measurements, along with notes on how the yarn performs in your projects, to build a valuable reference library and make informed choices for future projects
Key Takeaways for Mastering Yarn Wraps Per Inch
Using a WPI tool is crucial for ensuring your yarn choice matches your project’s requirements, saving you time and money in the long run by avoiding the disappointment of a mismatched yarn weight.
A good WPI tool helps unlock the secrets of yarn weight, allowing you to substitute yarns with confidence and explore new textures and fibers without compromising the integrity of your pattern.
By incorporating a WPI tool into your yarn selection process, you’ll not only improve the accuracy of your projects but also develop a deeper understanding of yarn properties, empowering you to make informed decisions and push the boundaries of your fiber arts creativity.
The WPI Wisdom
A good yarn wraps per inch tool is not just a measuring device, it’s a key to unlocking the secrets of your yarn, helping you choose the perfect fiber for your project and ensuring that your finished piece will be a treasure, not a frustration.
Audrey Vance
Conclusion: Mastering the Art of Yarn Measurement
In conclusion, using a yarn wraps per inch (WPI) tool is a game-changer for any fiber artist looking to elevate their craft. As we’ve discussed, measuring yarn thickness and unlocking yarn weight secrets with WPI can help you make informed decisions about your projects. From choosing the perfect yarn to ensuring the right tension, a WPI tool is an indispensable asset in your toolkit. By following the steps outlined in this guide, you’ll be well on your way to becoming a yarn measurement expert, capable of creating beautiful, lasting pieces that showcase your skills.
As you continue on your fiber journey, remember that mastering the basics is key to unlocking your full creative potential. Don’t be afraid to experiment and try new things – with a WPI tool by your side, you’ll be empowered to push the boundaries of what’s possible with yarn. So go ahead, get measuring, and watch your projects come to life in ways you never thought possible. Happy making!
Frequently Asked Questions
How do I choose the right WPI tool for my specific yarn type?
For choosing the right WPI tool, consider the type of yarn you typically work with. If you’re a fan of bulky or chunky yarns like I am, you’ll want a tool with wider slots to accommodate those thicker strands. Conversely, if you’re working with lace or fingering weights, a tool with smaller, more precise slots is essential.
Can I use a WPI tool to measure yarns with unusual or irregular textures?
While a WPI tool is incredibly useful, it can be tricky with yarns that have unusual or irregular textures. I’ve found that it’s best to use a combination of the WPI tool and a good old-fashioned ruler to get an accurate measurement, especially with yarns that have a lot of slub, bouclé, or other unique features.
How often should I calibrate or check my WPI tool for accuracy to ensure reliable yarn thickness measurements?
I calibrate my WPI tool every 6-12 months, or when I notice any inconsistencies in my measurements. It’s also a good idea to check it whenever you’ve stored it for an extended period or dropped it. A simple calibration process can ensure your measurements remain reliable, saving you from potential yarn thickness mismatches in your projects.