I still remember the day my wife, a passionate weaver, came to me frustrated with her yarn collection. She had tried every diy yarn storage shelf ideas she found online, but nothing seemed to work. The clutter was overwhelming, and she couldn’t find the inspiration to create. I realized then that a well-made storage shelf wasn’t just about holding yarn, but about sparking creativity. As a carpenter, I took it upon myself to build her a custom shelf that would change her weaving experience. Now, I want to share that knowledge with you, so you can create your own diy yarn storage shelf ideas and transform your crafting space.
In this article, I’ll guide you through the process of building a yarn storage shelf that’s both functional and beautiful. You’ll learn how to choose the right materials, design a layout that works for you, and bring your project to life with simple, yet effective techniques. My goal is to empower you with the skills and confidence to create a storage solution that fits your unique needs and style. By the end of this guide, you’ll be equipped with the knowledge to build a yarn storage shelf that’s not only practical, but also a reflection of your personality and craftsmanship.
Table of Contents
Guide Overview: What You'll Need

Total Time: 2 hours 30 minutes
Estimated Cost: $50 – $100
Difficulty Level: Intermediate
Tools Required
- Drill (with screwdriver and drill bits)
- Saw (circular or handheld)
- Sandpaper (for smoothing out wood)
- Tape Measure (for measuring and marking lumber)
- Level (for ensuring shelf is straight)
- Hammer (for tapping screws into place)
Supplies & Materials
- 2-in x 4-in lumber (for shelf frame)
- 3/4-in plywood (for shelf boards)
- Wood screws (1 1/2 inches long)
- Wood glue (for reinforcing joints)
- Yarn baskets or bins (for storing yarn)
- Wall anchors (for securing shelf to wall)
- Paint or stain (optional, for finishing the wood)
Step-by-Step Instructions
- 1. First, let’s start by gathering our materials, which will include 3/4 inch plywood for the shelves, 1×4 lumber for the frame, wood glue, 2 1/4 inch screws, and some sandpaper for finishing touches. I like to use a variety of woods, but for this project, I’m sticking with good ol’ pine – it’s affordable, easy to work with, and has a warm, natural look that I just can’t get enough of.
- 2. Next, we need to cut our lumber to size. For the frame, we’ll need four pieces: two at 60 inches long (the sides) and two at 30 inches long (the top and bottom). I use my trusty table saw for this, but if you don’t have one, don’t worry – a good circular saw will do the trick. Just remember to measure twice, cut once, or you might end up with a pile of useless scraps like I did on my first project.
- 3. Now it’s time to assemble the frame. Use your 2 1/4 inch screws to attach the sides to the top and bottom pieces. Make sure it’s square by measuring the diagonals – if they’re equal, you’re good to go. I like to use clamps to hold everything in place while I screw it together, just to make sure it doesn’t shift around on me.
- 4. With the frame built, we can start cutting our shelves to size. We’ll need three pieces of 3/4 inch plywood, each measuring 29 1/2 inches by 11 1/2 inches. Don’t worry if they’re not perfect – we can sand down any rough edges later. For now, just focus on getting them cut to the right size.
- 5. Next, we’ll attach the shelves to the frame using our 2 1/4 inch screws. Make sure to space them evenly apart – I like to leave about 10 inches between each shelf. You can use a level to ensure they’re straight, but I’ve found that if you’ve built the frame properly, the shelves should be pretty close to level anyway.
- 6. Now that our shelves are attached, it’s time to add some finishing touches. Use your sandpaper to smooth out any rough edges or splinters, and consider adding a coat of stain or polyurethane to protect the wood and give it a nice finish. I like to use a water-based polyurethane because it’s easy to clean up and dries quickly.
- 7. Finally, let’s install our yarn storage shelf in its new home. Make sure it’s securely attached to the wall using some 2 1/2 inch screws and a few wall anchors, just to prevent it from tipping over. And that’s it – you now have a beautiful, functional yarn storage shelf that you built yourself, using your own two hands.
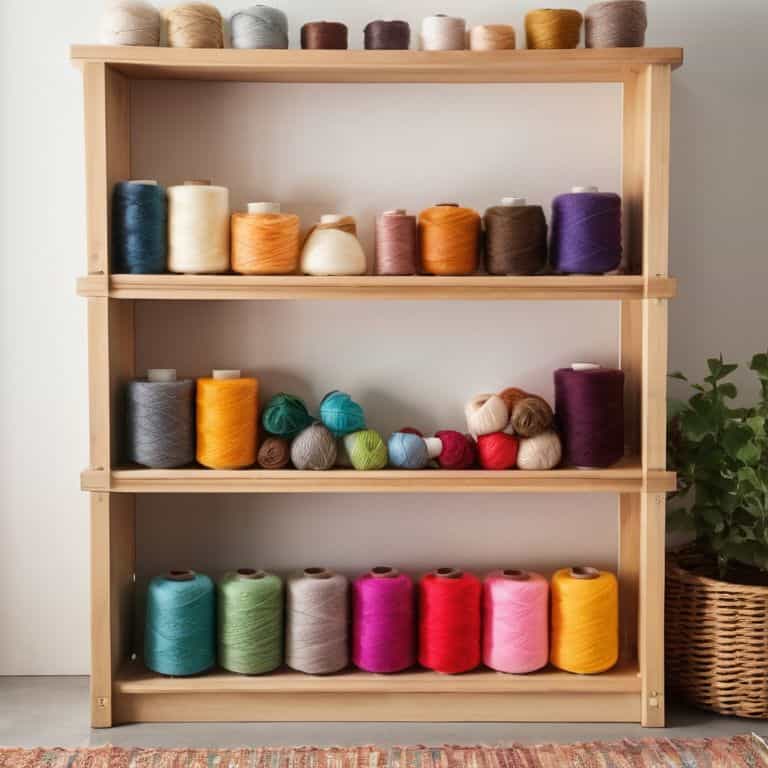
Diy Yarn Storage Shelf Ideas
As I always say, a well-organized yarn collection is a happy yarn collection. To take your yarn storage shelf to the next level, consider implementing some yarn organization tips, such as grouping similar yarns together or using labels to identify each type. This will make it easier to find the perfect yarn for your next project.
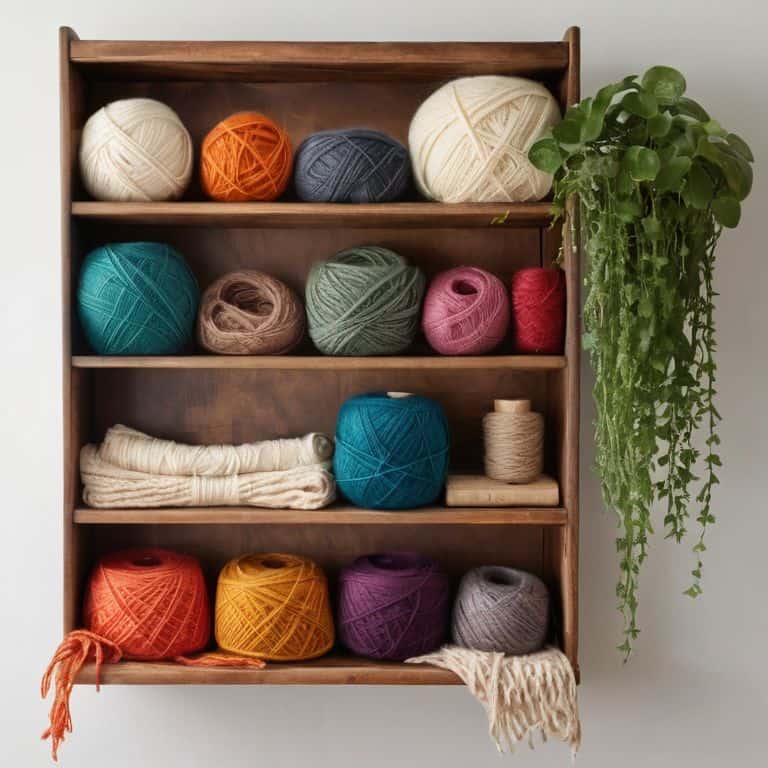
When it comes to customizing your craft shelves, the possibilities are endless. You can use repurposed furniture for yarn storage, such as an old bookshelf or dresser, or get creative with diy shelf dividers for craft rooms. This will not only add a personal touch to your space but also make the most of your available storage.
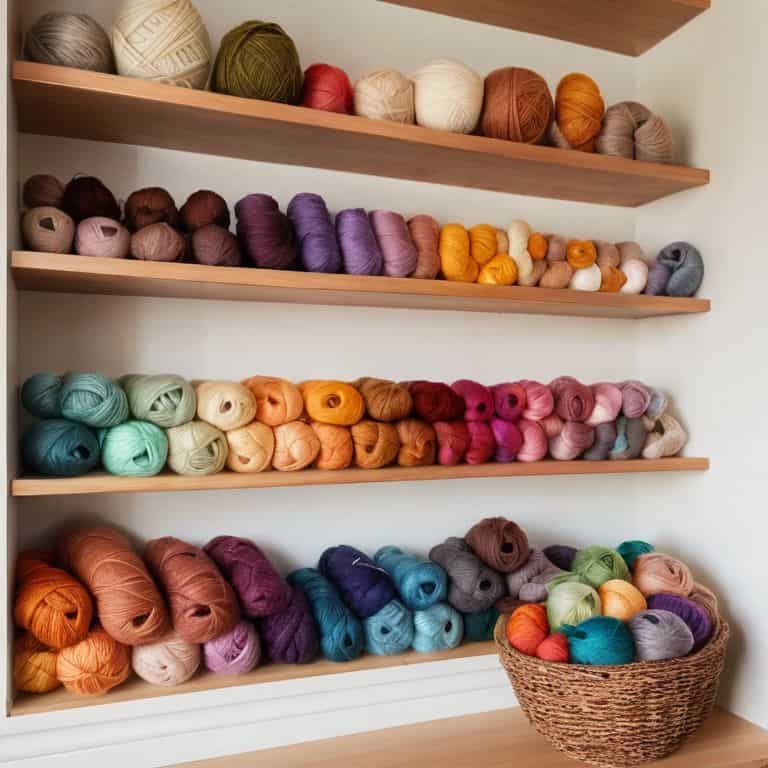
For those with limited space, don’t worry – there are still plenty of yarn storage solutions for small spaces available. Consider using wall-mounted shelves or baskets to keep your yarn organized and out of the way. And, if you’re feeling extra crafty, try your hand at creating your own yarn display ideas for crafters to showcase your favorite yarns and inspire your next project.
Customizable Craft Shelves From Repurposed Furniture
I love giving old furniture a new life, and repurposing it into customizable craft shelves is a great way to do just that. You can take an old bookcase, dresser, or even a vintage ladder and turn it into a one-of-a-kind storage unit for your yarn. Just imagine having a beautiful, rustic shelf that holds all your favorite fibers, each one neatly organized and within reach. To get started, look for pieces with sturdy frames and consider adding custom dividers or baskets to fit your specific needs. With a little creativity, you can create a unique and functional storage solution that reflects your personal style.
Yarn Organization Tips for Crafters
As a woodworker and a maker, I’ve learned that a well-organized yarn collection is just as important as the tools you use to craft with it. When your yarn is neatly stored, you can easily see what you have, and it’s less likely to get tangled or lost. I like to think of my yarn storage shelf as a treasure chest – every ball of yarn is a potential project waiting to happen. By keeping your yarn organized, you’ll save time and reduce stress, allowing you to focus on what really matters: creating something beautiful.
To keep your yarn collection in check, consider categorizing by color, weight, or fiber type. You can also use small baskets or bins to store smaller supplies like needles, buttons, or patterns.
5 Essential Tips for Building Your Dream DIY Yarn Storage Shelf
- Plan Your Yarn Storage According to Your Yarn Collection: Before building, take stock of your yarn stash to determine the ideal shelf size, depth, and compartmentalization
- Choose the Right Wood for the Job: Select a durable, attractive wood that fits your craft room’s aesthetic, such as cedar, pine, or reclaimed wood
- Add a Personal Touch with Customizable Dividers: Incorporate adjustable dividers or small baskets to separate yarn types, colors, or projects, keeping your collection organized and easy to navigate
- Consider Vertical Space: Maximize your craft room’s potential by opting for a wall-mounted shelf or a storage unit that extends from floor to ceiling, perfect for storing bulky yarn cones or less frequently used supplies
- Make it a Hybrid Storage and Display Unit: Combine functionality with flair by incorporating display shelves or cubbies to showcase your favorite yarns, finished projects, or decorative crafting accessories
Key Takeaways for Your Dream Yarn Storage Shelf
I’ve found that building your own yarn storage shelf from scratch isn’t just about organization – it’s about creating a space that sparks joy and inspires your next crafting project
By repurposing old furniture or using reclaimed wood, you can add a touch of personality to your craft room and make your yarn storage shelf truly one-of-a-kind
Remember, the tools you use are just as important as the yarn you’re storing – don’t be afraid to get creative and add your own handmade touches, like a wooden dowel or a leather strap, to make your shelf truly special
Wrapping Up Your Yarn Storage Project
As we’ve explored the world of DIY yarn storage shelf ideas, I hope you’ve picked up on the importance of customization when it comes to your craft space. From repurposing old furniture to building from scratch, the key to a functional storage system is finding a solution that fits your unique needs and style. We’ve covered everything from yarn organization tips to creative ways to breathe new life into old pieces, and I’m excited to see how you’ll apply these ideas to your own space.
So, as you put the finishing touches on your yarn storage shelf, remember that the joy of making is just as important as the end result. Don’t be afraid to get creative, try new things, and make mistakes – it’s all part of the process. With your new storage system in place, you’ll be free to focus on the things that bring you joy, like creating something beautiful with your own two hands. Happy building, and happy crafting!
Frequently Asked Questions
What are some creative ways to repurpose old furniture into yarn storage shelves?
I love breathing new life into old furniture. Consider repurposing an antique dresser, a vintage ladder, or even a wooden crate to create a one-of-a-kind yarn storage shelf. You can add casters, hooks, or baskets to make it functional and charming. Get creative, sand it down, and give it a fresh coat of paint – it’s amazing how a little TLC can turn trash into a treasured yarn haven.
How can I customize my DIY yarn storage shelf to fit my specific crafting needs and space?
Ah, customization is where the magic happens! Consider the types of yarn you use most, the size of your projects, and the available space. You can add adjustable shelves, bins, or baskets to fit your needs. I like to use reclaimed wood or repurpose old furniture to give my shelves a personal touch. What’s your crafting style, and I’ll help you tailor your shelf to fit?
What types of materials are best suited for building a sturdy and functional yarn storage shelf?
For a sturdy yarn storage shelf, I swear by solid woods like oak or maple. They’re durable and can hold a ton of yarn. You can also consider reclaimed wood for a unique touch. Just remember, the type of wood you choose will affect the overall look and feel of your shelf, so pick one that fits your crafting space’s vibe.