I still remember the frustration I felt when I first started weaving – the tangled threads, the uneven tension, and the disappointment of watching my beautiful design unravel before my eyes. It was then that I realized the importance of understanding common weaving mistakes for beginners. As a former architect turned textile artist, I’ve come to appreciate the intersection of modern design and ancient craft, and I’m excited to share my knowledge with you. My experience has taught me that with the right guidance, anyone can create stunning woven pieces that showcase their unique perspective and style.
In this article, I’ll share my personal insights and practical advice on how to avoid the most common pitfalls in weaving. You’ll learn how to identify and fix errors, how to choose the right materials and tools, and how to bring your designs to life with texture and form. My goal is to empower you with the knowledge and confidence to create beautiful woven art that reflects your individuality. By the end of this guide, you’ll be equipped with the skills to tackle even the most complex projects and turn your weaving dreams into reality.
Table of Contents
Guide Overview: What You'll Need
Total Time: 1 hour 15 minutes
Estimated Cost: $10 – $30
Difficulty Level: Easy
Tools Required
- Loom simple frame or rigid heddle
- Measuring Tape for measuring yarn and fabric
- Scissors dedicated for cutting yarn
- Yarn Needle for weaving in ends
Supplies & Materials
- Yarn choose appropriate type and weight
- Shuttle or Pick-up Stick for passing yarn through shed
- Weaving Needle for repairing mistakes
- Ruler 12 inches long for measuring and straightening
Step-by-Step Instructions
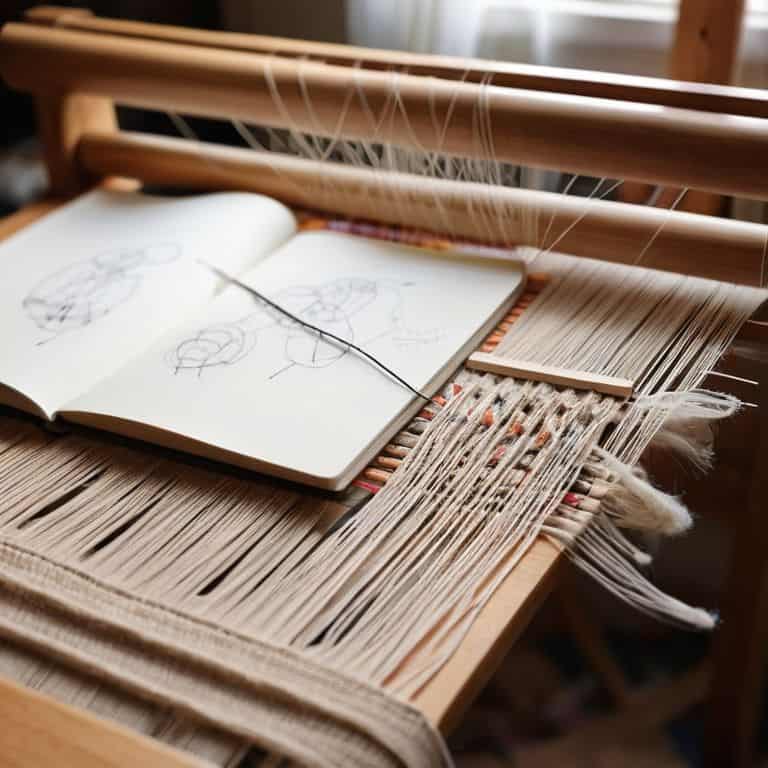
- 1. First, let’s start with the foundation of weaving: measuring your warp threads. To avoid uneven tension, it’s essential to measure and cut your threads with precision. I like to use a simple formula to calculate the number of threads I need, taking into account the width of my loom and the type of fiber I’m using. By doing so, you’ll ensure a sturdy base for your woven piece.
- 2. Next, I recommend preparing your loom by threading it carefully. This step can be tedious, but it’s crucial for achieving a smooth, even weave. I find it helpful to use a threading pattern to keep track of my threads, especially when working with complex designs. Take your time, and don’t be afraid to double-check your work – it’s better to catch any mistakes now than later.
- 3. Now, let’s talk about yarn weight and fiber choice. As a beginner, it’s easy to get caught up in the overwhelming number of yarn options available. However, it’s essential to choose a yarn that suits your project’s needs. Consider the durability and texture you want to achieve, as well as the season and purpose of your woven piece. For example, a lightweight linen might be perfect for a summer scarf, while a chunky wool would be better suited for a cozy winter blanket.
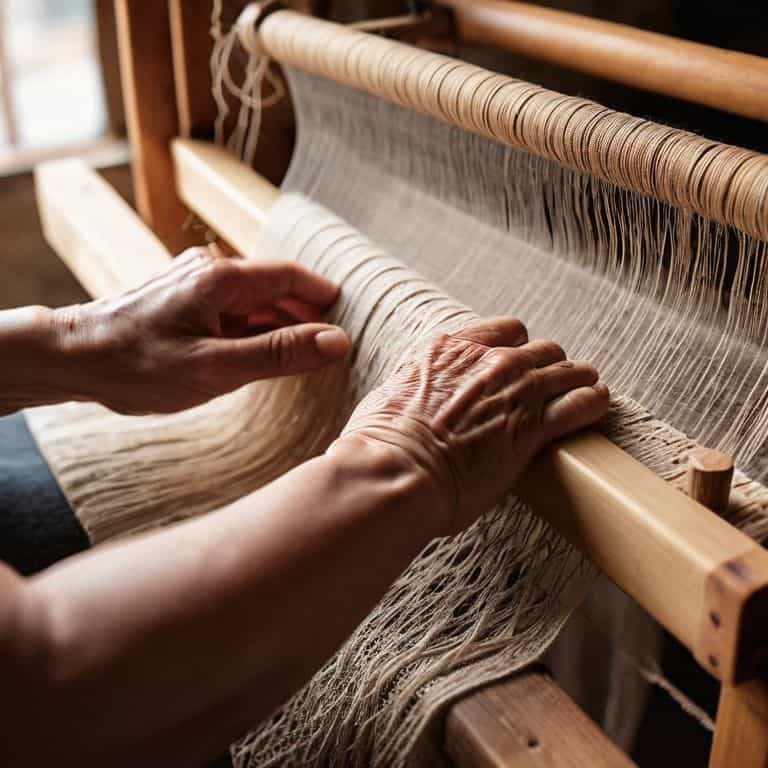
- 4. Once you’ve started weaving, it’s crucial to maintain consistent tension. Uneven tension can lead to a wonky, misshapen fabric that’s frustrating to work with. To avoid this, I recommend using a simple trick: as you weave, gently tug on the yarn to ensure it’s not too loose or too tight. You can also use a tension gauge to help you find the perfect balance.
- 5. As you work on your project, you may encounter mistakes in your weave. Don’t panic! These can often be easily fixed by carefully unpicking the offending threads and reweaving the section. It’s essential to address mistakes as soon as you notice them, rather than letting them accumulate and cause more significant problems down the line. Remember, it’s all part of the process, and even experienced weavers like myself encounter mistakes from time to time.
- 6. To add some visual interest to your woven piece, consider experimenting with texture. You can achieve this by incorporating different yarn weights, fibers, or even found materials like leaves or branches. I love using natural fibers like raw silk or linen to add a touch of organic elegance to my designs. Don’t be afraid to get creative and try out new combinations – it’s a great way to develop your unique style and voice as a weaver.
- 7. Finally, as you near the end of your project, take the time to finish your edges carefully. A neatly finished edge can make all the difference in the overall appearance of your woven piece. I recommend using a simple hemstitch or whipstitch to secure your threads and prevent fraying. By taking the time to finish your edges properly, you’ll ensure your hard work looks polished and professional.
Common Weaving Mistakes for Beginners
As I reflect on my own journey with weaving, I realize that understanding the fundamentals is crucial to avoiding pitfalls. One of the most significant challenges beginners face is weaving pattern errors, which can be frustrating and time-consuming to fix. To overcome this, I recommend taking the time to thoroughly plan your design and double-check your calculations before starting to weave.
When it comes to hand weaving tips, I always emphasize the importance of yarn selection. Choosing the right yarn can make all the difference in the final product, and it’s essential to consider factors such as texture, color, and durability. By selecting the right yarn, you can avoid common issues such as uneven tension or inadequate drape.
In my experience, fixing weaving mistakes can be a valuable learning opportunity. Rather than getting discouraged by errors, I encourage beginners to view them as a chance to refine their skills and develop their unique voice. By embracing the process and being patient with themselves, beginners can overcome common obstacles and create beautiful, unique pieces that reflect their artistic vision.
The Unraveling Taming Threads
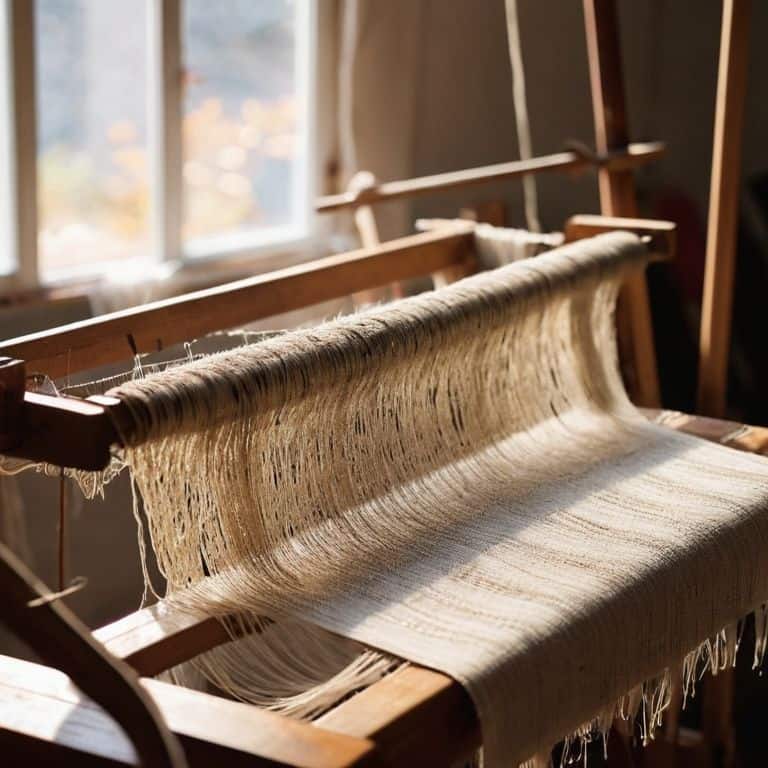
As I reflect on my own journey, I realize that taming threads is an art that requires patience and practice. One of the most common mistakes I made as a beginner was not properly securing my warp threads, leading to a wonky and uneven weave. To avoid this, I now make sure to double-check my tension and use a consistent pattern when threading my loom. It’s also essential to choose the right yarn for your project, taking into account factors like texture, weight, and color.
By taking the time to prepare your threads and loom, you’ll be able to focus on the creative process of weaving, rather than fighting with your materials. I’ve found that a well-prepared setup is key to creating a beautiful and cohesive piece of woven art.
Weaving for Dummies Loom Lessons
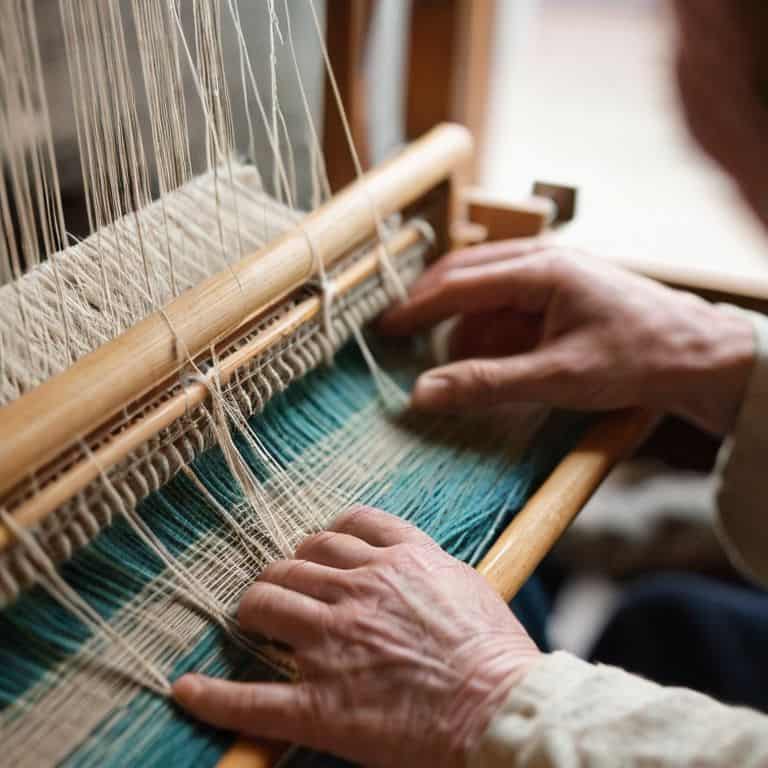
As I reflect on my own journey, I realize that mastering the loom is a crucial step in avoiding common mistakes. I’ve found that understanding the mechanics of the loom and how to properly tension the warp threads can make all the difference. It’s essential to take the time to learn about the different types of looms and their unique characteristics. For instance, a rigid heddle loom is perfect for beginners, while a floor loom offers more complexity and control. By grasping these fundamentals, you’ll be well on your way to creating beautiful, intricate pieces that showcase your artistry.
I always recommend starting with simple projects and gradually increasing complexity as you become more comfortable with the loom. This approach will help you develop muscle memory and a deeper understanding of the weaving process, allowing you to focus on the creative aspects of your craft.
Five Threads of Wisdom: Avoiding Common Weaving Mistakes
- Measure Twice, Weave Once: Double-checking your loom setup and yarn measurements can save you from hours of frustration and unwinding
- Mind the Tension: Even tension is key to a beautiful weave, so take your time to adjust the threads and don’t be afraid to restart if needed
- Don’t Get Caught in the Warp: Understanding the difference between warp and weft threads can make all the difference in your weaving journey, so take time to learn the basics
- The Right Yarn for the Job: Choosing the wrong yarn for your project can lead to disappointing results, so experiment with different fibers and textures to find the perfect fit
- Practice Makes Perfect: Don’t be too hard on yourself if your first projects don’t turn out as expected – weaving is a skill that takes time to develop, so keep experimenting and learning from your mistakes
Key Takeaways for Beginner Weavers
I’ve learned that starting with the right yarn and loom can make all the difference in avoiding common mistakes and creating a beautiful, cohesive piece
Understanding the importance of tension and how it affects the overall texture and form of your woven design is crucial – it’s all about finding that perfect balance
By embracing the process, experimenting with different fibers and techniques, and not being too hard on yourself when mistakes happen, you’ll be well on your way to creating stunning woven art that reflects your unique vision and style
A Word of Wisdom
The beauty of weaving lies not in the absence of mistakes, but in the art of transforming them into unique textures and patterns that tell a story of their own.
Ethan Thorne
Weaving Wisdom: Beyond the Mistakes
As we’ve explored the common pitfalls of weaving, it’s clear that mastering the craft requires patience, attention to detail, and a willingness to learn from our mistakes. We’ve discussed the importance of proper tension, the dangers of inconsistent yarn weight, and the value of taking your time when setting up your loom. By acknowledging and addressing these errors, you’ll be well on your way to creating beautiful, intricate pieces that reflect your unique vision and style.
As you continue on your weaving journey, remember that the true beauty of this craft lies not just in the end result, but in the process itself. Don’t be afraid to experiment, try new things, and push the boundaries of what’s possible with yarn and thread. With practice, dedication, and a willingness to take risks, you’ll unlock the full potential of weaving and discover a world of textural possibilities that will inspire and delight you.
Frequently Asked Questions
What are the most common mistakes beginners make when setting up their loom for the first time?
When setting up their loom for the first time, beginners often misjudge tension, neglect to secure threads, or improperly align the warp. I’ve been there – my first loom setup was a tangled mess. To avoid this, take your time, and double-check each thread’s tension and placement, just as you would ensure a sturdy foundation in building design.
How can I avoid uneven tension in my weaving project and what are the consequences of not addressing it?
To avoid uneven tension, I check my warp threads regularly, making adjustments as needed. Uneven tension can lead to a wonky weave, causing it to pucker or distort – a frustrating mistake that can ruin an entire piece. By keeping tension consistent, you’ll ensure a smooth, even fabric that showcases your design.
What are some troubleshooting tips for fixing common weaving errors, such as misaligned threads or uneven edges?
When I encounter misaligned threads or uneven edges, I take a step back and reassess my tension. I check for any wonky warp threads and make adjustments as needed. Sometimes, it’s as simple as re-tightening a loose thread or re-threading my loom. I also make sure to maintain a consistent beat, as this can greatly impact the overall texture and alignment of my weave.