I still remember the first time I laid eyes on a rigid heddle loom – it was love at first sight. As an architect turned textile artist, I was fascinated by the intersection of modern design and ancient craft. A friend had introduced me to the world of weaving, and I was immediately drawn to the rigid heddle loom as a tool for creating beautiful, intricate patterns. My journey with the rigid heddle loom began, and I soon discovered that it’s not just a device, but a gateway to endless creative possibilities. If you’re looking for a guide to the rigid heddle loom, you’re in the right place.
As I delved deeper into the world of rigid heddle loom weaving, I realized that it’s not just about following a set of instructions, but about understanding the nuances of texture and form. In this article, I’ll share my personal experience and practical tips on how to master the rigid heddle loom. You’ll learn how to choose the right yarn, set up your loom, and create stunning woven pieces that reflect your unique style. Whether you’re a beginner or an experienced weaver, this guide will provide you with the confidence and inspiration you need to take your weaving to the next level. So, let’s get started on this journey together, and explore the endless possibilities of the rigid heddle loom.
Table of Contents
Guide Overview: What You'll Need
Total Time: 2 hours 30 minutes
Estimated Cost: $100 – $200
Difficulty Level: Intermediate
Tools Required
- Tape Measure (for measuring and cutting wood)
- Table Saw (or circular saw for cutting lumber)
- Drill Press (for precise hole drilling)
- Hand Saw (or coping saw for curved cuts)
- Sander (for smoothing out wood surfaces)
- Clamps (for holding pieces together during assembly)
Supplies & Materials
- 2-in x 4-in lumber (for frame construction)
- 1/2-in plywood (for heddle and shuttle holders)
- Cotton or nylon string (for heddle and warp)
- Wood glue
- 2-in wood screws (for assembling frame)
- Heddle hooks (for securing heddle in place)
- Shuttle (for weaving)
- Weaving yarn or thread (for weaving projects)
Step-by-Step Instructions
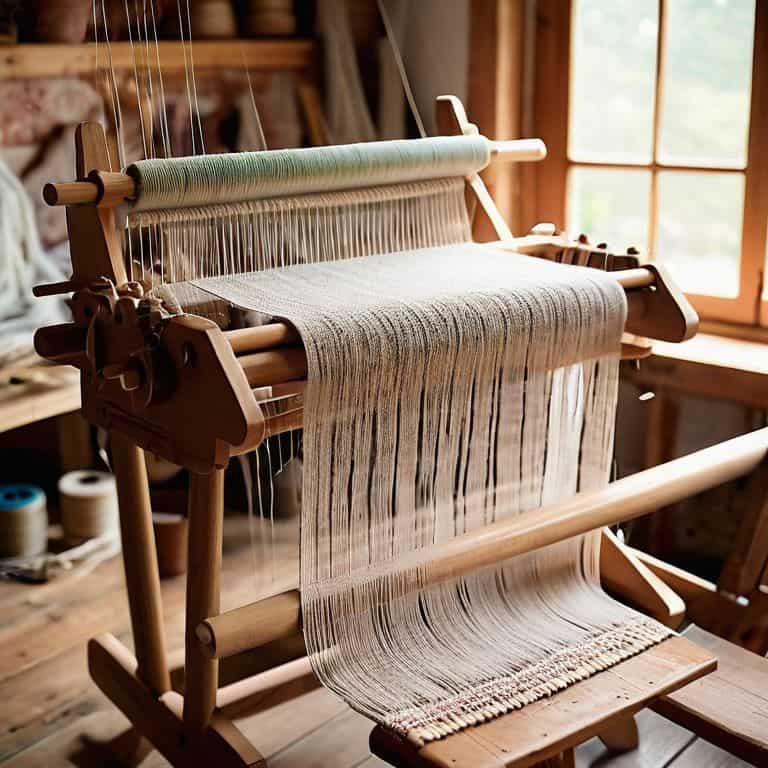
- 1. To begin, let’s familiarize ourselves with the rigid heddle loom. This amazing tool is going to help us build some incredible textiles, one thread at a time. Take a moment to inspect the loom, noting the different parts such as the heddle, the shafts, and the warp and weft yarns. Understanding how these components work together is crucial for creating beautiful woven pieces.
- 2. Next, we need to prepare the warp. This involves measuring and cutting the yarn to the desired length, then threading it through the heddle. It’s essential to maintain a consistent tension to ensure that the fabric lies flat and even. I like to use a simple warping technique, where I divide the yarn into smaller sections and thread them through the heddle one at a time.
- 3. Now it’s time to set up the loom. This involves attaching the warp to the loom and adjusting the tension. Make sure the warp is tight, but not too tight, as this can cause the fabric to pucker. I find that using a dual-tensioning system helps to maintain an even tension throughout the warp.
- 4. With the loom set up, we can start weaving the weft. This involves passing the weft yarn through the warp, using a shuttle or a pick-up stick to guide the yarn. It’s essential to maintain a consistent rhythm and tension to ensure that the fabric has a smooth, even texture. I like to use a simple over-under pattern to start, then experiment with more complex patterns as I become more comfortable with the loom.
- 5. As we continue to weave, it’s essential to monitor the tension. If the tension becomes too loose or too tight, it can affect the overall texture and appearance of the fabric. I like to use a tension gauge to check the tension regularly and make adjustments as needed.
- 6. Once we have completed the weaving process, it’s time to remove the fabric from the loom. This involves carefully cutting the warp and removing the fabric from the loom, then washing and blocking it to give it a professional finish. I like to use a gentle soap and cold water to wash the fabric, then block it using a wet finishing technique to give it a smooth, even texture.
- 7. Finally, we can add the finishing touches to our woven piece. This involves trimming the edges, adding a hem or fringe, and inspecting the fabric for any imperfections. I like to use a simple hemming technique, where I fold the edge of the fabric over twice and sew it in place using a whipstitch. With these final touches, our woven piece is complete, and we can admire our handiwork.
A Guide to the Rigid Heddle Loom
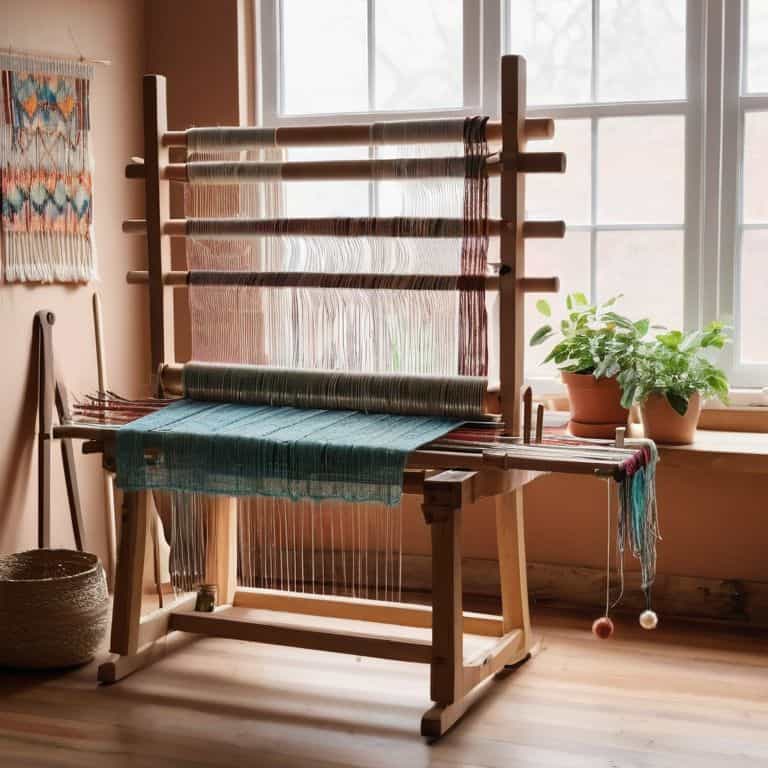
As I delve deeper into the world of rigid heddle looms, I’m reminded of the importance of simple weaving projects for beginners. These projects not only help build confidence but also allow for experimentation with different types of yarn for weaving. I’ve found that starting with a basic scarf or wall hanging is an excellent way to get familiar with the loom’s mechanics and develop a sense of texture and color.
When it comes to loom warping techniques, I always emphasize the need for patience and attention to detail. A well-warpeds loom is essential for creating beautiful, evenly spaced patterns. I’ve also noticed that many beginners struggle with the decision between a rigid heddle loom vs floor loom. While both have their advantages, I believe the rigid heddle loom is an excellent choice for those just starting out due to its portability and ease of use.
As you progress in your weaving journey, you’ll want to explore various weaving patterns for beginners. I recommend starting with simple tabby or twill patterns and gradually moving on to more complex designs. Remember to also prioritize loom maintenance tips, such as regular cleaning and oiling, to ensure your loom remains in good working condition. By following these tips and practicing regularly, you’ll be well on your way to creating stunning woven pieces that showcase your unique style and creativity.
Exploring Types of Yarn for Beginner Weaving
As I delve into the world of yarns, I’m reminded of the countless hours I spent selecting materials for my architectural projects. The principles remain the same – texture, color, and form are paramount. For beginner weavers, I recommend starting with natural fibers like linen, cotton, or raw silk. These yarns offer a unique tactile experience and are relatively easy to work with.
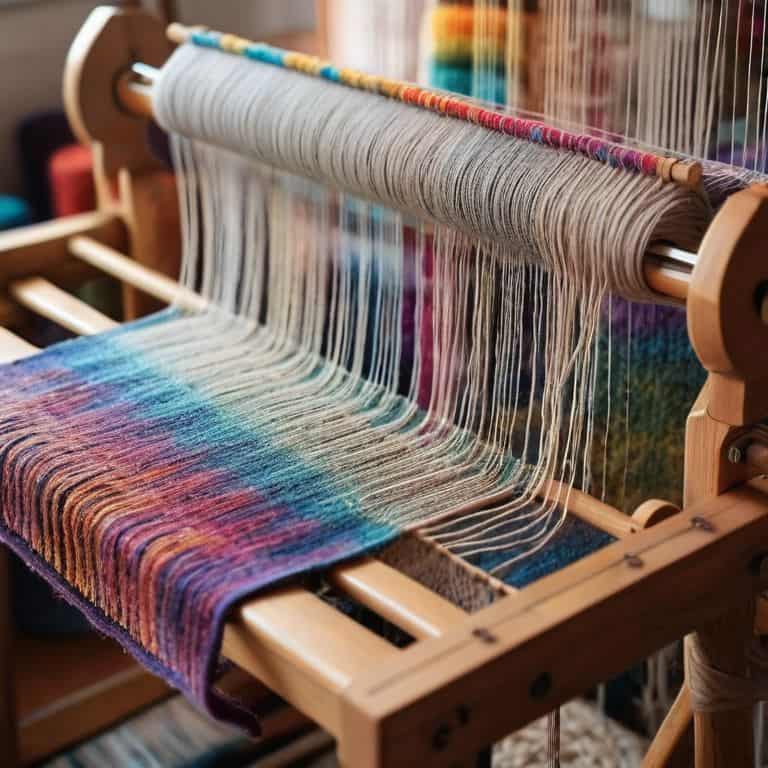
When exploring types of yarn, consider the desired texture and visual impact. Smooth yarns create a cohesive look, while chunky or tweed yarns add depth and visual interest. I often sketch out my yarn selections on graph paper, much like I would plan a building’s layout. This helps me visualize the final piece and ensure that my yarn choices will bring my design to life.
Loom Warping Techniques for Simple Weaving
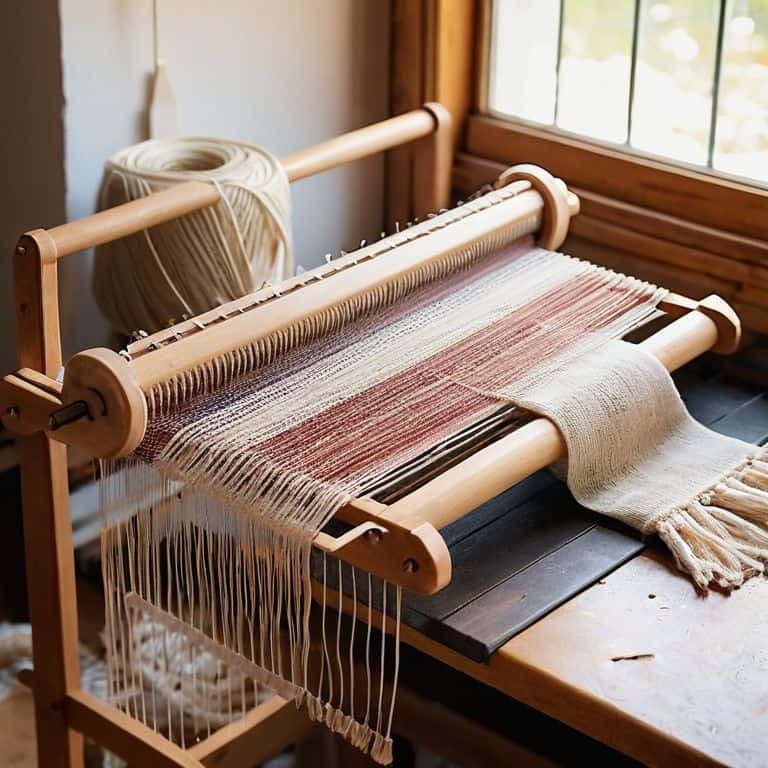
When it comes to loom warping techniques, I like to think of it as laying the foundation for my textile architecture. A well-warping is essential to creating a beautiful and sturdy piece of woven art. For simple weaving, I recommend using a straightforward warping method, where you divide your warp threads into sections and carefully thread them through the loom’s slots. This technique allows for a clean and organized start to your weaving journey.
By using this method, you’ll be able to achieve a consistent tension and spacing between your warp threads, which is crucial for creating a balanced and visually appealing fabric. As you become more comfortable with warping, you can experiment with different techniques and patterns to add more complexity and interest to your weavings. Remember, the key to successful warping is patience and attention to detail – take your time, and you’ll be rewarded with a stunning foundation for your woven masterpiece.
Weaving Wisdom: 5 Essential Tips for Mastering the Rigid Heddle Loom
- Measure twice, warp once: Double-check your measurements before warping your loom to ensure a smooth and even weaving process
- Choose the right yarn for the job: Select yarns that complement your project’s texture, color, and intended use, and don’t be afraid to experiment with different fibers and blends
- Keep it tight, keep it loose: Maintain an even tension while weaving to prevent puckering or sagging, but don’t pull too hard – you want to leave some give for your yarn to breathe
- Play with pick-up sticks: Don’t be intimidated by the idea of using pick-up sticks to create intricate patterns – with a little practice, you’ll be weaving like a pro in no time
- Sample, sample, sample: Always test your yarn and weaving technique with a small sample before starting a large project – it’s the best way to ensure you’ll love the final result
Key Takeaways for Mastering the Rigid Heddle Loom
As you embark on your weaving journey, remember that the rigid heddle loom is an incredibly versatile tool that allows you to build complex textiles one thread at a time, making it perfect for beginners and experienced weavers alike.
Experimenting with different types of yarn and fibers is crucial for developing your unique weaving style, as various textures and colors can dramatically alter the overall aesthetic and feel of your finished piece.
Practice and patience are essential for mastering the art of weaving with a rigid heddle loom, so don’t be discouraged by initial setbacks – with time and dedication, you’ll be creating stunning, professional-grade textiles that reflect your personal style and artistic vision.
Weaving Wisdom
The rigid heddle loom is not just a tool, but a gateway to understanding the intricate dance between thread, texture, and form – a symphony that, when mastered, can give birth to woven masterpieces that transcend the ordinary.
Ethan Thorne
Weaving a New Path
As we conclude this journey through the rigid heddle loom, it’s essential to remember that mastering the basics is just the beginning. We’ve explored various techniques, from loom warping to yarn selection, and I encourage you to continue experimenting with different materials and designs. The world of weaving is vast and exciting, and I’m thrilled to have been a part of your introduction to it. Whether you’re a beginner or an experienced weaver, the rigid heddle loom is an incredible tool that can help you unleash your creativity and bring your ideas to life.
As you move forward, I want to leave you with a final thought: the true beauty of weaving lies in its imperfections. It’s the subtle variations in texture, the unexpected twists and turns, that make each piece truly unique. So don’t be afraid to push the boundaries of what’s possible, to try new things, and to make mistakes. For it’s in these moments of uncertainty that we often discover our most remarkable creations, and the rigid heddle loom becomes not just a tool, but a partner in our artistic journey.
Frequently Asked Questions
What are some common mistakes to avoid when warping a rigid heddle loom for the first time?
When warping a rigid heddle loom for the first time, I’ve found that common mistakes include uneven tension, crossed threads, and insufficient measuring. To avoid these, take your time, double-check your measurements, and gently pull threads taut as you go, just as you would when building a structure – precision is key.
How do I choose the right yarn weight and fiber type for my rigid heddle loom project?
When selecting yarn for my rigid heddle loom projects, I consider the desired texture and drape. I choose yarns that balance weight and fiber type, opting for natural fibers like linen or raw silk. A medium-weight yarn with a smooth texture is often a great starting point, allowing for versatility and visual interest in the final piece.
Can I use a rigid heddle loom to create complex patterns and textures, or is it better suited for simple weaving designs?
While rigid heddle looms excel at simple designs, they can also be used to create complex patterns and textures with a bit of creativity. By experimenting with pick-up sticks, multiple heddles, and varied yarn weights, you can achieve intriguing, multi-layered effects that elevate your weaving beyond basic designs.