
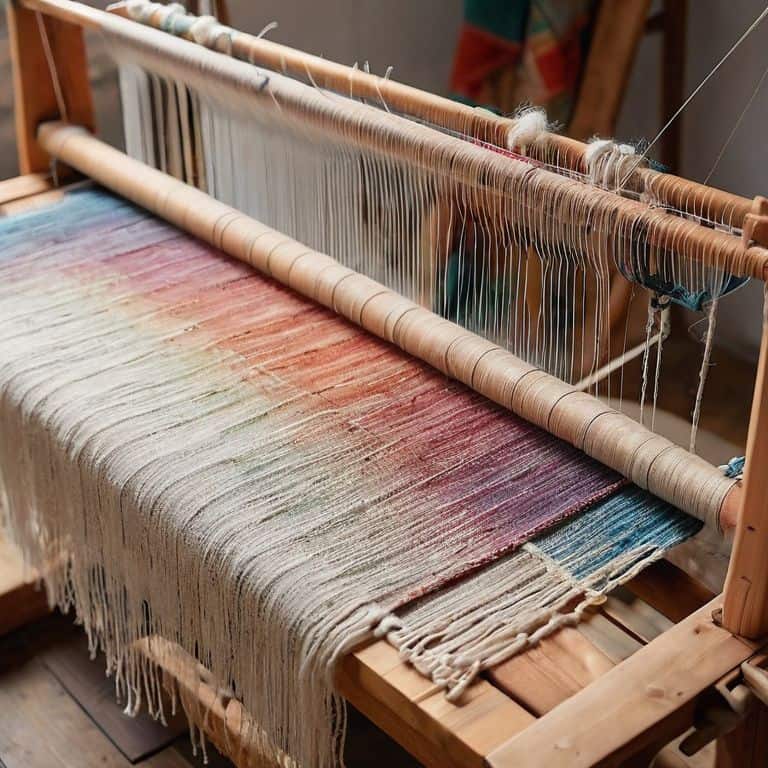
As I sit amidst my loom and threads, I often think about the misconception that a guide to wool yarn for weaving is only for traditionalists or those seeking a rustic look. The truth is, wool yarn is a versatile and timeless material that can be used to create stunning, modern pieces that exude texture and depth. I’ve spent years experimenting with different types of wool, from merino to Shetland, and I’m excited to share my knowledge with you. Whether you’re a seasoned weaver or just starting out, this guide will walk you through the process of selecting and working with wool yarn to create unique and captivating pieces.
In this article, I promise to deliver practical advice on how to choose the right wool yarn for your project, how to work with its natural imperfections, and how to bring out its full potential. You’ll learn about the different types of wool, their characteristics, and how to use them to create intricate patterns and textures. My goal is to empower you with the knowledge and confidence to create your own stunning woven pieces, and to show you that a guide to wool yarn for weaving is not just a technical manual, but a key to unlocking your creativity and bringing your designs to life.
Table of Contents
Guide Overview: What You'll Need
Total Time: 2 hours 30 minutes
Estimated Cost: $50 – $100
Difficulty Level: Intermediate
Tools Required
- Loom table or floor loom
- Shuttle for passing yarn
- Scissors for cutting yarn
- Measuring tape for measuring warp and weft
- Yarn needle for weaving in ends
Supplies & Materials
- Wool yarn various colors and weights
- Warp yarn a smooth, strong yarn for the foundation
- Weft yarn the yarn that will be woven through the warp
- Thread for sewing in ends
- Fringe twine optional, for creating fringe
Step-by-Step Instructions
- 1. To start working with wool yarn for weaving, begin by selecting the right type of wool for your project. I always look for yarns that are rich in texture and have a natural, earthy tone to them. Consider the color palette and the overall aesthetic you want to achieve with your woven piece, and choose a wool yarn that complements it. For example, if you’re going for a rustic look, a thicker, more coarse wool yarn might be the way to go.
- 2. Once you’ve chosen your wool yarn, it’s time to prepare your loom. As someone who’s passionate about minimalist woodworking, I love building my own looms, but you can also use a pre-made one. Make sure it’s properly set up and that you have all the necessary tools, such as a shuttle, scissors, and a measuring tape. Take a moment to visualize your design and plan out the dimensions of your woven piece.
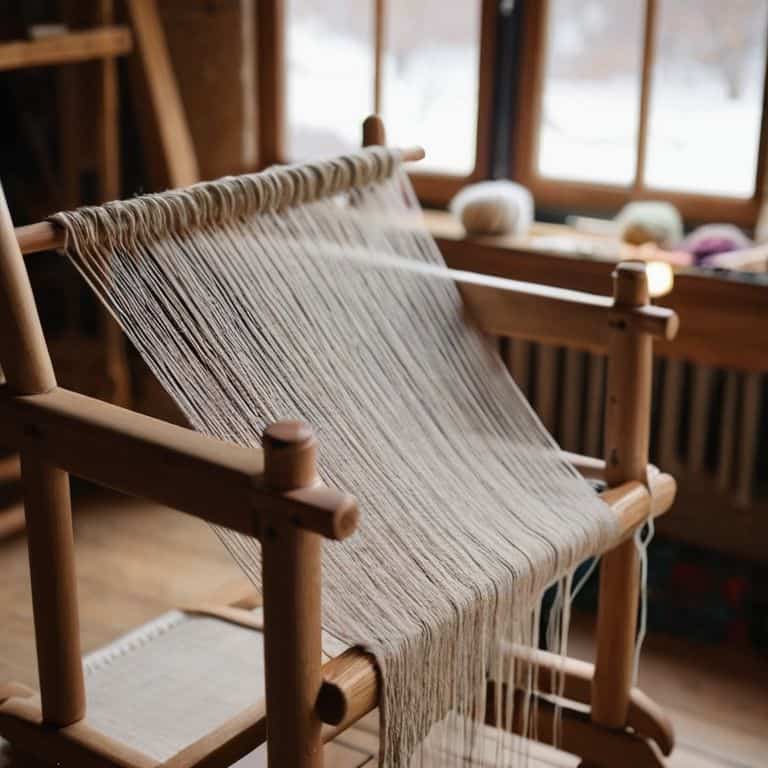
- 3. Now it’s time to start warping your loom. This is the process of stretching the yarn across the loom to create the foundation for your weave. I like to use a simple over-under pattern to start, as it creates a sturdy base for the rest of my design. Make sure to keep your tension even and not too tight, as this can cause your wool yarn to pucker or become misshapen.
- 4. With your loom warped, you can start weaving your design. I like to begin with a plain weave, as it allows me to get a feel for the yarn and the loom. As you weave, pay attention to the texture and drape of the wool, and make adjustments as needed to achieve the desired look. Don’t be afraid to experiment and try new patterns – it’s all part of the creative process.
- 5. As you continue to weave, keep an eye on your yarn supply and make sure you have enough to complete your project. There’s nothing worse than running out of yarn mid-design, only to find that the color or texture is no longer available. I like to work in small batches, using up one skein of yarn at a time to ensure that my colors and textures remain consistent throughout.
- 6. Once you’ve completed your weave, it’s time to finish the edges. I like to use a simple hemstitch to secure the yarn and prevent it from fraying. This is also a great opportunity to add any decorative elements, such as a fringe or tassel. Take your time and make sure your edges are even and secure, as this will affect the overall appearance of your finished piece.
- 7. Finally, take a step back and admire your handiwork. I love the feeling of completing a new woven piece, and I’m always excited to see how the different textures and colors come together. Take a moment to reflect on your design, and think about what you might do differently next time. As an artist, I’m always looking for ways to push the boundaries of my craft, and I encourage you to do the same.
A Guide to Wool Yarn for Weaving
As I delve deeper into the world of wool yarn, I’m constantly fascinated by the various types of wool that can be used for tapestry weaving. From the softness of Merino wool to the durability of Shetland wool, each type brings its unique characteristics to the table. When it comes to rug weaving, the wool yarn weight plays a crucial role in determining the final texture and appearance of the piece. I’ve found that a medium-weight yarn is often the perfect balance between durability and flexibility.
One of the most exciting aspects of working with wool is the possibility of natural dyes for wool fiber. Not only do these dyes add a touch of warmth and character to the yarn, but they also allow me to experiment with a wide range of colors and shades. By blending different types of wool, I can create unique textures and patterns that add depth and visual interest to my woven pieces. Whether I’m working on a intricate tapestry or a simple rug, the possibilities are endless.
As a textile artist, I’m also deeply committed to sustainable wool sourcing. I believe that the beauty of a woven piece is not just in its appearance, but also in the story behind it. By choosing to work with environmentally responsible suppliers, I can ensure that my art is not only aesthetically pleasing, but also eco-friendly. This approach also extends to the wool yarn care and maintenance, as I always strive to create pieces that are not only beautiful but also long-lasting.
Blending Wool for Unique Textures and Forms
As I delve into the world of wool, I’m constantly fascinated by the possibilities of blending different types to create unique textures and forms. By combining wool yarns with varying fiber lengths, crimp, and color, I can craft intricate, layered pieces that invite the viewer to touch. For instance, merging a coarse, raw wool with a finer, merino wool can yield a captivating contrast of rough and smooth, adding depth to my woven art.
I often experiment with blending wool to achieve specific visual and tactile effects, from the soft, feathery lightness of a wool-silk mix to the rugged, earthy quality of a wool-linen blend. This creative freedom allows me to push the boundaries of traditional weaving, resulting in innovative, three-dimensional pieces that blur the line between textile and sculpture.
Thread by Thread Wool Types for Tapestry
As I delve into the world of wool yarn, I’m fascinated by the diverse types that can elevate a tapestry. From the soft, pastel hues of Merino wool to the rugged texture of Shetland wool, each variety offers a unique character. I often find myself drawn to the richness of Corriedale wool, with its gentle drape and subtle sheen. Whether I’m aiming for a delicate, whispery background or a bold, statement-making foreground, the right wool type can make all the difference.
When selecting wool for tapestry weaving, I consider factors like fiber length, crimp, and color depth. For intricate, high-contrast designs, I might opt for a wool with a bit of felting potential, like Romney or Lincoln. The key is to balance texture, tone, and visual interest, allowing each thread to contribute to the larger narrative of the piece. By thoughtfully choosing the right wool type, I can coax a tapestry to life, thread by thread.
Weaving with Wool: 5 Essential Tips to Get You Started
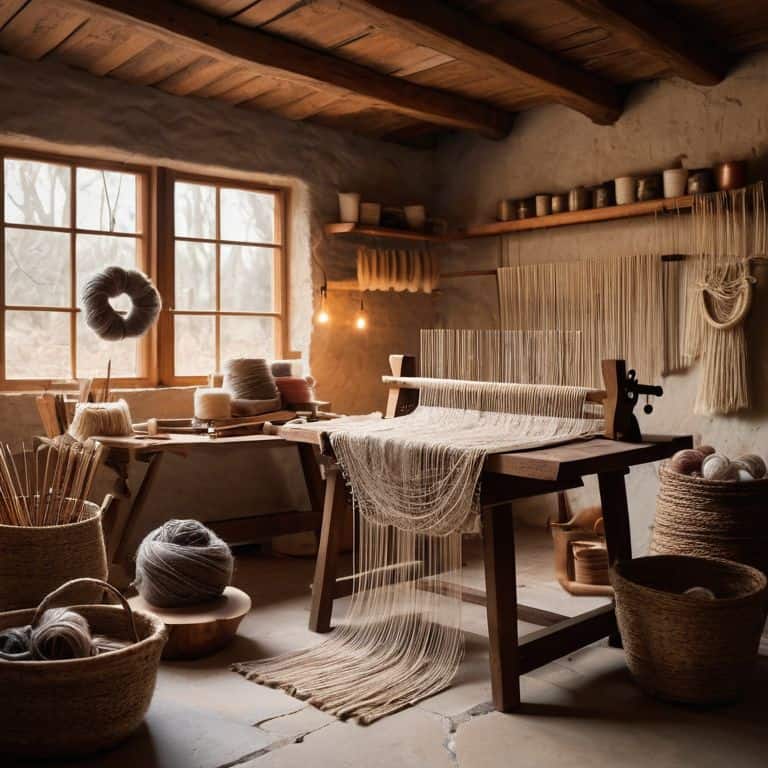
- Choose the right wool type for your project, considering factors like fiber length, crimp, and color to achieve the desired texture and visual effect
- Experiment with blending different wool yarns to create unique textures and forms that add depth and interest to your woven pieces
- Consider the importance of tension when working with wool yarn, as it can affect the overall appearance and durability of your finished work
- Don’t be afraid to play with scale and proportion when designing your woven piece, using wool yarn to create bold, statement-making elements or subtle, nuanced details
- Keep in mind that wool yarn can be prone to felting, so be gentle when handling and washing your finished work to preserve its texture and integrity
Key Takeaways for Working with Wool Yarn
I’ve found that understanding the different types of wool and their unique textures is crucial for creating intricate and visually striking woven pieces, from tapestries to three-dimensional installations.
Blending various wool types can lead to the discovery of new textures and forms, allowing weavers to push the boundaries of what is possible with this ancient yet versatile craft, and I’m always excited to see what new combinations my students and fellow artists come up with.
Whether you’re a seasoned weaver or just starting out, embracing the natural beauty and warmth of wool yarn can elevate your work from simple craft to stunning pieces of modern textile art, and I believe that’s where the true magic happens in our medium.
Weaving Wisdom
As I weave, I’m reminded that the beauty of wool yarn lies not just in its texture, but in its ability to transform thread into a tangible manifestation of our imagination, one strand at a time.
Ethan Thorne
Weaving a Legacy with Wool
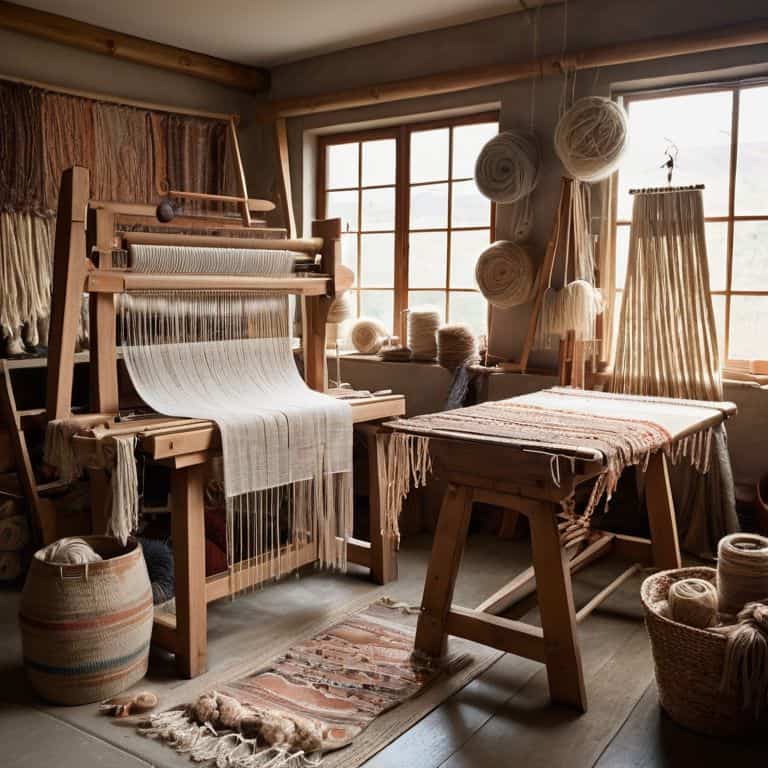
As I reflect on our journey through the world of wool yarn for weaving, I’m reminded of the versatility and richness that this natural fiber brings to our craft. From the diverse types of wool suited for tapestry, to the art of blending different wools for unique textures and forms, every step of the process is an opportunity to express our creativity and push the boundaries of what is possible. Whether you’re a seasoned weaver or just beginning to explore the possibilities of wool, I hope that this guide has inspired you to experiment, to innovate, and to see the potential for beauty in every thread.
As we conclude this guide, I want to leave you with a final thought: the true magic of weaving with wool lies not just in the technical skills we master, but in the emotional connection we make with the materials, the process, and the stories that our woven pieces tell. So, let us continue to build with yarn, to craft with intention, and to weave not just objects, but experiences that touch the heart and inspire the soul. For in the end, it is not just about the wool or the loom, but about the timeless beauty we create, thread by thread.
Frequently Asked Questions
What are the best ways to care for and maintain wool yarn woven pieces to ensure they last for years to come?
To keep my woven wool pieces looking their best, I swear by gentle handling and minimal cleaning. A soft brush removes dust, while spot cleaning with cold water and mild soap preserves the fibers. For more extensive cleaning, I opt for professional services or hand washing in cold water, reshaping while wet to maintain texture and form.
How can I effectively blend different types of wool yarn to achieve unique textures and colors in my weaving projects?
To blend wool yarns effectively, I experiment with combining different types, like merino and Shetland, to create intriguing textures. I also play with color ratios, balancing warm and cool tones to add depth. Sketching out my blends on graph paper helps me visualize the final result, ensuring a harmonious mix of texture and hue in my woven pieces.
What are some common mistakes to avoid when working with wool yarn in weaving, and how can I troubleshoot issues like uneven tension or pilling?
When working with wool yarn, I’ve found that common mistakes include inconsistent tension and over-manipulating the fibers, which can lead to pilling. To troubleshoot, try relaxing your grip, checking your warp tension, and using a gentle hand when weaving.
