As I sit at my loom, surrounded by threads of every color, I’m reminded of the common myth that a guide to basic weaving techniques is only for the skilled or patient. But I’m here to tell you that’s simply not true. With a clear plan and a willingness to learn, anyone can master the art of weaving. I’ve seen it time and time again in my community craft workshops – students who thought they’d never be able to create something beautiful with their own hands, leaving with a sense of pride and accomplishment. My goal is to provide you with a step-by-step journey through the world of weaving, and I’m excited to share my knowledge with you.
In this article, I promise to give you honest and practical advice on how to get started with weaving. You’ll learn the fundamentals of basic weaving techniques, from setting up your loom to choosing the right yarns. I’ll walk you through each technique, one step at a time, so you can feel confident and creative. Whether you’re a complete beginner or just looking to refresh your skills, this guide is designed to be your trusted companion on your weaving journey. By the end of this article, you’ll have a solid understanding of the basics and be ready to start creating your own unique pieces. So, let’s get started and unravel the magic of weaving together!
Table of Contents
Guide Overview: What You'll Need
Total Time: 2 hours 30 minutes
Estimated Cost: $20 – $50
Difficulty Level: Easy
Tools Required
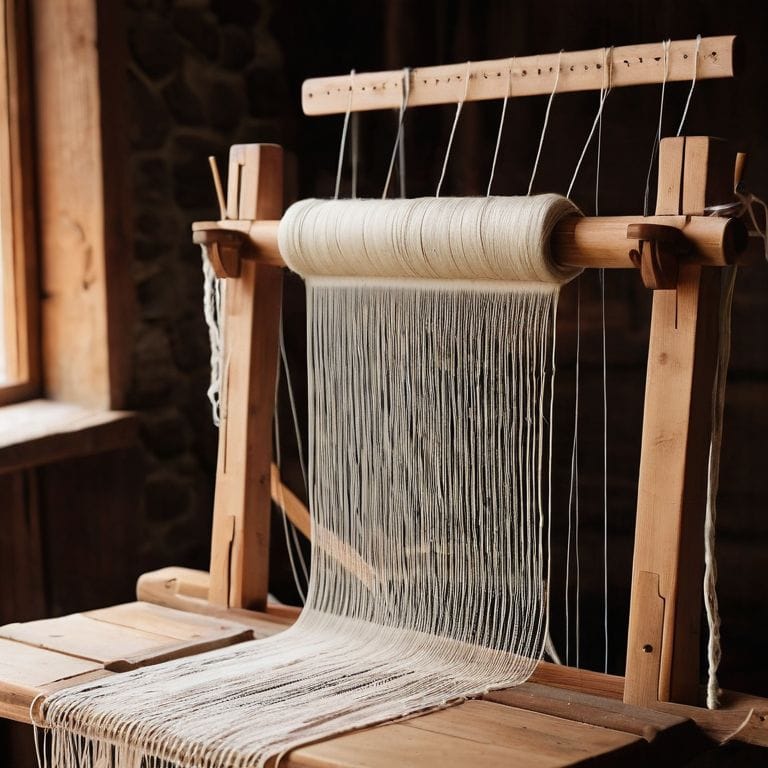
- Loom (can be a simple frame loom or a rigid heddle loom)
- Shuttle (or a fork or a piece of cardboard to pass the weft yarn)
- Scissors (sharp and dedicated to cutting yarn)
- Tape Measure (for measuring warp and weft yarns)
- Yarn Needle (for weaving in ends)
Supplies & Materials
- Warp Yarn select a smooth, strong yarn for the foundation
- Weft Yarn choose a yarn that complements the warp yarn in texture and color
- Thread or String for tying knots to secure the warp
- Measuring Tape to measure 6 inches of warp yarn for each inch of weaving width
- Pencil and Paper for planning the weave pattern and taking notes
Step-by-Step Instructions
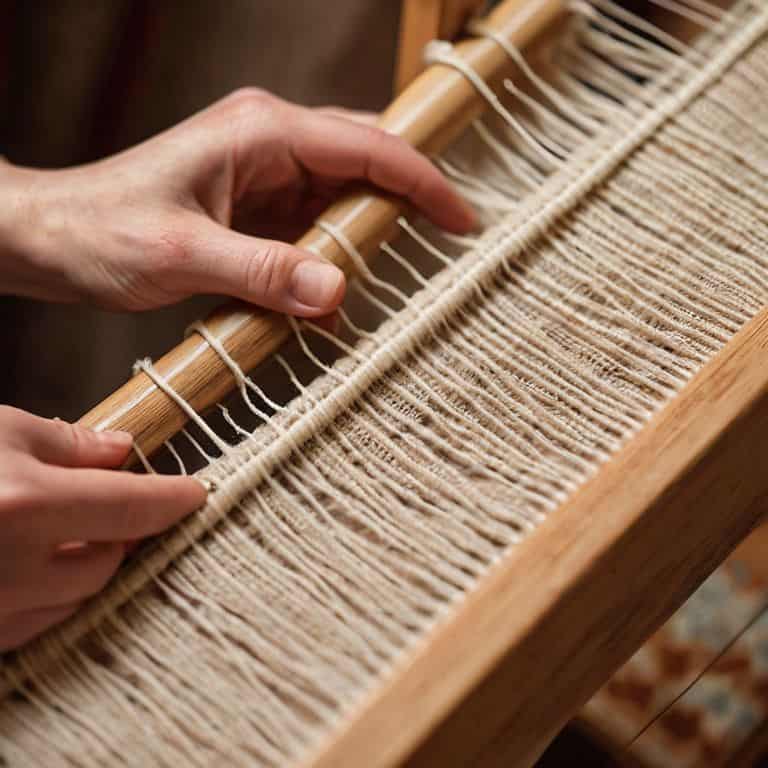
- 1. First, let’s start by preparing our loom, which is the foundation of our weaving journey. To do this, we need to secure the warp threads to the loom, making sure they are evenly spaced and not too tight or too loose. This will give us a good base to work from and ensure that our weave lies flat.
- 2. Next, we’ll choose our weft yarn, which will add color, texture, and interest to our weave. When selecting the weft yarn, consider the weight and fiber content of the yarn, as this will affect the drape and durability of your finished piece. For beginners, it’s best to start with a smooth, medium-weight yarn that’s easy to work with.
- 3. Now, let’s talk about the basic weaving technique, which involves passing the weft yarn over and under the warp threads. To start weaving, insert the shuttle or yarn needle into the shed, which is the open space between the warp threads, and pull it through to create a single pick. Repeat this process, moving the shuttle from side to side, to create a series of interconnected loops.
- 4. As we continue to weave, it’s essential to maintain an even tension on the yarn, as this will prevent our weave from becoming too loose or too tight. To achieve this, gently pull the yarn after each pass, but avoid pulling too hard, which can cause the weave to pucker or distort.
- 5. To add some visual interest to our weave, let’s try a simple herringbone pattern, which involves alternating the direction of the weft yarn with each pass. This will create a subtle, chevron-like design that adds depth and texture to our weave. To achieve this pattern, simply change the direction of the shuttle with each pick, moving it from side to side in a zig-zag motion.
- 6. As we work on our weave, it’s crucial to keep the edges aligned, as this will ensure that our finished piece lies flat and even. To do this, gently tug on the weft yarn after each pass, making sure that the edges are even and the weave is not pulling to one side.
- 7. Finally, when we’ve completed our weave, it’s time to finish the edges, which involves securing the last warp thread and trimming the excess yarn. To do this, tie a knot at the end of the warp thread and trim the excess yarn close to the knot, making sure not to cut too close to the weave itself. This will give our finished piece a clean, polished finish.
A Guide to Basic Weaving Techniques
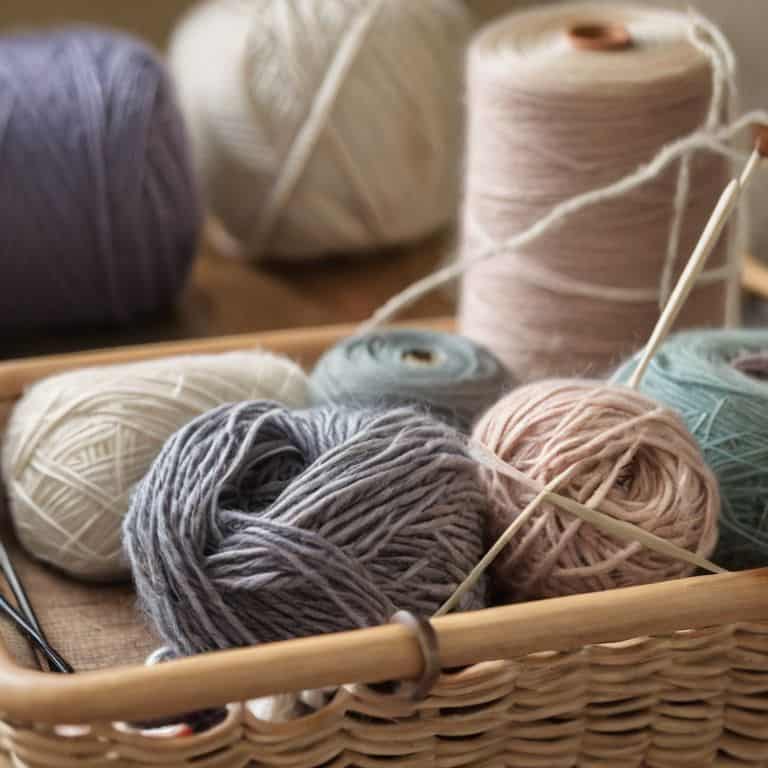
As you continue on your weaving journey, it’s essential to remember that choosing the right yarn can make all the difference in your project. Consider the texture, color, and weight of the yarn to ensure it complements your design. For beginner friendly loom projects, it’s best to start with simple, smooth yarns that are easy to work with.
When working on simple weaving projects for home decor, don’t be afraid to experiment with different patterns and colors. Understanding weaving patterns for beginners can seem daunting, but it’s actually quite straightforward once you get the hang of it. Start with basic patterns and gradually move on to more complex ones as you gain confidence.
Weaving is not only a creative outlet, but it’s also a great way to unwind and relax. Weaving for relaxation and stress relief is a wonderful benefit of this craft, and it’s essential to remember to enjoy the process, not just the end result. As you work on your project, take your time, and don’t hesitate to reach out if you have any questions or need guidance.
Choosing Yarn for Simple Projects
When it comes to choosing yarn for simple projects, I always say, “keep it simple, sweetie!” You don’t need a vast array of colors or textures to create something beautiful. For beginners, I recommend starting with a medium-weight yarn in a solid color. This will allow you to focus on the weaving technique without getting distracted by complex color changes or yarn weights. Plus, medium-weight yarns are often easy to work with and forgiving, making them perfect for those just starting out.
Let’s break it down further: consider the fiber content, too. Acrylic, cotton, or blends are great for beginners because they’re soft, easy to care for, and affordable. Avoid anything too slippery or too chunky, as these can be tricky to work with. Remember, the goal is to have fun and build confidence in your weaving skills. By choosing the right yarn, you’ll be well on your way to creating something truly special.
Understanding Patterns for Beginners
Understanding patterns is a crucial part of weaving, and as a beginner, it can seem overwhelming. But don’t worry, I’m here to break it down for you. Patterns in weaving refer to the sequence of threads or yarns that intersect to create a design. Think of it like a recipe: you need to follow the right sequence of ingredients to get the desired result. In weaving, this sequence is what creates the texture, color, and overall look of your project.
Let’s start with the basics: a simple over-under pattern. This is where you alternate between weaving over and under the warp threads. It’s a great starting point because it creates a beautiful, balanced fabric. I like to think of it as a foundation that you can build upon. As you get more comfortable, you can experiment with more complex patterns, like twills or plaids. But for now, let’s focus on mastering that simple over-under pattern, and I’ll guide you through it, step by step.
Weaving Wisdom: 5 Essential Tips for Beginners
- Start with simple patterns and gradually move to more complex designs to build confidence and skill
- Choose the right yarn for your project, considering factors like texture, color, and durability to ensure a beautiful and lasting result
- Use a consistent tension while weaving to maintain an even texture and prevent unevenness or sagging
- Experiment with different weaving tools and materials to discover what works best for you and your unique creative style
- Don’t be afraid to make mistakes – they can often lead to new and exciting ideas, and are an inevitable part of the learning and creative process
Key Takeaways for Basic Weaving Techniques
Always start with a simple pattern to build confidence and develop your weaving skills, gradually moving on to more complex designs as you become more comfortable with the basics
Selecting the right yarn is crucial for your project’s success; consider factors such as texture, color, and weight to ensure it matches your desired outcome and skill level
Practice patience and don’t be afraid to make mistakes – every error is an opportunity to learn and improve your weaving technique, and with time, you’ll develop the skills and intuition to create beautiful, unique pieces
Weaving a Path to Creativity
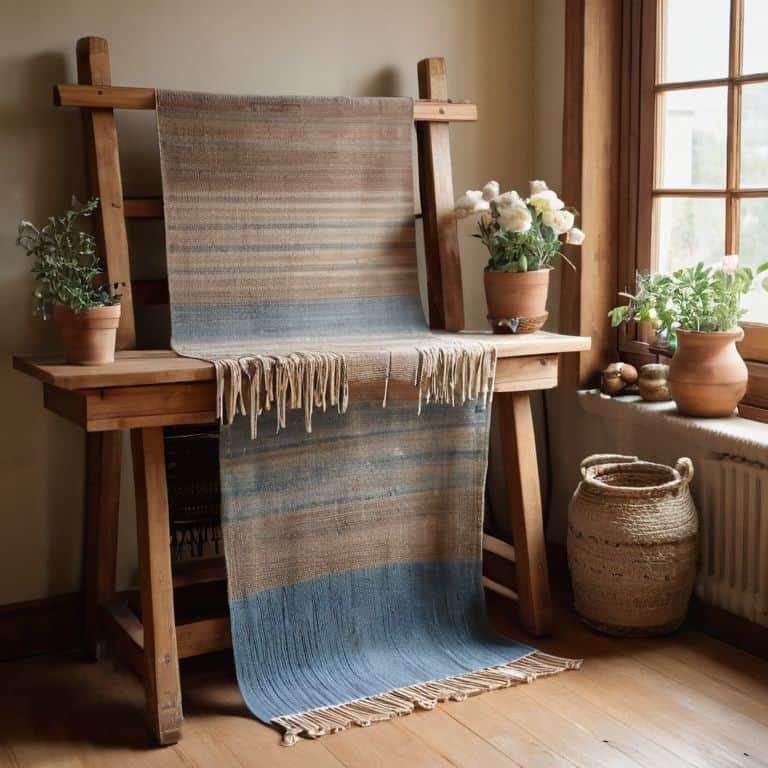
As we conclude this journey through basic weaving techniques, let’s take a moment to reflect on the key points we’ve covered. From understanding patterns for beginners to choosing the right yarn for simple projects, each step has been designed to empower you with the confidence to create something truly unique. By following these step-by-step instructions, you’ve gained a solid foundation in the art of weaving, and I’m thrilled to have been a part of your learning process. Remember, the world of weaving is vast and full of possibilities, and it’s up to you to explore and discover your own personal style.
As you move forward on your weaving path, I want to leave you with a final thought: the joy of making is in the journey, not just the destination. Don’t be afraid to experiment, try new things, and make mistakes – they’re all an integral part of the creative process. With patience, practice, and a willingness to learn, you’ll be unraveling the magic of weaving in no time. So go ahead, pick up that loom or needle, and let your imagination run wild. I’m honored to have been your guide, and I look forward to seeing the incredible things you’ll create.
Frequently Asked Questions
What are some common mistakes to avoid when starting a new weaving project?
When starting a new weaving project, I always remind my students to avoid common pitfalls like uneven tension, incorrect yarn weight, and insufficient planning. Take a deep breath, and let’s break it down together – a simple checklist can make all the difference in ensuring a smooth and enjoyable weaving journey.
How do I know which type of yarn is best suited for the specific pattern I've chosen?
To choose the perfect yarn for your pattern, consider the fiber content, weight, and texture. Look for yarns that match the recommended gauge and fiber type in your pattern. If you’re unsure, start by reading the pattern’s yarn requirements and then explore different options that fit those specifications.
Can I use a simple loom or do I need to invest in a more complex one to achieve professional-looking results?
Don’t worry, you can definitely start with a simple loom and still achieve beautiful results. In fact, I recommend beginning with a basic frame loom or a rigid heddle loom to get a feel for the craft. As you gain experience and confidence, you can always upgrade to a more complex loom if you desire.