I still remember the first time I tried to remove my weaving from the loom – it was a nerve-wracking experience, to say the least. I had spent hours, even days, carefully crafting my design, and the thought of damaging it during the removal process was daunting. But, as I soon learned, it doesn’t have to be that way. The truth is, how to remove your weaving from the loom is often misunderstood as a complicated and delicate process, when in fact, it can be broken down into simple, manageable steps.
In this article, I’ll share my step-by-step guide on how to safely and successfully remove your weaving from the loom. You’ll learn how to prepare your loom, secure your weaving, and gently release it from the tension that holds it in place. My goal is to provide you with practical advice and clear instructions, so you can confidently complete this final step and admire your beautiful, finished weaving. Whether you’re a beginner or an experienced weaver, this guide is designed to walk you through the process with ease, ensuring that your hard work is rewarded with a stunning piece of handmade art.
Table of Contents
Guide Overview: What You'll Need
Total Time: 1 hour 15 minutes
Estimated Cost: $0 – $10
Difficulty Level: Easy
Tools Required
- Scissors (sharp, dedicated to cutting yarn or thread)
- Tape measure (for measuring your weaving)
- Ruler or straightedge (for guiding your scissors or knife)
- Yarn needle (for weaving in ends)
- Loom tool or fork (if your loom came with one)
Supplies & Materials
- Yarn or thread (for securing your weaving, if necessary)
- Measuring tape 6 inches long, for measuring your weaving’s width
- Weaving needle (for sewing in ends, optional)
- Twine or string (for tying up the warp, if needed)
Step-by-Step Instructions
- 1. First, let’s prepare our workspace by clearing any clutter or obstacles around the loom, making sure we have a clean and stable area to work on. This will give us the freedom to move around the loom without any hindrances, allowing us to focus on the task at hand.
- 2. Next, we need to secure the weaving by tying off the warp threads, if we haven’t already done so. This is a crucial step, as it will prevent the weaving from unraveling as we remove it from the loom. I like to use a simple knot, like a bowline, to keep everything in place.
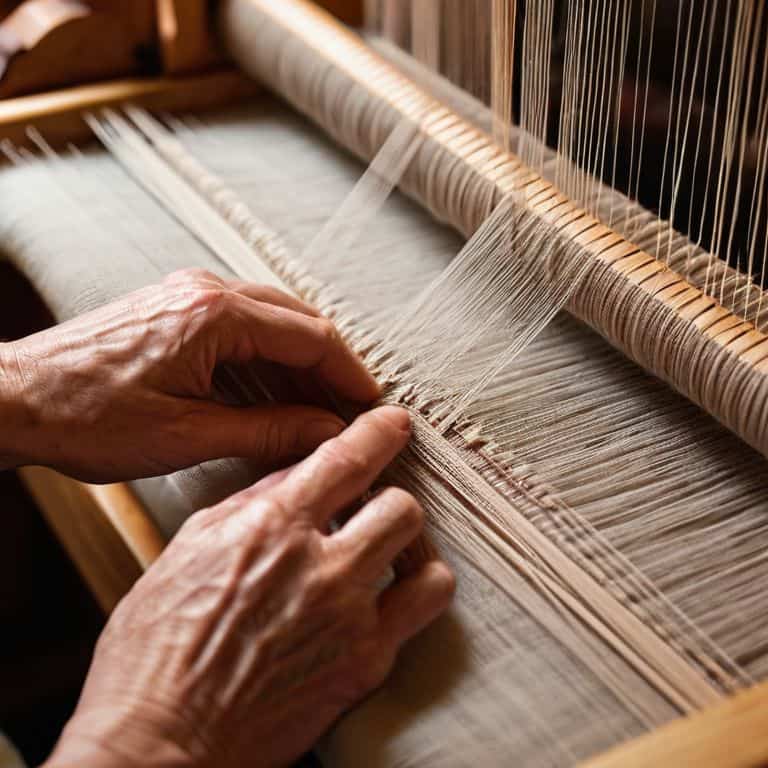
- 3. Now, let’s gently release the tension on the loom by loosening the warp threads. This will help us to safely remove the weaving without causing any damage or distortion. Be careful not to release too much tension at once, as this can cause the weaving to become misshapen.
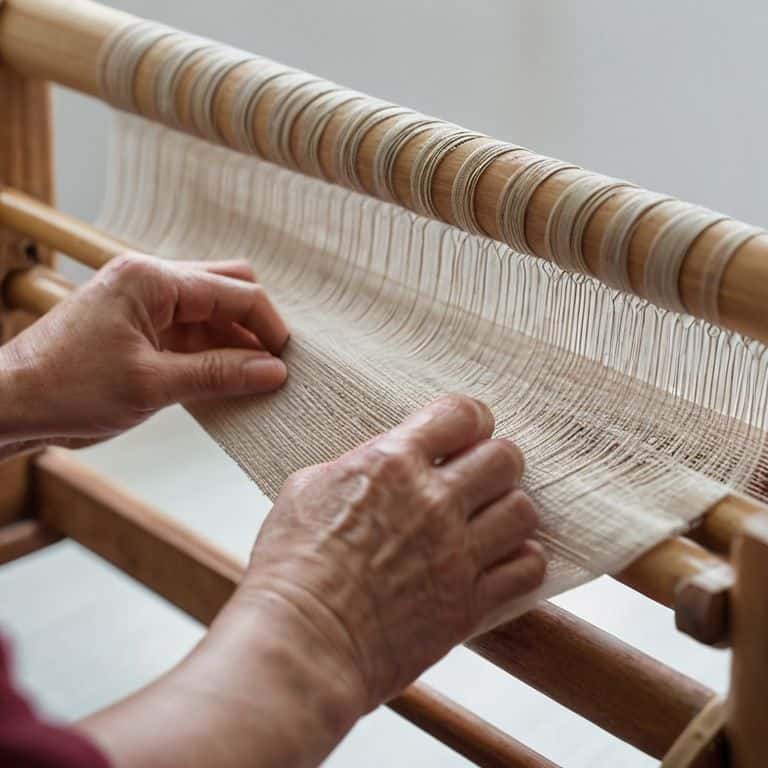
- 4. With the tension released, we can now carefully lift the weaving off the loom, starting from one edge and working our way across. It’s essential to do this slowly and gently, as we don’t want to put any unnecessary strain on the weaving. If it’s a particularly large or delicate piece, we may want to enlist the help of a friend or use a specialized tool to support the weaving as we lift it.
- 5. As we lift the weaving, we’ll need to remove the warp threads from the loom’s pegs or hooks. This can be a bit fiddly, but take your time, and work methodically, removing one thread at a time. It’s a good idea to have a pair of scissors or a yarn needle handy to help with this process.
- 6. Once we’ve removed the weaving from the loom, we can inspect it for any loose threads or areas that may need additional reinforcement. This is also a good opportunity to give the weaving a gentle stretch, to even out the tension and ensure it lies flat. I like to use a soft brush to gently tease out any tangles or knots.
- 7. Finally, let’s roll or fold the weaving to store it safely, or to prepare it for its next stage of processing, such as washing or blocking. It’s essential to handle the weaving with care, as it can be prone to creasing or distortion. I recommend using a sturdy cardboard tube or a specialized storage bag to keep the weaving safe and protected.
Gently Removing Your Weaving
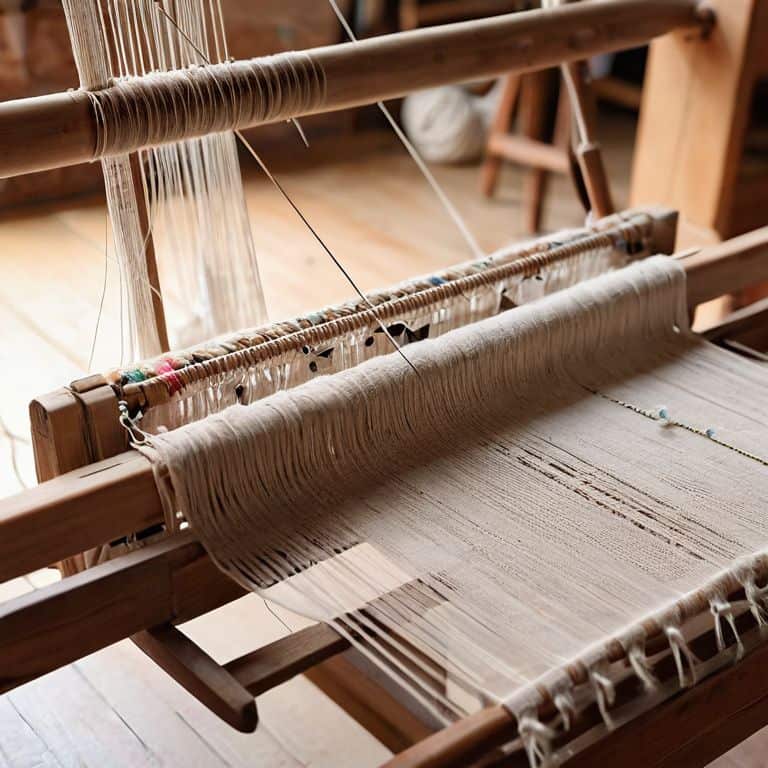
As you begin to gently remove your weaving from the loom, it’s essential to consider the loom removal techniques that will best preserve your work. One crucial step is to carefully release the tension on the warp threads, allowing the weaving to relax and making it easier to handle. This process can be a bit tedious, but it’s a critical part of ensuring that your hand weaving project is completed to the highest standard.
When removing your weaving, you’ll want to take your time and work slowly to avoid damaging the delicate fibers. Weaving finishing methods can vary depending on the type of yarn and the desired texture, but in general, it’s a good idea to use a gentle touch and avoid pulling or tugging on the fabric. By taking a mindful approach to this step, you’ll be able to enjoy the satisfaction of completing your textile art display and sharing it with others.
As you free your weaving from the loom, you may also want to think about your fiber arts project planning and how you intend to display your finished piece. Will you be framing it, mounting it on a stretcher, or simply draping it over a wall? Considering your options ahead of time can help you make the most of your warp and weft removal process and ensure a beautiful, professional-looking finish.
Finishing Methods for Beautiful Textiles
Now that your weaving is safely off the loom, let’s talk about the final touches. To give your textile a professional finish, you’ll want to secure the ends and trim any excess yarn. This is a great opportunity to add a decorative touch, like a hand-tied fringe or a subtle embroidery stitch.
I recommend using a simple overhand knot to keep your weaving from unraveling, and then trimming the ends to create a clean, finished edge. This will not only protect your beautiful textile but also add a polished look to your finished piece.
Loom Removal Techniques Made Easy
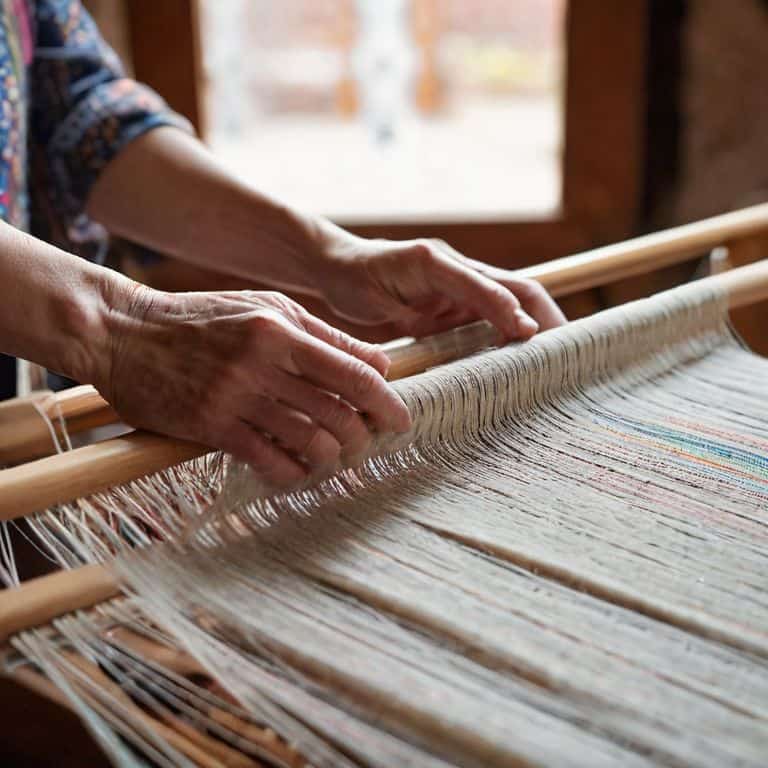
Now that we’ve gently coaxed your weaving off the loom, let’s dive into some techniques to make this process even smoother. I like to think of it as a little waltz between you, the loom, and your beautiful handmade piece. To begin, make sure your workspace is clear of any obstacles or distractions. This will give you the freedom to focus on the delicate dance of removal.
As you work, remember to take your time and breathe – it’s easy to get caught up in the excitement of finishing a project, but patience is key here. If you encounter any tangles or snags, don’t worry! Simply stop, assess, and gently tease out the issue. With a little practice, you’ll be a pro at removing your weavings from the loom in no time.
5 Essential Tips for a Smooth Loom Removal
- Plan Ahead: Before you start removing your weaving, make sure you have a clean and flat surface to lay it out on, as well as any necessary tools like scissors, a tape measure, or a sewing needle
- Check Your Tension: Gently check the tension of your weaving to ensure it’s not too tight, which can cause it to pucker or distort when removed from the loom
- Work from the Edges: When removing your weaving, start from the edges and work your way inwards to prevent any tangles or creases from forming in the center of the piece
- Use the Right Tools: Invest in a good pair of scissors or a yarn needle to help you carefully cut or weave in ends as you remove your weaving from the loom
- Don’t Pull Too Hard: Be gentle when pulling your weaving off the loom, as excessive force can cause threads to break or the fabric to stretch unevenly, ruining your beautiful handmade textile
Essential Reminders for a Successful Loom Removal
Always inspect your weaving for any loose ends or yarn tails before removing it from the loom to prevent damage or unraveling
Use a gentle and patient approach when cutting and lifting your weaving off the loom, taking care not to pull or stretch the fabric
Consider setting aside time to carefully review and document your finishing methods, including photos and notes, to refine your technique and create a beautiful, professional-looking textile
A Word of Wisdom
The gentle art of removing your weaving from the loom is not just about freeing your work, but about honoring the journey that brought it to life – every thread, every knot, and every moment of creation.
Beatrice "Bea" Quinn
Congratulations, You've Successfully Removed Your Weaving!
As we’ve journeyed through the process of removing your weaving from the loom, we’ve covered some essential steps, including gently loosening the tension and carefully lifting the fabric. We’ve also explored various loom removal techniques to make this step as smooth as possible. Additionally, we touched on finishing methods that will make your beautiful textile stand out. By following these steps and tips, you’ve not only ensured the safe removal of your weaving but also set it up for a stunning finish.
Now that you’ve completed this crucial step, remember that the joy of weaving lies not just in the end result, but in the creative process itself. Don’t be afraid to experiment, try new patterns, and push the boundaries of what you thought was possible. As you hold your finished weaving in your hands, feel a sense of pride and accomplishment, knowing that you’ve created something truly unique and beautiful, and that you’re ready to embark on your next weaving adventure.
Frequently Asked Questions
What if my weaving is stuck to the loom and I'm afraid of damaging it?
Don’t worry, it’s an easy fix. Gently wiggle the weaving back and forth while applying a small amount of steam or a damp cloth to loosen the fibers. If it’s still stubborn, try using a credit card or similar tool to carefully pry it away from the loom, working from one edge inwards.
How do I prevent my weaving from losing its shape or becoming distorted during the removal process?
To prevent distortion, gently support your weaving as you remove it from the loom. You can use a sturdy piece of cardboard or a foam board to provide extra support, especially if your piece is delicate or has loose threads.
Are there any special considerations I should keep in mind when removing a weaving that has delicate or sensitive fibers?
When working with delicate fibers, it’s essential to handle them with extra care. Consider using a soft-bristled brush or a lint roller to gently remove any loose debris, and avoid pulling or tugging on the fibers. You may also want to use a damp cloth to support the weaving as you remove it from the loom.