I still remember the day my wife, an avid weaver, asked me to help her create a faux fur pom pom for a hat. She had seen one at a craft fair and was determined to make her own, but every tutorial she found seemed to be missing a crucial step. As a carpenter turned custom woodworker, I’ve learned that the right tools and a little patience can make all the difference. So, I decided to take on the challenge and figure out how to make a faux fur pom pom for a hat that would rival any store-bought version.
In this article, I’ll share my straightforward, no-nonsense approach to crafting a faux fur pom pom from scratch. You’ll learn the essential steps to create a beautiful, fluffy pom pom that will elevate any hat or accessory. From choosing the right materials to mastering the simple yet clever technique, I’ll guide you through the process with clear instructions and helpful tips. By the end of this guide, you’ll be equipped with the knowledge and confidence to create your own stunning faux fur pom pom, and you’ll understand why I believe that making it yourself is the best way to ensure a truly unique and satisfying result.
Table of Contents
Guide Overview: What You'll Need
Total Time: 30 minutes to 1 hour
Estimated Cost: $5 – $15
Difficulty Level: Easy
Tools Required
- Scissors (sharp)
- Hot Glue Gun (with glue sticks)
- Styrofoam Ball (or a similar base material)
- Wire Cutters (for trimming excess wire)
- Tape Measure (for measuring faux fur strips)
Supplies & Materials
- Faux Fur 1 yard or more, depending on pom pom size
- Wire thin, for attaching pom pom to hat
- Thread matching the color of the faux fur
- Fabric Glue (optional, for extra hold)
- Hat or Headband to attach the finished pom pom
Step-by-Step Instructions
- 1. First, let’s gather our materials, which include faux fur, a wire ring or pom pom maker, scissors, a hot glue gun, and some string or yarn. I like to use a variety of faux fur textures to give my pom poms some extra depth and visual interest.
- 2. Next, cut out a circle of faux fur, making sure it’s large enough to wrap around the wire ring or pom pom maker. Don’t worry too much about the size at this stage, as we can always trim it down later. The key is to get a good, sturdy piece of fur that will hold its shape.
- 3. Now, wrap the faux fur circle around the wire ring or pom pom maker, securing it with a few dots of hot glue. Make sure the fur is evenly distributed and smooth out any wrinkles as you go. This will help create a nice, rounded shape for our pom pom.
- 4. Using your scissors, carefully trim the edges of the faux fur to create a uniform length. This will help the pom pom lie flat and prevent any stray threads from sticking out. I like to use a pair of sharp, dedicated scissors for this step to get a clean cut.
- 5. To add some extra security to our pom pom, let’s wrap a piece of string or yarn around the base of the wire ring. This will help keep everything in place and prevent the fur from coming loose over time. Simply tie a secure knot and trim the ends.
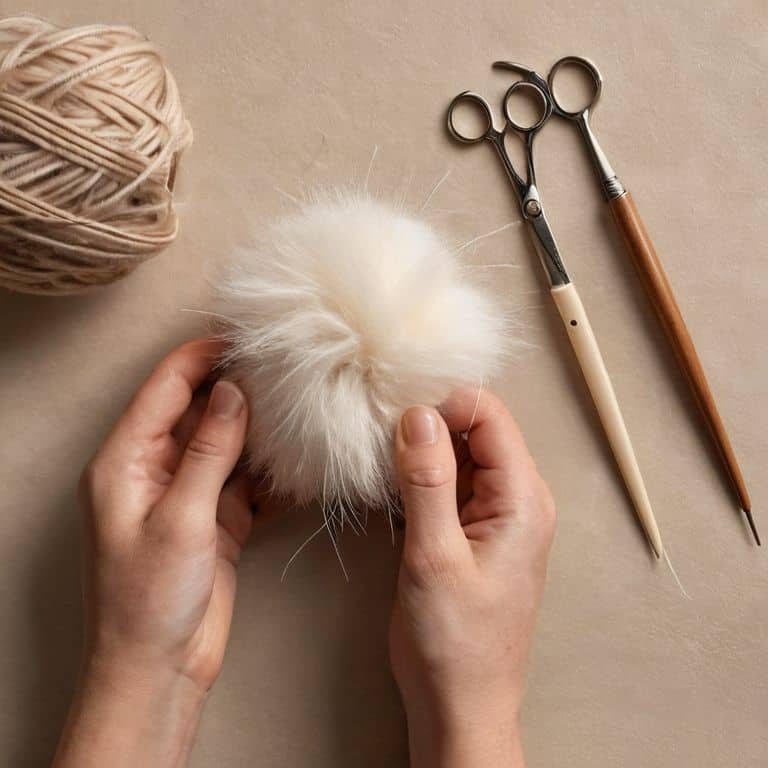
- 6. Now it’s time to fluff out our pom pom and give it some shape. Use your fingers or a soft brush to gently tease out the faux fur, working your way around the pom pom to create a nice, even texture. Don’t be afraid to get a little aggressive with the fluffing – it’s all part of the process.
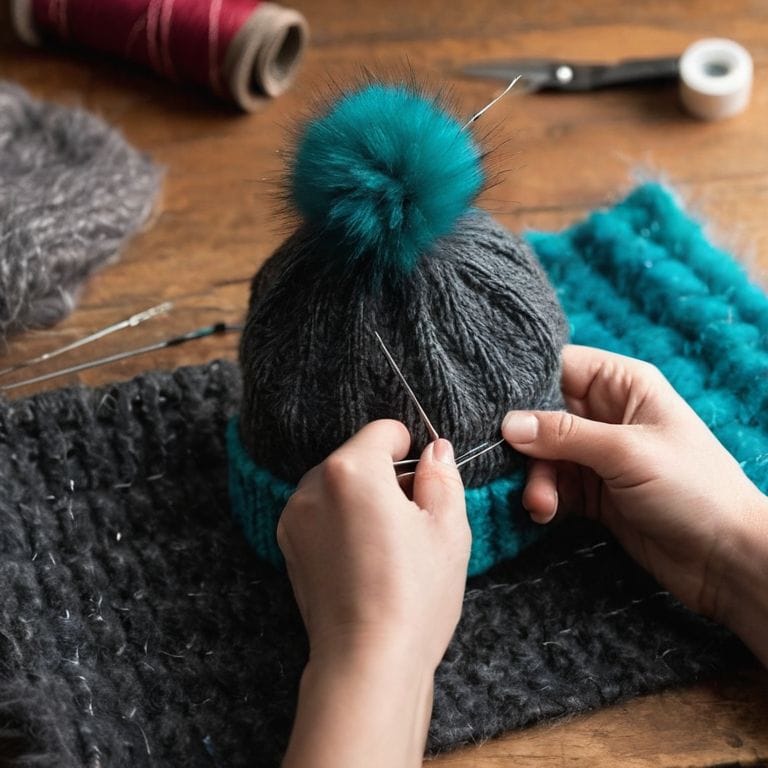
- 7. Finally, let’s attach our pom pom to the hat using a strong adhesive like hot glue or a needle and thread. Make sure the pom pom is securely attached and evenly balanced on the hat. With that, our faux fur pom pom is complete and ready to add a stylish touch to any hat.
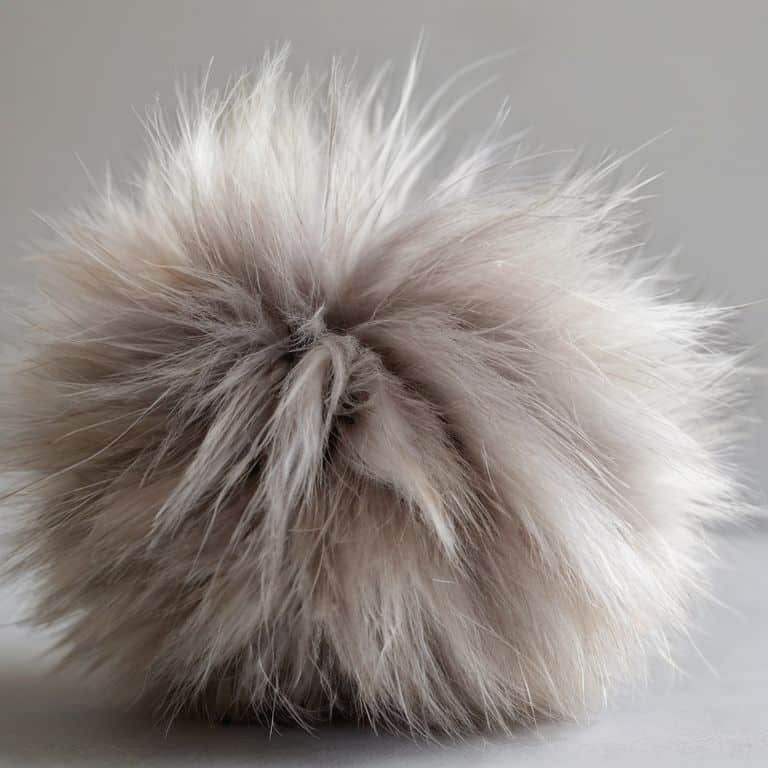
Crafting Faux Fur Pom Poms
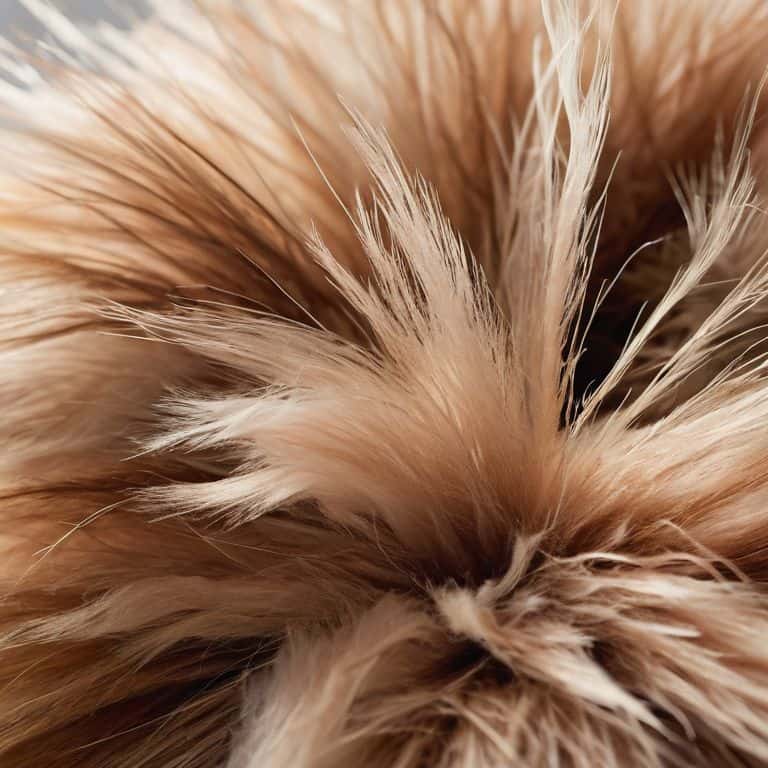
As I work on crafting faux fur pom poms, I always think about the texture and feel of the final product. To achieve a lush and full pom pom, it’s essential to use high-quality faux fur trim for hats. I like to experiment with different colors and lengths to create unique winter hat accessories DIY projects. When working with faux fur, it’s crucial to handle it gently to avoid matting or tangling.
When it comes to sewing with faux fur, I’ve learned a few tricks to make the process smoother. One of my favorite tips is to use a walking foot on my sewing machine, which helps guide the faux fur fabric and prevents it from slipping or bunching up. This is especially important when creating a fake fur ball decoration, where a smooth and even surface is key. By taking the time to prepare and handle the faux fur carefully, you can create beautiful and professional-looking hat embellishment ideas.
To add an extra touch to your faux fur pom pom, consider using a pom pom maker tutorial to help shape and fluff out the fibers. This will give your pom pom a more rounded and full appearance, making it the perfect finishing touch for your winter hat. With a little practice and patience, you can create stunning faux fur pom poms that will elevate your hat game and keep you cozy all season long.
Sewing Faux Fur Trim for Hats
Now that we’ve covered the basics of crafting faux fur pom poms, let’s talk about sewing faux fur trim for hats. This is where things get really exciting, as it adds a whole new level of texture and visual interest to your project. I love working with faux fur because it’s so versatile – you can use it to create everything from subtle, understated trim to bold, statement-making accents.
When sewing faux fur trim, it’s all about the details. Make sure to use a heavy-duty needle and a walking foot on your sewing machine to help guide the fabric smoothly. I also like to use a bit of steam to help the faux fur lie flat, which makes it easier to work with. With these tips and a little practice, you’ll be sewing like a pro in no time – and your hats will never look better.
Winter Hat Diy With Pom Pom Maker
Now that we’ve covered the basics of crafting faux fur pom poms, let’s talk about incorporating them into a winter hat DIY project. I love using my handmade pom pom maker to add a cozy touch to my wife’s favorite winter hats. With a few simple stitches, you can attach your freshly made pom pom to a beanie or slouch hat, giving it a unique and personalized flair.
To take it to the next level, try pairing your faux fur pom pom with other natural materials like wool or cotton. The combination of textures and colors will add depth and visual interest to your winter hat. Plus, the process of making your own pom pom and attaching it to a hat is a great way to get creative and enjoy the satisfaction of wearing something you made yourself.
Pom Pom Perfection: 5 Tips to Top Off Your Hat
- Choose the right faux fur: Pick a high-quality faux fur that’s soft, fluffy, and has a bit of texture to it – trust me, it makes all the difference in the end result
- Measure twice, cut once: Before you start cutting out your faux fur, make sure you’ve got the right size and shape for your pom pom – you don’t want it too big or too small for your hat
- Use the right tools for the job: Invest in a good pair of scissors, a rotary cutter, or a craft knife to get clean cuts and prevent fraying – it’s worth the extra cost, I promise
- Fluff it up: Once you’ve got your pom pom made, give it a good fluff to get all the fibers standing up and looking their best – it’s like bringing a little ball of joy to life
- Secure it safely: When attaching your pom pom to your hat, make sure you’re using a strong thread or yarn and tying it off tightly – you don’t want your masterpiece falling off at the worst possible moment
Key Takeaways for Crafting the Perfect Faux Fur Pom Pom
Choose the right faux fur that matches your hat’s style and color to ensure a cohesive look, and don’t be afraid to experiment with different textures and lengths to add personality to your project
Mastering the sewing technique for attaching the faux fur pom pom to your hat is crucial – make sure to use a strong thread and a needle that can handle the thickness of the fur for a secure and long-lasting finish
With a little patience and practice, you can create a faux fur pom pom that not only adds a stylish touch to your hat but also reflects your personal style and creativity, so don’t be discouraged if it takes a few tries to get it just right – the process is all part of the fun
Bringing It All Together: The Joy of Handmade Pom Poms
As we’ve walked through the process of creating a faux fur pom pom for a hat, it’s clear that the journey is just as important as the destination. From selecting the perfect faux fur to carefully sewing the pom pom into place, each step requires attention to detail and a willingness to get creative. By following these steps and experimenting with different materials and techniques, you’ll not only create a unique and eye-catching accessory, but also develop a deeper appreciation for the value of handmade craftsmanship.
So, the next time you’re thinking of adding a little something extra to your favorite hat, remember that the process of making a faux fur pom pom is just as rewarding as the end result. Don’t be afraid to get a little messy, try new things, and push the boundaries of what’s possible with your own two hands. With a little patience and practice, you’ll be creating beautiful, functional pieces that reflect your personal style and showcase the beauty of imperfect, handmade perfection.
Frequently Asked Questions
What type of faux fur is best to use for making a pom pom for a hat?
For a faux fur pom pom, I recommend using a high-quality, dense faux fur with a medium to long pile. This will give your pom pom a full, fluffy look. Look for faux fur specifically designed for crafting, like polyester or nylon blends. These will hold up well to trimming and shaping, and come in a variety of colors to match your hat.
How do I secure the faux fur pom pom to the hat without it falling off?
To keep your faux fur pom pom in place, I recommend using a strong thread or yarn to sew it onto the hat. You can also use a dab of hot glue for extra security. Just be sure to test the glue on a small, inconspicuous area first to avoid damaging the hat or pom pom.
Can I use a hot glue gun to attach the faux fur pom pom to the hat or are there better alternatives?
I’d recommend avoiding hot glue guns for this job, as they can damage the faux fur or the hat. Instead, try using a strong fabric adhesive or a needle and thread for a more secure and gentle attachment. This way, you’ll get a sturdy bond without compromising your materials.