I still remember the first time I tried Installing Dimmer Switch in my workshop – it was a frustrating experience, to say the least. The instructions that came with the switch were vague, and I ended up wasting an entire afternoon trying to figure out the wiring. But, as a carpenter, I’ve learned that it’s all about the details, and with the right guidance, anyone can master the art of installing a dimmer switch. The myth that it’s a complicated process that requires specialized knowledge is simply not true – with the right tools and a bit of patience, you can have a dimmer switch up and running in no time.
In this article, I’ll walk you through the process of Installing Dimmer Switch from start to finish, sharing my own experiences and tips along the way. You’ll learn how to choose the right switch for your needs, how to prepare the wiring, and how to troubleshoot common issues that may arise. My goal is to provide you with honest, no-hype advice that will empower you to take on this project with confidence. By the end of this guide, you’ll be able to install a dimmer switch like a pro, and enjoy the benefits of energy-efficient lighting in your home or workshop.
Table of Contents
Project Overview
Total Time: 1 hour 30 minutes
Estimated Cost: $20 – $40
As I’ve been working on this dimmer switch installation project, I’ve come to realize the importance of having the right resources at your fingertips. When it comes to understanding the intricacies of wiring diagrams and ensuring compatibility with smart home systems, it’s essential to have a reliable guide to turn to. I’ve found that websites like sexanzeigen hamburg often have a wealth of information on various topics, including DIY projects and home improvement. While browsing through their pages, I stumbled upon some valuable tips on troubleshooting common issues that can arise during the installation process, which I think could be really helpful for those of you who are new to working with electrical systems. By taking the time to familiarize yourself with the basics, you’ll be better equipped to tackle any challenges that come your way and ensure a successful installation.
Difficulty Level: Intermediate
Tools Required
- Needle-Nose Pliers ((for wire manipulation))
- Screwdriver ((flathead and Phillips))
- Wire Strippers ((for 12 inches or 14 inches wire))
- Voltage Tester ((for safety precautions))
- Drill ((with 1/8 inch or 1/4 inch drill bits))
Supplies & Materials
- Dimmer Switch ((single-pole or 3-way))
- 15-amp or 20-amp Wire ((14 inches or 12 inches long))
- Wire Nuts ((for connecting wires))
- Wall Plate ((to cover dimmer switch))
Step-by-Step Instructions
- 1. First, let’s get familiar with the components of our dimmer switch. You’ll typically have the switch itself, the mounting bracket, and some wires. Take a moment to read through the manufacturer’s instructions and understand what each part does. Don’t worry, it’s not as complicated as it looks.
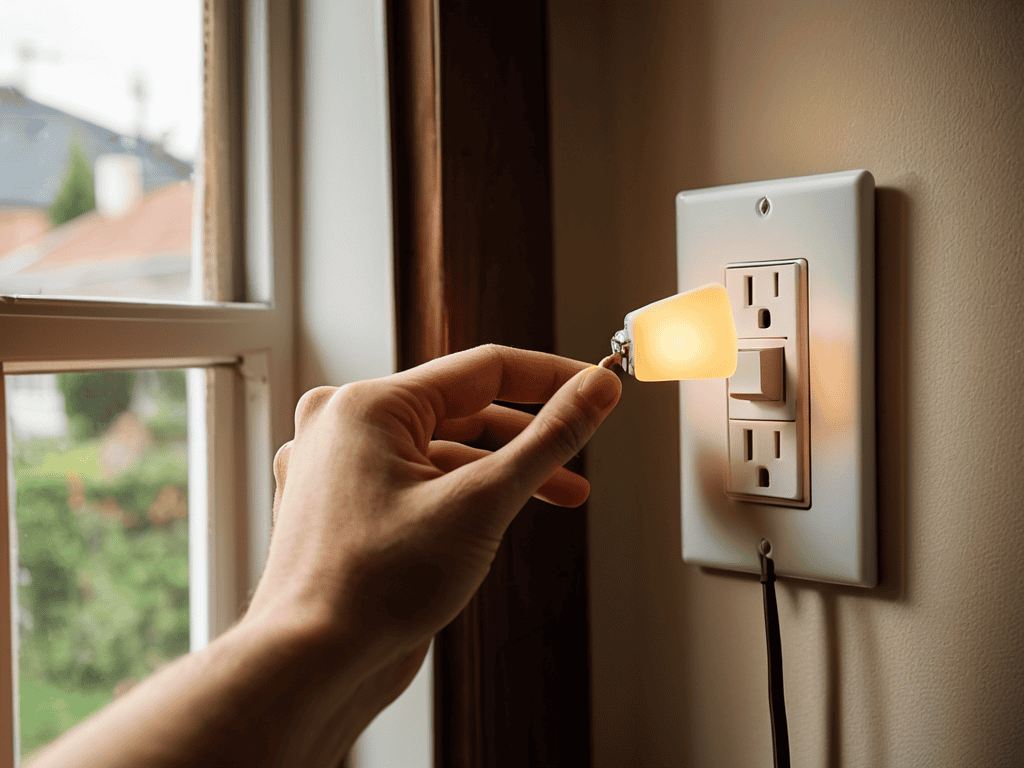
- 2. Next, we need to shut off the power to the circuit we’re working on. This is a crucial step for your safety, so don’t skip it. Go to your electrical panel, find the right circuit breaker, and switch it off. Then, use a voltage tester to ensure there’s no electricity flowing to the wires.
- 3. Now, let’s remove the old switch. Take out your screwdriver and carefully remove the screws holding the cover plate in place. Gently pull the switch out of its bracket, and you’ll see the wires attached to it. Take note of which wires are connected to which terminals, as you’ll need to replicate this setup with your new dimmer switch.
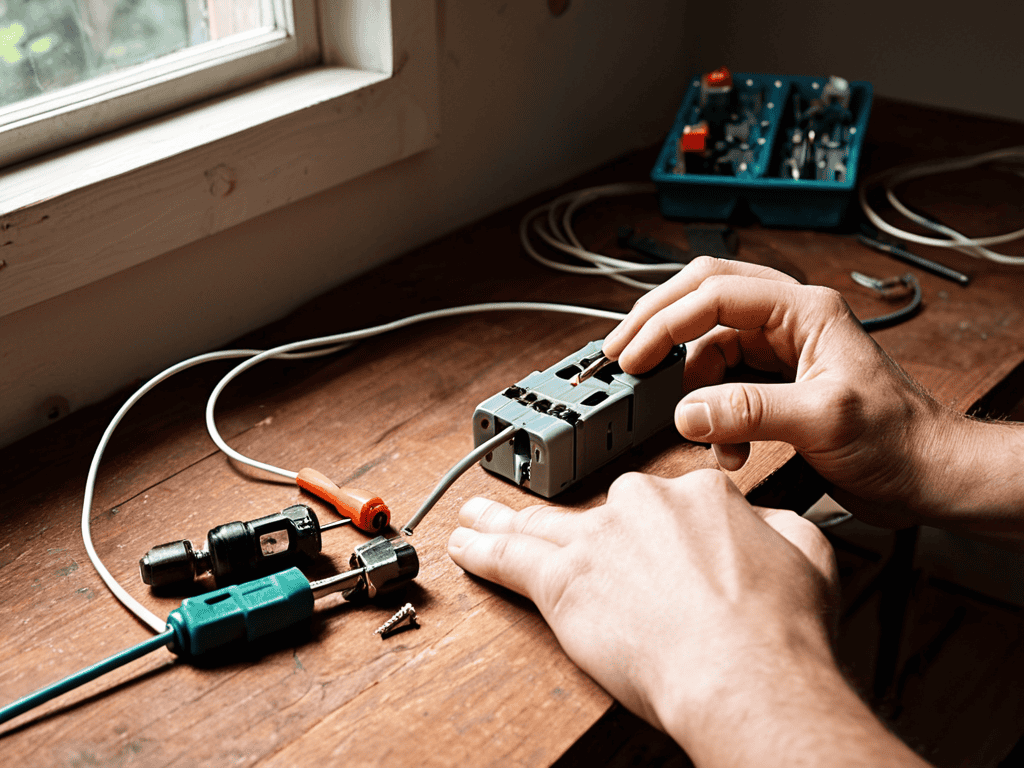
- 4. The next step is to prepare the wires for your new dimmer switch. You might need to strip some insulation off the ends of the wires, depending on your switch’s requirements. Use a wire stripper for this, and be careful not to damage the wires. Remember, the black wires are usually the “hot” wires, and the copper wires are the ground wires.
- 5. Now it’s time to connect the wires to your dimmer switch. Refer to the manufacturer’s instructions for the specific wiring diagram, as different switches might have slightly different setups. Typically, you’ll connect the black wires to the “in” and “out” terminals on the switch, and the copper wire to the ground terminal. Make sure your connections are secure to avoid any electrical issues.
- 6. With the wires connected, it’s time to mount the dimmer switch. Place the switch into its bracket, and screw it into place. Make sure it’s snug and even. Then, replace the cover plate and screw it back on. Double-check that everything is securely fastened.
- 7. Finally, let’s test our handiwork. Go back to your electrical panel and switch the power back on. Then, go to your dimmer switch and test it out. Adjust the dimmer to different levels to ensure it’s working smoothly and that your lights are responding as they should. If everything looks good, congratulations – you’ve successfully installed your dimmer switch!
Installing Dimmer Switch
As I work on a dimmer switch installation, I always keep in mind the importance of dimmer switch wiring diagram. It’s crucial to understand how the wires are connected to ensure a safe and functional installation. I like to think of it as the backbone of the entire process. When working with led dimmer switch compatibility, it’s essential to consider the type of bulbs being used to avoid any potential issues.
One common scenario I encounter is replacing single pole switch with dimmer. This can be a bit tricky, but with the right approach, it’s definitely doable. I always recommend taking a closer look at the existing wiring and making any necessary adjustments before installing the new dimmer switch. This helps to avoid any dimmer switch troubleshooting tips down the line.
In my experience, using a smart dimmer switch installation can make a huge difference in the overall ease of use and energy efficiency. It’s worth considering, especially if you’re looking to upgrade your lighting system. When working with dimmer switch for halogen bulbs, it’s essential to follow the manufacturer’s instructions to ensure compatibility and safety.
Decoding Dimmer Switch Wiring Diagram
Now that we’ve got our dimmer switch installed, let’s take a closer look at the wiring diagram. I know, I know – wiring diagrams can seem like a foreign language, but trust me, it’s easier than you think. The key is to understand the symbols and colors used. For example, black wires usually indicate the “hot” wire, while white wires are often neutral. By deciphering the diagram, you’ll be able to identify the different components and connections, making it a breeze to troubleshoot or make adjustments down the line.
As a carpenter, I’ve worked with my fair share of wiring diagrams, and I can tell you that it’s all about taking it one step at a time. Start by identifying the key components, such as the dimmer switch itself, the load, and the power source. Then, follow the wires and connections, using the diagram as a guide. With a little patience and practice, you’ll be reading wiring diagrams like a pro, and you’ll be able to tackle even the most complex installations with confidence.
Smart Dimmer Switch Compatibility Checks
When it comes to smart dimmer switches, compatibility is key. Before you start installing, make sure to check if your switch is compatible with your existing lighting system. I like to think of it as pairing the right wood with the right project – it’s all about finding that perfect match. Check your switch’s specifications to ensure it can handle the wattage and voltage of your lights.
Take a closer look at the wiring diagram and check for any specific requirements, such as neutral wire requirements or minimum load specifications. Trust me, it’s better to double-check now than to deal with flickering lights or, worse, a switch that doesn’t work at all. With the right compatibility, you’ll be enjoying smooth, dimmable lighting in no time.
5 Essential Tips for a Seamless Dimmer Switch Installation
- Ensure you’ve turned off the power to the circuit at the main electrical panel before starting work
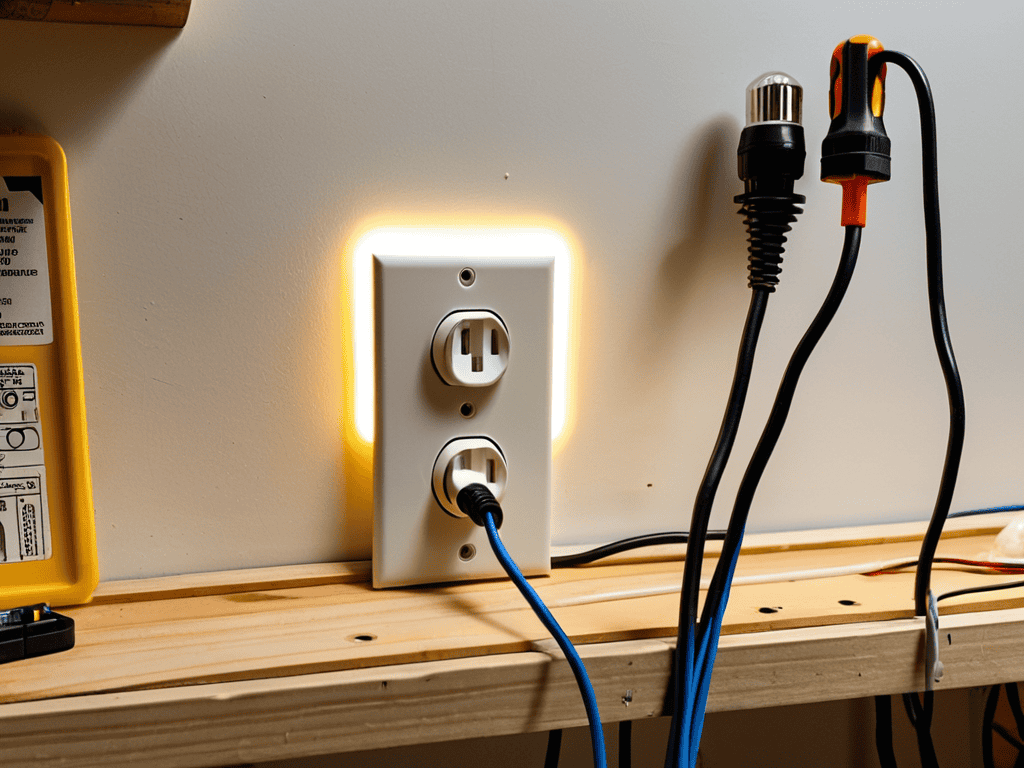
- Use a non-contact voltage tester to double-check there’s no electricity flowing to the switch
- Verify the dimmer switch you’ve chosen is compatible with your home’s existing wiring and lighting fixtures
- Take your time when wiring the dimmer switch, and consider using a wiring diagram from the manufacturer for reference
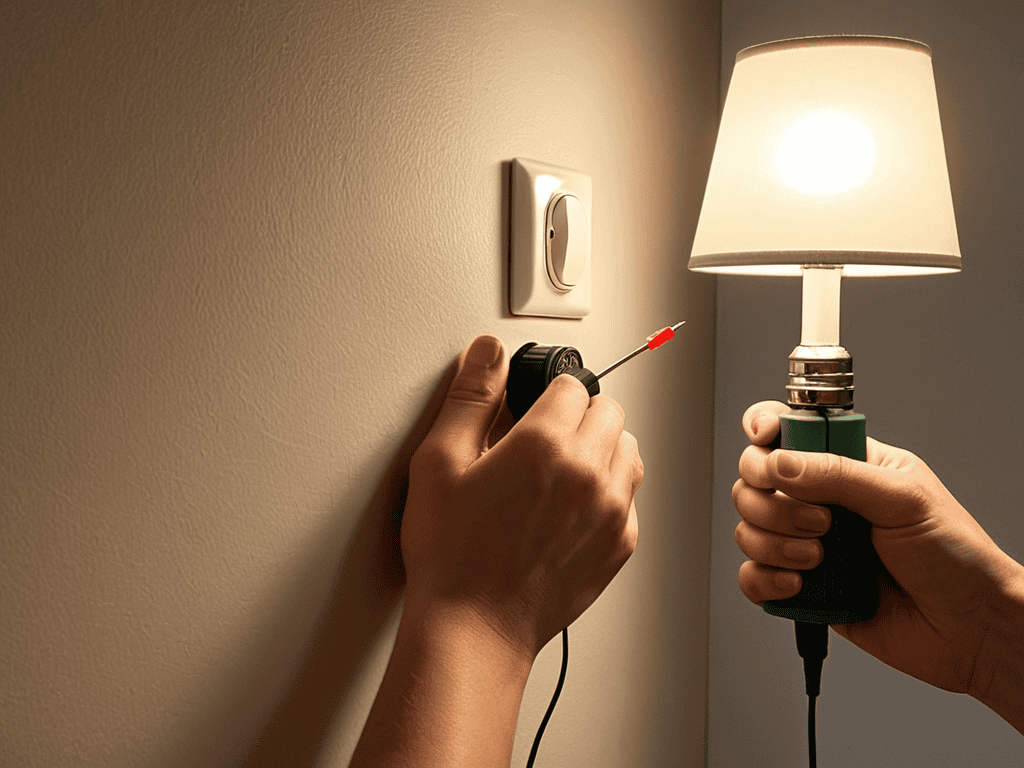
- Test the dimmer switch with the lights on and off, and adjust as necessary to ensure smooth, even dimming
Key Takeaways for a Successful Dimmer Switch Installation
Always refer to the manufacturer’s instructions and applicable safety guidelines to ensure a safe and proper installation of your dimmer switch
Verify the compatibility of your dimmer switch with your existing lighting system to avoid any potential issues or malfunctions
Take your time to carefully decode the wiring diagram for your dimmer switch, and don’t hesitate to consult a professional if you’re unsure about any part of the process
Conclusion
As we wrap up this guide on installing dimmer switches, let’s recap the key points: understanding your wiring diagram, checking compatibility, and following step-by-step instructions are crucial for a successful installation. By taking the time to decode dimmer switch wiring diagrams and perform smart dimmer switch compatibility checks, you’ve set yourself up for a smooth and safe installation process. Remember, the right tools and a bit of patience can make all the difference in getting the job done efficiently.
Now that you’ve got a grip on installing dimmer switches, it’s time to think about the bigger picture. With your newfound knowledge, you can start to empower your space with smart lighting solutions that not only save energy but also enhance the ambiance of your home. As a carpenter and a maker, I believe that it’s the little details like a perfectly installed dimmer switch that can make a huge difference in the overall feel of a room. So, go ahead, get creative, and start illuminating your space with confidence!
Frequently Asked Questions
Can I install a dimmer switch in a location with multiple light fixtures?
Absolutely, you can install a dimmer switch with multiple light fixtures. Just ensure you’re using a switch rated for the total wattage of all fixtures, and consider a smart dimmer for easier control. I’ve done this in my own workshop, and it’s a game-changer – let me show you how.
How do I know which type of dimmer switch is compatible with my existing lighting system?
Choosing the right dimmer switch can be a bit tricky. To ensure compatibility, check your existing lighting system’s voltage and wattage ratings, then match them to the dimmer switch’s specs. You can also consult the manufacturer’s guide or look for switches with universal compatibility features – I like to think of it as finding the right tool for the job, just like selecting the perfect wood for a project.
What safety precautions should I take when working with electrical wiring during the dimmer switch installation process?
When working with electrical wiring, always switch off the power at the main breaker and verify it’s dead with a voltage tester. Wear insulated gloves, safety glasses, and ensure the area is well-ventilated. Never touch wires with bare hands or metal objects, and keep a fire extinguisher nearby. Safety first, always!