I still remember the first time my wife, an avid weaver, asked me to help her create a dense pom pom for one of her projects. She wanted to use a fork to make it, and I was skeptical at first, but after some trial and error, we figured out how to make a dense pom pom with a fork. It was a game-changer for her crafts, and I was excited to have been a part of it. As a carpenter and custom tool maker, I’ve always been fascinated by the intersection of woodworking and fiber arts. I’ve found that having the right tools and techniques can make all the difference in creating something truly special.
In this article, I’ll share my expertise on how to make a dense pom pom with a fork, and provide you with practical advice on how to get started. You’ll learn the simple, yet effective techniques for creating lush, full pom poms using just a fork and some yarn. I’ll walk you through the process step-by-step, and offer tips and tricks for getting the best results. Whether you’re a seasoned crafter or just starting out, this guide will give you the confidence to create beautiful, dense pom poms with ease. So, let’s get started and see how easy it is to make a stunning pom pom with just a fork!
Table of Contents
Guide Overview: What You'll Need
Total Time: 30 minutes to 1 hour
Estimated Cost: $5 – $10
Difficulty Level: Easy
Tools Required
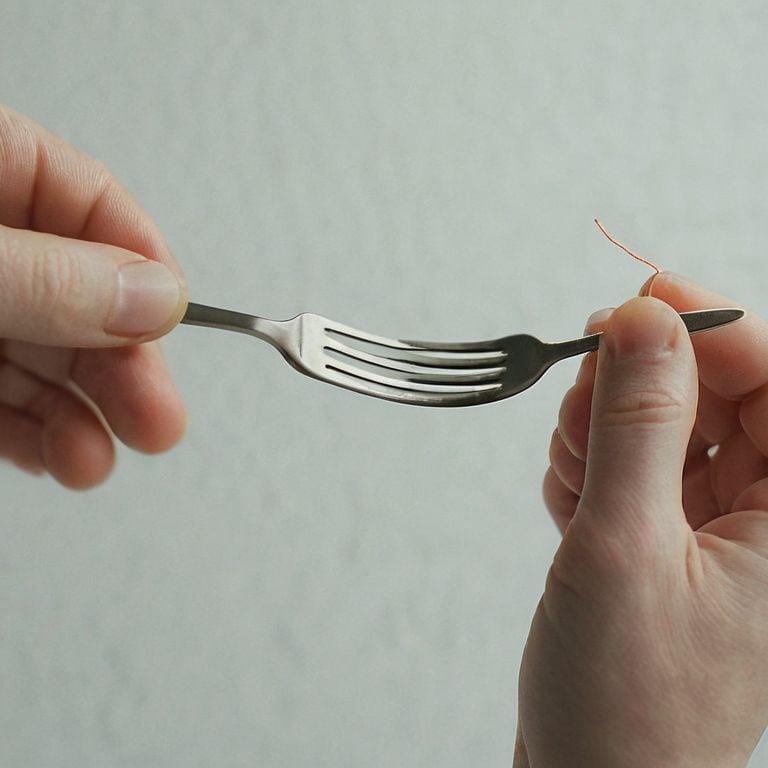
- Fork (a dinner fork or a fork with sturdy tines)
- Scissors (sharp and dedicated to cutting yarn)
Supplies & Materials
- Yarn choose a color and type of your preference, thicker yarns work better for dense pom poms
- String or twine for hanging the pom pom, optional
Step-by-Step Instructions
- 1. First, let’s start by preparing our materials: we’ll need a fork, some yarn of our choice, and a pair of scissors. I like to use a natural fiber yarn for my pom poms, as it gives them a nice texture and feel. Make sure your yarn is not too tangled, as this will make the process much easier.
- 2. Next, we need to create a yarn bundle: cut a length of yarn, about 2-3 times the size of the pom pom you want to create. The key here is to have enough yarn to wrap around the fork tines comfortably, without it being too bulky. I find that using a mix of yarn weights can add some interesting texture to our pom pom.
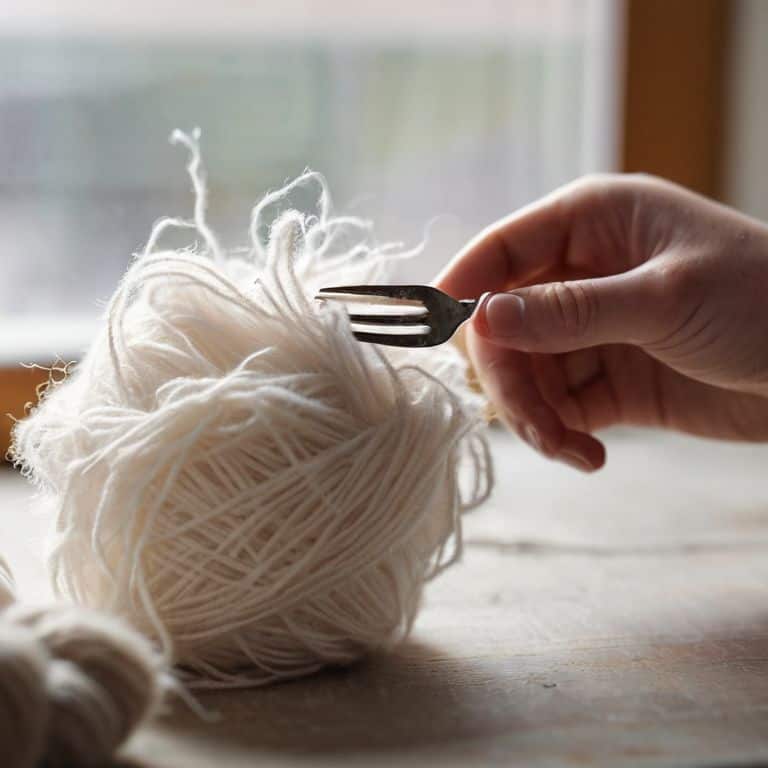
- 3. Now, let’s wrap the yarn around the fork: take one of the fork tines and start wrapping the yarn around it, moving from the base of the tine towards the tip. Make sure to keep the tension even, as this will affect the density of our pom pom. I like to use a gentle touch when wrapping the yarn, to avoid any tangles or knots.
- 4. Continue wrapping the yarn until you’ve covered the entire length of the fork tine. You should start to see the pom pom take shape, with the yarn puffing out from the center. Be careful not to overwrap, as this can make the pom pom too dense and difficult to work with.
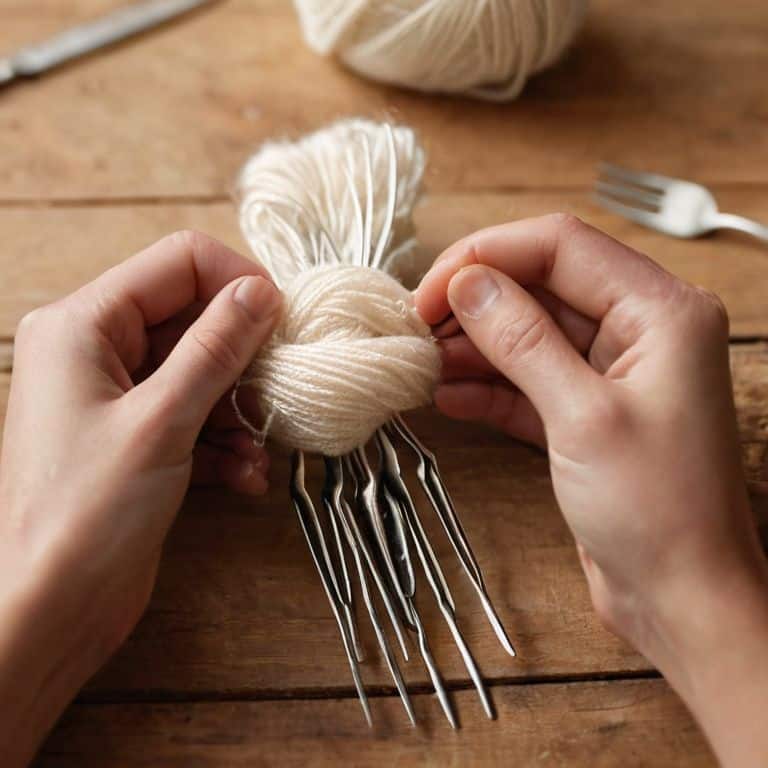
- 5. Once you’ve finished wrapping the yarn, slide the pom pom off the fork: gently pull the yarn bundle off the fork tine, taking care not to disturb the yarn fibers. You should now have a loose pom pom shape starting to form.
- 6. To secure the pom pom, use a piece of yarn to tie a knot around the center of the bundle. Make sure the knot is tight enough to hold the pom pom in place, but not so tight that it cuts off the yarn fibers. I like to use a simple knot, as it’s easy to adjust and won’t leave any bulky residue.
- 7. Finally, trim the excess yarn: use your scissors to trim the edges of the pom pom, shaping it into a sphere. Be careful not to cut too much yarn, as this can make the pom pom look uneven. With a little practice, you should be able to create a perfectly round pom pom using just a fork and some yarn.
Twirling Up Dense Pom Poms
As I work on twirling up these dense pom poms, I’m reminded of the importance of using the right yarn. The type and weight of the yarn can greatly affect the final result, and I’ve found that a good quality yarn with a bit of texture is perfect for creating lush and full pom poms. When it comes to yarn pom pom sizes, it’s all about experimentation and finding the right balance for your project.
One of my favorite things about making pom poms is the versatility of the finished product. You can use them to create adorable handmade pom pom accessories, like hair clips or bag charms, or add them to baby hats for a cute and playful touch. I’ve even used them to embellish my wife’s handmade spinning wheels, adding a pop of color and texture to the finished piece. The fork pom pom technique is surprisingly easy to master, and with a bit of practice, you can create a wide range of sizes and styles.
To take your pom pom game to the next level, try experimenting with different dense pom pom tricks, like layering multiple pom poms or using different yarn weights to create a marbled effect. This is a great easy yarn craft for kids to get involved in, and with a little supervision, they can create their own unique pom pom accessories. By following these tips and practicing your fork pom pom technique, you’ll be well on your way to creating beautiful, professional-looking pom poms that will add a special touch to any project.
Fork Pom Pom Technique Uncovered
Now that we’ve got the basics down, let’s dive into the nitty-gritty of the fork pom pom technique. I’ve found that the key to creating a truly dense pom pom is all about the twirling motion. You want to wrap the yarn around the fork in a consistent, evenly-spaced manner, then use a gentle yet firm twist to start forming the pom pom. As you twist, the yarn will start to fluff out and take shape – it’s mesmerizing to watch, and really satisfying to feel the pom pom come together in your hands.
The trick is to keep the tension even, so the pom pom doesn’t end up lopsided or sparse. With a little practice, you’ll get a feel for just the right amount of twist and tension to create a lush, full pom pom. I love experimenting with different yarn weights and colors to see how they affect the final texture and appearance of the pom pom.
Yarn Pom Pom Sizes for Baby Hats
When it comes to baby hats, the size of the pom pom can make or break the overall look. I’ve found that smaller pom poms, around 1-2 inches in diameter, work perfectly for newborn hats, while slightly larger ones, around 2-3 inches, are better suited for older babies. The key is to balance the size of the pom pom with the size of the hat, so it doesn’t overwhelm the overall design.
For my wife’s knitting projects, I’ve made pom poms in various sizes to match different hat patterns. We’ve settled on a few favorite sizes that seem to work well for most baby hats. By experimenting with different yarn weights and fork sizes, you can achieve the perfect pom pom size for your project.
5 Essential Tips for Crafting the Perfect Dense Pom Pom with a Fork
- Dive into the world of dense pom poms by selecting the right yarn – look for something with a bit of texture and a medium to high pile, it makes all the difference in the end result
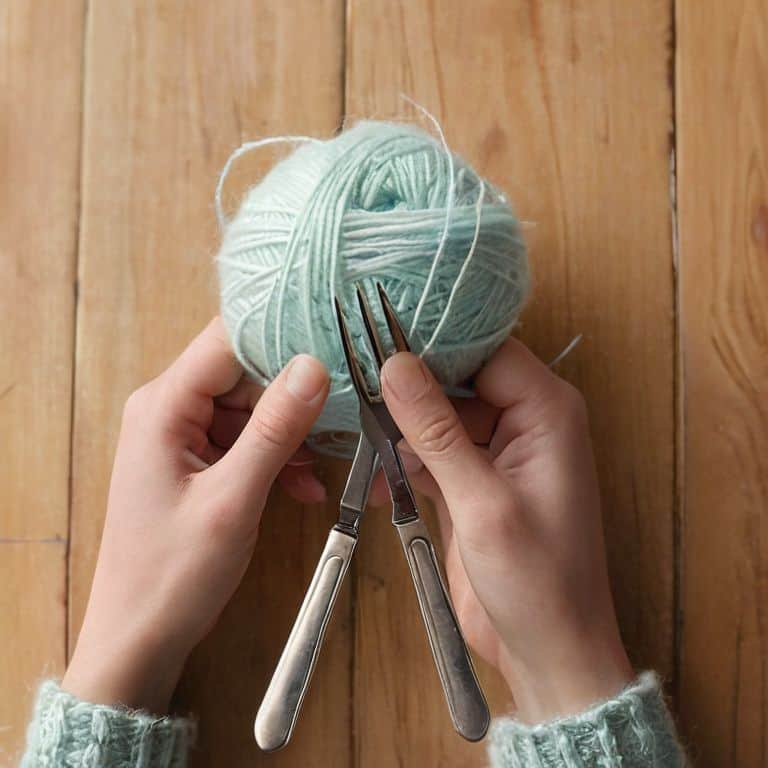
- Experiment with different fork sizes to achieve varying densities – a regular dinner fork is great for most projects, but a salad fork or even a fork with wider tines can add some exciting variations to your pom poms
- Master the twirl – it’s all about wrapping the yarn around the fork in a consistent pattern, try to maintain the same tension and overlap to ensure your pom pom turns out full and even
- Don’t be afraid to get a little aggressive when cutting the yarn – a sharp pair of scissors and a bit of confidence can make the difference between a lackluster pom pom and one that’s truly lush and inviting
- Finish your pom pom with a strong string or twine – this will help keep all the yarn in place and prevent it from coming undone, especially if you plan on using it for a baby hat or another project where it might get handled frequently
Key Takeaways for Making Dense Pom Poms with a Fork
By using a fork and the right yarn, you can create dense pom poms that add a professional touch to your fiber arts projects, from baby hats to home decor items
With a little practice, the fork pom pom technique can become second nature, allowing you to quickly and easily produce pom poms in various sizes to suit your creative needs
Remember, the key to achieving dense pom poms is not just about the tool, but also about the quality of the yarn and the technique used, so don’t be afraid to experiment and find the perfect combination for your projects
Wrapping Up Your Pom Pom Project
As we’ve explored the world of dense pom poms made with a fork, it’s clear that with a few simple steps and the right technique, you can create beautiful, fluffy accents for your projects. From the initial wrapping of the yarn around the fork to the final trimming and fluffing, each step plays a crucial role in achieving the perfect pom pom. Whether you’re making them for baby hats, as discussed in our Yarn Pom Pom Sizes for Baby Hats section, or for other decorative purposes, the process remains largely the same, with adjustments in yarn size and color being the primary variations.
As you put down your fork and step back to admire your handmade pom poms, remember that the joy of making lies not just in the end result, but in the process itself. The act of creating something with your own hands, from scratch, is a powerful reminder of your capability and creativity. So, don’t be afraid to experiment with different yarns, colors, and sizes, and to push the boundaries of what you thought was possible with a simple fork and some yarn. Happy crafting!
Frequently Asked Questions
What type of yarn works best for creating dense pom poms with a fork?
For dense pom poms, I swear by yarns with a bit of texture and grip. Look for medium-weight yarns with a mix of fibers like wool, alpaca, or cotton. These will hold their shape and create a lush, full pom pom. Avoid super-soft or too-slippy yarns, as they can be tricky to work with. Trust me, the right yarn makes all the difference!
How do I prevent the fork from getting tangled in the yarn while making a pom pom?
To avoid tangles, I like to wrap my yarn around the fork in a consistent pattern, then gently slide it off to form the pom pom. You can also try using a fork with thicker tines or wrapping your yarn in smaller sections to minimize knots. Works like a charm!
Can I use a fork with a different number of tines to create varying sizes of dense pom poms?
Absolutely, experiment with forks of different tine counts to create varying pom pom sizes. A fork with more tines will yield a denser, smaller pom pom, while one with fewer tines will produce a larger, looser one. Give it a try and see what unique textures you can achieve!