I still remember the first time I tried to learn how to crochet a blanket – I was frustrated with the complicated patterns and stiff instructions that made me feel like I was stuck in a creative rut. But then I discovered the joy of making something with my own hands, and it changed everything. I realized that crocheting a blanket isn’t just about following a recipe, it’s about creating a piece of art that reflects your personality and style. As I delved deeper into the world of crochet, I found that the most beautiful blankets are the ones that are imperfect, the ones that tell a story.
In this article, I’ll share my honest, no-nonsense advice on how to crochet a blanket that’s truly unique and special. I’ll walk you through the process, from choosing the right yarn to adding your own personal touches, and I’ll show you that it’s okay to make mistakes and try new things. My goal is to inspire you to pick up a hook and some yarn, and to let your imagination run wild. By the end of this article, you’ll have the confidence to create a one-of-a-kind blanket that reflects your personality and style, and you’ll be hooked (pun intended!) on the joy of making something with your own hands.
Table of Contents
Guide Overview: What You'll Need
Total Time: 10 hours 30 minutes
Estimated Cost: $50 – $100
Difficulty Level: Intermediate
Tools Required
- Crochet Hook Size J or K
- Tapestry Needle For weaving in ends
- Scissors For cutting yarn
- Stitch Markers Optional, for marking patterns
Supplies & Materials
- Medium-Weight Yarn Approximately 300-500 yards
- Yarn Needle For sewing seams
- Measuring Tape For measuring blanket size, in inches
- Stitch Dictionary or Pattern For reference and guidance
Step-by-Step Instructions
- 1. First, let’s get started with the basics – choosing the right yarn. This is where the magic happens, and your blanket starts to take shape. I always say, the yarn is the heart of the project, so pick something that speaks to you, whether it’s a soft pastel, a vibrant neon, or a classic neutral. Consider the season, the room, and your personal style when making your selection.
- 2. Next, we need to prepare our tools. You’ll need a crochet hook, scissors, and a tapestry needle for weaving in ends. I like to keep my hooks in a colorful vase on my crafting table, and my scissors are always within arm’s reach. Make sure your hook is the right size for your yarn, and don’t be afraid to experiment with different materials – I’ve even used wooden and bamboo hooks for a more organic feel.
- 3. Now, let’s talk about gauge. This is the part where some people might get a little nervous, but trust me, it’s easier than you think. Gauge is simply the measure of how tightly or loosely you crochet. To check your gauge, crochet a small swatch, then count the number of stitches and rows within a certain measurement. This will ensure that your blanket turns out the right size.
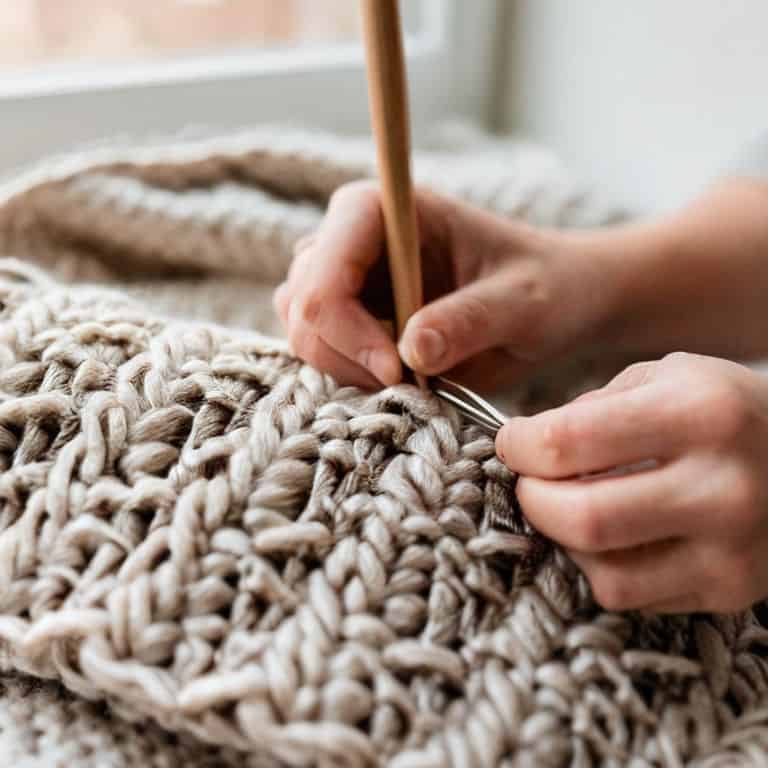
- 4. With our gauge in check, it’s time to start crocheting the foundation of our blanket. This usually involves creating a chain of stitches that will form the base of your project. I like to use a slip stitch to join my chain, as it creates a neat and tidy edge. Don’t worry if your chain is a little wonky – it’s all part of the charm.
- 5. Next up, we have the body of the blanket. This is where you get to relax and enjoy the rhythmic motion of crocheting. Choose a stitch pattern that you love – I’m a big fan of the herringbone stitch for its modern, textured look. Remember, the key to a beautiful blanket is consistency, so try to maintain a steady tension as you work.
- 6. As we work on the body of the blanket, it’s essential to keep track of our rows. You can use a row counter, a piece of paper, or even a mobile app to keep yourself organized. I like to use a sticky note on my crafting table, as it’s easy to update and doesn’t get in the way. Don’t be too hard on yourself if you make a mistake – it’s all part of the process.
- 7. Once you’ve completed the body of the blanket, it’s time to add a border. This is where you can get really creative and add some personality to your project. I love using a shell stitch or a bobble stitch to create a decorative edge. Remember to block your blanket after it’s complete, as this will even out the stitches and give your project a professional finish.
How to Crochet a Blanket
As we dive into the world of crochet, it’s essential to consider the yarn weight and fiber that will bring your blanket to life. Choosing the right yarn can make all the difference in the texture and warmth of your finished product. For beginners, I recommend exploring crochet blanket patterns for beginners that incorporate soft, medium-weight yarns. These patterns often feature simple stitches and forgiving yarns, perfect for those new to crochet.
When it comes to creating a unique and personalized blanket, corner to corner crochet techniques can be a game-changer. This method allows you to work in a diagonal direction, creating a beautiful, textured fabric. For a classic look, you can’t go wrong with granny square variations for blankets. These timeless patterns are perfect for using up scrap yarn and adding a touch of vintage charm to your blanket.
As you work on your blanket, don’t forget to check your progress with a blanket size calculator for crochet projects. This handy tool will help you ensure your blanket is the perfect size for snuggling up on the couch. Whether you’re a left-handed crocheter or just looking for a refresher, be sure to check out crochet stitch tutorials to help you master the stitches and techniques needed to bring your blanket to life.
Choosing the Right Yarn Matters
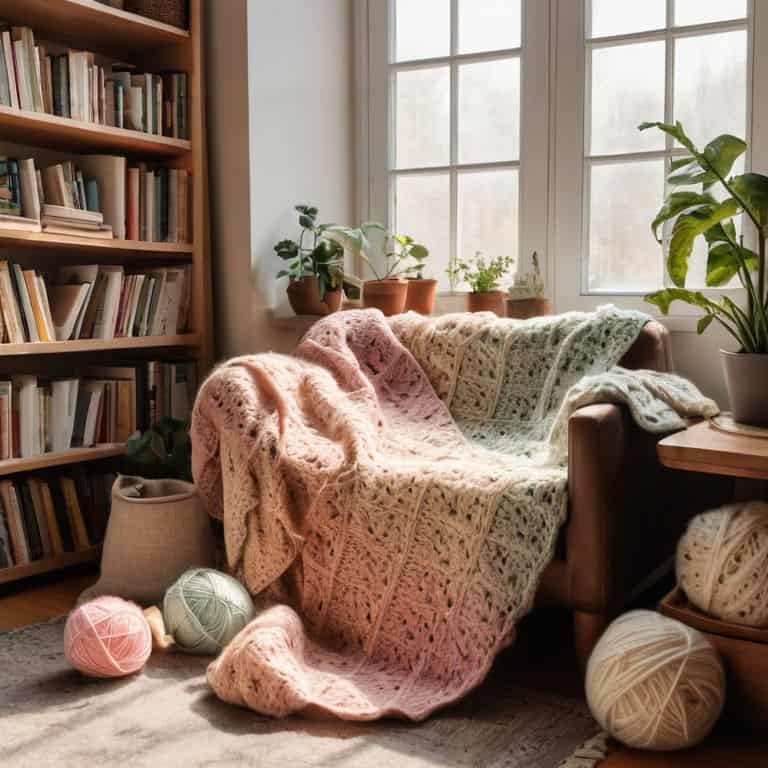
When it comes to crochet, the yarn you choose can make or break the entire project. I like to think of yarn as the personality of my blanket – it sets the tone for the whole vibe. For a cozy blanket, I recommend reaching for something soft and chunky, like a merino wool or a bulky acrylic blend. These yarns will give your blanket a plush, snuggly texture that’s perfect for curling up on the couch. Plus, they work up quickly, which is a bonus for impatient crafters like me!
Crochet Blanket Patterns for Beginners
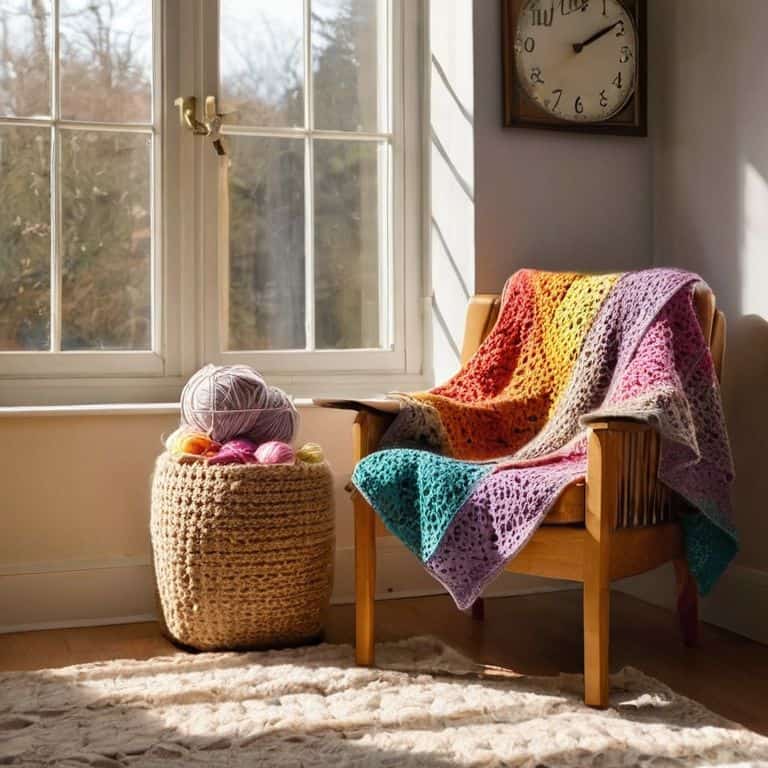
Now that we’ve got the basics covered, let’s dive into some fun patterns perfect for beginners. I just adore the simplicity of a classic chevron design – it’s modern, trendy, and incredibly easy to create. Another fave of mine is the herringbone pattern; it adds a lovely texture to your blanket and is a great way to practice working with two colors. If you’re feeling adventurous, you could even try your hand at a beautiful, ombre-inspired gradient blanket – the result is absolutely stunning and makes for a unique conversation piece in any room.
Hooked to Perfection: 5 Essential Tips for Crocheting a Unique Blanket
- Let your yarn choices reflect your personality – don’t be afraid to mix and match colors and textures for a truly one-of-a-kind blanket
- Start with a foundation that feels right to you, whether that’s a simple chain or a more complex stitch pattern – it’s all about setting the tone for your creative journey
- Don’t stress about mistakes – they’re an opportunity to add character to your blanket and make it even more special
- Experiment with different hook sizes and yarn weights to achieve the perfect drape and texture for your cozy masterpiece
- Remember, the most important thing is to have fun and enjoy the process – your blanket will be a reflection of your love and creativity, imperfections and all
Three Essential Reminders for Your Crochet Journey
Always remember, the beauty of crochet lies in its imperfections – don’t be too hard on yourself if your stitches aren’t perfect, it’s all part of the charm
Experiment with different yarns and colors to make your blanket truly one-of-a-kind, reflecting your personality and style
Most importantly, have fun and enjoy the process of creating something with your own hands – the journey is just as valuable as the finished product
The Heart of Crochet
As you weave each stitch, remember that it’s not just about creating a blanket, but about wrapping your loved ones in a piece of yourself, a tangible expression of love and warmth that only handmade can bring.
Ruby Warren
Wrapping Up Your Crochet Journey
As we’ve explored the world of crochet blankets together, I hope you’ve picked up on the importance of choosing the right yarn and how it can make or break the look and feel of your finished product. We’ve also delved into various crochet blanket patterns for beginners, giving you a solid foundation to start creating your own unique pieces. Remember, the key to mastering the craft is practice, patience, and a willingness to experiment and make it your own. Don’t be afraid to add your personal touch to each project, whether it’s through color choices, stitch variations, or the addition of other decorative elements.
As you finish your first crochet blanket, I want to leave you with a final thought: the true beauty of handmade lies in its imperfections. It’s the slight unevenness, the occasional missed stitch, or the personalized touches that make each piece truly special. So, don’t strive for perfection; instead, embrace the joy of creating something with your own hands. With every stitch, you’re not just making a blanket – you’re crafting a story, a piece of yourself that will be treasured for years to come. Happy hooking, and I look forward to seeing the amazing creations you’ll make!
Frequently Asked Questions
What type of stitch pattern is best for a beginner to use when crocheting a blanket?
For a beginner, I adore the simple yet cozy single crochet (sc) or half double crochet (hdc) stitch patterns. They’re easy to learn, work up quickly, and create a beautiful, textured fabric that’s perfect for a blanket. Plus, they’re super forgiving, so don’t worry if your stitches are a bit wonky – it’s all part of the charm!
How do I know how much yarn to buy for a blanket of a certain size?
Oh, sweet question! To figure out how much yarn you’ll need, consider the blanket’s size, the yarn’s weight, and the stitch pattern. A general rule of thumb is to estimate about 300-400 yards of yarn for a small blanket, but it really depends on the specifics. Let’s get calculating, shall we?
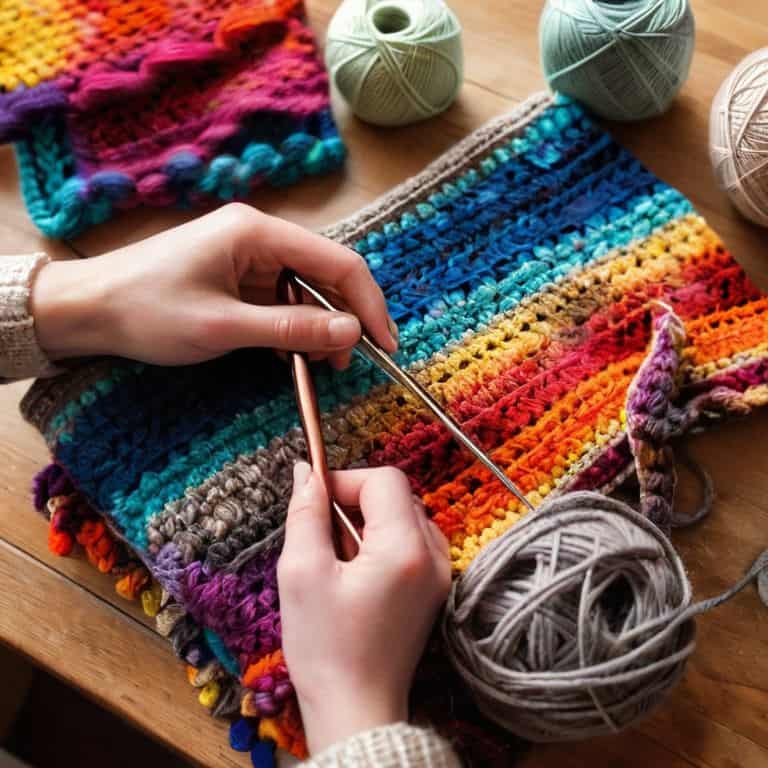
Can I use multiple colors in a single blanket and if so, how do I transition between them seamlessly?
Absolutely, darling! You can totally rock multiple colors in one blanket. To transition seamlessly, try using a gradual ombre effect or a simple stripe pattern. You can also carry the yarn up the side of the work to avoid weaving in ends. I like to think of it as a fun, colorful adventure – just remember, it’s all about the flow, baby!