I still remember the first time I tried to learn how to do the purl stitch – I was frustrated and felt like I was all thumbs. A well-meaning friend had assured me it was easy, but as I sat there, yarn and needles in hand, I couldn’t help but think that there must be a simpler way to explain it. The tutorials I found online seemed to gloss over the details, assuming I already knew the basics, and I ended up with a mangled mess of stitches. It wasn’t until I broke down the process into smaller, manageable steps that it finally clicked.
In this article, I’ll share my own approach to mastering the purl stitch, one that I’ve refined over years of teaching and guiding students through the process. You’ll get practical, step-by-step advice on how to do the purl stitch with confidence, without any confusing jargon or assumptions about your prior knowledge. By the end of this guide, you’ll be able to create smooth, even stitches like a pro, and you’ll have the skills to tackle more complex projects with ease. My goal is to make the learning process as smooth and enjoyable as possible, so you can focus on the joy of creating something beautiful with your own hands.
Table of Contents
Guide Overview: What You'll Need

Total Time: 30 minutes to 1 hour
Estimated Cost: $0 – $10
Difficulty Level: Easy
Tools Required
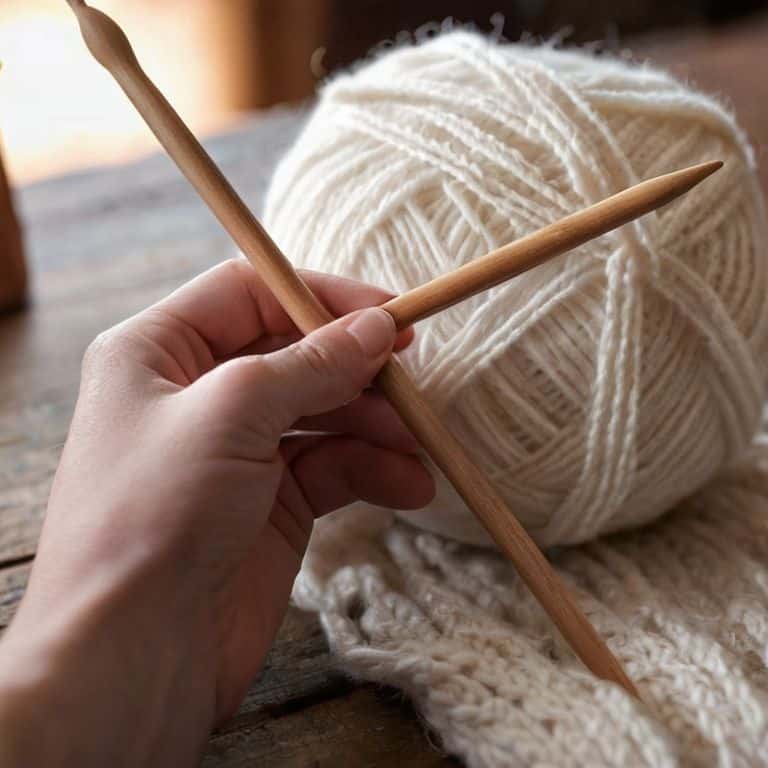
- Knitting Needles US size 8 or preferred size
Supplies & Materials
- Yarn of chosen color and weight
Step-by-Step Instructions
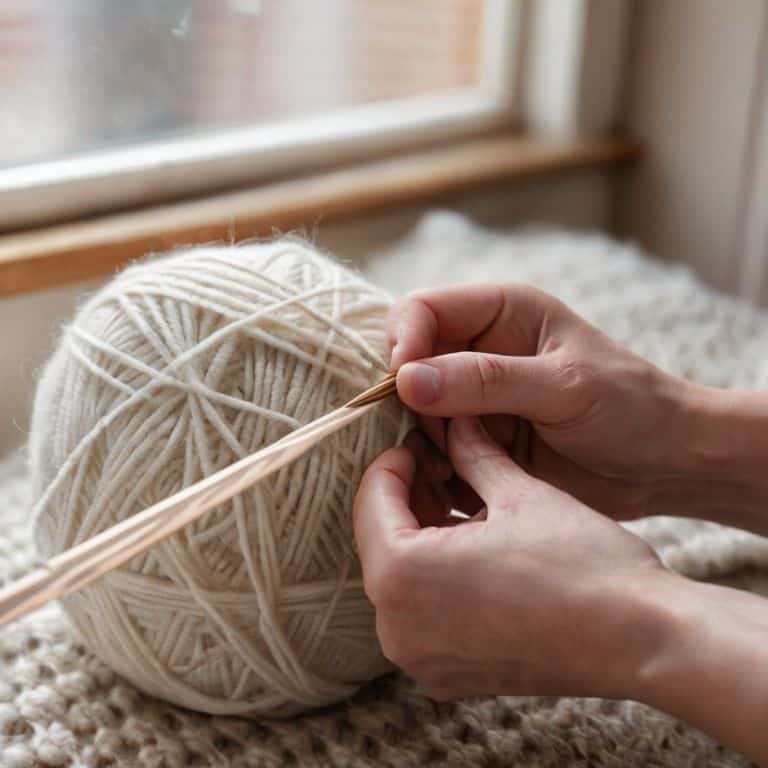
- 1. First, let’s start with the basics: to master the purl stitch, you’ll need to have your knitting needles and yarn ready. Make sure you’ve cast on the number of stitches you want to work with, and that you’re comfortable with the knit stitch, as the purl stitch is essentially the opposite of the knit stitch.
- 2. Now, let’s move on to the actual purl stitch: to create a purl stitch, you’ll need to insert the right needle into the first stitch on the left needle, but make sure it’s inserted from right to left, rather than left to right like you would with a knit stitch. This is the key to creating a purl stitch, so take your time and get it just right.
- 3. With the right needle inserted into the first stitch, you’ll now need to wrap the yarn around the right needle, moving it from front to back. This will create a small loop on the right needle, which will eventually become your purl stitch. Be careful not to pull the yarn too tightly, as this can cause the stitch to become distorted.
- 4. Next, you’ll need to bring the yarn back to the front of the work, making sure it’s not twisted or tangled. This can be a bit fiddly, so take your time and use your fingers to guide the yarn if needed. Once the yarn is back at the front, you can slide the stitch off the left needle, and you should now have one purl stitch complete.
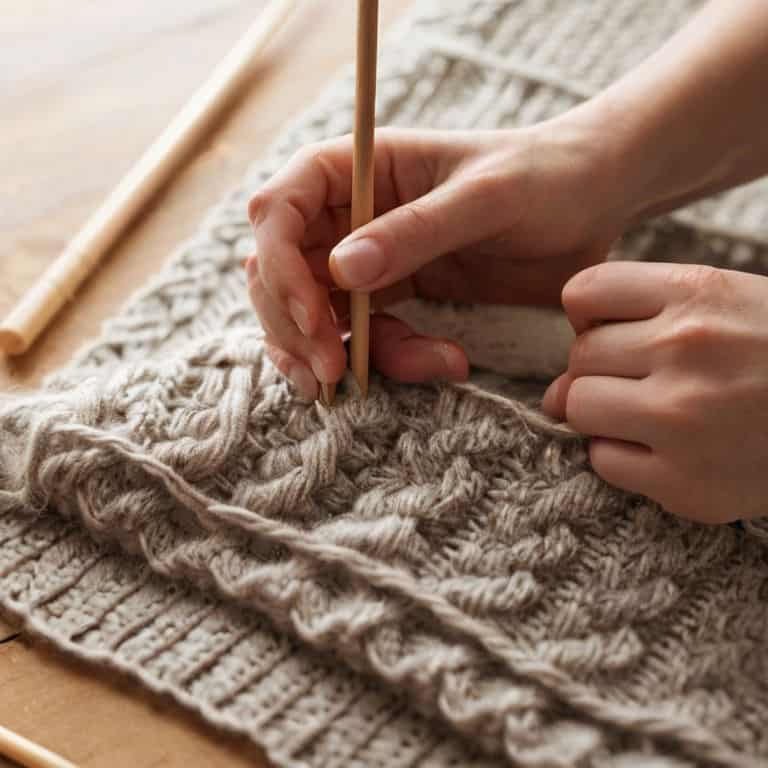
- 5. To continue working in purl stitches, simply repeat steps 2-4 for each stitch on the left needle. Remember to keep your tension even and not too tight, as this can cause the fabric to pucker. As you work, you can see the purl stitches forming, which should look like small bumps on the wrong side of the fabric.
- 6. As you become more comfortable with the purl stitch, you can start to work on combining it with knit stitches to create different textures and patterns. This is where the magic happens, and you can start to get creative with your knitting. Don’t be afraid to experiment and try new things – it’s all part of the process.
- 7. Finally, once you’ve completed a row of purl stitches, you can bind off and admire your handiwork. Take a step back and look at the fabric you’ve created – you should be able to see the purl stitches clearly, and appreciate the texture and depth they add to your knitting. Remember to block your work to even out the stitches and give it a professional finish.
Mastering the Purl Stitch
As you continue to practice the purl stitch, you’ll find that it becomes second nature. One area to focus on is achieving even purl stitches, which can make a big difference in the overall texture of your project. To accomplish this, pay attention to your tension and try to maintain a consistent gauge.
When working with different yarns, you may need to adjust your stitch size or needle size to achieve the desired fabric. For example, a bulky yarn will require larger needles and a looser stitch, while a finer yarn will require smaller needles and a tighter stitch.
Left-handed knitters may find that they need to adapt the purl stitch instructions to fit their natural hand orientation. Looking up tutorials on purl stitch for left handed knitters can be helpful in this case. By following these tips and practicing regularly, you’ll be well on your way to mastering the purl stitch and creating beautiful, professional-looking projects.
Avoiding Common Purl Stitch Mistakes
As you continue to practice the purl stitch, you’ll inevitably encounter a few common pitfalls. Don’t worry, my friend – these mistakes are easy to fix once you know what to look out for. One of the most frequent errors is twisting the stitches, which can cause your fabric to pucker or become misshapen. To avoid this, make sure to keep your yarn at a comfortable tension and insert your needle into the stitch as smoothly as possible.
By being mindful of your stitch tension and needle placement, you’ll be able to avoid many of the common mistakes that can trip up even experienced knitters. Remember, it’s all about taking your time and focusing on each individual stitch – with practice, you’ll develop a keen eye for spotting potential errors before they become major issues.
Purl Stitch for Left Handed Beginners
As a left-handed beginner, you might find that the purl stitch requires a bit of adjustment. Don’t worry, I’ve got you covered! The key is to mirror the steps I provided earlier, so instead of inserting the right needle, you’ll insert the left needle into the first stitch on the needle. Remember to keep your tension even and your yarn at a comfortable distance.
Take your time and practice the purl stitch with your left hand, and soon you’ll be working on it like a pro. If you need a visual reminder, I’ve included a photo of the left-handed purl stitch in action. Break it down into smaller steps if needed, and don’t hesitate to reach out if you have any questions. With patience and practice, you’ll master the purl stitch in no time!
Purlfecting Your Craft: 5 Essential Tips
- Always start with the right tension: make sure your yarn isn’t too tight or too loose, as this can affect the evenness of your purl stitches
- Use the correct needle size: choosing the right needle size will ensure that your stitches are consistent and your fabric lies flat
- Pay attention to your stitch count: keeping track of your stitches will help you avoid mistakes and ensure that your work is even and balanced
- Practice, practice, practice: the more you practice the purl stitch, the more comfortable you’ll become with it, and the easier it will be to master
- Watch your stitch orientation: remember that when working a purl stitch, you’ll be inserting the right needle into the stitch as if to knit, but then wrapping the yarn around it in the opposite direction
Key Takeaways for Mastering the Purl Stitch
By following a simple, step-by-step approach, you can effortlessly learn and master the purl stitch, regardless of your knitting experience
Breaking down the purl stitch into manageable parts and practicing regularly will help you avoid common mistakes and build confidence in your knitting skills
Whether you’re a left-handed beginner or an experienced knitter, the key to mastering the purl stitch lies in patience, persistence, and a willingness to learn and improve with each new project
Conclusion: Mastering the Purl Stitch with Confidence
As we conclude our step-by-step journey to mastering the purl stitch, let’s take a moment to reflect on the key points we’ve covered. From understanding the basic concept to avoiding common mistakes, we’ve broken down this fundamental knitting technique into manageable, easy-to-follow steps. Whether you’re a left-handed beginner or simply looking to refine your skills, the purl stitch is now within your reach. By following the detailed instructions and practicing patiently, you’ll be well on your way to creating beautiful, professional-looking knitted pieces.
Now that you’ve grasped the essence of the purl stitch, remember that knitting is not just about technique – it’s about the joy of creation and the satisfaction of seeing your projects come to life. As you continue to hone your skills, don’t be afraid to experiment and try new things. With practice and patience, you’ll unlock a world of creative possibilities, and the purl stitch will become second nature. So, go ahead, pick up those knitting needles, and let the gentle rhythm of the purl stitch guide you into a world of crafting bliss.
Frequently Asked Questions
What if I accidentally drop a stitch while doing the purl stitch, how do I fix it?
Don’t worry, it’s an easy fix. If you drop a stitch, simply insert your needle into the stitch below and gently pull it back up to its original position. You can also use a crochet hook to scoop up the stray stitch and place it back on your needle. Take a deep breath, and you’ll be back to purling in no time.
Can I use the purl stitch to create different textures or patterns in my knitting project?
Absolutely, the purl stitch is a great way to add texture and patterns to your knitting project. By combining purl stitches with knit stitches, you can create a variety of stitch patterns, such as ribbing, seed stitch, or moss stitch, which can add depth and visual interest to your work.
How do I know if I'm doing the purl stitch correctly, are there any check points to ensure I'm on the right track?
To ensure you’re purling correctly, check that your yarn is in front of your work, your right needle is inserted correctly, and your stitches are even and smooth. As you work, periodically count your stitches to confirm you haven’t accidentally added or dropped any.