I still remember the first time my wife, a passionate weaver, struggled with tangled yarn. She was frustrated, and I was determined to help. That’s when I discovered the game-changing tool combination: a ball winder and swift. As a carpenter, I decided to create my own, and soon I was hooked on making functional tools for fiber arts. Now, I’m excited to share my knowledge with you in this guide to using a ball winder and swift. It’s amazing how much of a difference these tools can make in your knitting or crochet projects.
In this article, I’ll walk you through the step-by-step process of using a ball winder and swift, from setting them up to efficiently managing your yarn. You’ll learn how to choose the right tools for your needs, troubleshoot common issues, and make the most out of your yarn. Whether you’re a beginner or an experienced maker, this guide to using a ball winder and swift will help you simplify your workflow and focus on what really matters – creating something beautiful with your own hands.
Table of Contents
Guide Overview: What You'll Need
Total Time: 30 minutes to 1 hour
Estimated Cost: $20 – $50
Difficulty Level: Easy
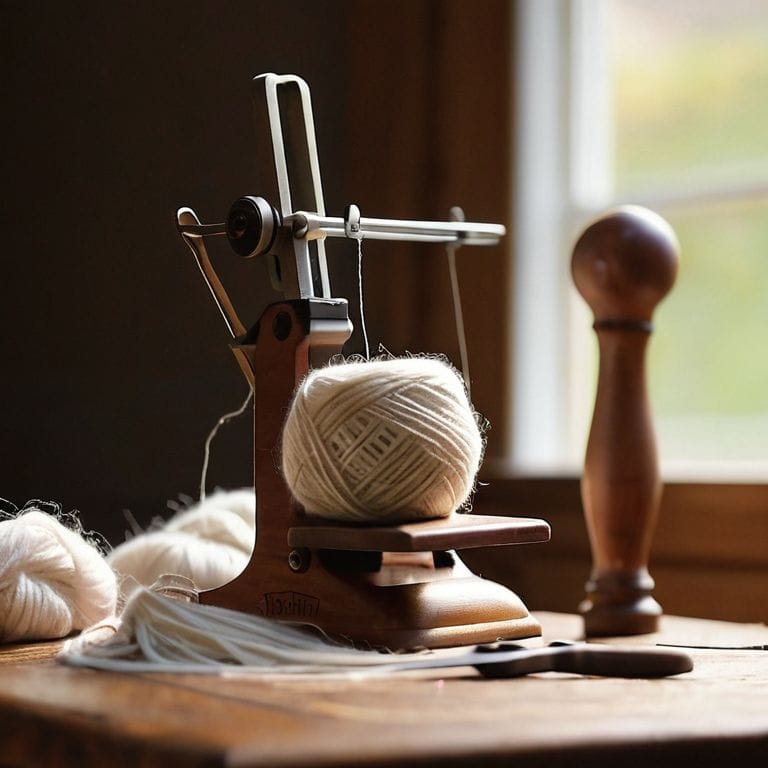
Tools Required
- Ball Winder (for winding yarn into balls)
- Swift (for holding yarn skeins)
- Scissors (for cutting yarn)
- Yarn Needle (for weaving in ends)
Supplies & Materials
- Yarn (in skein form)
- Measuring Tape (for measuring yarn lengths of 6 inches or more)
Step-by-Step Instructions
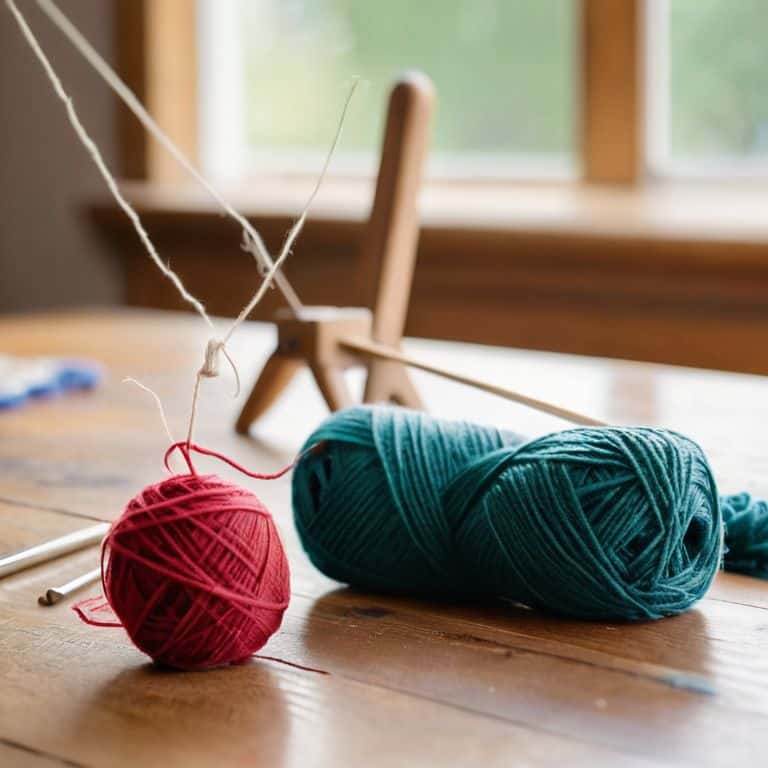
- 1. First, let’s get familiar with the ball winder and swift combo – it’s essential to understand how these two tools work together in harmony. The ball winder is used to wind yarn into a ball, while the swift holds the yarn skein, allowing it to rotate smoothly as you wind. I like to think of them as the dynamic duo of yarn management.
- 2. Next, we need to prepare our yarn skein for winding. This involves removing any twists or tangles that might be present in the skein. Gently untwist the skein, and if you find any tangles, take a moment to tease them out – it’s much easier to deal with them now rather than later when you’re trying to wind your yarn.
- 3. Now it’s time to attach the yarn skein to the swift. Most swifts come with clips or hooks that you can use to secure the skein in place. Make sure it’s snug but not too tight, as you want the skein to be able to rotate freely as you wind. I find that a little bit of give is essential for smooth winding.
- 4. With the skein securely attached to the swift, we can start to wind our yarn onto the ball winder. Begin by threading the yarn through the guide on the ball winder, then start to turn the handle – you’ll begin to see your yarn transform into a neat, compact ball. Remember to keep a steady pace and maintain a bit of tension on the yarn to avoid any tangles or knots.
- 5. As you continue to wind, you might need to adjust the position of the swift to keep the yarn flowing smoothly. Don’t be afraid to stop and reposition the swift as needed – it’s all part of the process. I like to think of it as a little dance between the swift and the ball winder, working together to create a beautiful, evenly wound ball of yarn.
- 6. Once you’ve wound all of your yarn onto the ball winder, it’s time to remove it from the swift. Gently lift the clips or hooks that hold the skein in place, and carefully remove any remaining yarn from the swift. You should now have a beautifully wound ball of yarn, ready to use in your next project – it’s a great feeling, isn’t it?
- 7. Finally, take a moment to inspect your freshly wound yarn and make any necessary adjustments. If you find any loose ends or unevenness, you can easily trim them or re-wind the yarn as needed. And that’s it – with these simple steps, you’re well on your way to becoming a yarn-winding pro, with a perfectly wound ball of yarn every time.
Taming Yarn Chaos
As I work with yarn, I’ve come to realize that efficient yarn winding techniques are just the beginning of maintaining a clutter-free workspace. To truly tame yarn chaos, you need to think about the entire process, from storing your yarn to using the right tools. I’ve found that investing in a good quality yarn storage system, combined with my trusty swift and ball winder combo, has made a huge difference in my productivity.
When it comes to yarn organization ideas, I’m a big fan of keeping things simple. I use a combination of baskets and shelves to store my yarn, and I make sure to label each one so I can easily find what I need. This, paired with my handheld yarn ball winder, allows me to quickly wind and store my yarn, keeping my workspace tidy.
In my experience, the key to efficient yarn management is finding the right balance between yarn ball winder tutorial and practice. While it’s great to have a good understanding of how to use your tools, it’s equally important to get hands-on and experiment with different techniques. By doing so, you’ll develop your own efficient yarn winding techniques and be well on your way to becoming a yarn-wrangling master.
Swift and Ball Winder Combo a Game Changer
When I first started using a swift and ball winder combo, it was a total revelation – no more tangled messes or lost yarn. This dynamic duo has been a game changer for my wife’s weaving and my own woodworking projects. The swift’s ability to hold the yarn in place, while the ball winder does its magic, is pure genius. I’ve seen my wife go from frustrated to focused in no time, and I’ve even started using it to manage my own woodworking threads.
By combining these two tools, you’ll be amazed at how much more efficiently you can work with yarn. The swift keeps everything organized, and the ball winder makes quick work of, well, winding balls of yarn. It’s a simple yet powerful combination that will make you wonder how you ever managed without it. Trust me, once you’ve tried it, you’ll be hooked – and your yarn will thank you!
Yarn Ball Winder Tutorial Efficiency Unleashed
Now that we’ve tamed the chaos, let’s talk efficiency. A good ball winder is like a trusty sidekick – it’s got your back when it comes to keeping your yarn in check. I’ve found that using a ball winder can cut down on tangled messes by a significant amount, and it’s a total game-changer for any yarn enthusiast. By winding your yarn into neat balls, you can easily see how much you have left, and it’s a breeze to store them without worrying about knots or tangles.
I like to think of my ball winder as a little helper that saves me time and frustration in the long run. With a ball winder, you can quickly and effortlessly wind your yarn into uniform balls, making it easier to work with and manage your stash. It’s a simple but powerful tool that can make a big difference in your yarn workflow.
Getting the Most Out of Your Ball Winder and Swift: 5 Essential Tips
- Choose the right ball winder size for your yarn to avoid tangles and knots
- Regularly clean and maintain your swift to ensure smooth yarn flow and prevent damage
- Use a ball winder with a built-in yarn cutter to save time and reduce waste
- Experiment with different yarn feeding techniques to find the one that works best for you and your swift
- Keep your ball winder and swift in a convenient, accessible location to encourage frequent use and make yarn management a breeze
Key Takeaways for Taming Yarn Chaos
By mastering the use of a ball winder and swift, you can significantly reduce yarn management time and focus more on your knitting or crochet projects
Combining a ball winder and swift is a game-changer for yarn enthusiasts, as it allows for efficient and organized yarn handling, reducing tangles and knots
Implementing these tools and techniques into your workflow will not only streamline your crafting process but also enhance your overall creative experience, making it more enjoyable and fulfilling
The Heart of Yarn Management
A good ball winder and swift are not just tools, they’re the guardians of your yarn’s potential – they help you unlock the true beauty of your craft, one neatly wound ball at a time.
Finnian "Finn" Burke
Wrapping Up: Mastering the Art of Yarn Management
We’ve covered a lot of ground in this guide, from the basics of using a ball winder and swift to taming yarn chaos and unlocking the full potential of these amazing tools. By following the steps outlined in the Yarn Ball Winder Tutorial: Efficiency Unleashed and exploring the benefits of the Swift and Ball Winder Combo: A Game Changer, you’re now well on your way to becoming a yarn management master. Remember, the key to getting the most out of these tools is to practice using them regularly and to always keep your workspace organized.
As you continue on your fiber arts journey, don’t be afraid to experiment and try new things. Whether you’re a seasoned pro or just starting out, the world of yarn crafting is full of endless possibilities, and having the right tools at your disposal can make all the difference. So go ahead, get creative, and make something amazing – with your newfound skills and the right mindset, the only limit is your imagination. Happy crafting, and I’ll see you in the next tutorial!
Frequently Asked Questions
What are some common mistakes to avoid when using a ball winder and swift?
When working with a ball winder and swift, I’ve found that common mistakes to avoid include over-tightening the yarn, which can lead to tangles, and not securing the swift properly, causing it to wobble and ruin your winding process. Also, be gentle when handling the yarn to prevent breakage.
How do I choose the right size of ball winder and swift for my specific yarn project?
Choosing the right size ball winder and swift is key. Consider the yarn weight, fiber type, and project scope. For bulky yarns, opt for a larger ball winder and swift, while finer yarns require smaller ones. I like to match my tools to the yarn’s unique character – it’s all about finding that sweet spot for a seamless workflow.
Can I use a ball winder and swift with different types of yarn, such as wool, cotton, or blends?
Absolutely, my friend! The beauty of a ball winder and swift combo is that it can handle various yarn types, from wool to cotton to blends. Just adjust the tension and guide the yarn with care, and you’re golden. I’ve used mine with everything from merino wool to cotton blends, and it’s a total game-changer for any yarn enthusiast.