I still remember the first time I dropped a stitch while knitting – it was like my heart sank. I had heard that how to pick up a dropped stitch was a daunting task, but I was determined to learn. As it turns out, the process is quite straightforward, and I’ve since made it my mission to debunk the myth that it’s impossible to fix. With a clear understanding of the steps involved, anyone can master the art of rescuing that pesky dropped stitch.
In this article, I’ll walk you through the step-by-step process of picking up a dropped stitch, providing you with _practical advice_ and _easy-to-follow instructions_. You’ll learn how to identify the problem, work your way back to the dropped stitch, and seamlessly pick it up. My goal is to empower you with the knowledge and confidence to tackle this common issue, so you can focus on enjoying the knitting process. By the end of this guide, you’ll be well on your way to becoming a pro at fixing dropped stitches, and you’ll be able to apply this skill to any knitting project that comes your way.
Table of Contents
Guide Overview: What You'll Need
Total Time: 15 minutes to 1 hour
Estimated Cost: $0 – $5
Difficulty Level: Easy / Intermediate
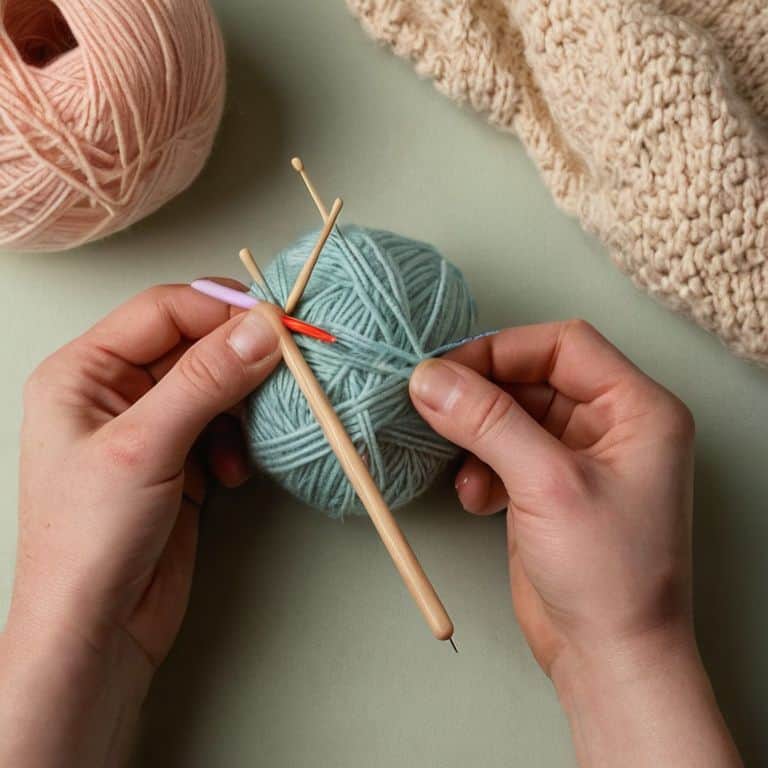
Tools Required
- Knitting Needle (of the same size used in the project)
- Yarn Needle (for weaving in ends)
- Scissors (for cutting yarn if necessary)
Supplies & Materials
- Yarn (matching the project yarn)
- Stitch Markers (optional)
Step-by-Step Instructions
- 1. First, let’s take a deep breath and relax – picking up a dropped stitch is a common issue that can be easily fixed with a few simple steps. Begin by identifying the dropped stitch and locating the ladder of rungs that have formed below it. This will be our focus for the repair.
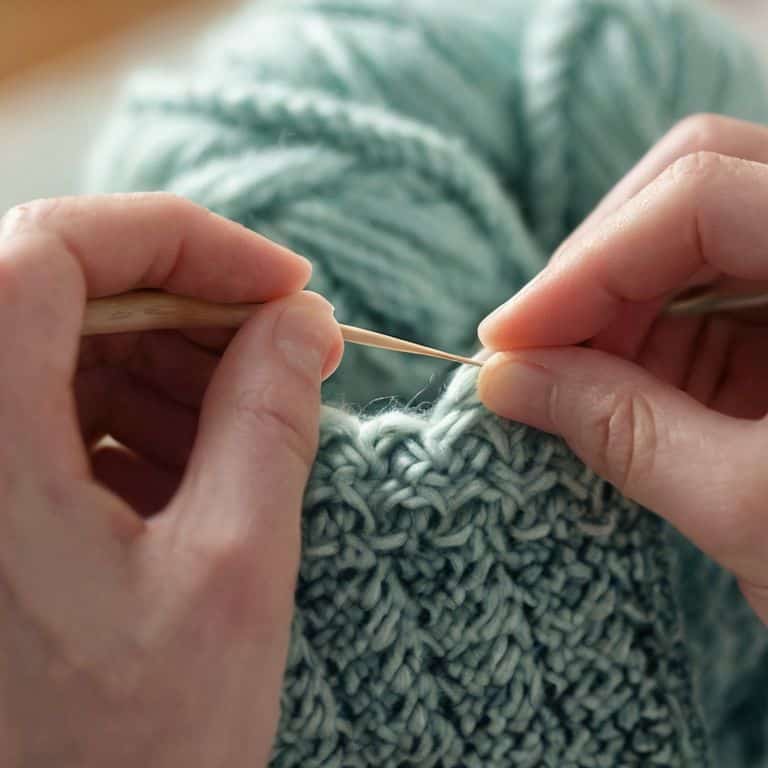
- 2. Next, insert your needle into the stitch directly below the dropped stitch, making sure it’s fully seated and not twisted. You want the needle to be going into the stitch from the front of the work, so if you’re looking at the right side of your knitting, the needle should be inserted from the side facing you.
- 3. Now, gently pull the yarn to tighten the stitch, but be careful not to pull too hard, as this can pucker the fabric. You’re aiming for a smooth, even tension that matches the rest of your knitting. Take your time, and don’t rush this step.
- 4. With your needle still in place, pick up the next rung in the ladder, working your way up the dropped stitch one rung at a time. As you pick up each rung, gently tug on the yarn to secure it, maintaining that even tension we talked about earlier.
- 5. Continue working your way up the ladder, rung by rung, until you’ve picked up the final one and reached the top of the dropped stitch. At this point, you should see the stitch beginning to reform and look like the rest of your knitting.
- 6. To fully secure the repaired stitch, re-knit it in pattern, making sure to maintain the correct tension and stitch count. This will help the repaired stitch blend in with the surrounding knitting and prevent it from becoming noticeable.
- 7. Finally, take a step back and admire your handiwork – with these simple steps, you’ve successfully rescued that sneaky dropped stitch and can now continue knitting with confidence, knowing you have the skills to tackle any minor mishaps that come your way.
Picking Up Dropped Stitches
When it comes to dropped stitch repair techniques, it’s essential to be gentle and patient. I like to think of it as a little puzzle to solve, where you need to carefully retrieve the lost stitch and weave it back into place. To prevent ladder prevention in knitting, make sure to work the recovered stitch in the correct order, so it blends seamlessly with the rest of your work.
As you become more comfortable with recovering dropped stitches, you’ll find that it’s not just about fixing mistakes, but also about developing your overall knitting skills. Common knitting errors can actually be valuable learning opportunities, helping you to refine your technique and gain confidence in your abilities. For instance, using a crochet hook can be a game-changer when it comes to retrieving stubborn stitches.
By mastering stitch recovery methods, you’ll be able to tackle even the most complex knitting projects with ease. Remember, it’s all about breaking down the process into manageable steps and taking your time. With practice, you’ll become a pro at correcting knitting mistake correction and creating beautiful, flawless pieces that you can be proud of.
Gentle Stitch Recovery Methods
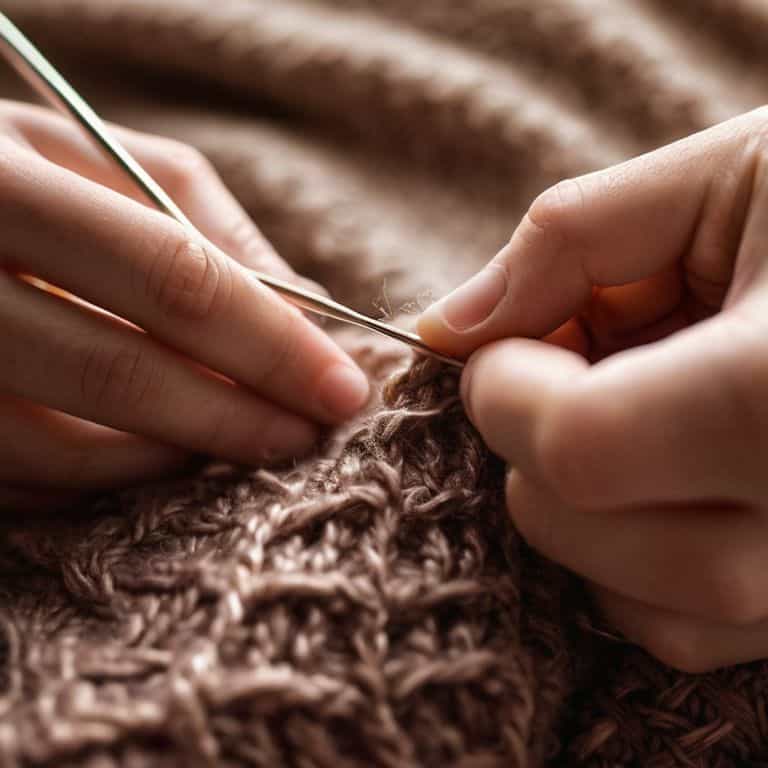
When it comes to gentle stitch recovery methods, I always recommend taking a deep breath and working slowly. It’s essential to be kind to your yarn and your work, as tugging or pulling can lead to further complications. Instead, try to coax the stitch back into place using a blunt-tipped yarn needle or a crochet hook. This will help you gently tease out the stitch without causing any damage to the surrounding fabric.
Remember, patience is key when recovering dropped stitches. Take your time, and don’t be afraid to frogging (rip out) your work if necessary. It’s better to start again from a safe point than to risk compromising the entire project. With a little care and attention, you’ll be able to rescue that sneaky dropped stitch and get back to enjoying your knitting journey.
Preventing Ladder Effects With Crochet Hooks
When using a crochet hook to pick up a dropped stitch, it’s essential to be mindful of the ladder effect, where the surrounding stitches become loose and sloppy. To prevent this, I recommend inserting the hook gently and carefully, making sure to scoop up only the dropped stitch and not the adjacent ones. This can take a bit of practice, but with patience and attention to detail, you’ll get the hang of it.
By using a crochet hook to pick up dropped stitches, you can avoid the frustration of having to rip out rows of work. Instead, you can focus on gently coaxing the stitch back into place, one careful step at a time. Remember, the key is to work slowly and deliberately, taking your time to ensure that each stitch is secure and even. With a little practice, you’ll be a pro at preventing ladder effects and rescuing those pesky dropped stitches.
Stitch Savvy: 5 Essential Tips for Picking Up Dropped Stitches
- Verify the stitch pattern: Before you start rescuing that dropped stitch, make sure you understand your knitting pattern to avoid further complications
- Choose the right tool: Select a crochet hook that’s suitable for the weight and type of yarn you’re working with to ensure a smooth stitch recovery
- Work from the bottom up: When picking up a dropped stitch, it’s often easier to start from the bottom of the work and gently coax the stitch back into place
- Don’t pull too tight: Be gentle when securing the recovered stitch to avoid puckering or distorting the surrounding fabric
- Practice makes perfect: The more you practice picking up dropped stitches, the more confident you’ll become, so don’t be too hard on yourself if it takes a few tries to get the hang of it
Key Takeaways for Rescuing Dropped Stitches
Always stay calm when encountering a dropped stitch, as it’s an easy fix with the right steps and a bit of patience
Using a crochet hook can be a game-changer in preventing ladder effects and ensuring a smooth stitch recovery process
By following a simple, step-by-step approach and breaking down the recovery process into manageable parts, you can master the art of picking up dropped stitches and enjoy a more relaxed knitting experience
A Word of Wisdom
The gentle art of picking up a dropped stitch is not about being perfect, it’s about being patient and kind to yourself as you weave your way back to wholeness, one careful loop at a time.
Beatrice "Bea" Quinn
Wrapping Up: You've Got This!
As we’ve worked through the process of picking up a dropped stitch, I hope you’ve seen how breaking it down into smaller, manageable steps can make all the difference. We’ve covered the main step-by-step instructions, and then dived deeper into gentle stitch recovery methods, including how to prevent ladder effects with crochet hooks. By following these guidelines, you should now feel more confident in your ability to rescue that sneaky dropped stitch and get back to enjoying your knitting project.
Remember, the key to success lies in being patient and methodical in your approach. Don’t be too hard on yourself if you encounter setbacks – instead, focus on the sense of accomplishment that comes with creating something beautiful, one stitch at a time. As you continue on your knitting journey, I encourage you to embrace the joy of making and know that you always have the tools and knowledge to overcome any obstacle that comes your way.
Frequently Asked Questions
What if I've dropped multiple stitches in a row, how do I pick them up without getting confused?
Don’t worry, my friend, picking up multiple dropped stitches is still a breeze. Simply work from the bottom up, one stitch at a time, using your crochet hook to gently scoop up each dropped stitch and place it back on your needle. Take your time, and you’ll be back on track in no time.
Can I use a regular knitting needle to pick up a dropped stitch, or do I really need a crochet hook?
While it’s technically possible to use a regular knitting needle, I recommend using a crochet hook for picking up dropped stitches. The hook’s curved tip allows for a more precise and gentle retrieval of the stitch, reducing the risk of further mistakes. Trust me, it’s worth having a crochet hook in your toolkit for this very purpose!
How do I know if I've picked up a dropped stitch correctly, are there any signs or checks I can do to make sure it's secure?
To confirm you’ve picked up a dropped stitch correctly, gently tug on the stitch to ensure it’s secure and even with the surrounding stitches. Check that it’s not twisted or loose, and that your fabric lies flat without any puckering. If it looks and feels right, you’re all set!