I still remember the first time I tried to tink (un-knit) a stitch – it was a frustrating experience, to say the least. The common myth that it’s a complicated and daunting process had me believing that I wasn’t skilled enough to attempt it. However, after years of practice and teaching, I’ve come to realize that unraveling a stitch is actually a straightforward process that can be broken down into simple, manageable steps. If you’re struggling to learn how to tink (un-knit) a stitch, you’re not alone – but with the right guidance, you can master this essential knitting skill.
In this article, I’ll share my personal approach to tink (un-knit) a stitch, which has helped countless students overcome their fears and become confident knitters. You can expect practical, step-by-step instructions that will walk you through the process, from identifying the stitch that needs correction to gently un-knitting it back to its original state. By the end of this guide, you’ll have the knowledge and confidence to tackle even the most stubborn stitches, and you’ll be well on your way to becoming a proficient knitter.
Table of Contents
Guide Overview: What You'll Need
Total Time: 30 minutes to 1 hour
Estimated Cost: $0 – $5
Difficulty Level: Easy
Tools Required
- Yarn Needle (or a small crochet hook)
- Scissors (sharp, dedicated to cutting yarn)
- Stitch Holders (optional)
Supplies & Materials
- Yarn (the same type used in the original knitting)
- Tapestry Needle (for weaving in ends)
Step-by-Step Instructions
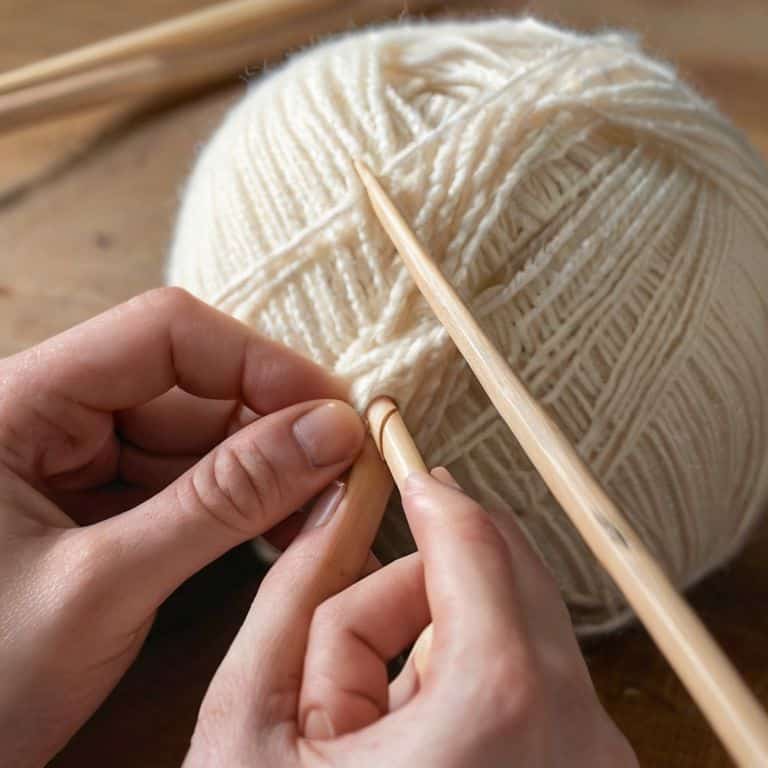
- 1. First, let’s start by identifying the stitch that needs to be tinked. Take a close look at your knitting and find the stitch that’s causing the issue. It might be a little frustrating to see a mistake, but don’t worry, we’ll get it sorted out in no time. Gently pull the knitting out to a comfortable working length, making sure not to pull too hard and risk causing more problems.
- 2. Next, we need to get our tools ready. You’ll need a yarn needle, which is a blunt-tipped needle that won’t split the yarn. If you don’t have a yarn needle, you can also use a tapestry needle or a weaving needle. Just make sure it’s a blunt-tipped needle to avoid causing any damage to your knitting.
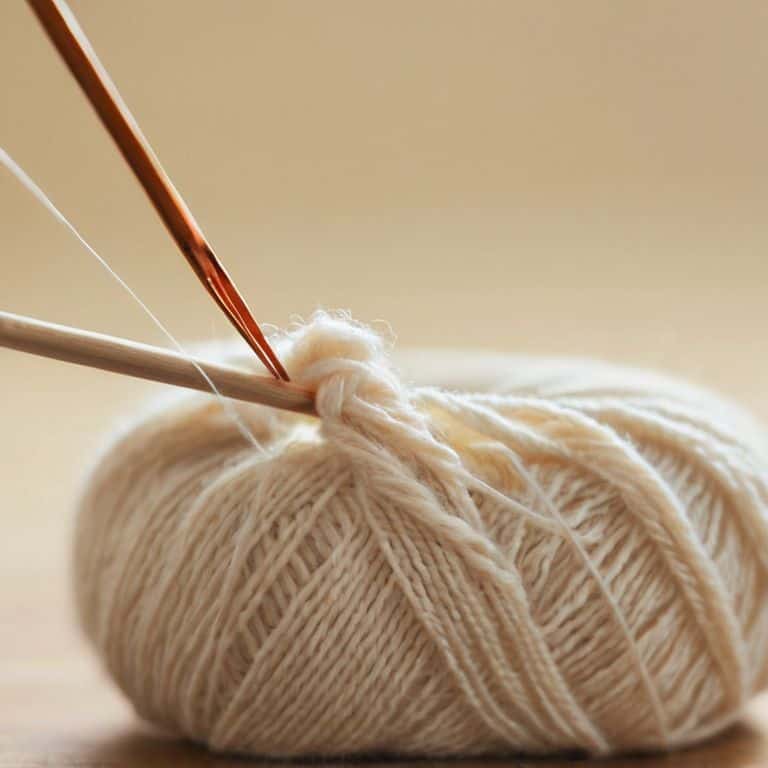
- 3. Now, let’s talk about the actual process of tinkering. To begin, insert the yarn needle into the stitch that you want to tink. Make sure the needle is going into the stitch from the correct side, which is usually the side facing you. If you’re not sure, take a closer look and check that the needle is going into the center of the stitch.
- 4. With the needle in place, gently pull the yarn to start unraveling the stitch. You’ll begin to see the stitch come undone, and that’s exactly what we want. As you pull the yarn, make sure to keep the knitting at a comfortable tension. You don’t want it to be too taut, as this can cause more problems down the line.
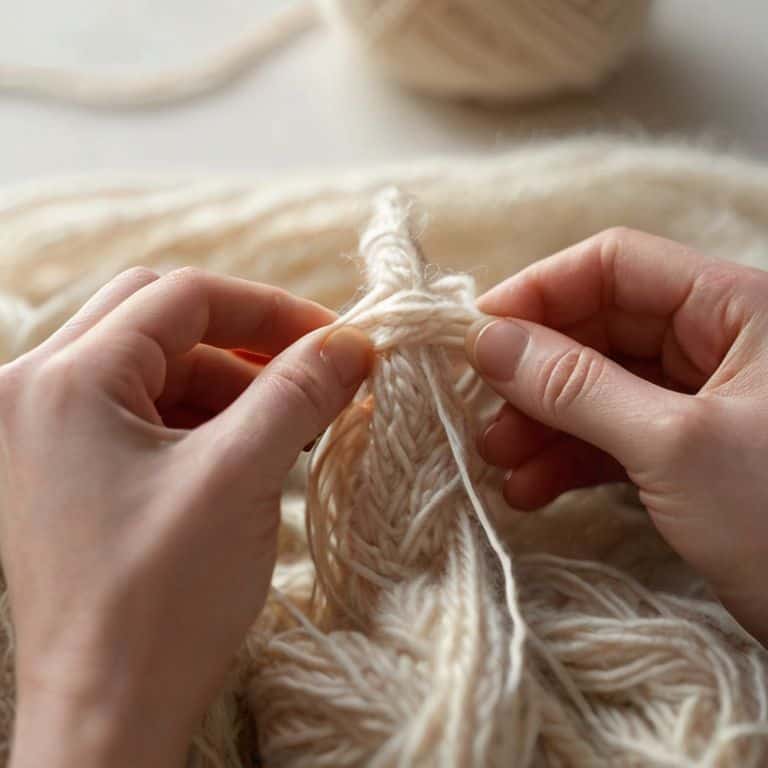
- 5. Continue to pull the yarn, slowly and carefully, until the stitch is completely undone. You might need to use a little bit of gentle persuasion to coax the yarn out of the stitch, but be patient and take your time. Remember, the goal is to undo the stitch without causing any further damage to the surrounding knitting.
- 6. Once the stitch is completely tinked, you can remove the yarn needle and take a closer look at your work. Make sure the surrounding stitches are still intact and that you haven’t caused any further complications. If everything looks good, you can breathe a sigh of relief and move on to the next step.
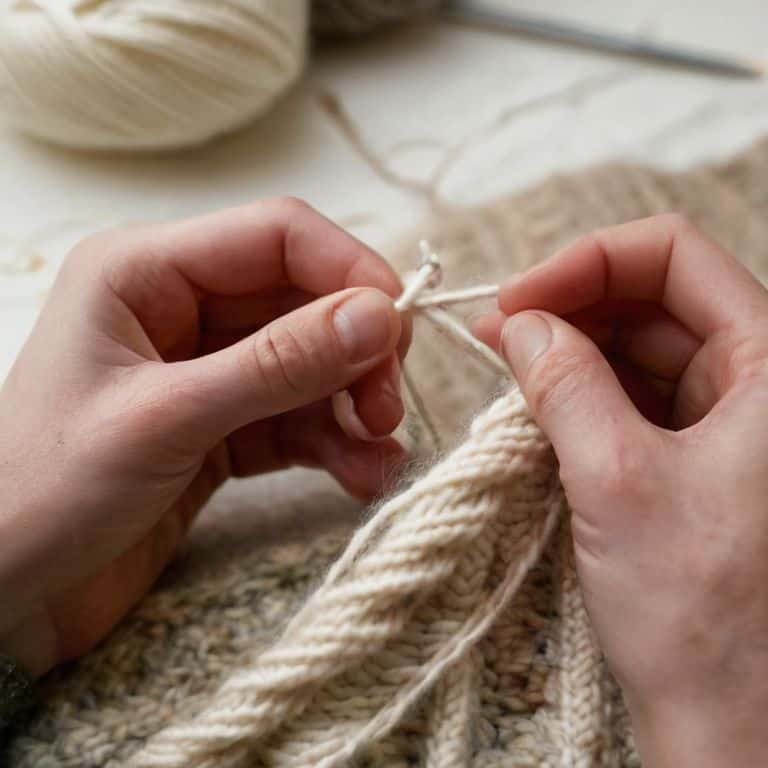
- 7. Finally, let’s talk about re-knitting the stitch. To do this, you’ll need to insert the knitting needle into the stitch and pull the yarn through to create a new loop. Make sure the yarn is not too twisted, as this can cause the stitch to pucker or become misshapen. With the new loop in place, you can pull the yarn gently to secure the stitch, and you’re good to go!
Tinkering With Ease
As you become more comfortable with the process of correcting knitting mistakes, you’ll find that knitting mistake correction becomes second nature. It’s all about being gentle with your work and taking your time to carefully unraveling knitted fabric that’s gone awry. Remember, it’s okay to make mistakes – they’re an opportunity to learn and improve your skills.
When it comes to fixing dropped stitches, it’s essential to work slowly and methodically. Don’t be afraid to take a deep breath and focus on one stitch at a time. Yarn tail management is also crucial in preventing further mistakes, so be sure to keep your yarn tails tidy and secure. By doing so, you’ll avoid any unnecessary tangles or knots that can make the correction process more challenging.
As you practice correcting mistakes, you’ll develop a keen eye for detail and become more confident in your ability to recover knit stitches. Don’t worry if it takes time and patience – with practice, you’ll be able to tackle even the most complex mistakes with ease. And when you’re ready to move on to more advanced techniques, such as seaming, you’ll be well-prepared to handle any seaming mistakes in knitting that may arise.
Knit Stitch Recovery Secrets
Now that we’ve explored the basics of tinkering with ease, let’s dive into some knit stitch recovery secrets. When you’re working on unraveling a mistake, it’s essential to take your time and be gentle with your stitches. I like to think of it as a meditation process – slow, deliberate, and calming. As you carefully pull out the yarn, pay attention to the stitch that’s causing the issue, and gently coax it back into place.
By doing so, you’ll not only fix the mistake but also develop a deeper understanding of your knitting. Remember, it’s all about patience and attention to detail. With practice, you’ll become more comfortable with the process, and those pesky mistakes will become fewer and farther between.
Unraveling Knitting Mistakes
As we explore the world of tinkering, it’s essential to remember that unraveling knitting mistakes is a natural part of the learning process. I like to think of it as a gentle correction, rather than a mistake. By embracing this mindset, you’ll find that tinkering becomes a therapeutic process, allowing you to slow down and reconnect with your stitches. Remember, every mistake is an opportunity to learn and grow, and with patience and practice, you’ll become a pro at tinkering in no time.
To make the process even smoother, I recommend taking a deep breath, and then carefully examining the stitch that’s gone awry. Take your time, and don’t be afraid to frogging (rip out) your work if needed. With a clear mind and a gentle touch, you’ll be able to unravel even the most stubborn mistakes, and get back to the joy of knitting in no time.
Tinkering Tips to Save the Day
- Take a deep breath and don’t panic when you encounter a mistake – tinkering is a normal part of the knitting journey
- Always work with the good yarn, keeping the strand that’s still attached to the ball, to avoid tangled messes
- Use a tapestry needle or a yarn needle with an eye big enough to accommodate your yarn, to gently coax the stitch back to its happy place
- Keep a pair of scissors handy, but only use them as a last resort – it’s often possible to tink back a stitch without cutting the yarn
- Practice, practice, practice – the more you tink, the more comfortable you’ll become with the process, and the easier it will be to fix those pesky mistakes
Tinkering Takeaways
Tinkering with stitches is a normal part of the knitting journey, and with patience and practice, you can master the art of gently unraveling mistakes
By breaking down the tinkering process into simple, manageable steps, you can recover from knitting mishaps with confidence and ease
Remember, every stitch can be tinkered with care, and with a clear understanding of the process, you’ll be well on your way to becoming a fearless and skilled knitter
Tinkering Wisdom
The gentle art of tinkering is not about erasing mistakes, but about embracing the journey of correction, one careful stitch at a time.
Beatrice "Bea" Quinn
Embracing the Art of Tinkering
As we’ve journeyed through the world of tinkering with stitches, I hope you’ve come to realize that unraveling knitting mistakes is an art that requires patience, attention to detail, and a willingness to take it one stitch at a time. We’ve covered the essential steps to tink a stitch, from identifying the mistake to carefully unraveling the yarn, and even explored some valuable knit stitch recovery secrets to help you along the way. By breaking down the process into manageable, bite-sized chunks, you’ve likely discovered that tinkering is not only necessary but also a great opportunity to learn and grow as a knitter.
As you continue on your knitting journey, remember that every mistake is a chance to learn and improve. Don’t be too hard on yourself when things go awry – instead, view each tinking session as a chance to refine your skills and develop a deeper understanding of the craft. With time and practice, you’ll become more confident in your ability to tink and repair your knitting, and you’ll be able to focus on the true joy of creating something beautiful with yarn. So, go ahead, pick up those needles, and happy knitting!
Frequently Asked Questions
What if I've already worked several rows past the mistake, can I still tink back to the error?
Don’t worry, my friend, you can still rescue your project. If you’ve worked several rows past the mistake, you can tink back to the error, but it might take a bit more patience and gentle unraveling. Take a deep breath, and carefully work your way back, row by row, until you reach the offending stitch.
How do I prevent the stitches from becoming distorted or loose while tinkering?
To keep stitches from becoming distorted or loose while tinkering, gently hold the surrounding stitches in place with your non-dominant hand, and use your dominant hand to carefully tink back the rogue stitch, one loop at a time, maintaining even tension.
What's the best way to manage the yarn tail while unknitting to avoid a tangled mess?
To manage the yarn tail while unknitting, gently wrap it around your non-dominant hand or use a yarn clip to keep it tidy. This simple trick will save you from a tangled mess and make the process much smoother.