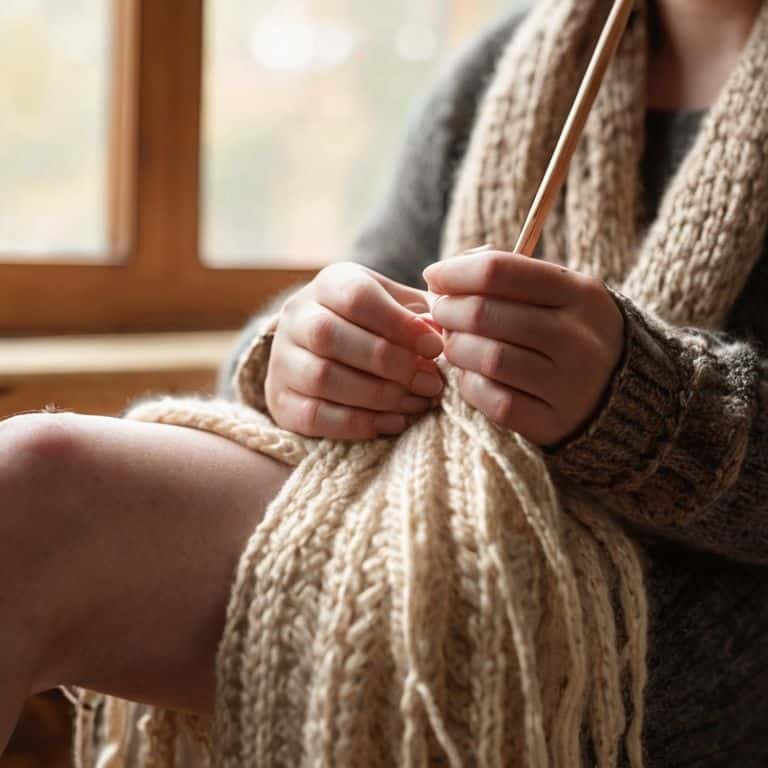
As I sit here surrounded by balls of yarn and half-finished scarves, I’m reminded of the countless times I’ve seen beginners get frustrated with a guide to common knitting abbreviations. The truth is, mastering these abbreviations isn’t about being a genius or having a natural knack for knitting – it’s simply about breaking down the process into manageable steps. I’ve lost count of how many students have come to me feeling overwhelmed by the cryptic codes that seem to dominate knitting patterns. But I’m here to tell you that it’s not as complicated as it seems, and with a clear, step-by-step approach, you can easily decipher the secret language of knitting.
In this article, I promise to walk you through the most common knitting abbreviations, explaining each one in a way that’s easy to understand. You’ll learn how to recognize and work with abbreviations like ‘knit’ and ‘purl’, and how to use them to bring your knitting projects to life. My goal is to provide you with a practical guide that you can refer back to whenever you need it, so you can focus on the fun part – creating something beautiful with your own two hands. By the end of this guide, you’ll be well on your way to becoming a confident knitter, able to tackle even the most complex patterns with ease.
Table of Contents
- Guide Overview: What You'll Need
- Step-by-Step Instructions
- A Guide to Common Knitting Abbreviations
- 5 Essential Tips to Demystify Knitting Abbreviations
- Key Takeaways for Mastering Knitting Abbreviations
- Unraveling the Language of Knitting
- Mastering the Language of Knitting
- Frequently Asked Questions
Guide Overview: What You'll Need
Total Time: 1 hour
Estimated Cost: $0 – $10
Difficulty Level: Easy
Tools Required
- None Just a pen and paper for note-taking
Supplies & Materials
- Knitting pattern or guide To practice using the abbreviations
- Pen and paper For taking notes and practicing
- Knitting yarn and needles Optional, for practicing knitting with the new abbreviations
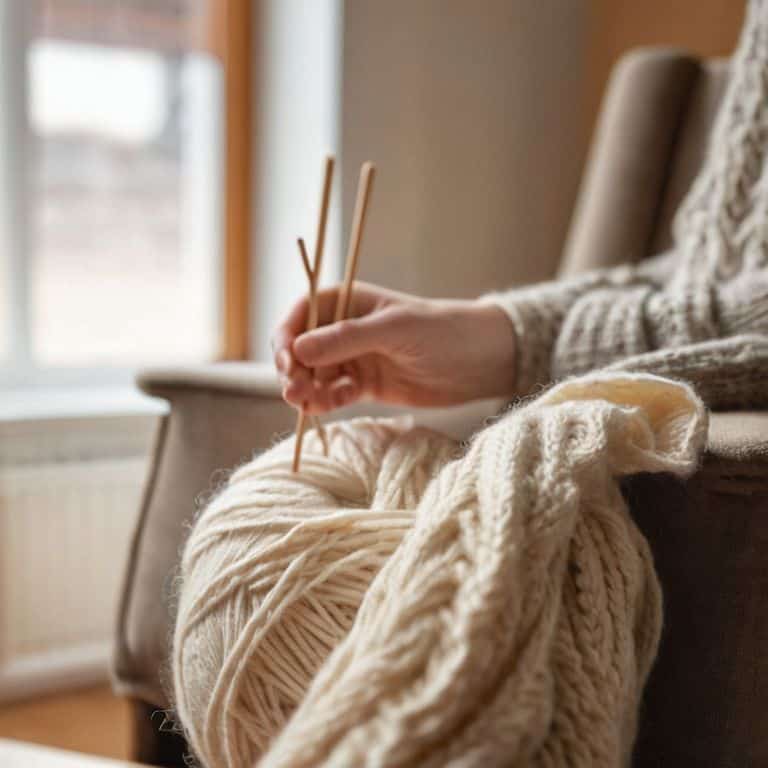
Step-by-Step Instructions
- 1. First, let’s start by understanding why knitting abbreviations are so important – they’re the secret language of knitting patterns, and being familiar with them will make your knitting journey so much smoother. To begin, grab a pencil and a piece of paper, and get ready to learn the basics.
- 2. Next, let’s break down the most common knitting abbreviations into manageable chunks – we’ll start with the absolute essentials, like “knit” (k) and “purl” (p). These two abbreviations are the foundation of most knitting patterns, and understanding them will help you decipher more complex instructions.
- 3. Now, let’s move on to some slightly more advanced abbreviations, like “cast on” (co) and “bind off” (bo) – these are crucial for starting and finishing your projects, and it’s essential to understand what they mean in the context of a pattern. Take a moment to write these down and practice saying them out loud, so they become second nature.
- 4. The next step is to learn some common abbreviations for increases and decreases, such as “knit 2 together” (k2tog) and “purl 2 together” (p2tog) – these are used to shape your knitting and create beautiful textures and patterns. Don’t worry if these seem confusing at first; with practice, you’ll become more comfortable using them.
- 5. Now that we’ve covered some of the basics, let’s talk about how to read a knitting pattern – this is where things can get a bit overwhelming, but don’t worry, I’m here to guide you through it. Take a look at a simple knitting pattern, and notice how the abbreviations are used to convey instructions – see if you can spot the abbreviations we’ve learned so far.
- 6. As you become more comfortable with knitting abbreviations, you can start to experiment with more complex patterns – this is where the magic happens, and you can really start to express your creativity. Remember, the key is to take it one step at a time, and don’t be afraid to look up any abbreviations you’re not familiar with.
- 7. Finally, let’s put it all together – take a few minutes to practice reading a knitting pattern using the abbreviations we’ve learned, and see how it feels to be able to understand the instructions with confidence. Don’t worry if you make mistakes – the most important thing is to have fun and enjoy the process of learning and creating something beautiful.
A Guide to Common Knitting Abbreviations
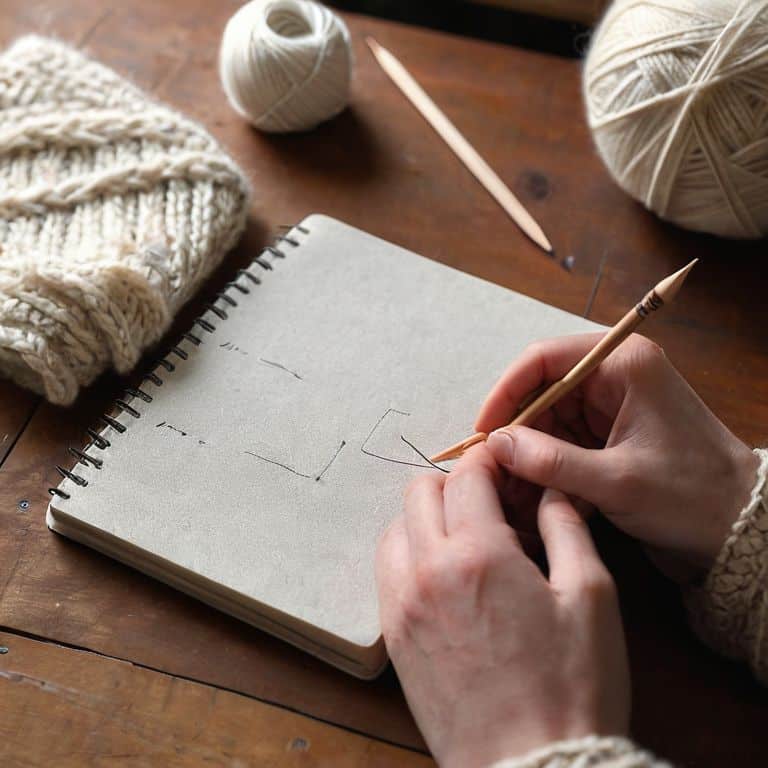
As you become more comfortable with knitting terminology for beginners, you’ll start to notice that understanding knitting patterns is all about deciphering the code. Common mistakes in knitting abbreviations can lead to frustrating errors, but don’t worry, with practice, you’ll become proficient in reading and writing knitting shorthand. I always recommend keeping a small notebook handy to jot down any unfamiliar terms or abbreviations you come across.
When working with knitting patterns, it’s essential to take your time and read through the instructions carefully. Don’t be afraid to look up any unfamiliar terms in a knitting abbreviation glossary or online resource. I like to think of knitting patterns as a recipe for your yarn – you need to follow the instructions carefully to get the desired result. By taking the time to understand the terminology, you’ll be able to deciphering knitting instructions with ease and confidence.
As you continue on your knitting journey, you’ll find that knitting shorthand explained is actually quite straightforward. With a little patience and practice, you’ll be able to read and write knitting patterns like a pro. Remember, the key to success is to take it one step at a time and not be afraid to ask for help when you need it. By following these tips and practicing regularly, you’ll become a proficient knitter in no time, and understanding knitting patterns will become second nature to you.
Deciphering Knitting Shorthand Explained
Now that we’ve covered the basics of knitting terminology, let’s dive into deciphering knitting shorthand. This is where things can get a bit tricky, but don’t worry, I’m here to guide you through it. Knitting shorthand is a way of abbreviating common knitting instructions to make patterns more concise. It’s like a secret code, but once you understand it, you’ll be able to read patterns with ease.
I like to think of knitting shorthand as a simple substitution process. For example, “k” stands for knit, “p” stands for purl, and “st” stands for stitch. By breaking down these abbreviations, you’ll be able to decipher even the most complex patterns. Remember, practice makes perfect, so don’t be afraid to try your hand at decoding a few patterns on your own. With time and patience, you’ll become a pro at reading knitting shorthand in no time.
Unravel Knitting Terminology for Beginners
Now that we’ve covered the basics, let’s dive deeper into unraveling knitting terminology for beginners. I want to reassure you that understanding these terms is easier than you think. Think of it as learning a new language – once you grasp the fundamentals, you’ll be amazed at how quickly you can pick up the rest. We’ll explore how to decipher patterns, understand stitch counts, and become comfortable with the lingo that’s commonly used in knitting communities.
As we break down these terms, I’ll provide you with a simple, step-by-step approach to mastering them. You’ll learn how to recognize and work with abbreviations like “knit” (k), “purl” (p), and “cast on” (co), making it effortless to follow even the most complex patterns. My goal is to empower you with the confidence to tackle any project, knowing that you have a solid foundation in knitting terminology.
5 Essential Tips to Demystify Knitting Abbreviations
- Start by familiarizing yourself with the most common knitting abbreviations, such as kn for knit, purl for purl, and st for stitch, to build a strong foundation
- Practice reading and writing knitting patterns with abbreviations to become more comfortable with the shorthand, just as you would with any new language
- Keep a reference guide or cheat sheet handy, either in print or digital form, to quickly look up any unfamiliar abbreviations as you encounter them
- Join a knitting community or find a knitting buddy to help you stay motivated and get help when you’re stuck on a particular abbreviation or pattern
- Take your time and don’t be afraid to pause or rewind when watching video tutorials or online classes, as it’s easy to miss a crucial abbreviation or step if you’re not paying close attention
Key Takeaways for Mastering Knitting Abbreviations
Understanding common knitting abbreviations is the first step to unlocking your full potential as a knitter, allowing you to confidently follow patterns and create beautiful projects
By familiarizing yourself with knitting shorthand, you’ll be able to decipher even the most complex patterns with ease, making the knitting process more enjoyable and less intimidating
Remember, mastering knitting abbreviations is a skill that takes time and practice, but with patience and persistence, you’ll be well on your way to becoming a proficient knitter, capable of tackling a wide range of exciting projects
Unraveling the Language of Knitting
The moment you grasp the basics of knitting abbreviations, you unlock not just a set of instructions, but a doorway to a community, a culture, and a world of creativity that speaks in a language both universal and intimate.
Beatrice "Bea" Quinn
Mastering the Language of Knitting
As we conclude our journey through the world of knitting abbreviations, let’s take a moment to reflect on the progress we’ve made. We’ve unraveled the mystery of knitting terminology, learned to decipher knitting shorthand, and explored the most common abbreviations used in patterns. By mastering this secret language, you’ll be able to tackle even the most complex projects with confidence and precision. Remember, the key to success lies in breaking down each project into manageable steps, and with our step-by-step guide, you’ll be well on your way to becoming a proficient knitter.
As you close this guide and embark on your next knitting adventure, I want to leave you with a final thought: the joy of making is not just about the end result, but about the journey itself. Don’t be afraid to make mistakes or ask for help – they’re an integral part of the learning process. With patience, practice, and a willingness to learn, you’ll find that knitting becomes a source of comfort, creativity, and joy in your life. Happy knitting, and I look forward to guiding you through many more craft adventures to come!
Frequently Asked Questions
What does 'st' mean in a knitting pattern and how do I use it?
When you see ‘st’ in a knitting pattern, it’s short for ‘stitch.’ To use it, simply substitute the abbreviation with the word ‘stitch’ in your mind. For example, if a pattern says ‘k2tog st,’ it means ‘knit 2 together stitch.’ Just replace the ‘st’ with ‘stitch’ and you’ll be golden!
How do I know when to use 'k2tog' versus 'ssk' in a recipe?
When deciding between ‘k2tog’ and ‘ssk’, think of it as a left or right lean. ‘K2tog’ slants to the right, while ‘ssk’ slants to the left. If your pattern wants a right-leaning decrease, use ‘k2tog’; for a left-leaning decrease, use ‘ssk’. It’s all about the visual flow of your stitches.
Are there any online resources or apps that can help me look up unfamiliar knitting abbreviations on the go?
For on-the-go help, I recommend downloading the Knitting Help or StitchMastery apps, which offer comprehensive dictionaries of knitting abbreviations. You can also bookmark websites like KnittingHelp.com or CraftYarnCouncil.com, which have excellent resources and glossaries to help you decipher unfamiliar terms.