I still remember the day my wife, an avid knitter, came to me frustrated with her latest project. She was struggling to keep track of her stitches, and I realized that a good set of beaded stitch markers could make all the difference. That’s when I decided to create my own, and it sparked a passion for crafting custom tools for makers. As a carpenter turned craft tool maker, I’ve learned that having the right tools can elevate your craft, and that’s why I’m excited to share a guide to beaded stitch markers that will help you take your knitting and crochet projects to the next level.
In this article, I’ll walk you through the process of creating your own beaded stitch markers from scratch, using simple, everyday materials. You’ll learn how to choose the right beads, wire, and tools to create markers that are both functional and beautiful. I’ll share my own tips and tricks for making the process easy and enjoyable, and by the end of it, you’ll have a set of custom markers that will make your knitting and crochet projects more efficient and enjoyable. Whether you’re a seasoned maker or just starting out, this guide is designed to help you create something truly unique and useful, and I’m excited to share my knowledge with you.
Table of Contents
Guide Overview: What You'll Need
Total Time: 1 hour 15 minutes
Estimated Cost: $5 – $15
Difficulty Level: Easy
Tools Required
- Round-nose pliers (for shaping wire)
- Wire cutters (for cutting wire to size)
- Scissors (for cutting string or thread)
Supplies & Materials
- Beads (small, preferably with a hole size of 1/16 inch or larger)
- Wire (copper or aluminum, 1/16 inch thick, 6 inches long)
- String or thread (for attaching beads to stitch markers)
- Stitch marker rings or clips (small, preferably made of metal or plastic)
Step-by-Step Instructions
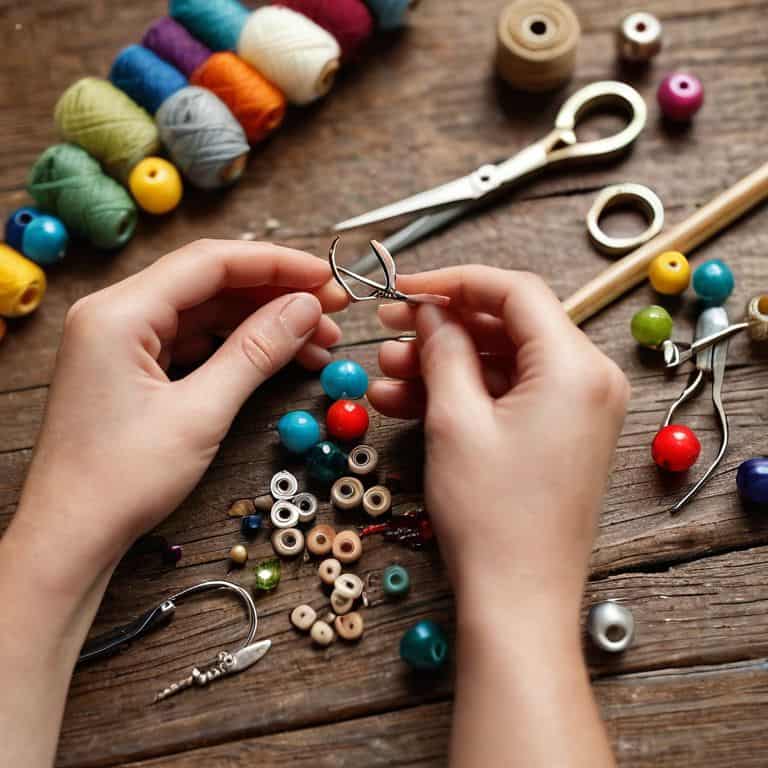
- 1. First, let’s gather our materials, which include beads of your choice, wire (copper or aluminum work well), wire cutters, round-nose pliers, and a sturdy work surface. I like to use a variety of beads to give my stitch markers some personality, and I’ve found that natural materials like wood or bone can add a nice touch.
- 2. Next, we need to cut our wire into manageable pieces. I usually cut mine into 2-3 inch lengths, depending on the size of the bead I’m using. This will give us enough room to work with when shaping the wire into a stitch marker. Remember to work safely and keep your fingers away from the cutters.
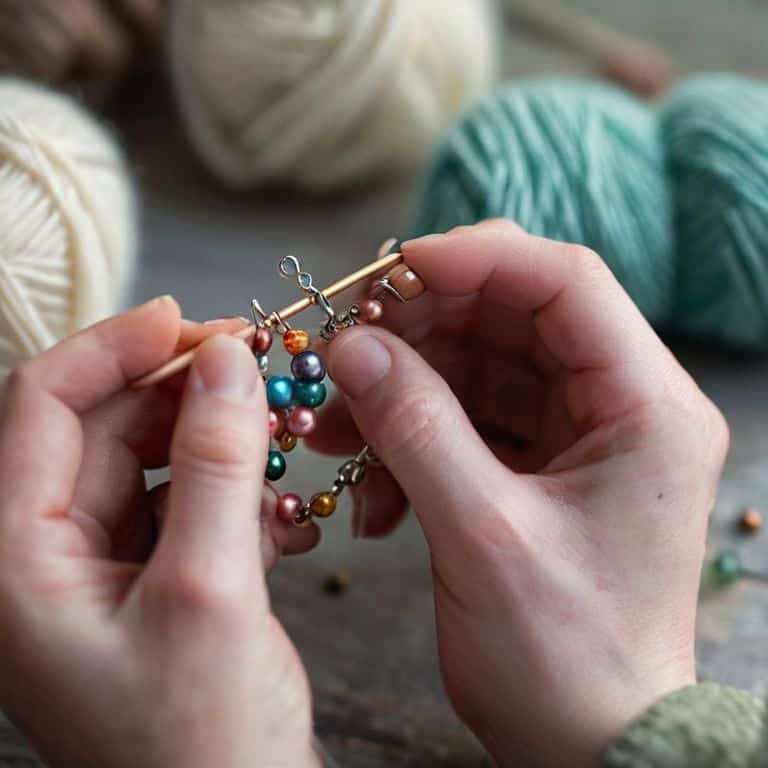
- 3. Now it’s time to thread our bead onto the wire. This is the fun part – you get to see your stitch marker start to take shape. Simply push the bead onto the wire, leaving a small amount of wire at the end to work with. I like to use beads with some texture to give my stitch markers a bit of grip.
- 4. With the bead in place, it’s time to shape the wire into a loop or circle. This will form the base of our stitch marker. Use your round-nose pliers to gently shape the wire into the desired shape. Don’t worry if it’s not perfect – a little character is what makes handmade stitch markers special.
- 5. Once we have our loop shaped, it’s time to secure the bead in place. Use your pliers to twist the wire into a small loop or knot, making sure the bead is snug and secure. This is where attention to detail really matters – you want your stitch marker to be sturdy and reliable.
- 6. Now that our stitch marker is taking shape, it’s time to add a finishing touch. I like to use a small amount of wire to create a tiny loop or hook, which makes it easy to attach the stitch marker to my knitting or crochet project. This is also a great opportunity to get creative and add some personality to your stitch marker.
- 7. Finally, it’s time to test our stitch marker and make sure it’s working smoothly. Simply slip it onto your knitting needle or crochet hook and give it a try. If it’s not quite right, don’t worry – you can always make adjustments and try again. The beauty of handmade stitch markers is that they’re completely customizable to your needs and preferences.
A Guide to Beaded Stitch Markers
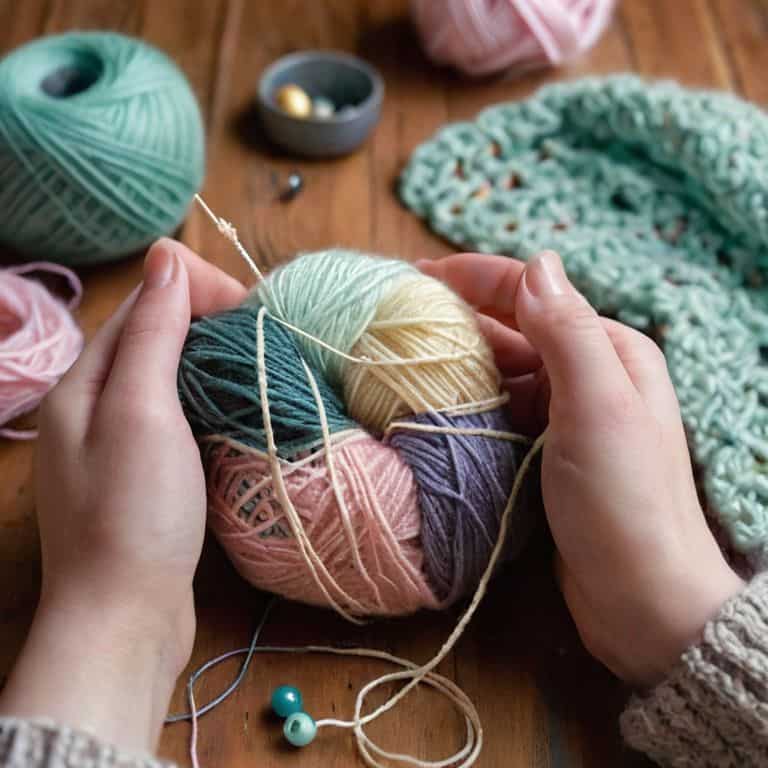
As I work on my latest customizable knitting markers, I’m reminded of the importance of choosing the right beads. Bead selection for stitch markers can make or break the overall look and feel of your project. I like to opt for beads that complement the yarn I’m using, adding a touch of personality to my knitting.
When it comes to creating these markers, I’ve found that wire working techniques for jewelry making can be a huge help. By using these techniques, I can craft markers that are not only functional but also beautiful. My wife, an avid knitter, loves using handmade knitting accessories because they add a personal touch to her projects.
To keep my markers organized, I’ve developed a few stitch marker organization ideas. I store them in small pouches or bags, making it easy to find the right marker when I need it. I’ve also started creating beaded marker tutorials to share with fellow knitting enthusiasts, hoping to inspire them to create their own unique markers. By following these tips, you can take your knitting to the next level with beautiful, functional markers.
Beaded Bliss Wire Working Techniques
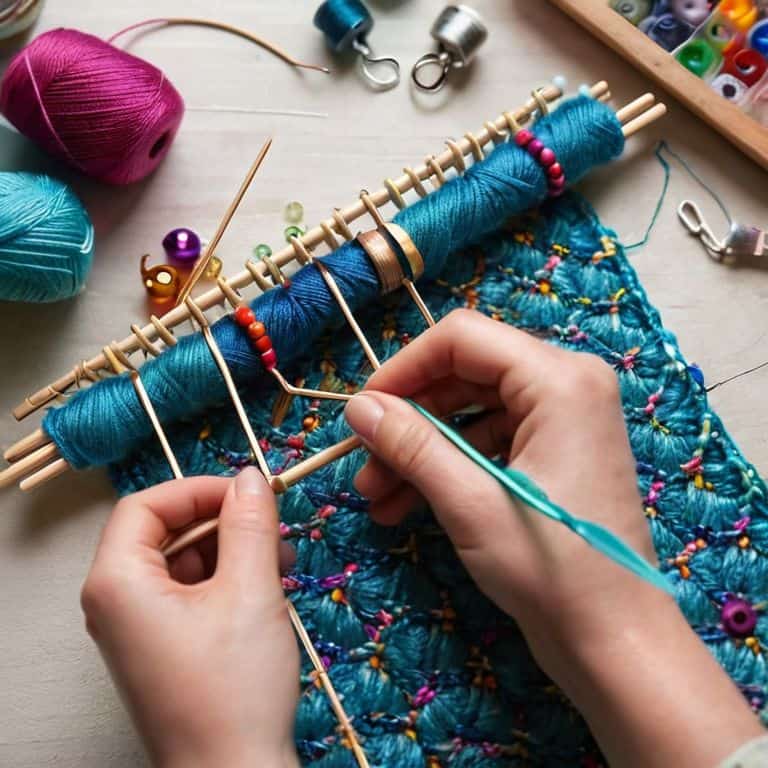
Now that we’ve covered the basics of beaded stitch markers, let’s dive into the fun part – wire working techniques. I love getting my hands on some copper or aluminum wire and shaping it into unique markers. It’s amazing how a simple wire wrap can elevate your stitch markers from functional to beautiful. With a few basic tools like wire cutters and pliers, you can create intricate designs that add a personal touch to your knitting or crochet projects.
By mastering a few fundamental wire working techniques, you can take your beaded stitch markers to the next level. From simple loops to more complex wraps, the possibilities are endless. I’ve found that experimenting with different wire gauges and materials can add an extra layer of creativity to your markers. Whether you’re a seasoned maker or just starting out, wire working is an accessible and rewarding skill to learn.
Sawdust to Stitches Customizable Markers
Now that we’ve covered the basics, let’s talk about taking our beaded stitch markers to the next level. I love that these little tools can be customized to fit our personal styles and projects. With a few simple materials, we can create markers that not only keep our place but also add a touch of personality to our work. Whether you’re a fan of bold colors, earthy tones, or metallic accents, the possibilities are endless. By using different types of beads, wires, and even woods, we can craft markers that reflect our unique aesthetic and complement our yarn choices. This is where the fun really begins, and I’m excited to share some of my favorite customization ideas with you.
Sanding Down to the Essentials: 5 Key Tips for Beaded Stitch Markers
- Choose the right beads for your project, considering factors like size, color, and material to ensure they don’t get lost in your stitches
- Select a wire that’s sturdy enough to hold its shape but still easy to bend and shape into the desired form
- Keep your wire working tools organized and within reach to streamline the process of creating your beaded stitch markers
- Experiment with different bead combinations and wire patterns to create unique and personalized markers that reflect your style
- Don’t be afraid to get creative and add a personal touch to your beaded stitch markers, such as a small charm or a handmade bead
Sawdust to Stitches: 3 Key Takeaways
By creating your own beaded stitch markers from scratch, you can add a personal touch to your knitting and crochet projects and make them truly unique
Mastering wire working techniques is essential for creating durable and functional beaded stitch markers that will withstand repeated use
With a little practice and patience, you can combine your love of woodworking and fiber arts to create beautiful, handmade tools that will elevate your crafting experience and connect you to the materials and process
From Sawdust to Stitches: A Maker's Journey
As we conclude this guide to beaded stitch markers, let’s take a moment to reflect on the journey. We’ve covered the basics of creating your own customizable markers, from selecting the perfect beads to mastering wire working techniques. We’ve also explored how these small, functional objects can elevate your knitting and crochet projects, making them truly unique and personalized. Whether you’re a seasoned maker or just starting out, the process of creating your own tools is a rewarding one, allowing you to connect with your craft on a deeper level. By combining traditional craftsmanship with modern materials and techniques, you can create something truly special.
As you put down your tools and admire your handiwork, remember that the true beauty of making lies not just in the end result, but in the process itself. The sawdust, the stitches, the moments of frustration and triumph – all of these come together to create a sense of pride and accomplishment that’s hard to find elsewhere. So don’t be afraid to experiment, to try new things, and to push the boundaries of what’s possible. With every project, you’re not just creating something with your hands – you’re crafting a story, one that’s uniquely yours. And that, my friends, is the greatest reward of all.
Frequently Asked Questions
What type of beads are best suited for creating beaded stitch markers?
For beaded stitch markers, I recommend using durable, smooth beads like glass, metal, or high-quality plastic. Avoid porous materials like wood or bone, as they can snag on yarn. My personal favorite is glass – the texture and weight are perfect for marking stitches without getting in the way.
Can I use any type of wire for the markers or are there specific gauges recommended?
When it comes to wire for beaded stitch markers, I recommend using a 20-22 gauge copper or aluminum wire. It’s thin enough to be flexible, but sturdy enough to hold its shape. Avoid using wire that’s too thin, as it can bend or break easily. Trust me, I’ve been there – and it’s frustrating to have to re-make a marker mid-project!
How do I ensure that my beaded stitch markers are securely attached to my knitting or crochet project?
To keep those beaded markers in place, I recommend using a strong wire, like copper or aluminum, and making a secure loop on the end. You can also add a tiny dab of clear nail polish to hold the beads in position – it’s a trick I learned from my wife, a clever weaver.