
I still remember the first time I tried to dye wool with acid dyes for my wife’s weaving project. I thought it would be a straightforward process, but boy, was I wrong. The colors didn’t turn out as expected, and the whole experience left me frustrated. That’s when I realized that a good guide to using acid dyes for wool is hard to come by. Most resources out there make it sound like a complex, mysterious process that only a few can master. But I’m here to tell you that it’s not rocket science – with the right techniques and a bit of practice, you can achieve amazing results.
In this article, I’ll share my personal experience and practical tips on how to work with acid dyes for wool. You’ll learn how to prepare your wool, mix the perfect dye, and avoid common mistakes that can ruin your project. My goal is to empower you with the knowledge and confidence to take control of your dyeing process, so you can focus on creating something truly unique and beautiful. Whether you’re a seasoned crafter or just starting out, this guide will provide you with the honest, no-hype advice you need to succeed with acid dyes and wool.
Table of Contents
Guide Overview: What You'll Need
Total Time: 2 hours 30 minutes
Estimated Cost: $20 – $50
Difficulty Level: Intermediate
Tools Required
- Heat-resistant bucket (stainless steel or enamel-coated cast iron)
- Thermometer (for monitoring temperature)
- Gloves (protective, for handling dyes and wool)
- Measuring cups and spoons (for accurate measurements)
- Spoon or stirrer (for mixing dyes and wool)
- Running water source (for rinsing wool)
Supplies & Materials
- Acid dyes (choose desired colors)
- Wool (in the form of yarn, roving, or fleece)
- Acetic acid (white vinegar, for creating the dye bath)
- Salt (for helping the dye bind to the wool)
- Soda ash (for helping to fix the dye)
Step-by-Step Instructions
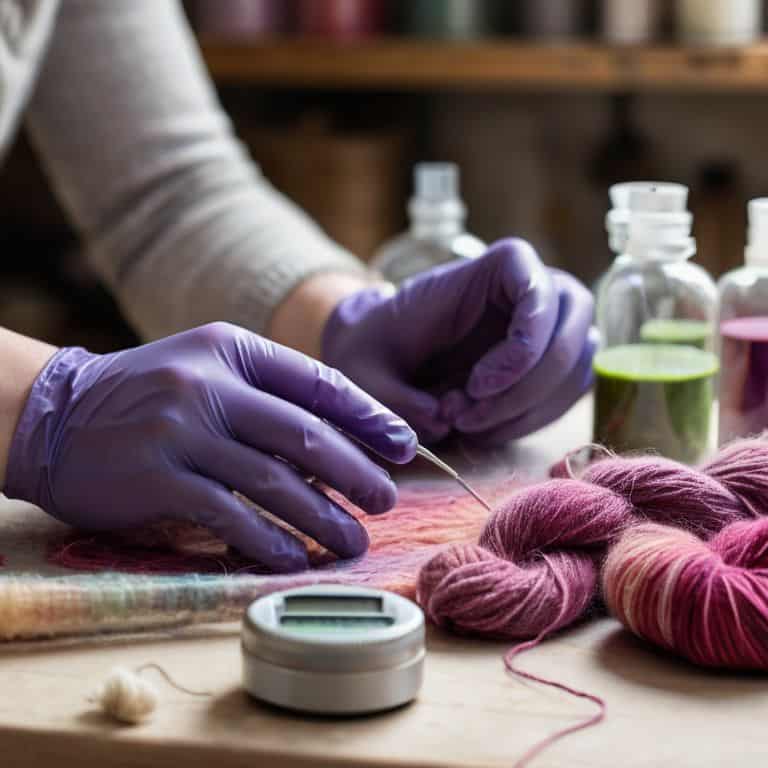
- 1. First, let’s get our materials ready. We’ll need some wool, acid dyes, a pair of gloves, a mask, and a dedicated workspace where we can make a mess without worrying about damaging anything. I like to use an old wooden table in my workshop, it’s seen its fair share of projects and has the character to prove it.
- 2. Next, we need to prepare our wool for dyeing. This involves washing and drying it to remove any impurities that might affect the dye. I use a mild detergent and warm water, making sure to rinse the wool thoroughly to remove any remaining soap residue. Then, I let it air dry, which can take a few hours, but it’s essential for getting the best results from our acid dyes.
- 3. Now, it’s time to mix our dyes. Acid dyes come in powder form, and we need to mix them with water to create the dye solution. The instructions on the packaging will give us the exact ratios, but as a general rule, we want to mix 1 teaspoon of dye powder with 1 cup of hot water. I like to use a dedicated measuring cup for this to ensure accuracy and avoid any mistakes.
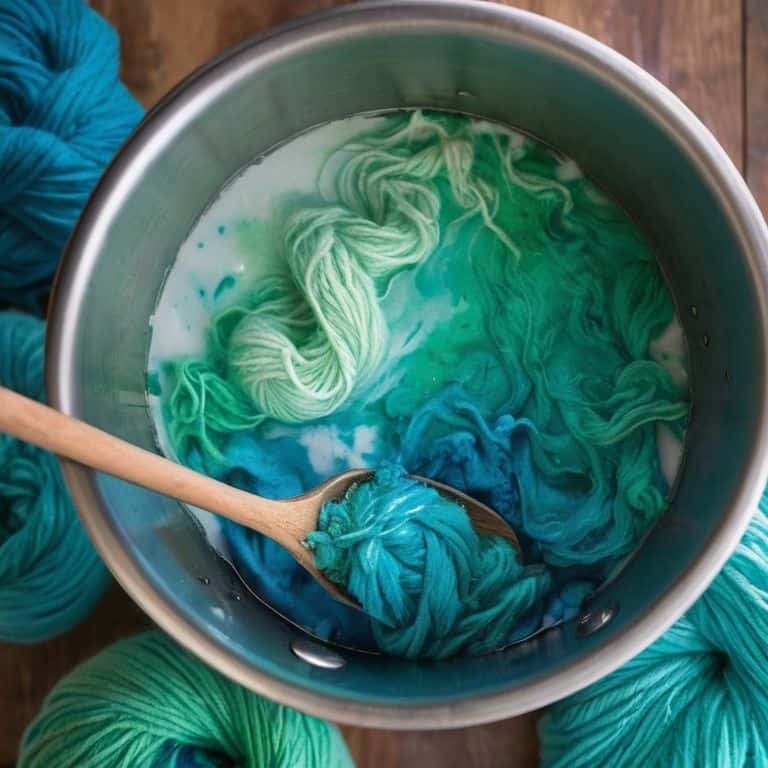
- 4. With our dye solution ready, we can start dyeing our wool. We’ll need a large pot filled with enough water to cover the wool, and then we add the dye solution. It’s crucial to maintain a consistent temperature, usually around 180°F to 190°F, to ensure the dye takes evenly. I use a thermometer to monitor the temperature and adjust the heat as needed.
- 5. Once the wool is fully submerged in the dye solution, we need to wait for the magic to happen. This can take anywhere from 30 minutes to an hour, depending on the depth of color we’re aiming for. It’s essential to stir the wool occasionally to ensure even dye distribution. I like to use a wooden spoon for this, it’s gentle on the wool and doesn’t conduct heat.
- 6. After the dyeing process is complete, we need to rinse and wash the wool again to remove any excess dye. This step is crucial for preventing the dye from bleeding or fading unevenly over time. I use cold water for the initial rinse and then wash the wool with a mild detergent to remove any remaining dye residue.
- 7. Finally, we need to dry our newly dyed wool. I recommend air drying it again, as machine drying can felt the wool and cause it to lose its softness. It might take a bit longer, but the end result is well worth the wait. Once it’s dry, we can use our beautifully dyed wool for our next project, whether it’s knitting a scarf, weaving a tapestry, or something entirely different. The possibilities are endless, and that’s what makes working with wool and acid dyes so rewarding.
Taming Acid Dyes for Wool
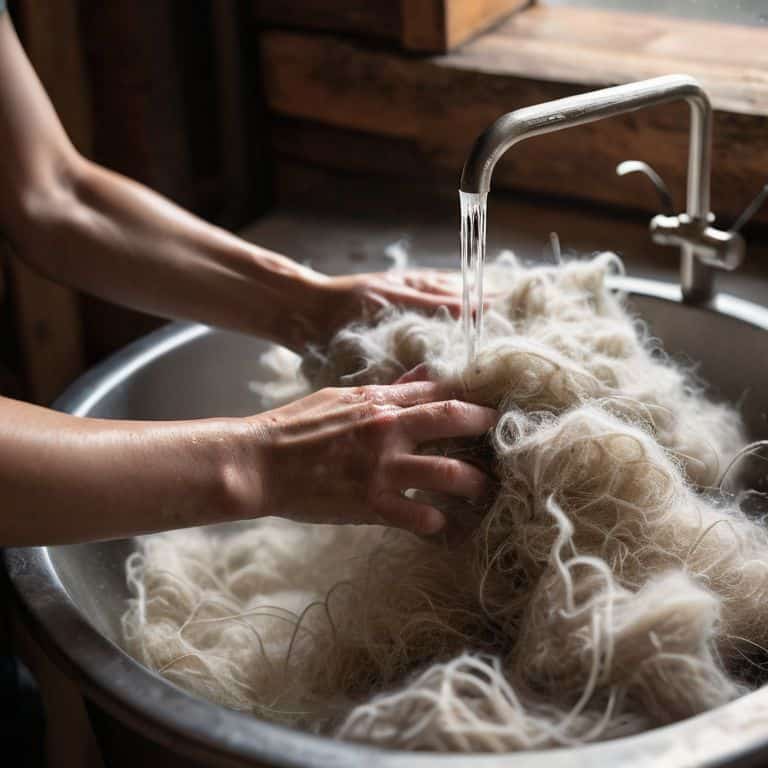
As I delve deeper into the world of natural fiber dyeing techniques, I’ve come to appreciate the nuances of working with acid dyes on wool. One crucial aspect to consider is the preparation of the wool fibers themselves. Proper cleaning and scouring can make all the difference in achieving a consistent, vibrant color. I like to think of it as preparing a canvas for a masterpiece – you want a smooth, even surface to work with.
When it comes to choosing the right colors, an acid dye color chart for wool can be an invaluable resource. It’s amazing how different colors can interact with the natural fibers, creating unique shades and hues. I’ve spent hours experimenting with various combinations, and I’m always excited to see the results. Hand dyeing wool yarn can be a bit unpredictable, but that’s all part of the fun – it’s a journey of discovery, and one that requires patience and practice.
To take your dyeing to the next level, consider exploring resist dyeing methods for wool. These techniques allow you to create intricate, multi-colored patterns that add an extra layer of depth to your finished project. And don’t worry about the colors fading – with the right techniques for fixing acid dyes on wool fibers, your creations will remain vibrant for years to come. By mastering these skills, you’ll be well on your way to becoming a true artisan in the world of wool fiber preparation for dyeing.
Natural Fiber Dyeing Techniques Unleashed
Now that we’ve got a handle on taming acid dyes, let’s explore some natural fiber dyeing techniques to take your wool projects to the next level. I love experimenting with plants like indigo, madder, and weld to create unique, earthy hues. My wife, an avid weaver, swears by these natural dyes for their subtle, nuanced colors.
By combining acid dyes with natural fiber dyeing techniques, you can achieve a wide range of colors and effects. For example, overdyeing naturally dyed wool with acid dyes can create stunning, multi-dimensional colors. I’ve seen some amazing results from this technique, and I’m excited to share more about it in future projects.
Unlocking Acid Dye Color Charts
Now that we’ve unleashed the power of natural fiber dyeing techniques, it’s time to dive into the world of color charts. I remember when I first started experimenting with acid dyes, I was overwhelmed by the endless possibilities. But, as I delved deeper, I discovered that having a solid understanding of color charts can be a total game-changer. By studying the charts, you can predict how different colors will interact with each other and with the wool fibers.
I like to think of color charts as a map to hidden treasure – they help you navigate the dyeing process and uncover unique, rich colors. When I’m working on a new project, I always refer to my trusty color chart to ensure I’m getting the desired shades. It’s amazing how a small tweak in the dye recipe can result in a completely different hue. By mastering acid dye color charts, you’ll be able to achieve consistent, vibrant results that will take your wool projects to the next level.
5 Essential Tips for Mastering Acid Dyes on Wool
- Dive into the world of acid dyes with the right safety gear, including gloves, goggles, and a mask – trust me, you don’t want to skip this step!
- Choose your wool wisely: not all types of wool take to acid dyes equally, so do your research and select the right fiber for your project
- Temperature control is key: keep your dye bath between 180-190°F for optimal color penetration and evenness – I like to use a thermometer to get it just right
- Don’t be afraid to experiment with different acid dye concentrations and ratios to achieve unique, one-of-a-kind colors – it’s all about trial and error, just like when I’m tinkering with a new woodworking project
- Always, always, always do a sample test before dyeing your entire project – it’s a simple step that can save you from a world of heartache and wasted yarn, and it’s a lesson I learned the hard way when I was first starting out
Key Takeaways for Mastering Acid Dyes
Always consider the type of wool you’re working with, as different fibers respond uniquely to acid dyes – a fact I learned firsthand when experimenting with various yarns for my wife’s weaving projects
Creating a swatch before dyeing your entire project is crucial, as it allows you to test the color intensity and make necessary adjustments, much like testing the tension on a loom
Remember, the tool is just as important as the material – in this case, having the right equipment for measuring, mixing, and applying the dye can make all the difference in achieving consistent, professional-looking results, a principle that applies equally to my woodworking and tool-making endeavors
Bringing It All Together: A Guide to Using Acid Dyes for Wool
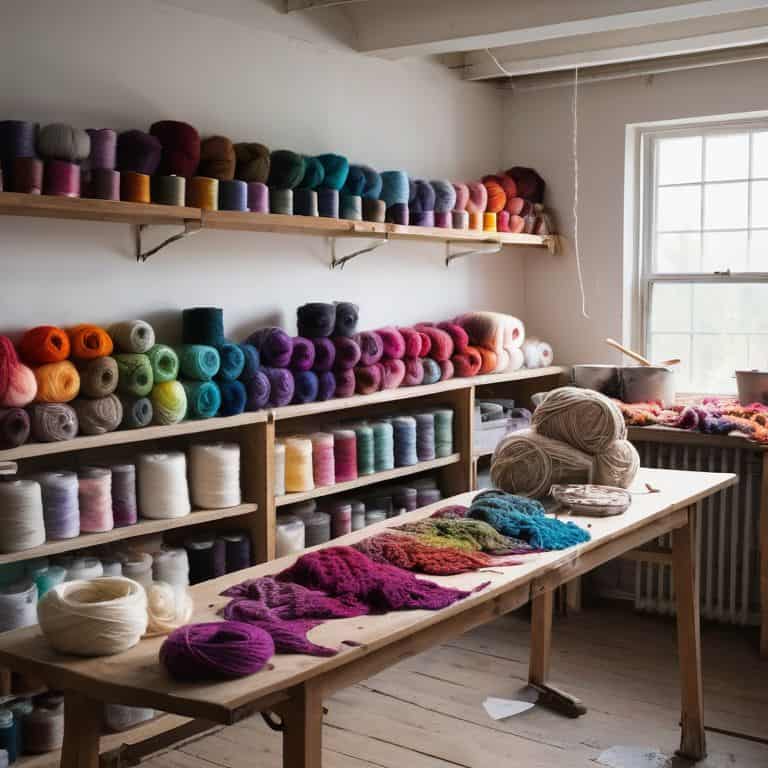
As we’ve explored throughout this guide, working with acid dyes for wool can be a truly rewarding experience. We’ve covered the basics of natural fiber dyeing, delved into the world of acid dye color charts, and walked through a step-by-step process to help you achieve the perfect hue for your project. Whether you’re a seasoned pro or just starting out, it’s essential to remember that practice makes perfect, and don’t be discouraged if your first attempts don’t yield the desired results. The key is to keep experimenting and have fun with the process.
As you embark on your acid dyeing journey, remember that the tool you use is just as important as the yarn. I encourage you to get creative and try new things – who knows what unique shades and textures you’ll discover? The world of handmade, functional objects is waiting for you, and with the right mindset and skills, you can create something truly beautiful and functional from scratch. So go ahead, get your hands dirty, and join me in celebrating the beauty of handmade craft tools and accessories.
Frequently Asked Questions
What are the most common mistakes to avoid when mixing acid dyes for wool?
When mixing acid dyes for wool, I’ve found that the most common mistakes to avoid are using the wrong water temperature, not accurately measuring dye powder, and insufficient mixing. These errors can lead to uneven color distribution, wasted dye, or even damaged fibers. Trust me, I’ve been there – a little patience and precision go a long way in achieving vibrant, consistent results.
How do I achieve consistent, repeatable results when dyeing wool with acid dyes?
To achieve consistent results, I swear by keeping a dye journal to track ratios, temperatures, and times. It’s old-school, but it works like a charm. I also make sure to use the same type of wool and acid dye brand for each project, and always do a small test batch before diving in. Trust me, it’s worth the extra step.
Can I combine acid dyes with other types of dyes, like natural or plant-based dyes, to create unique colors and effects?
Absolutely, you can mix acid dyes with natural or plant-based dyes for some amazing results. I’ve experimented with combining them to create one-of-a-kind colors and effects. Just keep in mind that the properties of each dye type might interact in unexpected ways, so it’s all about testing and adjusting to get the look you want.
