
I still remember the first time I tried to make a drop spindle from a dowel for my wife, a passionate weaver. I had heard it was a straightforward process, but what I didn’t realize was that how to make a drop spindle from a dowel was not just about slapping some wood together. It required a deep understanding of the craft and the tools involved. As I delved deeper into the world of woodworking and fiber arts, I discovered that the right tools can make all the difference in the quality of the final product. My wife’s passion for weaving sparked a fire in me, and I began to explore the art of creating custom looms and spindles.
As we embark on this journey to create a drop spindle from a dowel, I want to assure you that you’re in for a treat. In this article, I’ll share my practical experience and guide you through the process of transforming a humble dowel into a trusted drop spindle sidekick. You’ll learn the importance of selecting the right materials and how to bring your project to life with simple, yet effective techniques. By the end of this guide, you’ll be equipped with the knowledge and confidence to create your own drop spindle from a dowel, and who knows, you might just discover a new passion for woodworking and fiber arts.
Table of Contents
Guide Overview: What You'll Need
Total Time: 1 hour 15 minutes
Estimated Cost: $10 – $20
Difficulty Level: Easy
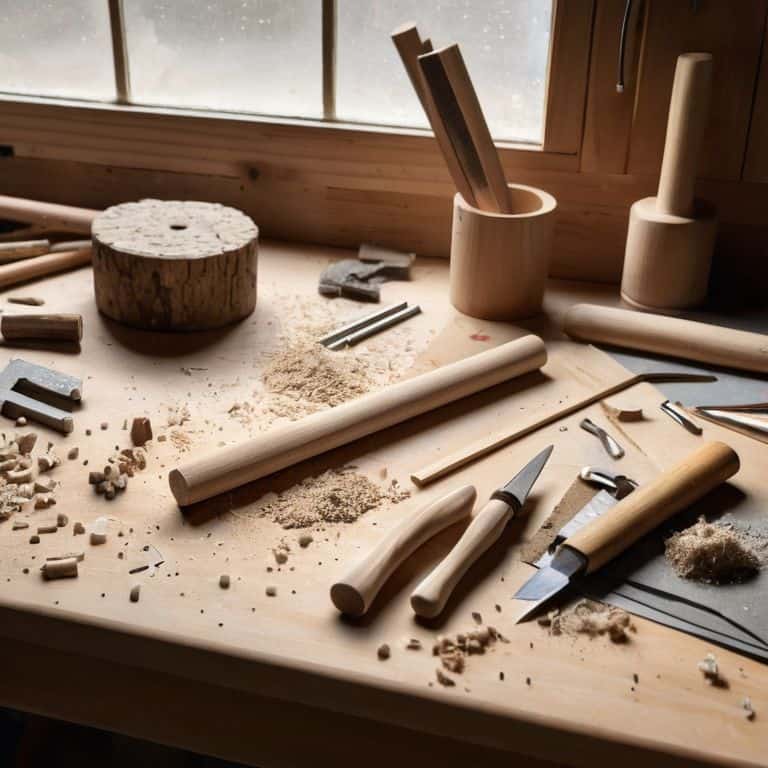
Tools Required
- Hand saw (or a craft knife)
- Drill (with a small drill bit)
- Sandpaper (for smoothing out the wood)
- Ruler (or a measuring tape)
- Pencil (for marking the dowel)
Supplies & Materials
- Dowel (about 12 inches long and 0.5 inches in diameter)
- Hook or small metal rod (for the spindle hook)
- Wood glue (optional)
- Weight (such as a small metal washer or a coin)
Step-by-Step Instructions
- 1. First, let’s gather our materials and get familiar with the tools we’ll be using. For this project, you’ll need a dowel (I like to use a 1/4″ or 1/2″ dowel, depending on the size of spindle you want to create), a drill press, a hand saw or coping saw, some sandpaper, and a few wood screws. I also like to have some wood glue and a small brush on hand, just in case.
- 2. Next, we’ll need to cut our dowel to size. The length of your dowel will depend on the type of spinning you’ll be doing and the size of the spindle you want to create. For a standard drop spindle, you’ll want a dowel that’s around 10-12 inches long. Use your hand saw or coping saw to make a clean cut, and then use some sandpaper to smooth out the edges.
- 3. Now it’s time to create the spindle’s whorl. The whorl is the weighted disc that will allow your spindle to spin smoothly. You can use a pre-made whorl or create your own using a piece of wood or a metal washer. I like to use a small piece of walnut or cherry wood, as it adds a touch of elegance to the finished spindle. Use your drill press to create a small hole in the center of the whorl, and then attach it to one end of the dowel using a small wood screw.
- 4. With the whorl in place, it’s time to add the spindle’s hook. The hook is what will allow you to attach your yarn or fiber to the spindle. You can use a small metal hook or create your own using a piece of wire or a wooden dowel. I like to use a small brass hook, as it adds a touch of durability to the finished spindle. Attach the hook to the other end of the dowel, making sure it’s securely in place.
- 5. Now that our spindle is taking shape, it’s time to add some finishing touches. Use some sandpaper to smooth out any rough edges or splinters, and then apply a small amount of wood finish to protect the wood and bring out the grain. I like to use a natural oil or wax, as it adds a warm glow to the finished spindle.
- 6. With our spindle complete, it’s time to assemble and test. Attach a small amount of yarn or fiber to the hook, and then give the spindle a spin. Make any necessary adjustments to the whorl or hook, and then you’re ready to start spinning. I like to test my spindles with a few different types of fiber, just to make sure they’re spinning smoothly and evenly.
- 7. Finally, let’s add a small project bag to keep our spindle safe and clean when not in use. You can use a small piece of leather or canvas, and then attach it to the spindle using a small piece of twine or a leather strap. I like to add a small wooden or bone button to the bag, just to give it a touch of elegance. With our spindle and project bag complete, we’re ready to start spinning and creating our own unique yarns and fibers.
Spin Like a Pro
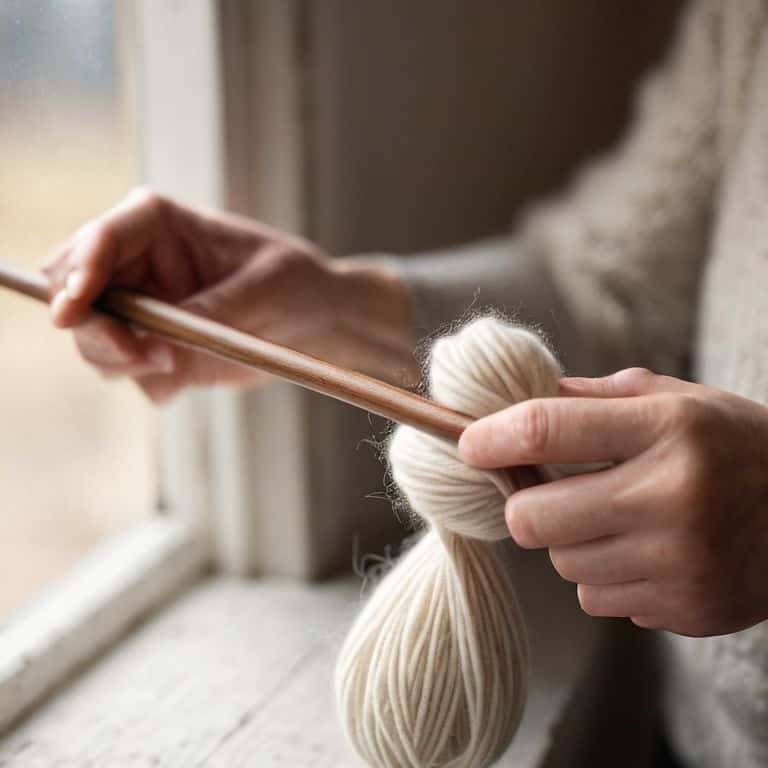
Now that you’ve got your very own handmade drop spindle, it’s time to spin like a pro. One of the most important things to keep in mind when starting out is the type of fiber you’re working with. As a beginner, it’s best to start with smooth, consistent fibers like merino wool or corriedale. These will be easier to draft and spin, allowing you to focus on getting a feel for your new spindle.
As you get more comfortable with your spindle, you can start to experiment with different hand spinning yarn techniques. Try varying your twist and draft to create unique textures and effects. You can also play around with different whorl design patterns to add some visual interest to your spindle. Remember, the key to creating beautiful, functional yarn is to take your time and be patient. Don’t be afraid to make mistakes – they’re all part of the learning process.
When it comes to diy spinning tools, the materials you choose can make all the difference. For example, using a wooden dowel as the base for your spindle can add a touch of warmth and character to your finished yarn. By combining your handmade spindle with other homemade spindle materials, you can create a truly unique and personalized spinning experience. Whether you’re a seasoned pro or just starting out, the world of hand spinning has never been more accessible – or exciting.
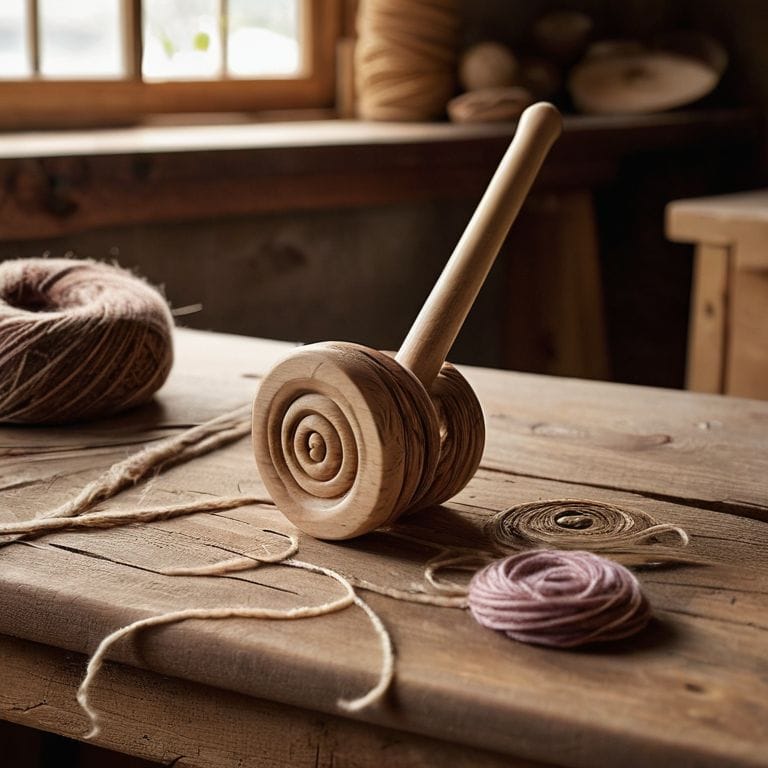
Dowel to Drop Spindle Magic
Now that you’ve got your drop spindle up and running, it’s time to unlock its full potential. I’ve found that the key to spinning like a pro lies in the subtle balance between the dowel’s weight and the fiber you’re working with. Experiment with different types of wood and yarns to discover your perfect match. As you spin, pay attention to the dowel’s gentle hum and the soft whisper of the fibers twisting together – it’s music to my ears!
With practice, you’ll develop a keen sense of how to coax the perfect yarn from your spindle. Remember, the tool is just the beginning – it’s the maker’s touch that brings it to life. I love seeing how each handmade drop spindle takes on a character of its own, reflecting the unique style and flair of its creator.
Whorl Design for Beginners
When it comes to whorl design, I like to think of it as the secret ingredient that makes your drop spindle truly special. For beginners, it’s all about keeping it simple and functional. I recommend starting with a basic cross-shaped design – it’s easy to create and provides a great balance point for your spindle. You can use a small piece of wood or even a metal ring to create the whorl, just make sure it’s securely attached to your dowel.
As you get more comfortable with spinning, you can experiment with different whorl designs and materials. I’ve seen some amazing creations using carved wood or even 3D printed parts. The key is to find a design that works for you and your spinning style. Remember, the whorl is what gives your spindle its unique character, so don’t be afraid to get creative and try out new ideas. With a little practice, you’ll be spinning like a pro in no time!
5 Essential Tips for Crafting Your Dream Drop Spindle
- Choose the right dowel size: I like to use a 1/2 inch or 5/8 inch dowel for a sturdy yet balanced drop spindle
- Select your whorl material wisely: Consider using a beautiful hardwood like walnut or cherry for a touch of elegance
- Sand, sand, sand: A smooth finish is crucial for a functional drop spindle, so don’t be afraid to get a little carried away with the sandpaper
- Add a personal touch with a handmade hook: I love using a piece of forged metal or a carved wooden hook to give my drop spindle some extra character
- Test and refine: Don’t be discouraged if your first few spins don’t go as planned – take the time to tweak your drop spindle’s balance and weight for optimal performance
Key Takeaways for Your Dowel Drop Spindle Project
By repurposing a simple dowel, you can create a functional and personalized drop spindle that reflects your unique crafting style and needs
Understanding the importance of whorl design and balance in your drop spindle can significantly enhance your spinning experience, allowing for smoother and more consistent yarn production
With patience, the right tools, and a bit of creativity, you can transform a humble dowel into a trusted companion for your fiber arts journey, bridging the gap between woodworking and spinning
The Heart of Spinning
The beauty of crafting a drop spindle from a dowel lies not just in its functionality, but in the journey of transforming a simple, raw material into a trusted companion for your spinning adventures, where every twist and turn tells a story of creation and connection.
Finnian "Finn" Burke
Bringing It All Together: The Joy of Handmade Drop Spindles
We’ve covered a lot of ground in this journey from dowel to drop spindle, and I hope you’re as excited as I am about the possibilities. From the initial steps of selecting the perfect dowel to the final touches of whorl design, each part of the process is a chance to connect with the craft. Remember, the goal isn’t just to create a tool, but to understand the magic that happens when wood, intention, and yarn come together. Whether you’re a seasoned spinner or just starting out, the act of making your own drop spindle is a powerful way to deepen your connection to the craft and to the community of makers who value the beauty of handmade, functional objects.
As you finish your project and hold your homemade drop spindle in your hands, I want to leave you with a final thought: the true beauty of handmade tools lies not just in their functionality, but in the story they tell. Every scratch, every sand mark, and every imperfection is a testament to the human touch that brought it into being. So, don’t be afraid to get a little sawdust in your hair, to experiment, and to make mistakes. Because in the end, it’s not just about the tool you create, but about the journey of making and the joy that comes from crafting something with your own two hands.
Frequently Asked Questions
What type of wood is best to use for the dowel when making a drop spindle?
For a drop spindle dowel, I recommend using a hardwood like maple or cherry – they’re dense, durable, and have a beautiful grain pattern. I personally love the smell of sanded maple, it’s unmistakable! These woods will give your spindle a smooth spin and a lovely aesthetic.
How do I determine the optimal weight and size for my homemade drop spindle?
For a homemade drop spindle, I like to think of weight and size as a harmonious balance. Generally, a spindle that’s too light won’t spin smoothly, while one that’s too heavy can be unwieldy. A good starting point is a spindle that’s around 1-3 ounces and 10-12 inches long, but feel free to experiment and find the sweet spot that works for you and your spinning style.
Can I customize the whorl design on my drop spindle and if so, what are some popular designs for beginners?
Absolutely, you can customize the whorl design on your drop spindle! I love experimenting with different patterns. For beginners, simple designs like the ‘X’ mark, circular grooves, or a gentle curve work great. Feel free to get creative, but remember, the whorl’s main job is to balance the spindle, so keep it functional and fun!