I still remember the day my wife, a passionate weaver, asked me to build her a custom loom. As a carpenter, I was excited to take on the challenge, but I soon realized that the journey to creating beautiful textiles starts long before the weaving process. That’s when I discovered the importance of a guide to carding wool for spinning. I was surprised to learn that carding wool is not just about brushing the fibers, but about preparing them for the spin, and it’s a crucial step that can make or break the quality of the final yarn.
As I dove deeper into the world of fiber arts, I found that many spinners struggle with carding wool, often due to a lack of clear guidance or poorly made carding tools. In this article, I’ll share my own experiences and tips for carding wool, from selecting the right wool types to using the correct carding techniques. You’ll learn how to identify and avoid common mistakes, and how to create your own carding tools using simple woodworking techniques. By the end of this guide, you’ll be well on your way to producing high-quality, hand-carded wool that will elevate your spinning and weaving projects to the next level.
Table of Contents
Guide Overview: What You'll Need
Total Time: 2 hours 30 minutes
Estimated Cost: $50 – $100
Difficulty Level: Intermediate
Tools Required
- Drum Carder (or Hand Cards)
- Scouring Bucket (large enough to hold wool and water)
- Measuring Cups (for measuring water and detergent)
- Thermometer (to monitor water temperature)
- Clean Work Surface (approximately 6 feet long and 3 feet wide)
Supplies & Materials
- Raw Wool (in various colors and types)
- Wool Scouring Detergent (specifically designed for washing wool)
- Hot Water (around 104 degrees Fahrenheit)
- Carding Oil (or Lanolin)
- Waste Bin (for disposing of dirt and debris)
Step-by-Step Instructions
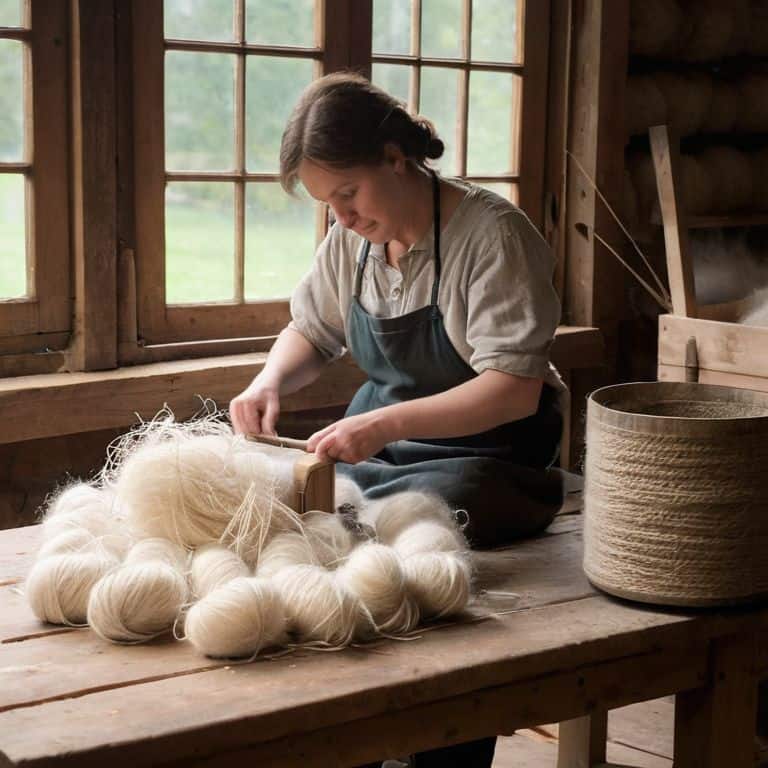
- 1. First, let’s start by preparing our workspace. I like to work on a large, sturdy table or countertop, covered with a drop cloth or old sheet to protect it from any stray fibers or debris. Make sure you have good lighting and a comfortable place to sit, as carding wool can be a bit of a process.
- 2. Next, we need to sort and clean our wool. Take your raw wool and separate it into smaller batches, removing any visible debris like twigs, leaves, or second cuts. You can use a simple comb or your fingers to gently tease out any tangles or mats, working from the ends of the fibers towards the cut end.
- 3. Now it’s time to get out our carding tools – I’m a big fan of handmade wooden carding drums, but you can also use commercial carders or even just a pair of hand cards. If you’re using a drum carder, make sure it’s securely attached to your work surface and that you have a comfortable grip on the handle.
- 4. With our tools at the ready, let’s start the actual carding process. Take a small handful of your cleaned and sorted wool and feed it into the carding drum, using a gentle but firm motion to guide the fibers through the teeth. You’ll start to see the wool begin to align and smooth out, which is exactly what we’re looking for.
- 5. As you continue to card, you’ll need to monitor the drum’s tension and adjust as needed to avoid over-carding or under-carding your wool. You want to aim for a smooth, even flow of fibers through the drum, with just the right amount of tension to produce a consistent, well-carded rolag.
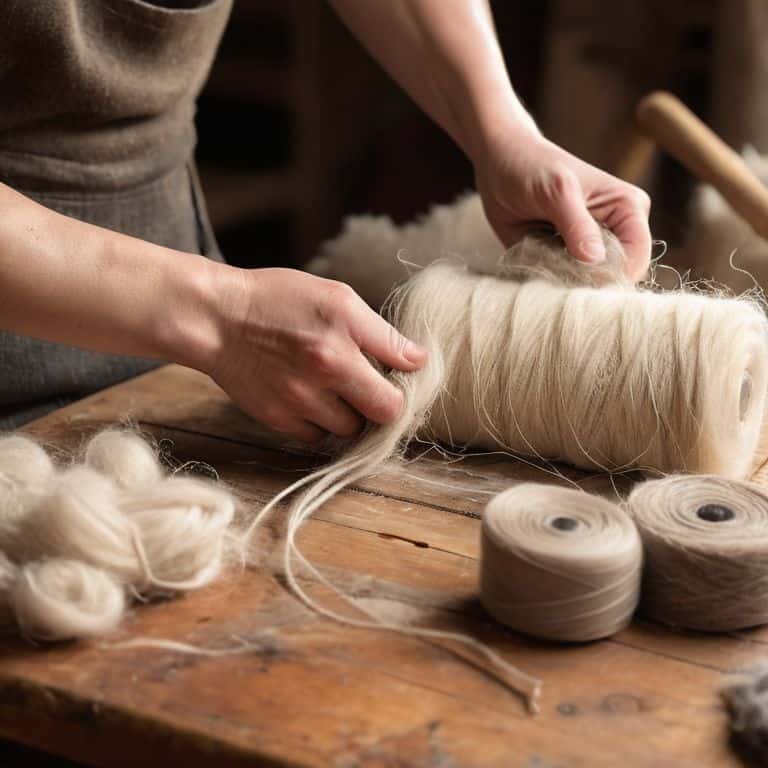
- 6. Once you’ve carded a batch of wool, it’s time to remove the rolag from the drum and set it aside. You can use a small tool or even just your fingers to gently tease out any remaining tangles or twists, and then repeat the process with your next batch of wool.
- 7. Finally, after you’ve carded all of your wool, it’s time to evaluate and refine your results. Take a close look at your rolags and check for any remaining imperfections or inconsistencies. If needed, you can re-card specific batches or use a pair of hand cards to fine-tune the fibers and produce an even more consistent yarn.
A Guide to Carding Wool for Spinning
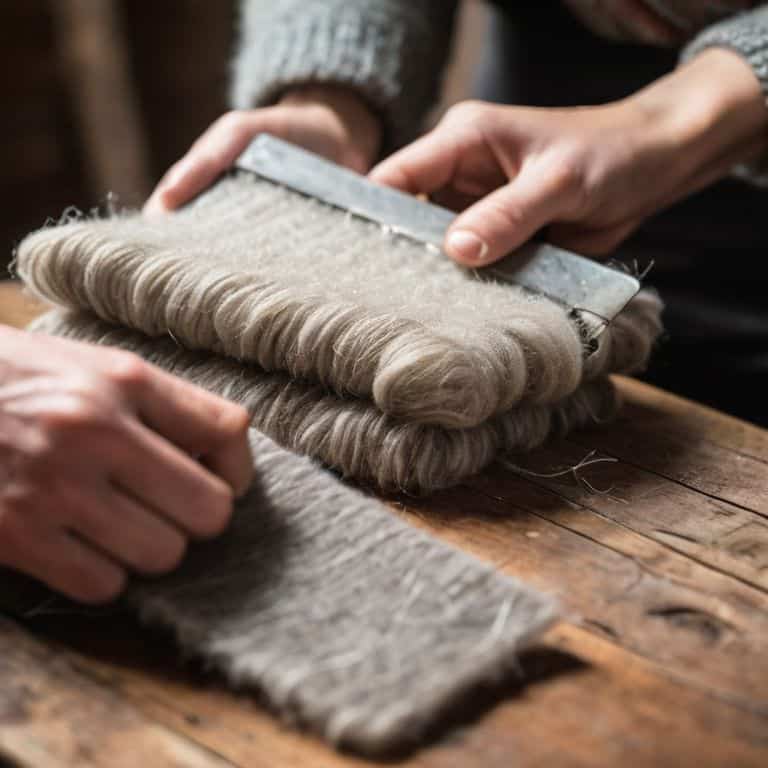
As I work with wool fibers, I’ve come to appreciate the importance of wool fiber preparation techniques. Hand carding and drum carding are two popular methods, each with its own advantages. Hand carding allows for more control over the fiber alignment, while drum carding is generally faster and more efficient for larger quantities. When creating rolags for spinning, I prefer hand carding to achieve a more uniform texture.
When it comes to cleaning wool fibers, gentle handling is key to preventing damage. I’ve found that using a soft-bristled brush to remove any debris or tangles can make a big difference in the quality of the final product. Additionally, blending colors in wool carding can add an extra layer of creativity to your spinning projects. By combining different hues and shades, you can create unique and interesting color combinations that will elevate your finished yarn.
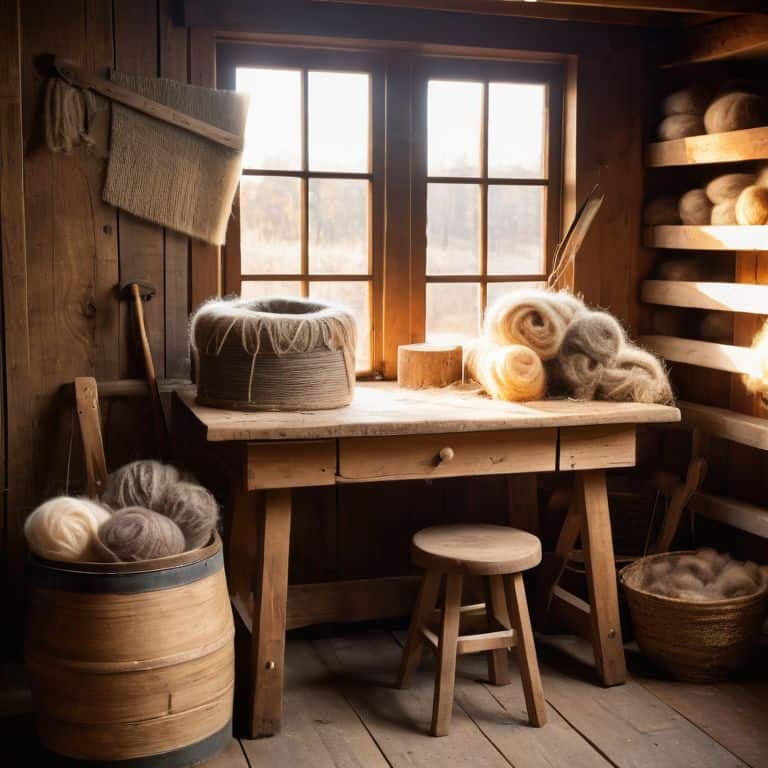
In my experience, using batts in fiber arts can be a game-changer. Not only do they provide a convenient way to store and transport your carded fibers, but they also allow for easy blending and mixing of different colors and textures. By taking the time to properly prepare and card your wool fibers, you’ll be rewarded with a more enjoyable spinning experience and a higher-quality finished product. Attention to detail is crucial in this process, and I’ve found that it’s well worth the extra effort.
Creating Rolags and Using Batts for Fiber Arts
Now that we’ve covered the basics of hand and drum carding, let’s talk about creating rolags and using batts for fiber arts. I love this part of the process – it’s where things start to get really creative. When I’m making rolags, I like to think about the type of yarn I want to spin. Do I want it to be smooth and consistent, or more textured and interesting? The way you create your rolags can really affect the final product.
I’ve found that using batts can be a great way to add some extra texture and visual interest to your fiber arts projects. My wife, who’s an avid weaver, loves to use them to create unique and intricate patterns. By combining different colors and types of fiber, you can create some really stunning effects. And the best part is, it’s all about experimentation and having fun with the process.
Hand Carding vs Drum Carding Explained
When it comes to carding wool, you’ve got two main options: hand carding and drum carding. I’ve tried my hand at both, and let me tell you, each has its own unique charm. Hand carding is like a meditation – it’s a slow, intentional process that allows you to really connect with the fiber. You can feel the wool aligning under your hands, and it’s amazing for small batches or specialty fibers.
Drum carding, on the other hand, is like a production line – it’s faster, more efficient, and perfect for larger quantities. I’ve restored a few old drum carders in my time, and there’s something beautiful about the way they hum along, aligning the fibers with ease. Ultimately, the choice between hand and drum carding comes down to your personal preference, the type of fiber you’re working with, and the amount of time you’re willing to invest.
5 Key Tips for Mastering the Art of Carding Wool
- Always sort and clean your wool fibers before carding to remove any debris, dirt, or second cuts, which can damage your carders or affect the quality of your yarn
- Choose the right type of carders for your project – hand carders are great for small batches and blending colors, while drum carders are better suited for larger quantities and producing consistent batts
- Keep your carders well-maintained and store them in a dry place to prevent rust and damage – a little wax or oil can go a long way in keeping them running smoothly
- Experiment with different fiber combinations and blends to create unique and interesting textures – carding wool with other fibers like alpaca, silk, or cotton can add depth and character to your yarn
- Don’t over-card your wool – it’s better to err on the side of under-carding, as over-carding can lead to felted or damaged fibers that are difficult to spin or work with
Key Takeaways for Carding Wool like a Pro
Always choose the right carding tool for your fiber type and project needs, whether it’s hand cards for small batches or a drum carder for larger quantities
Mastering the art of creating uniform rolags and batts is crucial for achieving consistent yarn quality, and it’s worth experimenting with different techniques to find what works best for you
Remember, the quality of your carded wool directly impacts the final spin, so don’t be afraid to take your time, get a little messy, and enjoy the process of transforming raw fiber into something truly special
The Heart of Spinning
Carding wool for spinning is not just about preparing fibers, it’s about understanding the journey from fleece to yarn – every twist, every turn, and every decision along the way shapes the final product, and that’s what makes it so beautifully human.
Finnian "Finn" Burke
Putting it all Together: A Carpenter's Take on Carding Wool
As we’ve explored in this guide to carding wool for spinning, the process of preparing your fibers is just as important as the spinning itself. We’ve discussed the basics of hand carding and drum carding, as well as the differences between them. We’ve also touched on how to create rolags and use batts for various fiber arts projects. By understanding these fundamental steps, you’ll be well on your way to producing high-quality yarn that showcases your unique touch. Whether you’re a seasoned spinner or just starting out, mastering the art of carding wool will elevate your craft and open up new possibilities for creative expression.
As you continue on your fiber journey, remember that the tools you use are an extension of your own creativity. Don’t be afraid to experiment and try new things – it’s often the unexpected combinations that lead to the most exciting results. By embracing the process of carding wool and spinning your own yarn, you’re not only creating something beautiful and functional, but you’re also honoring the tradition of makers who have come before us. So go ahead, get your hands dirty, and see where the fiber takes you!
Frequently Asked Questions
What are the best types of wool for hand carding versus drum carding?
For hand carding, I prefer working with finer wools like Merino or Rambouillet – they’re easier to process and produce a lovely, smooth rolag. Drum carding, on the other hand, can handle coarser fibers like Corriedale or Shetland, which creates a beautiful, textured batt. Experiment with different types to find your favorite!
How do I clean and maintain my carding tools to prevent damage and ensure optimal performance?
To keep your carding tools in top shape, I recommend regular cleaning with a soft brush and occasional oiling of the metal parts. For hand cards, gently wipe down the paddles with a damp cloth, while drum carders can be cleaned with a small vacuum or brush to remove loose fibers.
Can I use recycled or raw materials to create my own carding tools, and if so, what are some recommended DIY methods?
Absolutely, you can create your own carding tools from recycled or raw materials. I’ve made carders from old wooden rulers and metal dog brushes. You can also repurpose vintage cards or use natural materials like bamboo or antler. I’ll share some DIY methods in my next post, including how to make a hand carder from a wooden block and some wire.