As I sat in my cozy knitting nook, surrounded by balls of yarn and half-finished projects, I couldn’t help but think about the game-changing technique that has saved me from countless hours of frustration: what is a knitting lifeline and how to use it. I’ve lost count of how many times a knitting lifeline has rescued me from a potential disaster, and I’m excited to share my knowledge with you. Whether you’re a seasoned knitter or just starting out, understanding what is a knitting lifeline and how to use it can be a total lifesaver.
In this article, I’ll guide you through the simple yet powerful process of creating and using a knitting lifeline. You’ll learn how to effortlessly add a safety net to your knitting projects, giving you the confidence to try new patterns and techniques without fear of mistakes. I’ll share my personal tips and tricks for making the most of this technique, and by the end of this guide, you’ll be equipped with the knowledge to knit with ease and precision. So, let’s dive in and explore the wonderful world of knitting lifelines together!
Table of Contents
Guide Overview: What You'll Need
Total Time: 30 minutes to 1 hour
Estimated Cost: $5 – $10
Difficulty Level: Easy
Tools Required
- Yarn Needle for weaving in ends
- Scissors for cutting yarn
- Stitch Markers optional
Supplies & Materials
- Contrasting Yarn for lifeline
- Knitting Project with existing stitches
Step-by-Step Instructions
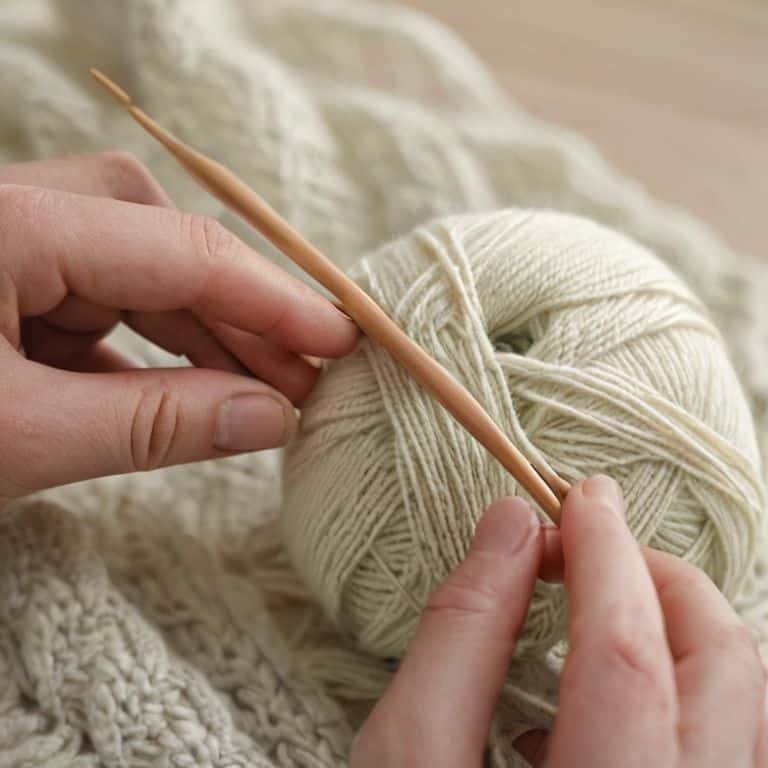
- 1. First, let’s start by understanding what a knitting lifeline is and why it’s a total game-changer for any knitting project. Essentially, it’s a way to add a safety net to your work, allowing you to try new things without the fear of making a mistake that could unravel your entire project. To begin, you’ll need a spare needle or a yarn needle, some scrap yarn, and your current knitting project.
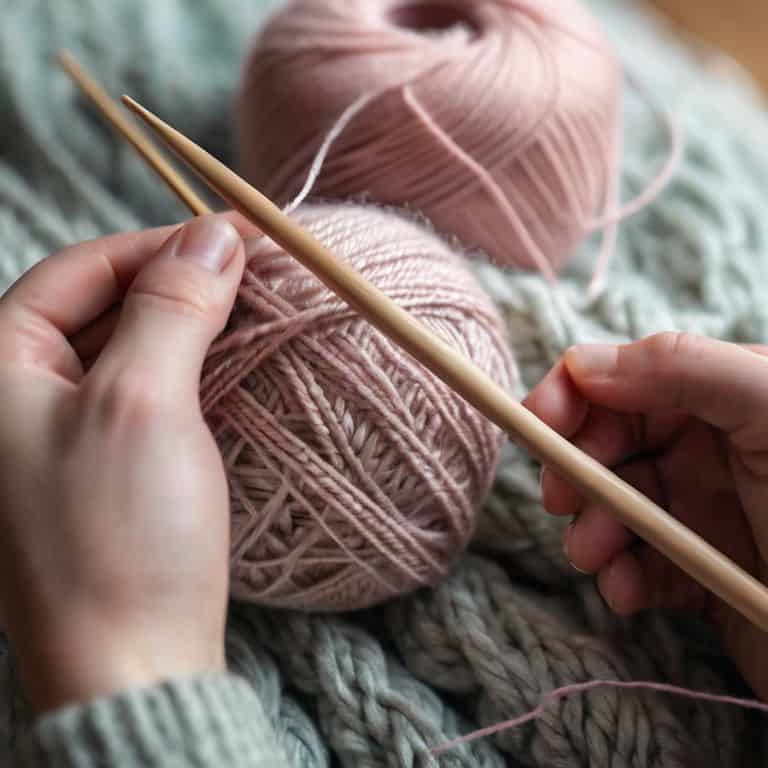
- 2. Next, you’ll want to identify the row where you want to insert the lifeline. This is usually a point where you’ve completed a complex pattern or a section that you’re not sure about. Take a moment to review your pattern and make sure you’re at a stable point in your project. This will ensure that your lifeline is effective and easy to work with.
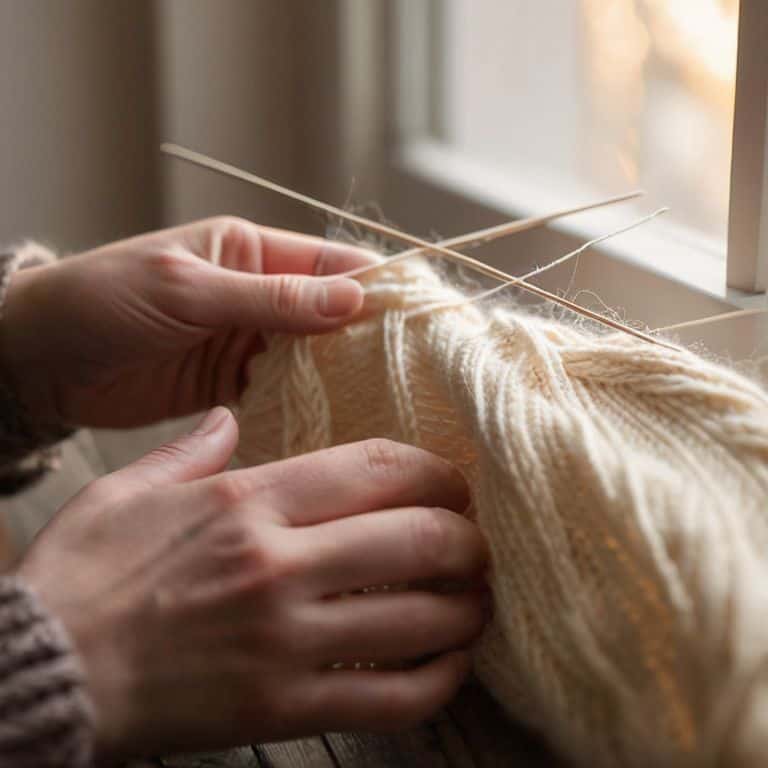
- 3. Now, thread your scrap yarn through the stitches on your needle, making sure to go through each stitch carefully. This is where the magic happens, as you’re essentially creating a backup of your current row. Use a yarn needle to help guide the scrap yarn through the stitches, and don’t pull it too tight, as you want to be able to easily remove it later.
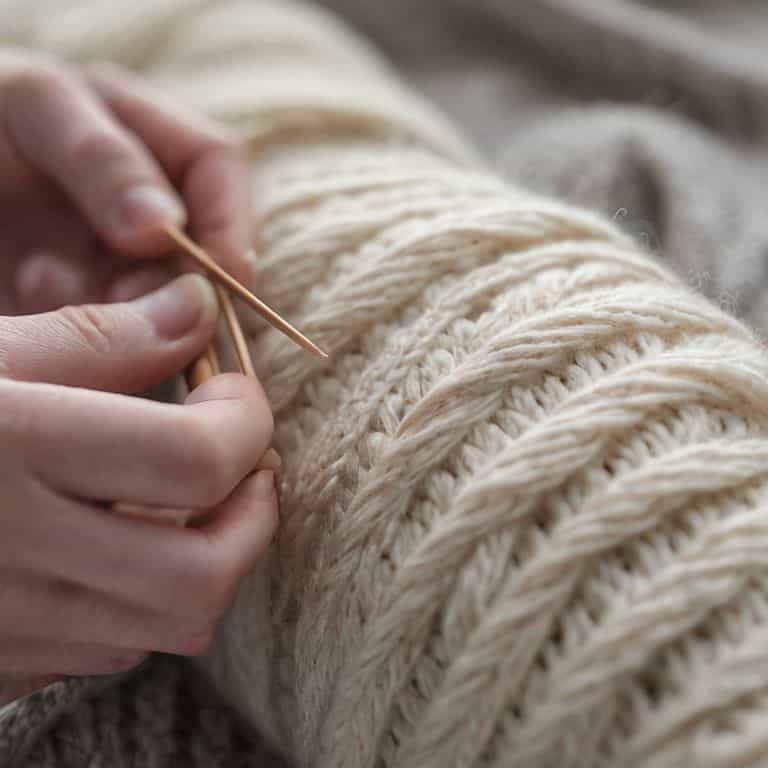
- 4. Once you’ve threaded the scrap yarn through all the stitches, gently pull it to make sure it’s not too loose or too tight. You want it to be snug enough to hold its place, but not so tight that it distorts the stitches. Take a moment to admire your handiwork and make sure everything looks even and consistent.
- 5. With your lifeline in place, you can now feel free to experiment with new stitches, try out a different pattern, or even frogging (ripping out) your work without worrying about losing your place. If you do make a mistake, you can simply rip back to the lifeline and start again from a safe point. This can be a huge time-saver and stress-reducer, especially for more complex projects.
- 6. To remove the lifeline, simply pull out the scrap yarn, and your stitches will be left intact. You can then continue knitting from where you left off, or use the lifeline as a reference point to make adjustments to your project. It’s also a good idea to take notes on your project, including where you placed the lifeline and any adjustments you made, so you can refer back to them later.
- 7. Finally, don’t be afraid to use multiple lifelines throughout your project, especially if you’re working on a complex pattern or using a new technique. Having multiple safety nets in place can give you the confidence to try new things and experiment with different ideas, all while knowing that you have a backup plan in place. With practice, using lifelines will become second nature, and you’ll wonder how you ever managed without them.
What Is a Knitting Lifeline and How to Use It
As we explore the world of knitting lifelines, it’s essential to understand that preventing errors is a crucial aspect of this technique. By incorporating a lifeline into your knitting project, you’re creating a safety net that allows you to recover from mistakes with ease. This is particularly useful for beginners, as it gives them the confidence to experiment with new stitches and patterns without the fear of unraveling their entire project.
When it comes to lifeline techniques in knitting, there are a few tools that can make the process smoother. One such tool is a yarn needle, which is used to thread the lifeline through the stitches. It’s also important to choose the right yarn for your lifeline, as it should be thin and strong enough to hold the stitches in place. By using the right tools and techniques, you can ensure that your knitting project safety nets are effective and easy to use.
In complex knitting patterns, using lifelines can be a game-changer. It allows you to focus on the intricate stitches and patterns without worrying about making mistakes. As you become more comfortable with lifeline tools for knitters, you’ll find that you can tackle even the most challenging projects with confidence. Remember, the key to successful lifeline knitting is to be patient and gentle when using lifelines in complex knitting patterns, as this will help you avoid common mistakes and ensure a beautiful finish.
Lifeline Techniques for Complex Patterns
When working with intricate designs, lifeline techniques become especially valuable. For complex patterns, I recommend inserting lifelines at key points, such as after completing a difficult repeat or before starting a new section. This allows you to safely try out new stitches or corrections without risking hours of work. By doing so, you’ll be able to focus on the beauty of the pattern, rather than worrying about potential mistakes.
For multi-color or cable patterns, consider using a lifeline after each color change or cable cross. This will help you keep track of your place and prevent errors from propagating. With a lifeline in place, you can confidently experiment with new techniques, knowing that you have a safety net to fall back on.
Preventing Errors With Lifelines
Preventing errors is where lifelines truly shine. By weaving a lifeline into your work, you’re essentially creating a safety net that allows you to frogging (rip out) your stitches back to a safe point if you make a mistake. This is especially useful for complex patterns or when working with expensive or hard-to-find yarns. With a lifeline in place, you can experiment with new techniques or try out a difficult section without the fear of ruining your entire project.
I like to think of lifelines as a form of insurance for my knitting. They give me the confidence to take risks and try new things, knowing that I can always fall back on a secure point if things go awry. And the best part? Lifelines are incredibly easy to implement, requiring just a few minutes of extra time and a length of scrap yarn.
Weaving Wisdom: 5 Essential Tips for Working with Knitting Lifelines
- Always choose a lifeline yarn that contrasts with your main project yarn, making it easier to see and work with
- Insert your lifeline at strategic points, such as before starting a new pattern or after completing a complex section
- Use a yarn needle to gently weave the lifeline yarn through the stitches, taking care not to split or distort the surrounding yarn
- When working with complex patterns, consider using multiple lifelines to separate different sections or motifs
- Remember to remove your lifeline as you complete each section, reinserting it as needed to maintain a safe and stress-free knitting experience
Key Takeaways for Knitting with Lifelines
Always thread a lifeline before starting a complex pattern to save time and frustration in case of mistakes
Use a lifeline to mark the beginning of a new pattern or section, making it easier to rip back if needed and maintain your sanity
Experiment with different lifeline techniques, such as using a contrasting yarn or a specialized tool, to find what works best for your knitting style and projects
The Wisdom of Lifelines
A knitting lifeline is more than just a technical tool – it’s a reminder to breathe, to pause, and to trust the process, allowing us to weave not just stitches, but moments of peace and serenity into every row.
Clara Meadows
Weaving a Safety Net: Conclusion
As we’ve explored the wonderful world of knitting lifelines, I hope you’ve gained a deeper understanding of how this simple yet powerful technique can revolutionize your knitting experience. From preventing errors to navigating complex patterns, lifelines offer a sense of security and freedom to experiment with new stitches and designs. By incorporating lifelines into your knitting routine, you’ll be able to breathe a sigh of relief whenever you make a mistake, knowing that you can easily recover and continue creating something beautiful.
So, the next time you pick up your needles, remember that knitting is not just about creating something with yarn, but about the journey of mindfulness and self-expression. As you weave your own safety net with lifelines, I encourage you to embrace the process, enjoy the gentle rhythm of the needles, and let the joy of knitting shine through in every stitch. Happy knitting, friends!
Frequently Asked Questions
How often should I insert a lifeline when working on a complex knitting pattern?
When working on a complex pattern, I recommend inserting a lifeline every 5-10 rows, or whenever you’re about to start a new section or try a tricky technique. This way, you’ll have a safe point to frog back to if mistakes occur, and you can breathe easy knowing your hard work is protected.
Can I use a knitting lifeline with any type of yarn or are there specific yarns that work best?
While knitting lifelines can be used with most yarns, I find that smoother yarns like merino wool or cotton work beautifully. Avoid using lifelines with very fuzzy or slippery yarns, as they can be prone to snagging or sliding out of place. Experiment with different yarns to see what works best for you and your project.
What's the best way to remove a lifeline once I've completed my knitting project and don't need it anymore?
To remove a lifeline, simply snip the yarn close to your work and gently pull it out. Don’t worry if it’s a bit fiddly – the stitches will relax back into place. You can also use a tapestry needle to tease out any remaining lifeline yarn, leaving your finished project smooth and beautiful.