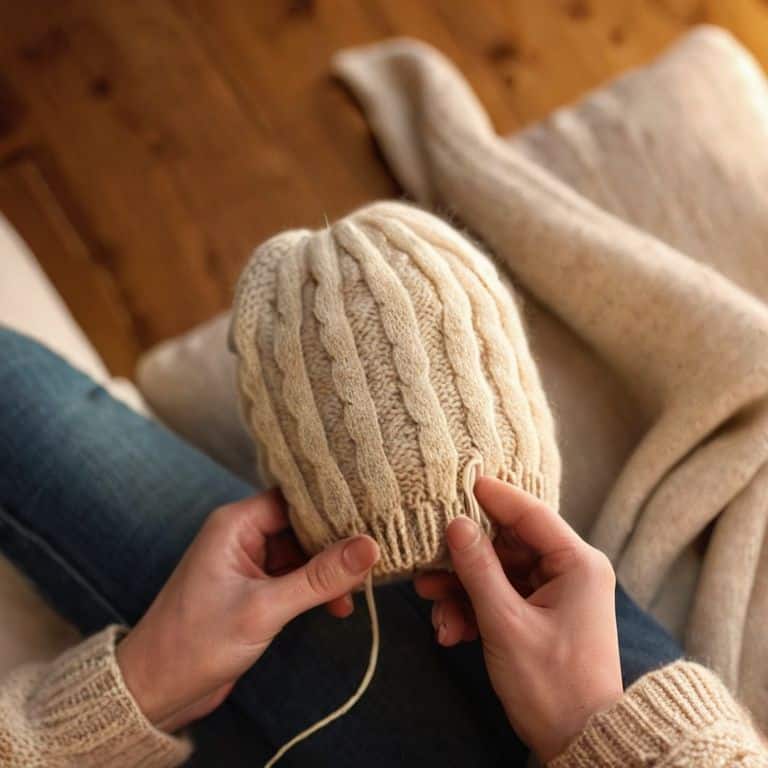
As I sit here surrounded by balls of yarn and half-finished projects, I’m reminded of the countless times I’ve struggled with how to decrease stitches for a hat crown. It’s a common myth that decreasing stitches is a tedious, complicated process, but I’m here to tell you that it’s quite the opposite. With a few simple techniques and a bit of patience, you can create a hat that fits perfectly and looks stunning. I recall my first attempts at decreasing stitches, where I would often end up with a misshapen hat that was more likely to fall off my head than stay put. But with practice and persistence, I’ve learned the secrets to creating a beautiful, snug-fitting hat.
In this article, I’ll share my honest, no-hype advice on how to decrease stitches for a hat crown, so you can avoid the common pitfalls and create a hat that you’ll love wearing. You’ll learn how to work those decreases with ease, creating a seamless and _effortless_ finish. I’ll guide you through the process, step by step, so you can confidenceally tackle even the most complex hat patterns. Whether you’re a beginner or an experienced knitter, you’ll find my tips and tricks invaluable in creating a hat that fits perfectly and looks _absolutely stunning_.
Table of Contents
- Guide Overview: What You'll Need
- Step-by-Step Instructions
- Decreasing Stitches for Hat Crowns
- Weaving Wisdom: 5 Essential Tips for Decreasing Stitches in Your Hat Crown
- Weaving Wisdom: 3 Essential Takeaways for a Perfect Hat Crown
- The Gentle Art of Decrease
- Weaving a Perfect Crown
- Frequently Asked Questions
Guide Overview: What You'll Need
Total Time: 30 minutes to 1 hour
Estimated Cost: $0 – $10
Difficulty Level: Intermediate
Tools Required
- Knitting needles size dependent on hat pattern
- Scissors for cutting yarn
- Tapestry needle for weaving in ends
Supplies & Materials
- Yarn matching the hat’s original yarn
- Measuring tape or a ruler, for measuring hat circumference in inches
- Stitch markers optional, for marking decreases
Step-by-Step Instructions
- 1. First, let’s start by understanding the importance of decreasing stitches in our hat crown – it’s all about creating a smooth, rounded shape that fits comfortably on our heads. To begin, make sure you have your knitting pattern and yarn ready, and let’s take a deep breath together as we embark on this creative journey.
- 2. Next, we need to identify the decrease stitches in our pattern – these are usually marked with a specific abbreviation, such as “k2tog” or “p2tog”. Take a moment to familiarize yourself with the pattern, and don’t hesitate to reach out if you have any questions or concerns.
- 3. Now, let’s work on the first decrease row – this is where the magic happens, and our hat crown starts to take shape. To do this, we’ll be working a combination of knit and purl stitches, carefully decreasing the stitches as we go along. Make sure to keep your tension even, as this will affect the overall fit of your hat.
- 4. As we continue to decrease stitches, it’s essential to pay attention to our stitch count, ensuring that we’re on track with our pattern. If you find that you’ve made a mistake, don’t worry – it’s easy to fix, and we can work through it together.
- 5. The next step is to work the decrease stitches in a specific sequence – this will help us achieve a balanced, symmetrical shape. Take your time, and remember that it’s all about the process, not just the end result. Enjoy the rhythmic clickety-clack of your knitting needles as you work through this step.
- 6. Now that we’ve completed the decrease rows, it’s time to try on our hat and see how it fits. If needed, we can make adjustments to the stitches or the decrease sequence to get the perfect fit. Don’t be afraid to experiment and make changes – it’s all part of the creative process.
- 7. Finally, let’s weave in those ends and block our hat to give it a professional finish. This step is all about relaxing and enjoying the fruits of our labor, so take a deep breath, and let’s admire our beautiful, handmade hat together.
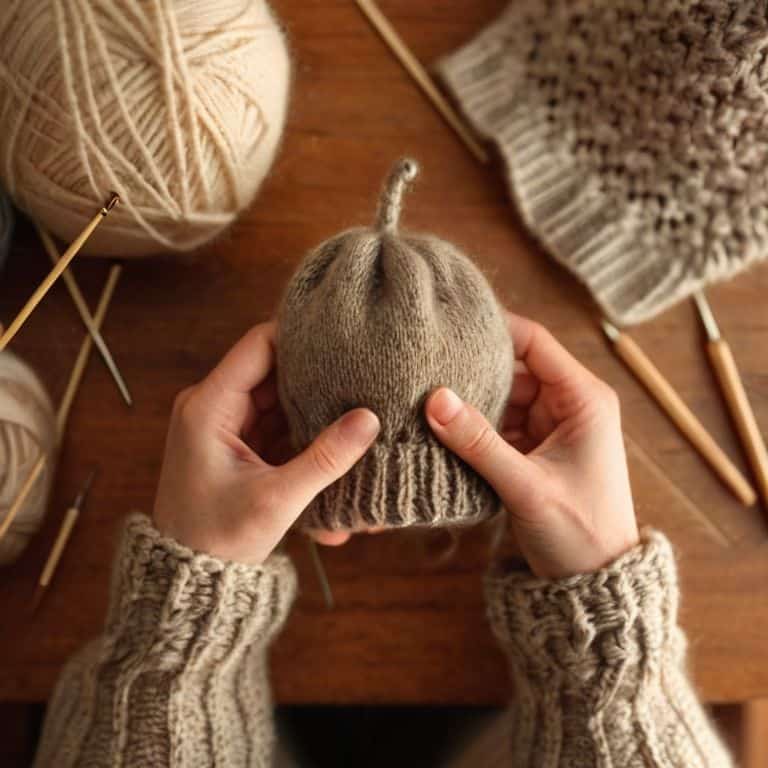
Decreasing Stitches for Hat Crowns
As we work on decreasing stitches for our hat crowns, it’s essential to consider the overall hat crown shaping techniques we want to achieve. A well-shaped crown can make all the difference in the fit and appearance of our finished hat. To ensure a professional finish, we can use decreasing stitches in knitting patterns to create a smooth, rounded shape. This technique allows us to gradually reduce the number of stitches, creating a seamless transition from the body of the hat to the crown.
When it comes to circular knitting decrease tips, it’s crucial to maintain an even tension to prevent puckering or distortion. One way to achieve this is by using a consistent decrease method throughout the project. For example, if we’re working with a worsted weight yarn, we may want to use a knitting stitch reduction method that involves decreasing stitches in a specific pattern to maintain the fabric’s texture and drape.
By mastering these techniques, we can take our hat-making skills to the next level and create beautiful, professional-looking finishes. Whether we’re looking to add a decorative touch or simply want to ensure a comfortable fit, hat finishing ideas can help us achieve our goals. With practice and patience, we can develop the skills and confidence to modify and create our own unique knitting patterns, making every project a joy to work on.
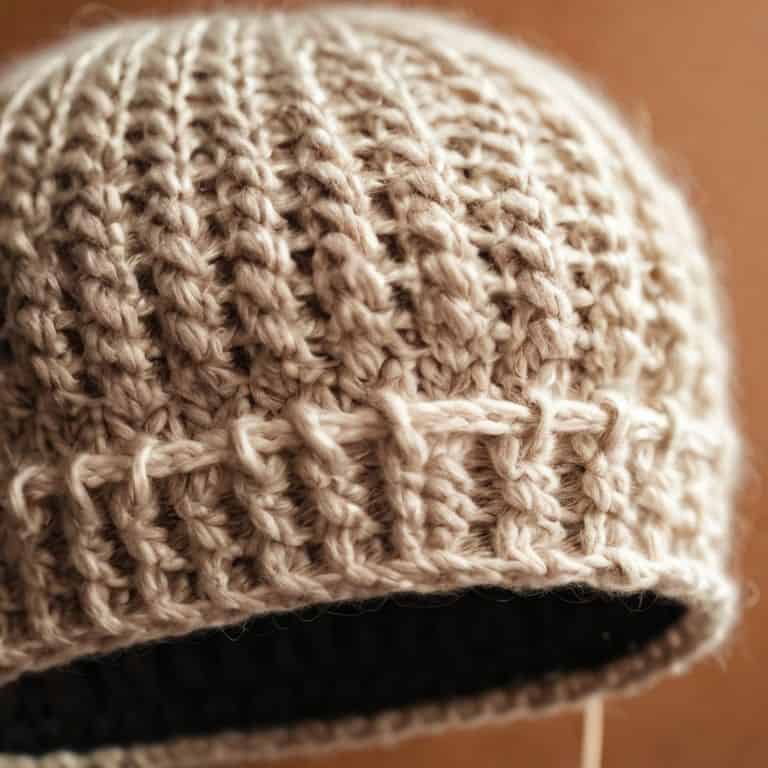
Circular Knitting Decrease Tips
When working with circular knitting, decreasing stitches requires a gentle touch. To maintain a smooth, even fabric, I recommend using the K2tog (knit 2 together) method, as it allows the stitches to decrease seamlessly. As you work your decreases, remember to keep your tension even, just as you would when knitting a straight row. This will help prevent any puckering or distortion in the fabric.
By following this approach, you’ll be able to shape your hat crown with ease, creating a beautiful, rounded silhouette that fits comfortably. Take your time, and don’t be afraid to try it out – with a little practice, you’ll be decreasing stitches like a pro, and your hat will be all the more lovely for it.
Hat Crown Shaping Secrets
As we work on shaping our hat crown, it’s all about creating a seamless, gentle curve. To achieve this, I like to think of decreasing stitches as a gradual whisper, rather than a sudden shout. By spacing out our decreases, we can coax the fabric into a beautiful, rounded shape that fits snugly on the head. It’s a delicate dance, but one that’s well worth the effort.
For a truly professional finish, try combining different decrease methods to create a subtle, nuanced shape. I often use a combination of knit two together and slip, slip, knit to create a smooth, even curve. Remember, the key is to work slowly and mindfully, allowing the stitches to guide your needles. With a little practice, you’ll be shaping hat crowns like a pro, and enjoying the meditative process along the way.
Weaving Wisdom: 5 Essential Tips for Decreasing Stitches in Your Hat Crown
- Listen to your yarn: pay attention to its texture and drape to determine the best decrease method for your hat crown
- Decrease with intention: don’t be afraid to try out different decrease techniques to find the one that works best for your project
- Measure twice, decrease once: take the time to ensure your decreases are evenly spaced and your hat crown is shaping up as desired
- Mind the gap: be mindful of the tension in your stitches as you decrease, aiming for a smooth, even fabric
- Trust the process: don’t worry if your hat crown doesn’t look perfect at first – blocking and wear will help it settle into its final, lovely shape
Weaving Wisdom: 3 Essential Takeaways for a Perfect Hat Crown
As you work on decreasing stitches for your hat crown, remember that patience and gentle tension are key to achieving a seamless, professional finish
Experimenting with different decrease methods can help you discover what works best for your personal knitting style and the specific yarn you’re using
By mastering the art of decreasing stitches, you’ll unlock a world of hat crown possibilities, from slouchy berets to fitted beanies, and everything in between
The Gentle Art of Decrease
As we weave our stitches together, remember that decreasing is not just a technique, but a whispered promise to the yarn, allowing it to unfold into the gentle curves of a hat that cradles the head and warms the heart.
Clara Meadows
Weaving a Perfect Crown
As we’ve explored the world of decreasing stitches for a hat crown, remember that the key to a beautiful, fitted crown lies in the combination of circular knitting decrease tips and a deep understanding of your yarn and needles. We’ve delved into hat crown shaping secrets, and I hope you’ve found these insights as invaluable as I do. By mastering these techniques, you’ll be well on your way to creating hats that not only fit perfectly but also exude a sense of handmade love and care.
So, as you put down your needles and admire your latest creation, remember that knitting is not just about the stitches; it’s about the quiet magic we weave into every row. It’s the joy of creation, the peace of the process, and the love that goes into every carefully crafted item. Keep knitting, and never forget the sense of accomplishment and calm that comes with it.
Frequently Asked Questions
What's the best way to avoid a puckered or distorted fabric when decreasing stitches for a hat crown?
To avoid a puckered or distorted fabric, I find it helps to decrease stitches gradually, spacing them out evenly, and using a combination of knit and purl decreases to maintain a smooth, even texture – it’s all about gentle, mindful decreases, don’t you think?
How do I know when to switch from decreasing stitches in a specific pattern to a more gradual decrease for a smoother hat crown shape?
The beauty of a smooth hat crown lies in its subtle curve. To know when to switch to a more gradual decrease, try this: as you work your decreases, gently stretch the fabric to assess its shape. When it begins to feel snug, yet still has a soft drape, it’s time to ease into a gentler decrease rhythm, allowing the crown to bloom into its perfect form.
Can I use the same decreasing stitches technique for both adult and child hat sizes, or are there specific adjustments I should make for smaller sizes?
For smaller sizes, I recommend adjusting the decrease rate to ensure a snug fit. While the same technique applies, you’ll want to decrease stitches more gradually for child sizes to maintain a comfortable, proportional shape. A good rule of thumb is to decrease in smaller increments, checking the fit as you go, to achieve that perfect, cozy crown.