
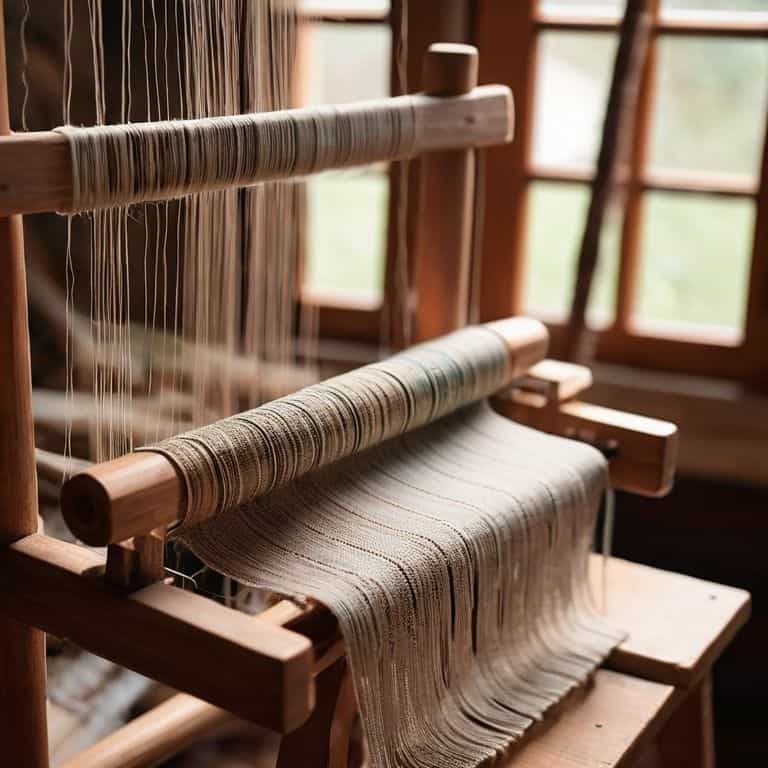
As I sit at my loom, surrounded by threads of linen and raw silk, I often think about the misconception that a guide to the inkle loom is only for experienced weavers. The truth is, this ancient tool is accessible to anyone willing to learn, and its possibilities are endless. I’ve seen many people intimidated by the inkle loom’s intricate design, but I believe that with the right approach, it can be a powerful tool for creating stunning, one-of-a-kind textiles.
In this article, I’ll share my personal experience with the inkle loom, and provide you with practical advice on how to get started. You’ll learn how to build texture and form using this versatile tool, and how to create beautiful woven art that reflects your unique style. Whether you’re a beginner or an experienced weaver, my goal is to inspire you to see the inkle loom as a means to express your creativity and push the boundaries of what’s possible with fiber art. By the end of this guide, you’ll be equipped with the knowledge and confidence to start weaving your own unique narrative.
Table of Contents
Guide Overview: What You'll Need
Total Time: 2 hours 30 minutes
Estimated Cost: $50 – $100
Difficulty Level: Intermediate
Tools Required
- Table saw (for cutting wood to size)
- Drill press (for precise hole drilling)
- Sandpaper (for smoothing out wood surfaces)
- Tape measure (for accurate measurements)
- Square (for ensuring proper alignment)
- Clamp (for holding pieces in place)
- Saw (for cutting wood strips to length)
- Pencil (for marking wood pieces)
Supplies & Materials
- Wood (e.g., 1-in x 4-in lumber, 8 feet long)
- Cotton or nylon cord (for warp threads)
- Thread or yarn (for weft material)
- Wood glue (for assembling loom components)
- 2-in wood screws (for securing frame pieces)
- 1-in wood dowel (for creating shed stick)
- Metal or plastic hook (for picking up loops)
Step-by-Step Instructions
- 1. First, let’s start by understanding the basic components of the inkle loom, which include the warp beam, the heddle, and the shuttle. To begin, you’ll need to assemble your loom according to the manufacturer’s instructions, or if you’re like me and enjoy woodworking, you might have even built your own. Either way, make sure all parts are securely in place before proceeding.
- 2. Next, you’ll need to measure and cut your warp threads. This is a crucial step, as the length and tension of your warp will affect the overall texture and appearance of your finished piece. I like to use a variety of natural fibers, such as linen or raw silk, for their unique textures and visual interest. Cut your threads to the desired length, leaving a little extra for finishing.
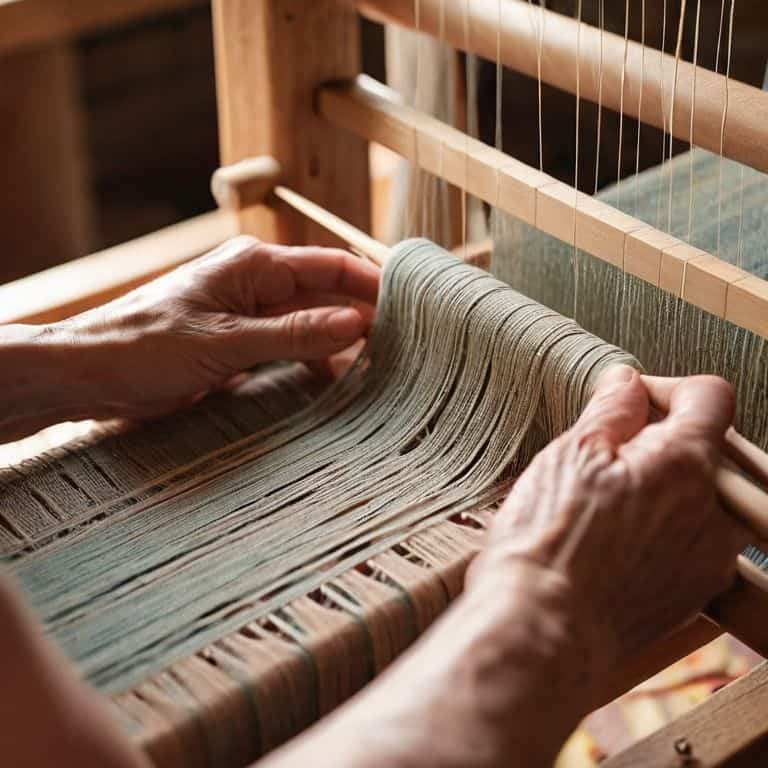
- 3. Now it’s time to dress the loom, which involves threading the warp threads through the heddle and onto the warp beam. This can be a bit tedious, but it’s essential to get it right. Take your time, and make sure each thread is properly seated and evenly spaced. I find it helpful to use a graph paper sketch of my design to keep track of my threading pattern.
- 4. With your loom dressed, you can start weaving your first row. Begin by passing the shuttle through the shed, which is the open space between the warp threads. Then, gently pull the weft thread tight to secure it in place. Repeat this process, moving the heddle up and down to create a simple over-under pattern. Don’t worry too much about tension at this stage – we’ll adjust that later.
- 5. As you continue weaving, you’ll want to monitor your tension and make adjustments as needed. Proper tension is key to creating a beautiful, even fabric. If your weave is too loose, it may sag or pucker; if it’s too tight, it may become stiff or even break. I like to think of it as finding the perfect balance, where the threads work together in harmony.
- 6. Now that you’re getting into a rhythm, let’s talk about adding texture and interest to your weave. One way to do this is by introducing new threads or yarns with different textures or colors. You can also experiment with various weaving patterns, such as twill or herringbone, to add depth and visual appeal. Remember, the key to creating a stunning piece is to play with texture and form.
- 7. As you near the end of your project, it’s time to think about finishing techniques. This might include trimming the edges, adding a border, or even incorporating other materials, like wood or metal, into your design. I love this stage, as it’s where you can really let your creativity shine and add that extra something special to your piece. Take your time, and don’t be afraid to try new things – it’s all part of the process.
A Guide to the Inkle Loom
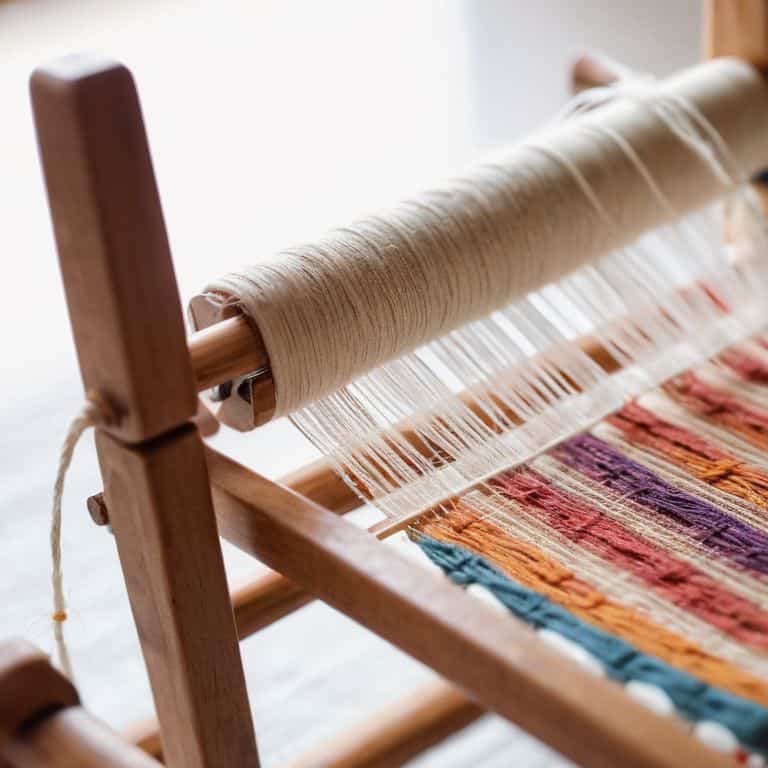
As I delve deeper into the world of inkle looms, I’m reminded of the importance of texture and form in creating stunning pieces. One of the most exciting aspects of working with an inkle loom is the ability to experiment with various inkle loom patterns for beginners, allowing you to develop your unique style and voice. Whether you’re drawn to simple, geometric designs or more intricate, complex patterns, the inkle loom offers a world of creative possibilities.
When it comes to selecting the perfect yarn for your inkle loom project, consider the inkle loom yarn selection process as an opportunity to explore different textures and colors. I often find myself drawn to natural fibers, such as linen or raw silk, which add a level of depth and sophistication to my woven pieces. By combining these fibers with thoughtful, intentional design, you can create truly breathtaking works of art that showcase the intersection of modern design and ancient craft.
As you continue on your inkle loom journey, remember to keep your projects simple and manageable, especially when you’re just starting out. Simple inkle loom projects can be a great way to build confidence and develop your skills, allowing you to gradually move on to more complex and ambitious endeavors. By embracing the process and enjoying the journey, you’ll find that working with an inkle loom is not only a creative outlet but also a source of joy and fulfillment.
Simple Inkle Loom Projects to Weave Modern Narratives
As I sit at my loom, threads of linen and raw silk waiting to be woven, I’m reminded of the beauty in simplicity. Inkle loom projects can be deceptively straightforward, yet they hold the power to craft modern narratives that are both personal and profound. I’ve found that starting with simple projects allows me to tap into the meditative rhythm of weaving, letting my mind wander as my hands move deftly.
Consider beginning with a series of subtle, tone-on-tone stripes or a delicate geometric pattern. These initial forays into inkle loom weaving will not only hone your technical skills but also invite you to explore the interplay of texture and color, setting the stage for more complex and nuanced designs to come.
Unraveling Inkle Loom Patterns for Beginners
Unraveling Inkle Loom Patterns for Beginners
As I delve into the world of inkle loom patterns, I’m reminded of the elegance of simplicity. For those just starting out, it’s essential to understand that patterns are the backbone of weaving. I like to think of them as the architectural blueprints for our textile creations. Simple patterns, such as the classic “pickup stick” design, can be a great starting point. By experimenting with different thread counts and yarn weights, you can begin to see the intricate dance of texture and color that inkle loom weaving has to offer.
My approach to designing patterns is rooted in my architectural background – I sketch out ideas on graph paper, considering the interplay of warp and weft threads. This method helps me visualize the final piece and make intentional decisions about texture, color, and form. By embracing this process, you’ll be well on your way to crafting unique, architectural pieces that showcase the beauty of inkle loom weaving.
Weaving Wisdom: 5 Essential Tips for Mastering the Inkle Loom
- Start with a strong foundation: Invest in high-quality yarn that speaks to you, and don’t be afraid to experiment with different textures and colors to find your unique voice
- Respect the rhythm: Understand the inkle loom’s unique rhythm and let it guide your creative process, just as an architect respects the site’s topography
- Pattern play is key: Don’t be intimidated by complex patterns – break them down into manageable parts, and remember that mistakes can often lead to exciting new design opportunities
- Keep it simple, yet bold: Don’t feel like you need to create intricate designs to make a statement – sometimes, the simplest patterns can be the most striking, especially when paired with a thoughtful color palette
- Experiment and evolve: The inkle loom is a versatile tool – don’t be afraid to push its limits and try new things, and always keep a sketchbook handy to record your ideas and inspirations
Key Takeaways: Weaving with the Inkle Loom
To unlock the full potential of the inkle loom, it’s essential to understand its unique rhythm and how it can be harnessed to create complex, architectural patterns and designs
By experimenting with different yarn weights, colors, and textures, you can elevate your inkle loom projects from simple crafts to stunning, modern pieces of art that showcase the intersection of ancient craft and contemporary design
Whether you’re a seasoned weaver or just starting out, the inkle loom offers a world of creative possibilities, from intricate wall hangings to functional items like bags and belts, all waiting to be explored and expressed through the beauty of woven art
Weaving Wisdom
The inkle loom is not just a tool, but a gateway to a world where threads become stories, and every weave is a testament to the beauty of intersection between ancient craft and modern design.
Ethan Thorne
Weaving a Legacy with the Inkle Loom
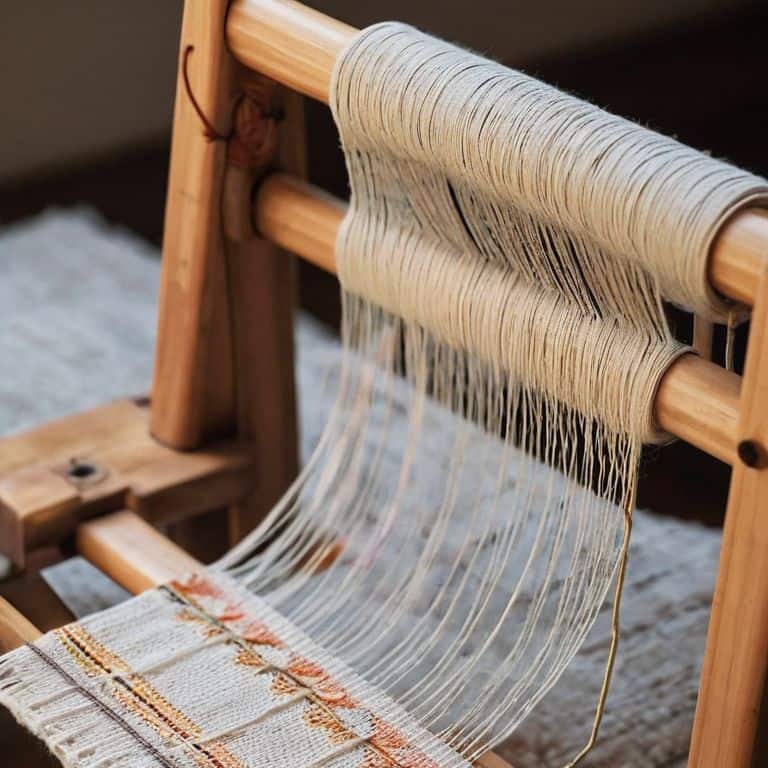
As we conclude this journey through the intricacies of the inkle loom, it’s essential to reflect on the fundamental principles that have guided us thus far. From unraveling patterns for beginners to exploring simple projects that weave modern narratives, we’ve delved into the very heart of what makes this ancient craft so compelling. The inkle loom, with its humble appearance, belies a depth of creative possibility that is both inspiring and intimidating. Yet, by breaking down the process into manageable steps and embracing the texture and form that this loom uniquely offers, we’ve seen how anyone can create beautiful, one-of-a-kind pieces that tell a story.
As you embark on your own inkle loom journey, remember that the true beauty of weaving lies not just in the physical act of threading yarn through warp and weft, but in the narrative you weave. Every piece is a testament to your creativity and a reflection of your unique perspective on the world. So, don’t be afraid to experiment, to push the boundaries of what is possible with this versatile tool. For in the world of inkle loom weaving, the only limit is your imagination, and the stories you tell with every thread are a lasting legacy of your artistic expression.
Frequently Asked Questions
What are the essential tools and materials needed to get started with an inkle loom?
To begin, you’ll need a few essential tools and materials, including the inkle loom itself, a shuttle, scissors, and a variety of yarns or threads that inspire you. I recommend starting with natural fibers like linen or raw silk, as they add a unique texture to your pieces.
How do I read and create my own inkle loom patterns to produce unique textiles?
To decipher inkle loom patterns, I recommend starting with simple grid paper sketches, much like architectural blueprints. Break down designs into repeat units, and consider texture and color interactions. Experiment with yarn weights and hues to bring your unique narratives to life.
What are some common mistakes to avoid when setting up and using an inkle loom for the first time?
When setting up and using an inkle loom for the first time, I’ve found that common mistakes include uneven warp tension, misaligned threads, and insufficient space for shedding. To avoid these, take your time, double-check your setup, and leave ample room for the loom’s mechanics to operate smoothly.
