I still remember the first time I tried to learn the single crochet stitch – I was frustrated, confused, and ready to give up. But then I discovered a simple truth: with a clear, step-by-step approach, anyone can master a guide to the single crochet stitch. It’s not about being naturally crafty or having a lot of experience; it’s about breaking down the process into manageable, bite-sized pieces. I’ve seen it time and time again in my craft workshops – students who thought they’d never be able to crochet end up creating beautiful projects with ease.
In this article, I’ll share my own approach to learning the single crochet stitch, one that I’ve refined over years of teaching and practicing. You can expect practical, no-nonsense advice and a clear, sequential guide that will walk you through every step of the process. By the end of this article, you’ll have a solid understanding of the single crochet stitch and be ready to start creating your own projects with confidence. Whether you’re a complete beginner or just looking to brush up on your skills, I’m excited to help you get started on your crochet journey.
Table of Contents
- Guide Overview: What You'll Need
- Step-by-Step Instructions
- A Guide to the Single Crochet Stitch
- Mastering the Single Crochet: 5 Essential Tips to Get You Started
- Key Takeaways for Mastering the Single Crochet Stitch
- Mastering the Single Crochet Stitch: A Journey of Creativity
- Frequently Asked Questions
Guide Overview: What You'll Need

Total Time: 30 minutes to 1 hour
Estimated Cost: $5 – $10
Difficulty Level: Easy
Tools Required
- Crochet Hook (size dependent on yarn)
Supplies & Materials
- Yarn choose a color and type of your preference
- Scissors for cutting yarn
- Tapestry Needle for weaving in ends
Step-by-Step Instructions
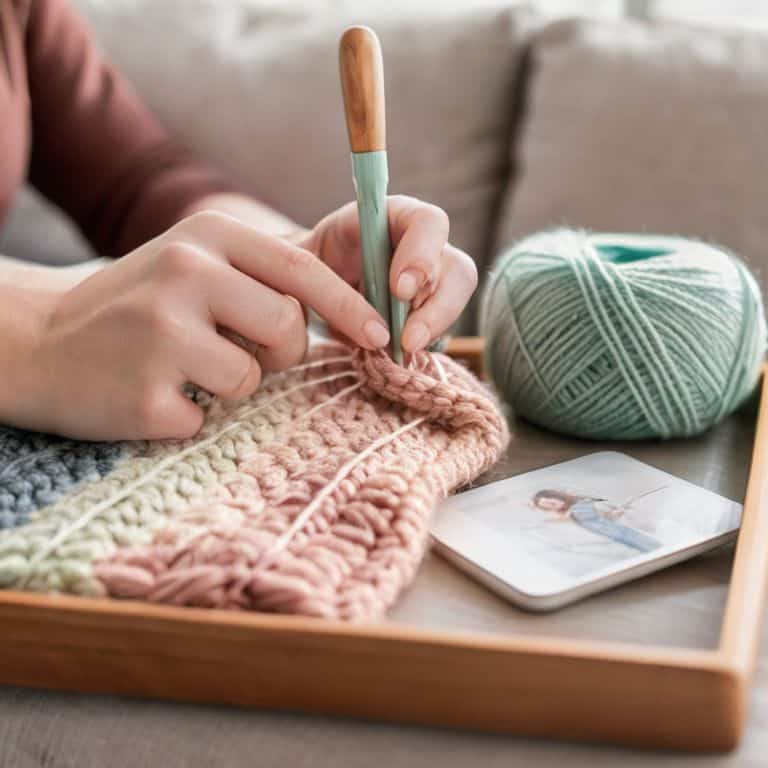
- 1. First, let’s start with the basics: to master the single crochet stitch, you’ll need a few simple tools – a crochet hook and some yarn. I like to use a smooth, medium-weight yarn for beginners, as it’s easy to work with and forgiving if you make any mistakes. Take a few minutes to get comfortable with your hook and yarn, and let’s move on to the next step.
- 2. Now, let’s create a slip knot on your hook. To do this, hold the yarn in one hand, make a loop with the yarn, and then hook the crochet hook through the loop. Pull the yarn gently to tighten the knot, but not too tight – you want it to be comfortable to work with. This is the foundation of your single crochet stitch, so take your time and make sure it’s secure.
- 3. Next, we’ll work on the chain stitch, which is the starting point for most crochet projects. To create a chain stitch, insert the hook into the stitch directly below the slip knot, and then yarn over (this means to take the yarn and wrap it around the hook). Pull the yarn through the stitch, and you’ll have one chain stitch. Repeat this process until you have the desired number of chain stitches for your project.
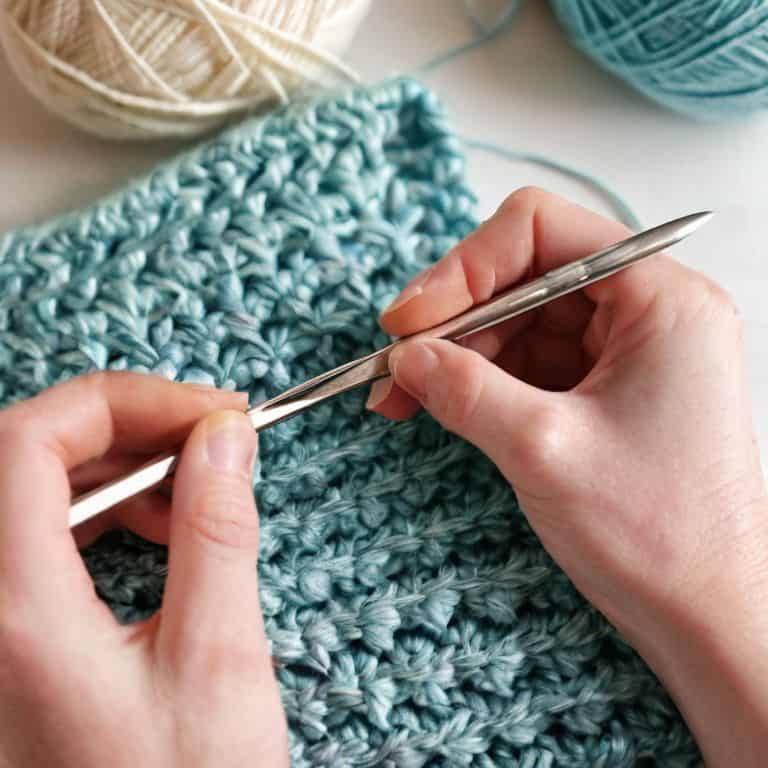
- 4. Now that we have our foundation chain stitches, let’s move on to the single crochet stitch itself. To start, insert the hook into the second chain stitch from your hook (the first chain stitch is usually a bit tighter, so we’ll skip it to avoid any confusion). Yarn over, and then draw up a loop – this means to pull the yarn through the stitch. You should now have two loops on your hook.
- 5. To complete the single crochet stitch, you’ll need to yarn over again and then pull the yarn through both loops on the hook. This will leave you with one loop on the hook, and you’ll have completed one single crochet stitch. Take a deep breath and congratulate yourself – you’re making great progress!
- 6. Repeat steps 4 and 5 until you’ve completed the desired number of single crochet stitches for your project. As you work, remember to keep your tension even and not too tight, as this can cause your project to pucker. If you find that your stitches are becoming uneven, don’t worry – just take a deep breath and start again from the beginning.
- 7. Finally, when you’ve completed your last single crochet stitch, you’ll need to fasten off your project. To do this, cut the yarn, leaving a tail of about six inches. Then, pull the tail through the last loop on the hook to secure it. Weave in the tail to hide it, and you’ll have a neat and tidy finish to your project. Take a step back and admire your handiwork – you’ve successfully completed the single crochet stitch!
A Guide to the Single Crochet Stitch
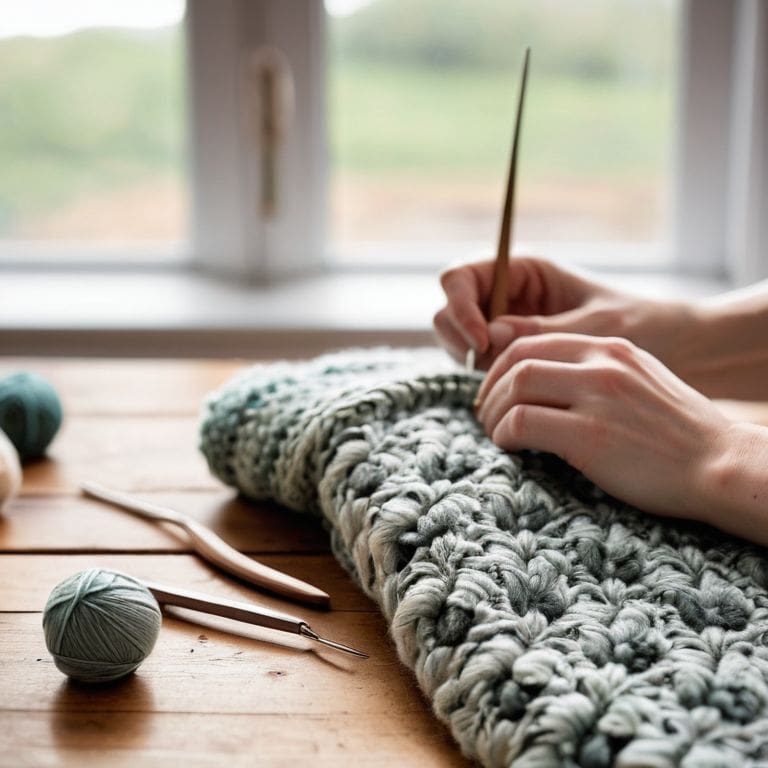
As you become more comfortable with the single crochet stitch, you’ll want to explore various crochet stitch patterns to add some visual interest to your projects. One great way to do this is by experimenting with different foundation chain lengths and stitch counts. Remember, the key to a successful project is to maintain a consistent tension, so take your time and don’t be afraid to rip out your work if you notice any inconsistencies.
When working with the single crochet stitch, it’s common to encounter a few common single crochet mistakes, such as uneven stitches or misplaced increases. To avoid these issues, make sure to count your stitches carefully and use a stitch marker to keep track of your place. Additionally, try to keep your tension even by using a consistent amount of yarn for each stitch.
For beginners, it’s exciting to discover the numerous single crochet stitch variations that can be used to create unique and interesting textures. By combining the single crochet stitch with other stitches, such as the double crochet or half double crochet, you can create complex and beautiful crochet project ideas for beginners. Don’t be intimidated to try new things – with practice and patience, you’ll be creating stunning projects in no time, and you can always refer back to your trusty single crochet stitch for beginners guide for a refresher.
Avoiding Common Mistakes With Foundation Chain Tips
When working with the foundation chain, it’s essential to keep your tension even. If your stitches are too tight, you may find that your project becomes misshapen. On the other hand, if your stitches are too loose, you may end up with a sloppy finish. To avoid this, try to maintain a consistent grip on your yarn and hook.
I also recommend counting your foundation chain stitches carefully to ensure you have the correct number. This simple step can save you a lot of frustration in the long run. By taking your time and being mindful of your tension and stitch count, you’ll be well on your way to creating a beautiful single crochet project.
Single Crochet Stitch for Beginners Made Easy
As a beginner, it’s completely normal to feel a bit overwhelmed by the single crochet stitch. But trust me, with a little practice and patience, you’ll be creating beautiful projects in no time. The key is to take it one step at a time, and don’t be afraid to make mistakes – they’re an essential part of the learning process. I always say that the single crochet stitch is like a warm-up exercise for your hands and mind, getting you ready for more complex techniques.
To make it even easier, I recommend starting with a simple project, like a scarf or a dishcloth. This will allow you to get a feel for the stitch without feeling overwhelmed by a large or complicated project. And remember, I’m here to guide you every step of the way, so don’t hesitate to reach out if you have any questions or need further clarification. With my step-by-step instructions and a bit of practice, you’ll be a pro at the single crochet stitch in no time.
Mastering the Single Crochet: 5 Essential Tips to Get You Started
- Ensure your foundation chain is not too tight, as this can cause your project to pucker or become misshapen
- Use a stitch marker to keep track of your place, especially when working in the round or on complex patterns
- Keep your tension even by maintaining a consistent grip on the yarn and hook, and avoiding pulling the yarn too tightly
- Count your stitches carefully at the end of each row to avoid mistakes that can be difficult to fix later
- Practice, practice, practice – don’t be discouraged if your first few attempts at the single crochet stitch don’t turn out perfectly, it’s all part of the learning process
Key Takeaways for Mastering the Single Crochet Stitch
Remember, the key to a successful single crochet stitch lies in maintaining a consistent tension and counting your stitches carefully to avoid mistakes.
Practice makes perfect: don’t be discouraged if your first few attempts at the single crochet stitch don’t turn out as expected – with patience and persistence, you’ll soon get the hang of it.
Always refer back to your foundation chain tips to ensure a strong and even base for your project, and don’t hesitate to frog your work if you notice any errors – it’s all part of the learning process.
Mastering the Single Crochet Stitch: A Journey of Creativity
As we conclude our journey through the single crochet stitch, let’s take a moment to reflect on the key points we’ve covered. From the initial steps of creating a foundation chain to the tips for avoiding common mistakes, we’ve broken down this fundamental technique into manageable, easy-to-follow sections. By mastering the single crochet stitch, you’ve opened the door to a world of creative possibilities, from crafting beautiful blankets to creating intricate garments. Remember, the joy of making begins with a clear, simple plan, and I’m thrilled to have been a part of your learning journey.
As you move forward, don’t be afraid to experiment and push the boundaries of what’s possible with the single crochet stitch. With practice and patience, you’ll find that your stitches become more confident, and your creations more stunning. So, go ahead, grab your hook and yarn, and let your imagination run wild – the world of crochet is full of endless possibilities, and I have no doubt that you’ll create something truly beautiful.
Frequently Asked Questions
What is the best way to ensure my foundation chain is the correct length for my single crochet project?
To ensure your foundation chain is the correct length, I recommend making a swatch before starting your project. This will give you an accurate gauge, allowing you to adjust your chain accordingly. Simply crochet a small sample using the same hook, yarn, and stitch pattern, then measure and calculate your foundation chain length from there.
How do I know if I've completed a single crochet stitch correctly, and what are some common signs of mistakes?
To ensure you’ve completed a single crochet stitch correctly, check that you’ve inserted the hook, yarned over, and pulled through the correct number of loops. Common signs of mistakes include uneven tension, misplaced stitches, or a wonky foundation chain. Let’s review each step together, and I’ll share some troubleshooting tips to get you back on track.
Can I use the single crochet stitch to create different textures or patterns, and if so, how do I incorporate variations into my work?
Let’s explore the creative possibilities of the single crochet stitch. Yes, you can definitely use it to create various textures and patterns. Try changing hook sizes, yarn weights, or experimenting with different stitch combinations to add visual interest. I’ll share some of my favorite tips and tricks for incorporating these variations into your work.