
I still remember the first time I tried to learn how to make a slip knot for crochet. I was frustrated and confused, watching YouTube tutorials that seemed to assume I already knew the basics. It wasn’t until I broke down the process into simple, manageable steps that it finally clicked. The myth that making a slip knot is complicated or requires some sort of innate crochet genius is simply not true. With a clear, step-by-step guide, anyone can master this fundamental skill.
In this article, I promise to walk you through the process of how to make a slip knot for crochet in a way that’s easy to understand and follow. I’ll provide you with practical advice and detailed instructions, so you can focus on creating something beautiful, rather than getting bogged down in confusing terminology or complicated techniques. By the end of this guide, you’ll be able to create a slip knot with confidence and precision, and you’ll be ready to move on to more complex crochet projects.
Table of Contents
Guide Overview: What You'll Need
Total Time: 10 minutes
Estimated Cost: $0 – $5
Difficulty Level: Easy
Tools Required
- Crochet Hook (any size)
Supplies & Materials
- Yarn (any type and color)
Step-by-Step Instructions
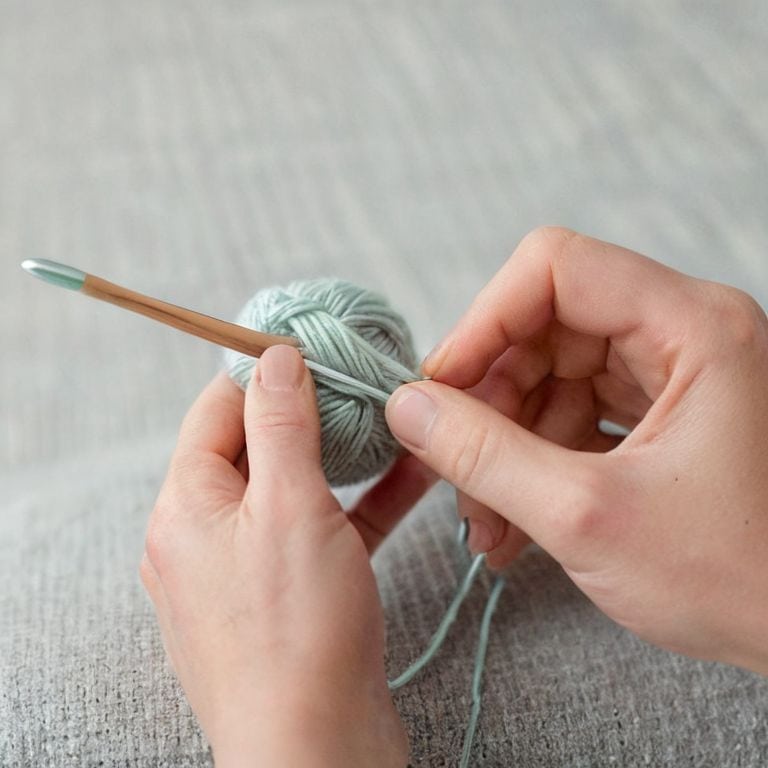
- 1. First, let’s get started with the basics – to make a slip knot, you’ll need to begin by holding the yarn in one hand, with the end of the yarn closest to your body, and use your other hand to create a loop in the yarn. This loop should be small and gentle, not too tight or too loose.
- 2. Next, take the end of the yarn and pass it through the loop you just created, making sure it’s not twisted or tangled. This is where the magic happens, and your slip knot starts to take shape. Keep your hands relaxed and your movements slow and deliberate.
- 3. Now, gently pull the yarn end to tighten the loop around it, but not too tight – you want to leave a small opening in the center of the knot. Think of it as creating a little nest for your hook to snuggle into. As you pull the yarn, you should start to see the slip knot take form.
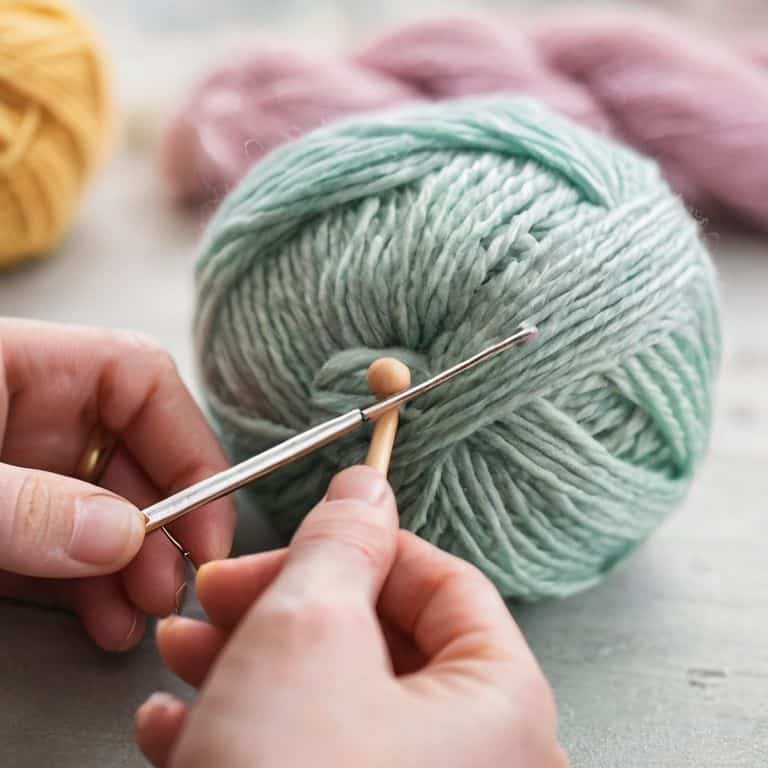
- 4. With your non-dominant hand, hold the yarn in place, and with your dominant hand, take your crochet hook and insert it into the loop. Make sure the hook is seated comfortably in the knot, with the curved part of the hook facing upwards. This is where the slip knot will start to feel secure.
- 5. To finish the slip knot, pull the yarn end gently to tighten the knot around the hook. You should feel the knot snug up around the hook, but still be able to slide it off easily if you need to. Don’t pull too hard, or you might end up with a knot that’s too tight to work with.
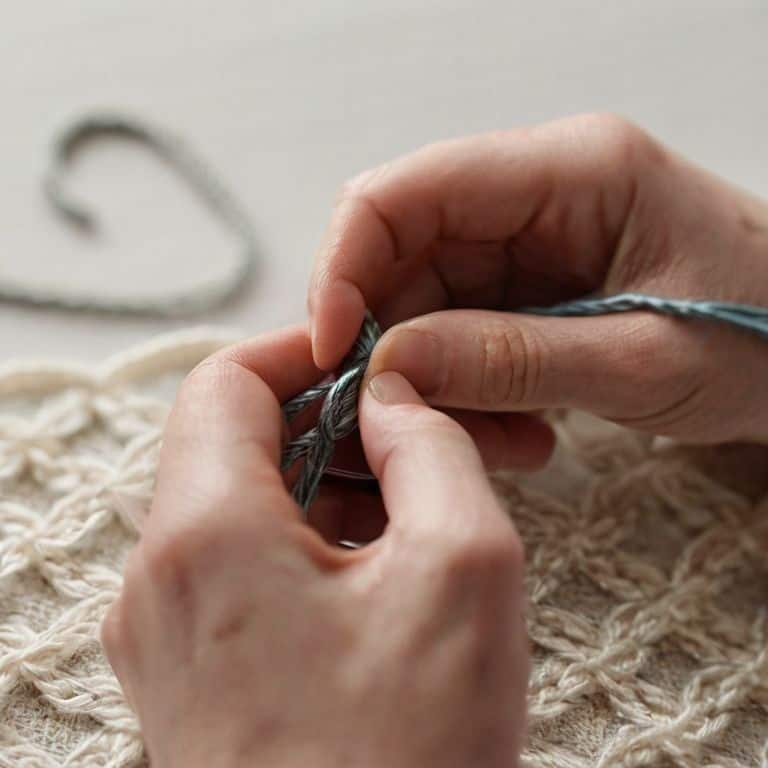
- 6. Take a moment to adjust the slip knot as needed, making sure it’s comfortable and secure on your hook. You can gently tug on the yarn end to tighten or loosen the knot, depending on your preference. Remember, the key to a good slip knot is that it’s not too tight, not too loose, but just right.
- 7. Finally, give your slip knot a little tug to make sure it’s secure, and you’re ready to start crocheting. Congratulations – you’ve just made your very first slip knot, and you’re one step closer to creating something beautiful and cozy. Take a deep breath, relax, and let the crocheting begin.
Mastering Slip Knots
As you practice making slip knots, you’ll find that it’s all about the gentle touch and consistent tension. Remember, the key to a successful slip knot is not to pull the yarn too tight, but rather to leave a small loop that can easily be adjusted. This will become second nature as you work on more beginner crochet stitches and start to explore various crochet project ideas for beginners.
When working with different types of yarn, you may encounter some common crochet mistakes, such as a slip knot that’s too loose or too tight. Don’t worry, this is all part of the learning process, and with time, you’ll develop a sense of how much yarn to leave in the loop. It’s also important to note that the size of your crochet hook can affect the slip knot, so be sure to experiment with different hook sizes to find what works best for you.
As you master the slip knot, you’ll be able to move on to more complex types of crochet knots and explore the world of crochet with confidence. With practice, you’ll be able to create beautiful projects that showcase your new skills, and you’ll be proud to show off your handmade creations. Whether you’re following a crochet slip knot tutorial or working on your own designs, remember to take your time and enjoy the process of creating something truly unique.
Avoiding Common Crochet Mistakes
As we dive deeper into mastering slip knots, it’s essential to discuss common pitfalls to watch out for. One of the most frequent mistakes is pulling the yarn too tightly, which can result in a knot that’s difficult to work with. On the other hand, a slip knot that’s too loose can come undone easily, causing frustration and delays in your project.
To avoid these issues, take a moment to gently tug on the yarn after creating your slip knot. This will help you find the perfect balance between security and flexibility. By being mindful of your yarn tension, you’ll be able to create a reliable slip knot that sets you up for success in your crochet journey.
Crochet Slip Knot Tutorial Basics
Now that we’ve covered the foundational steps, let’s dive into the basics that will make your slip knot journey even smoother. As you practice making slip knots, remember that it’s all about the gentle tug and release of the yarn. Don’t pull the yarn too tightly, as this can cause the knot to become misshapen. Instead, focus on creating a soft, rounded loop that will serve as the foundation for your crochet project.
By mastering this fundamental technique, you’ll be well on your way to creating beautiful, professional-looking crochet pieces. Take your time, and don’t be afraid to make adjustments as needed – with a little patience and practice, you’ll be creating perfect slip knots in no time.
Weaving Wisdom: 5 Essential Tips for a Flawless Slip Knot
- Keep your yarn at a comfortable length to avoid tangled messes and make it easier to manipulate
- Use a hook that feels balanced in your hand, as this will help you maintain control throughout the process
- Pay attention to the size of your slip knot – it should be large enough to fit snugly on your hook, but not so large that it slips off
- Practice making slip knots with different types of yarn to get a feel for how various textures and weights behave
- Don’t pull the yarn too tightly, as this can cause the knot to pucker or become misshapen – instead, aim for a smooth, gentle tension
Key Takeaways for Mastering the Slip Knot
Always start with a calm and gentle touch, as forcing the yarn can lead to frustration and a poorly formed knot
Remember, the slip knot is the foundation of your crochet project, so taking the time to get it just right is crucial for a beautiful and even finish
Practice makes perfect, so don’t be discouraged if your first few attempts at creating a slip knot don’t turn out as expected – with patience and persistence, you’ll soon be creating flawless slip knots every time
The Heart of Crochet
The slip knot is more than just a starting point – it’s a promise of creation, a whispered secret that with every gentle loop, you’re not just making something, you’re making it yours.
Beatrice "Bea" Quinn
Conclusion: You're Now a Slip Knot Pro
As we’ve worked through the steps together, I hope you’ve seen how making a slip knot for crochet can be a straightforward and enjoyable process. We’ve covered the basics of the crochet slip knot tutorial, discussed how to avoid common mistakes, and explored the importance of mastering this fundamental skill. By following these simple steps and practicing regularly, you’ll be well on your way to creating beautiful, intricate crochet pieces. Remember, the key to success lies in taking your time and being patient with yourself as you develop your skills.
As you continue on your crochet journey, I encourage you to keep in mind that it’s all about the process, not just the end result. Don’t be afraid to experiment, try new things, and make mistakes – they’re an essential part of the learning process. With time and practice, you’ll find that the gentle rhythm of crochet becomes a soothing and meditative experience, allowing you to unwind and express your creativity in a unique and fulfilling way. So go ahead, grab your hook and yarn, and get ready to unravel the magic of crochet, one stitch at a time.
Frequently Asked Questions
What if my slip knot is too tight and I'm having trouble adjusting it?
Don’t worry, my friend, it’s an easy fix. If your slip knot is too tight, simply gently pull on the tail of the yarn to loosen it. You can also try sliding the knot off the hook and repositioning it. Remember, it’s all about finding that sweet spot where it’s snug but not too tight.
How do I know if I've made a slip knot correctly, and what are the signs of a good knot?
To check if you’ve made a slip knot correctly, gently tug on both the yarn and the hook. A good knot will slide smoothly and evenly, without tightening or coming undone. You should feel a slight give, but it should still hold its shape. If it’s too loose or too tight, don’t worry, just adjust and try again.
Can I use a slip knot for other types of yarn or thread, or is it specific to certain materials?
While slip knots are commonly used with medium-weight yarns, you can adapt this technique for other materials like cotton thread, wool, or even embroidery floss. The key is to adjust the tension and loop size according to the material’s thickness and texture. I’ve found that with a little patience, you can create a slip knot with almost any type of yarn or thread.